Checkout.com supports the following types of platforms:
This section is for you if you have an existing Checkout.com gateway integration (ABC platform) set up in Chargebee and want to move to the NAS platform. To set up this integration, you will need to obtain your API Secret Key and API Public Key from the Checkout.com NAS dashboard. Refer to the steps here to get the keys.
Follow the steps below to move your account from ABC to NAS in Chargebee:
Click Settings > Configure Chargebee > Payment Gateways.
Click on the existing Checkout.com gateway you have already configured.
Click on Manage.

Enter the API Public Key and API Secret Key retrieved for your NAS platform under the NAS Platform section. Do not update or delete the existing ABC credentials.
Click Connect.

You have now successfully configured the integration between Checkout.com-NAS and Chargebee. You can manage the settings from the Configure Checkout.com Settings page.

All the newly created transactions will be processed via NAS whereas refunds of transactions previously created with ABC will be refunded via ABC only.
The configuration of Webhooks is a mandatory prerequisite for this integration to function effectively. Follow the steps below to configure Webhooks:
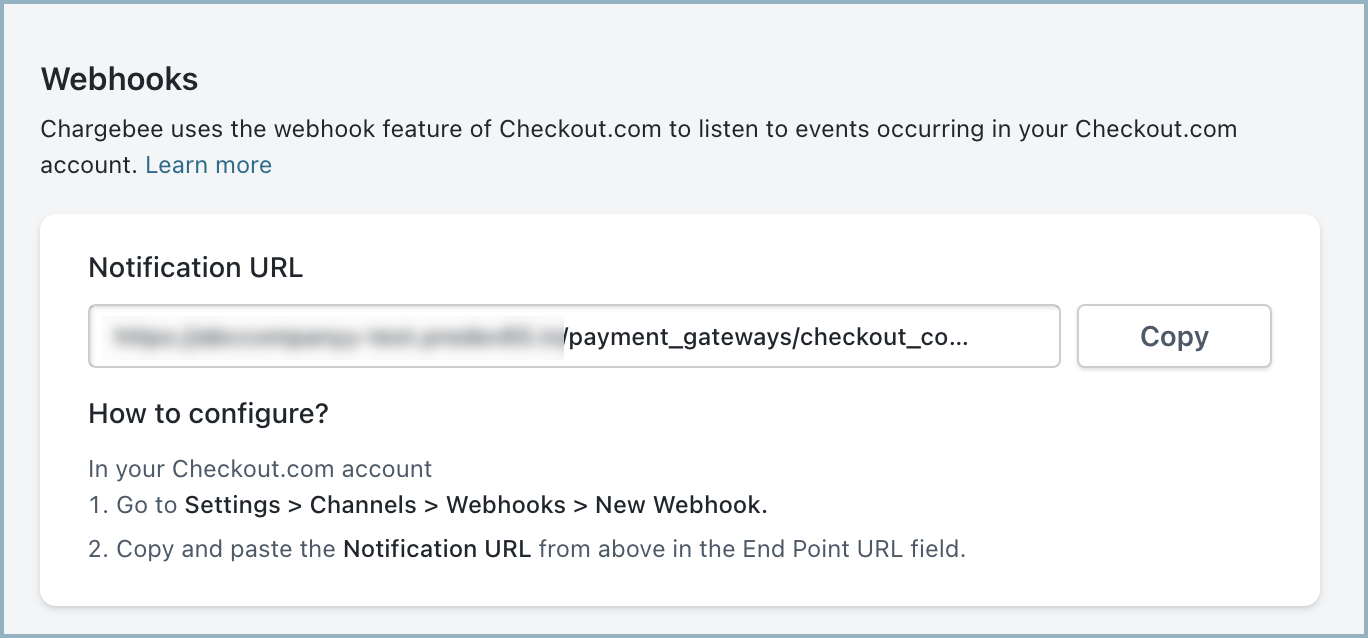
Copy Notification URL, this URL must be used on your Checkout.com site to ensure that Chargebee receives notifications for all events associated with this account.
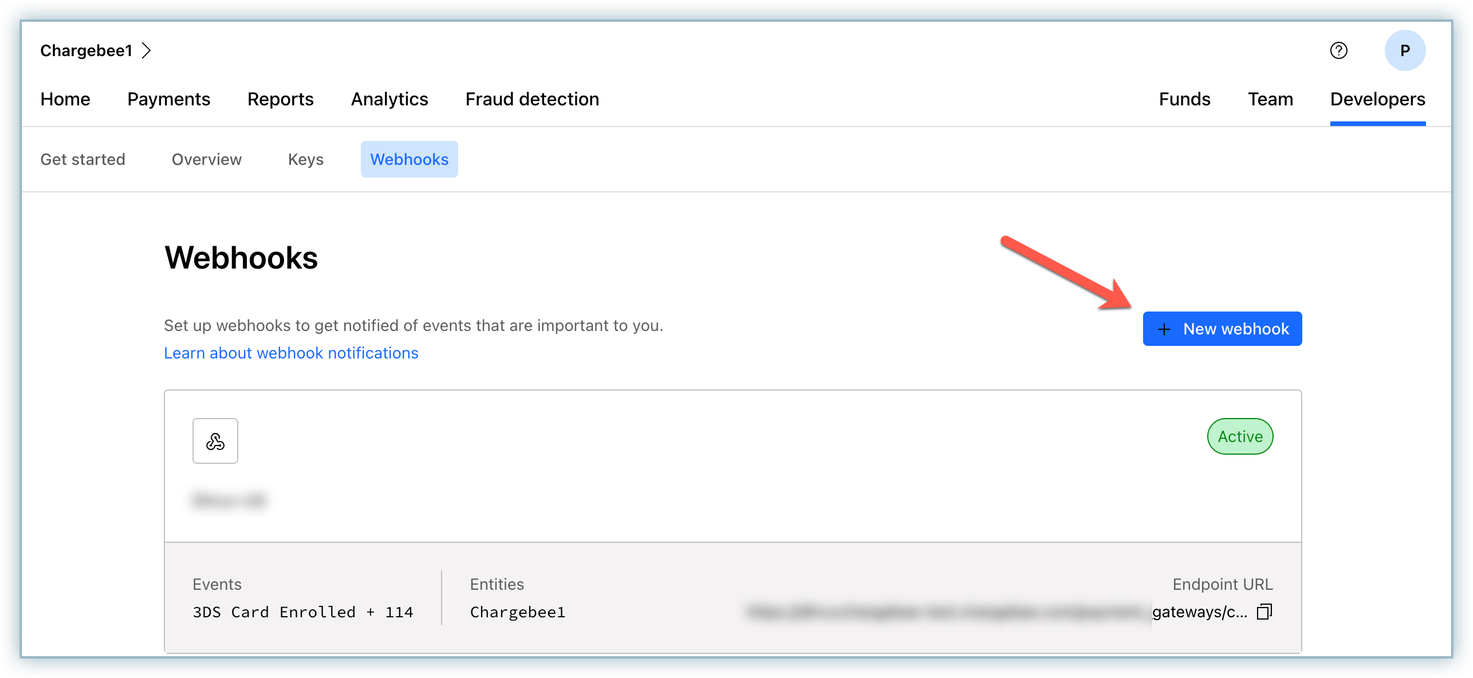
Log in to your Checkout.com account (NAS platform) , and navigate to Developers > Webhooks.
Click + New webhook.
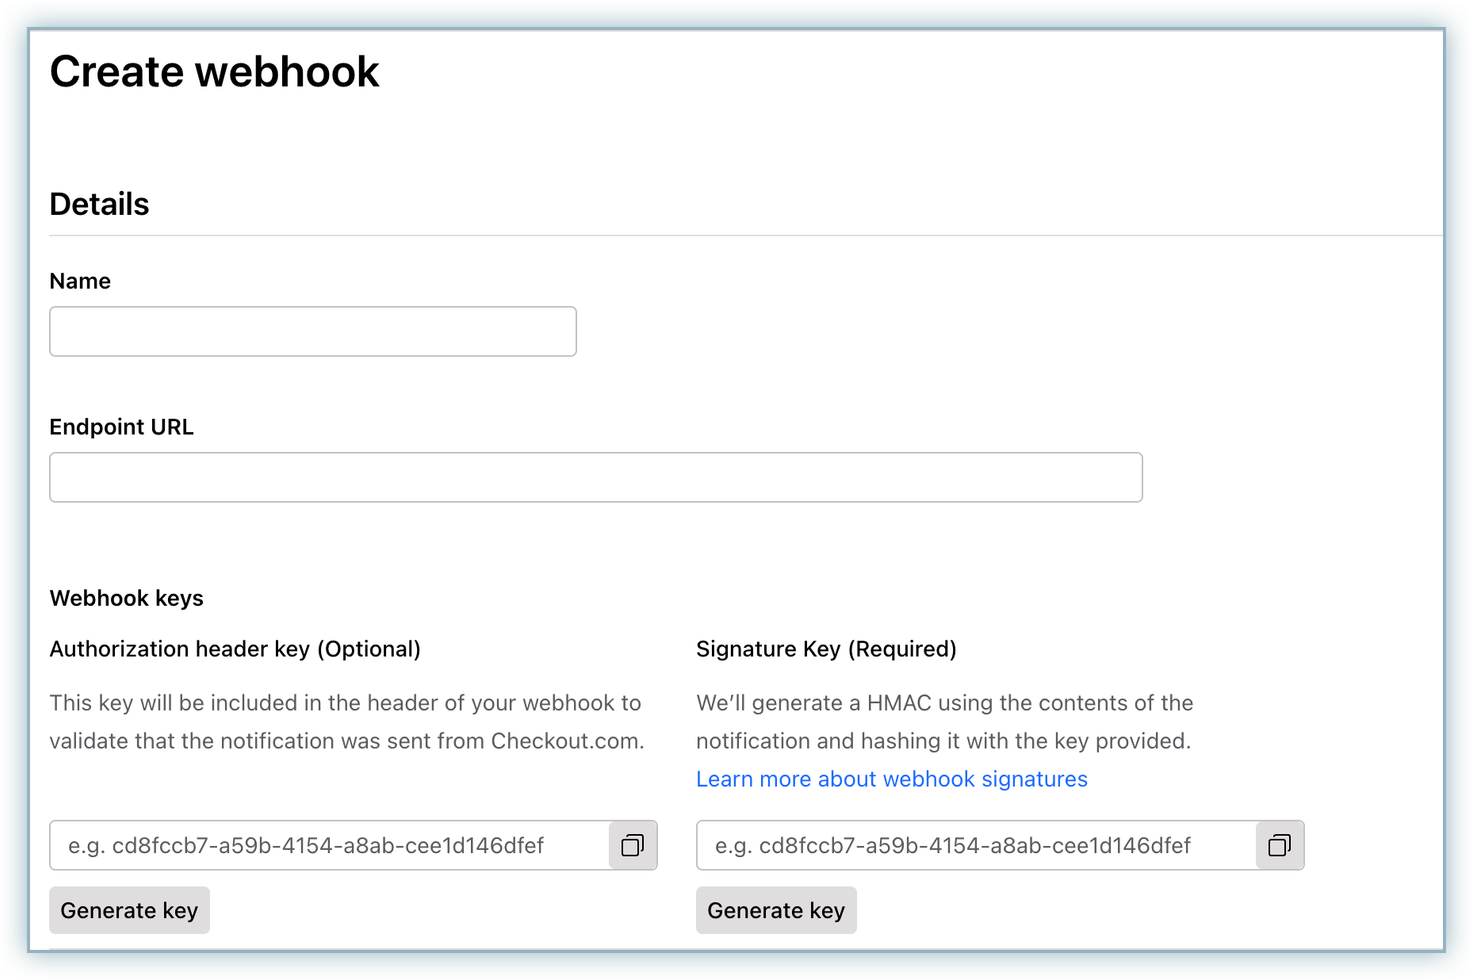
Enter the notification name in the Name field.
Paste the Notification URL copied from your Chargebee site in the Endpoint URL field.
In the Webhook keys section, enter the API Secret Key retrieved from your Checkout.com account in the Signature Key field.
Make sure to use 'Bearer' as a prefix term, followed by a space, and then the API Secret Key. For example, Bearer sk_sbox_pcbqzzjczm5p72kqdgfrsfrkjhg
Skip the Authorization header key field.
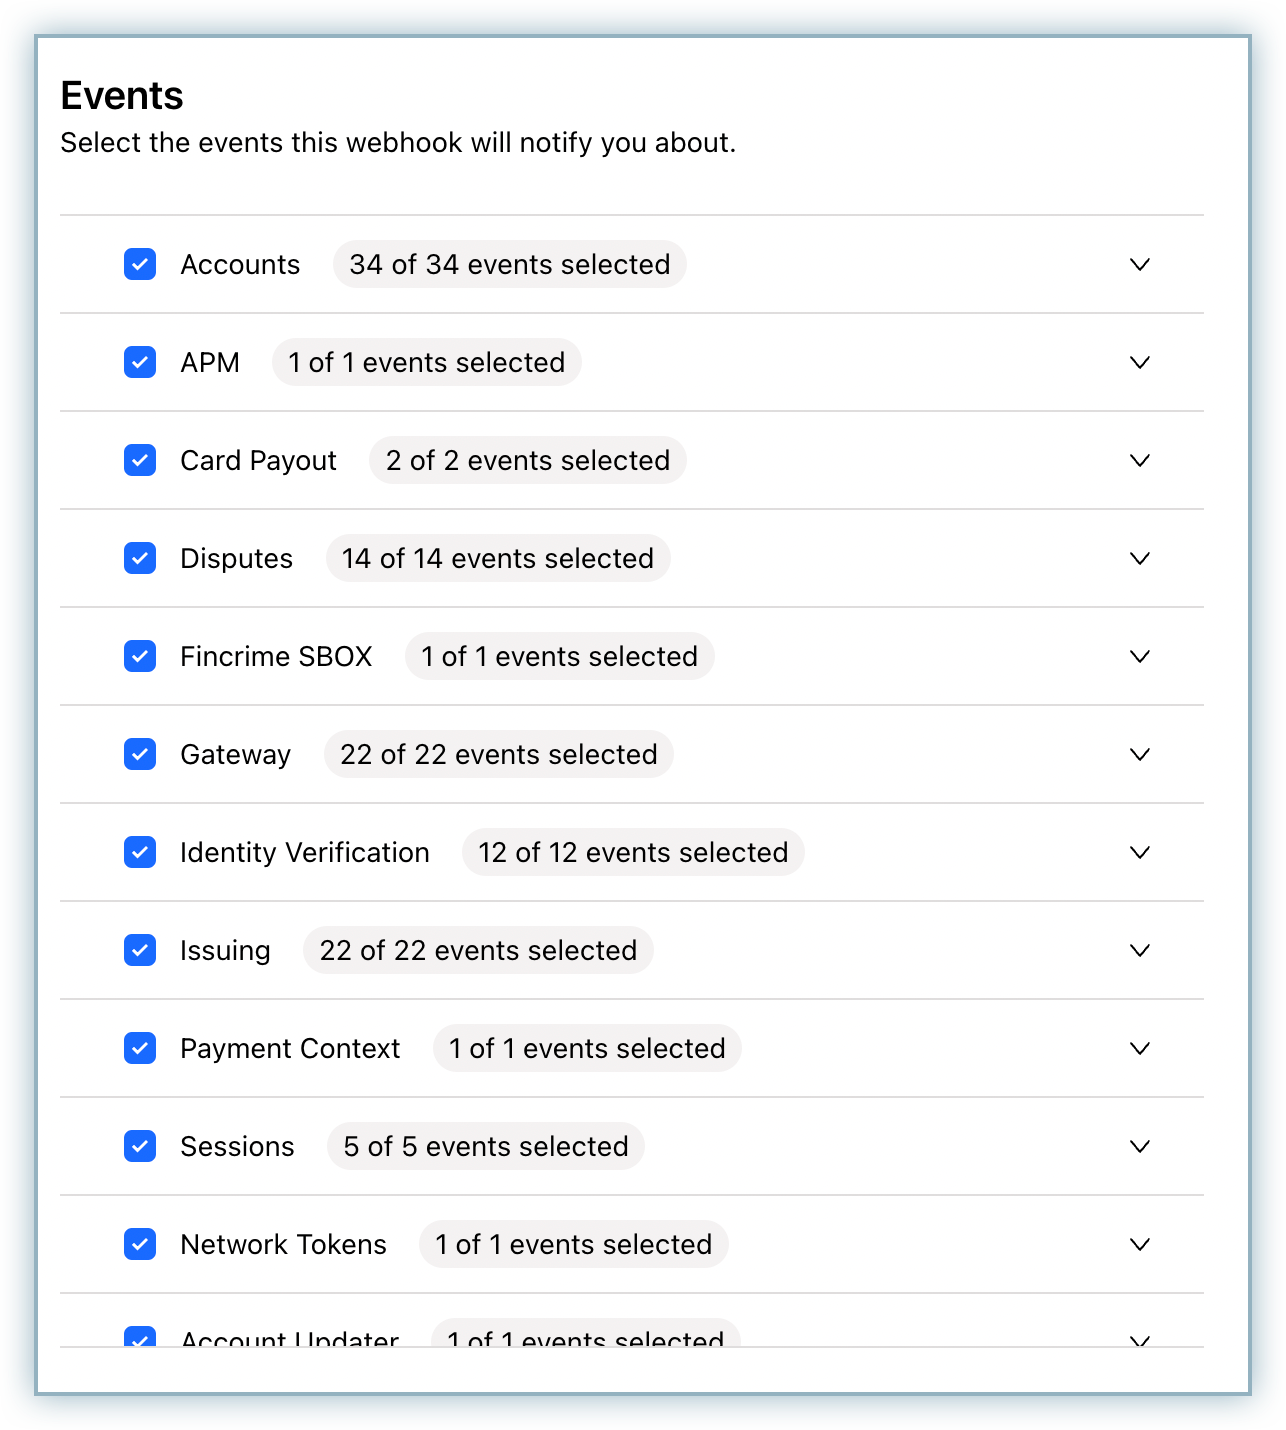
Select all the events under the Events section.
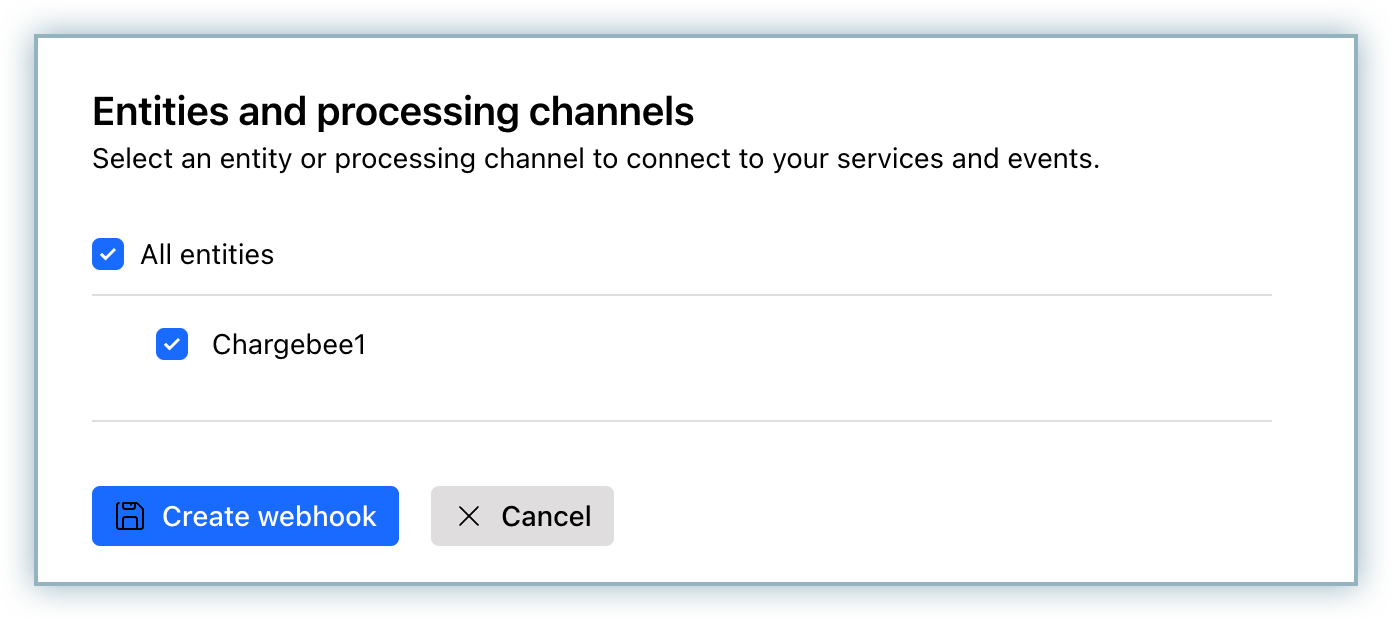
Select the All Entities checkbox under the Entities and processing channels section.
Click Create webhook.