Quick Installation
Overview
Early Access
Growth solutions are currently in early access and available only for Chargebee Billing and Retention customers at no additional cost during the EAP period. Sign up to join the Early Adopter Program to learn more about these solutions.
Installing the Chargebee Growth Solution involves three key steps:
- Integrate Chargebee Billing: Enables the Growth solution to access subscription data and perform necessary modifications.
- Integrate Chargebee.js:
- Integrate Personalized Offers Initializes the Growth solution, rendering personalized offers to your users.
- Integrate Cancel Page: Redirect users to a personalized cancel deflection experience when they click the cancel button.
Let's look at each of these steps in detail.
Given that Chargebee Growth is in early access, it is currently available only for Retention customers who use Billing integration. To get access, you'll need to sign up for a Chargebee Retention trial, complete the integration with Chargebee Billing, and then reach out to our support team to enable Growth Solutions for your account. You can get started in one of the following ways:
- Sign up for Chargebee Retention from within your Chargebee Billing site.
- Sign up for Chargebee Retention from the Chargebee website(in which case, the API key integration is needed).
Once this is done, contact us to enable the Growth solution on your Chargebee account.
Step 1: Integrating with Chargebee Billing
The Growth solution requires an API key from your Chargebee Billing site to access subscription data and modify subscriptions for cancellations, discounts, plan changes, billing extensions, or pauses. If you signed up for Chargebee Retention from within your Chargebee Billing site, the API key is automatically updated in your Growth site. However, if you signed up for Chargebee Retention via the Chargebee website, you must add the API key manually.
To add an API key, follow these steps:
-
Log in to your Chargebee Billing site.
-
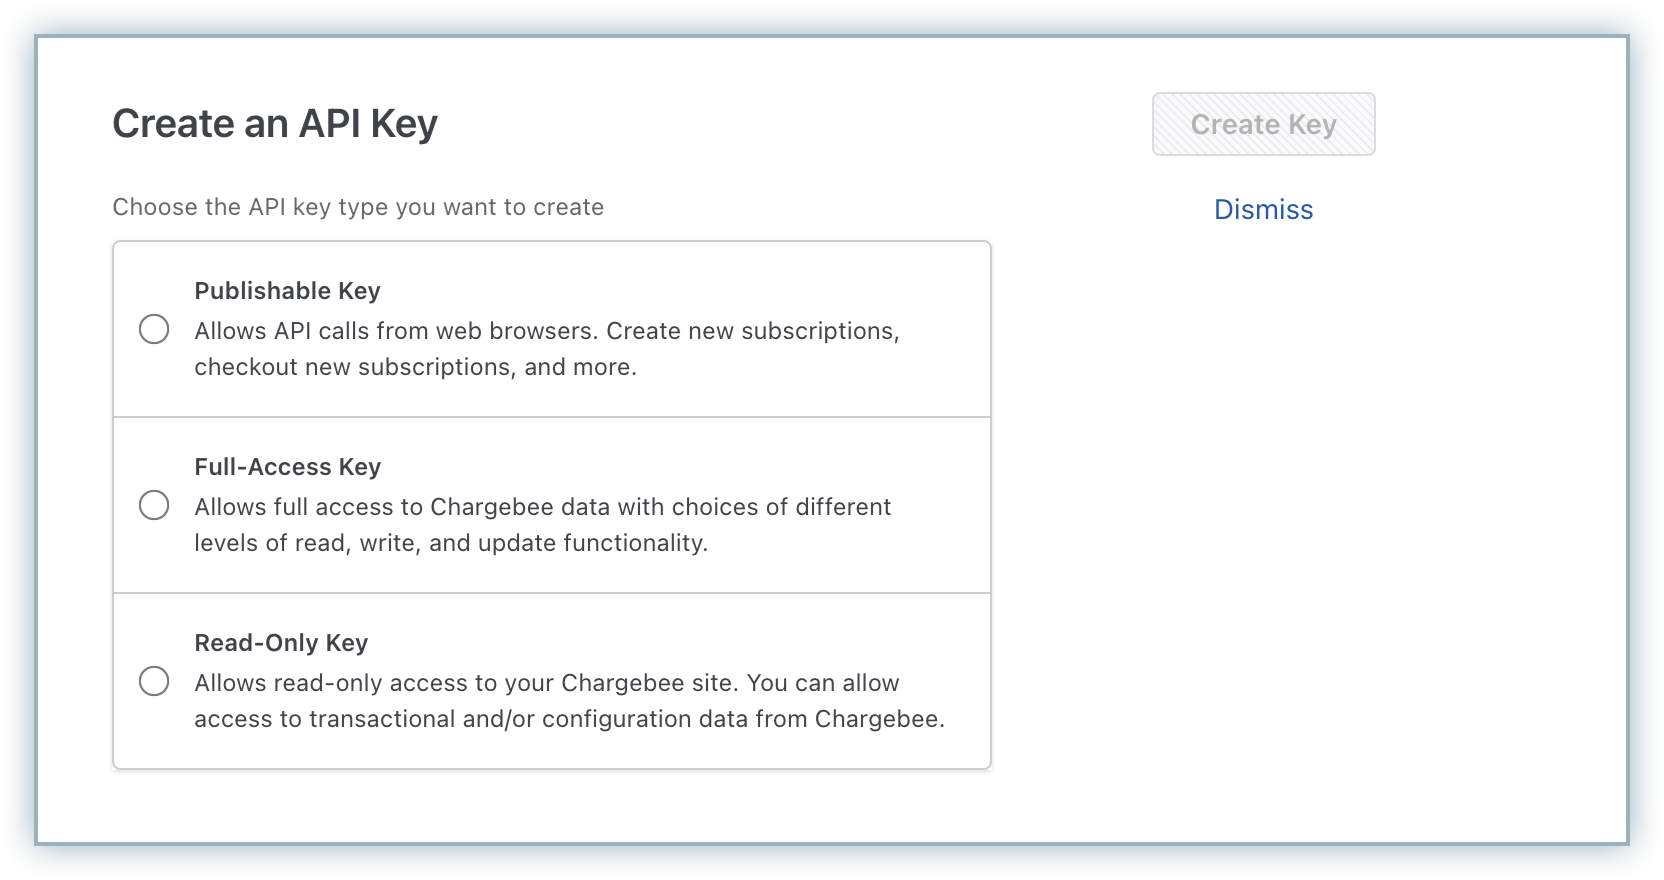
Navigate to Settings > Configure Chargebee > API Keys.
-
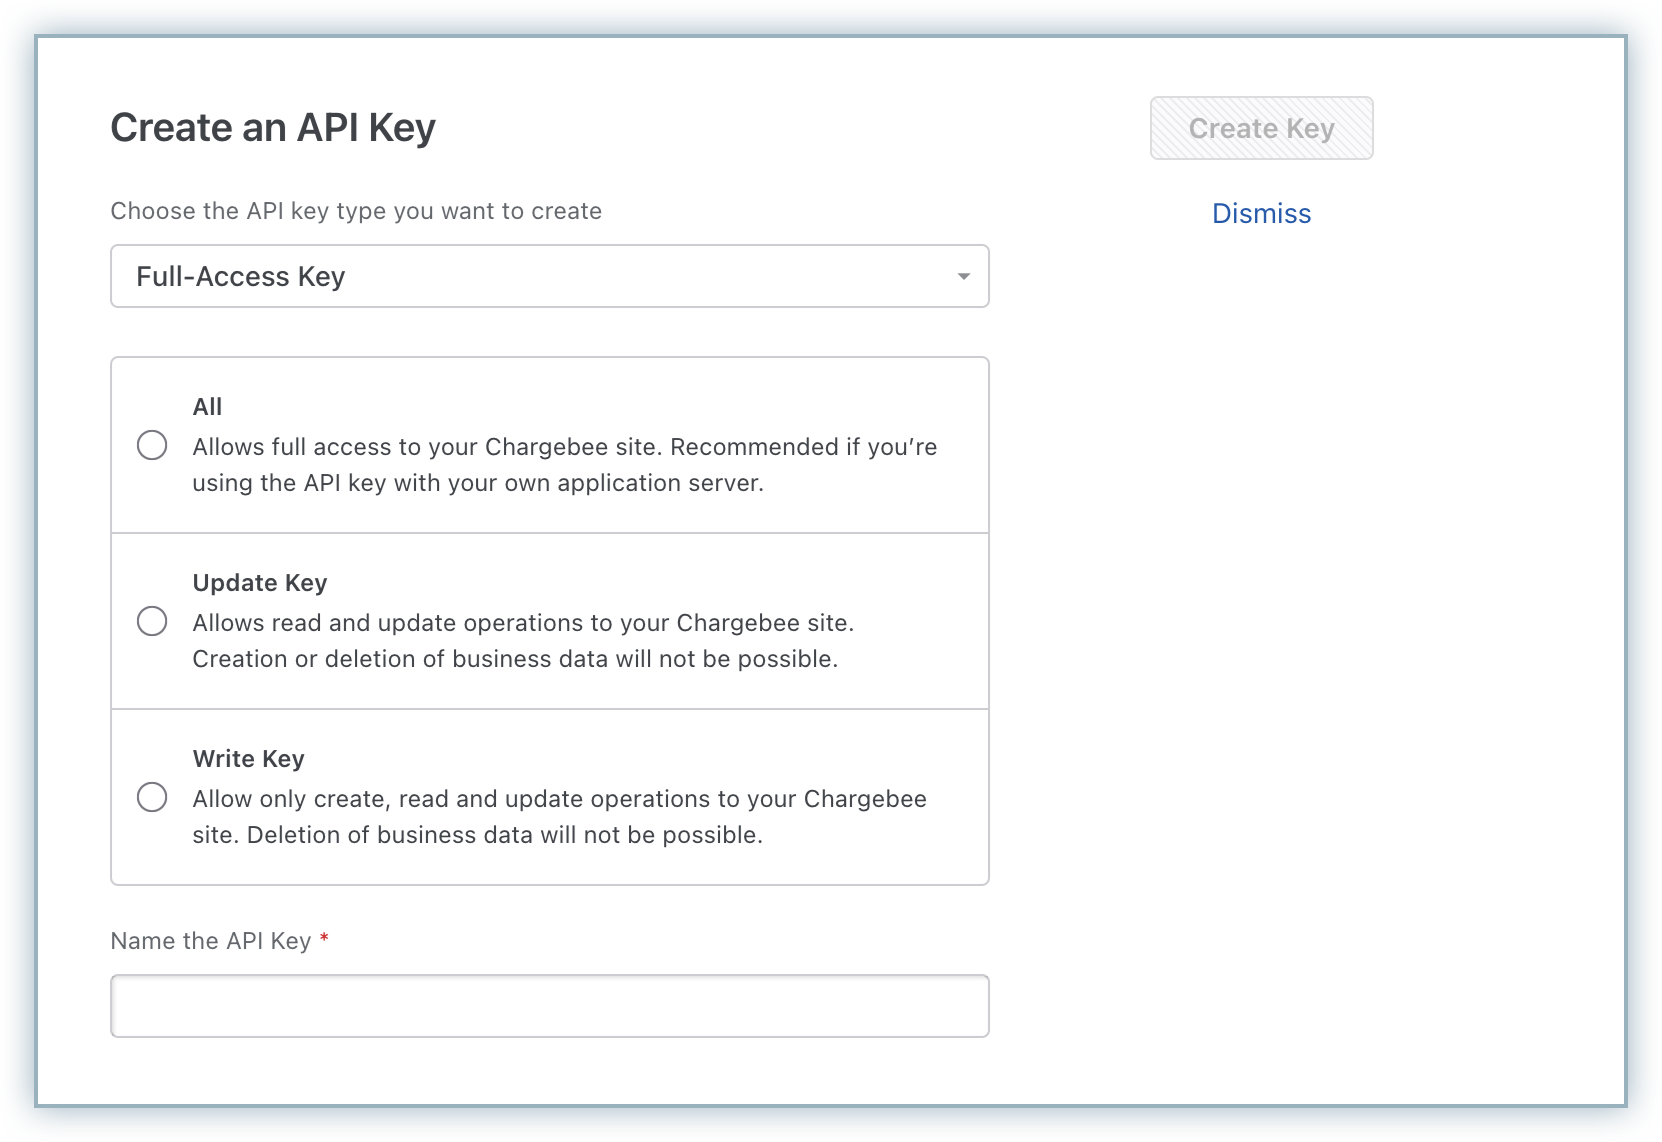
Click Add API Key and select Full-Access Key, if you would like Chargebee Growth to make subscription updates.
-
Select access levels for the key as required, specify a name and click Create Key.
-
Copy the newly generated API key.
-
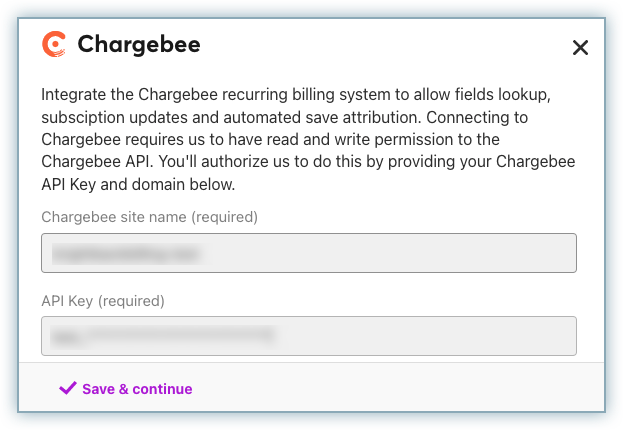
Log in to your Chargebee Growth site.
-
Navigate to Settings > Integrations > Chargebee. Enter the Chargebee site name that you're integrating, and paste the API Key copied from your Chargebee Billing site.
-
Click Save & continue.
Your Chargebee Billing site is now successfully connected to the Growth solution.
Step 2: Integrate Chargebee.js in your site or application
Chargebee.js is a JavaScript library that allows you to integrate Chargebee Growth Solutions into your website or application.
Previous Version
If you are using Retention.js, the older, deprecated version of the Growth Solutions JS SDK, the installation steps can be found in the Appendix below.
Integrate Personalized Offers
Use Chargebee.js to integrate Personalized Offers into your website or application. For step-by-step instructions, see the Chargebee.js documentation on integrating Personalized Offers.
Integrate Cancel Page
Optionally, you can also use Chargebee.js to integrate Chargebee Retention and redirect users to a personalized cancel deflection page when they click the cancel button.
Appendix
Integrate Chargebee Retention.js (Deprecated)
Installation Steps
⚠️ Deprecated
This sections provides the steps to integrate Retention.js, the older version of the Growth Solutions JS SDK. However, note that Retention.js is deprecated and does not receive any new updates. You should migrate to the Chargebee.js integration as soon as possible.
Embed Chargebee Growth in your site or application
To ensure that Chargebee Growth is initialized correctly, you must embed a JavaScript snippet within your website or application such that it is automatically initialised on page load. Next, you need to create a new Growth instance by passing the application ID of your Chargebee Growth application.
To embed the script on your application or site:
- Identify a common location in your application where the snippet will load on every relevant page. We recommend embedding the java script snippet and making it available at a common location with your application to automatically initialize the Chargebee Growth instance.
- If you have a single-page application, such as a React app, you can include our js in the index.html file. Doing so will automatically include the js code on all the pages.
- If you have a multi-page application, you must include the js code on all the pages to load the js.
- Retrieve the Application ID for your Growth instance:
- Log in to your Chargebee Growth site.
- Extract the App ID from the browser URL.
For example, if the URL is
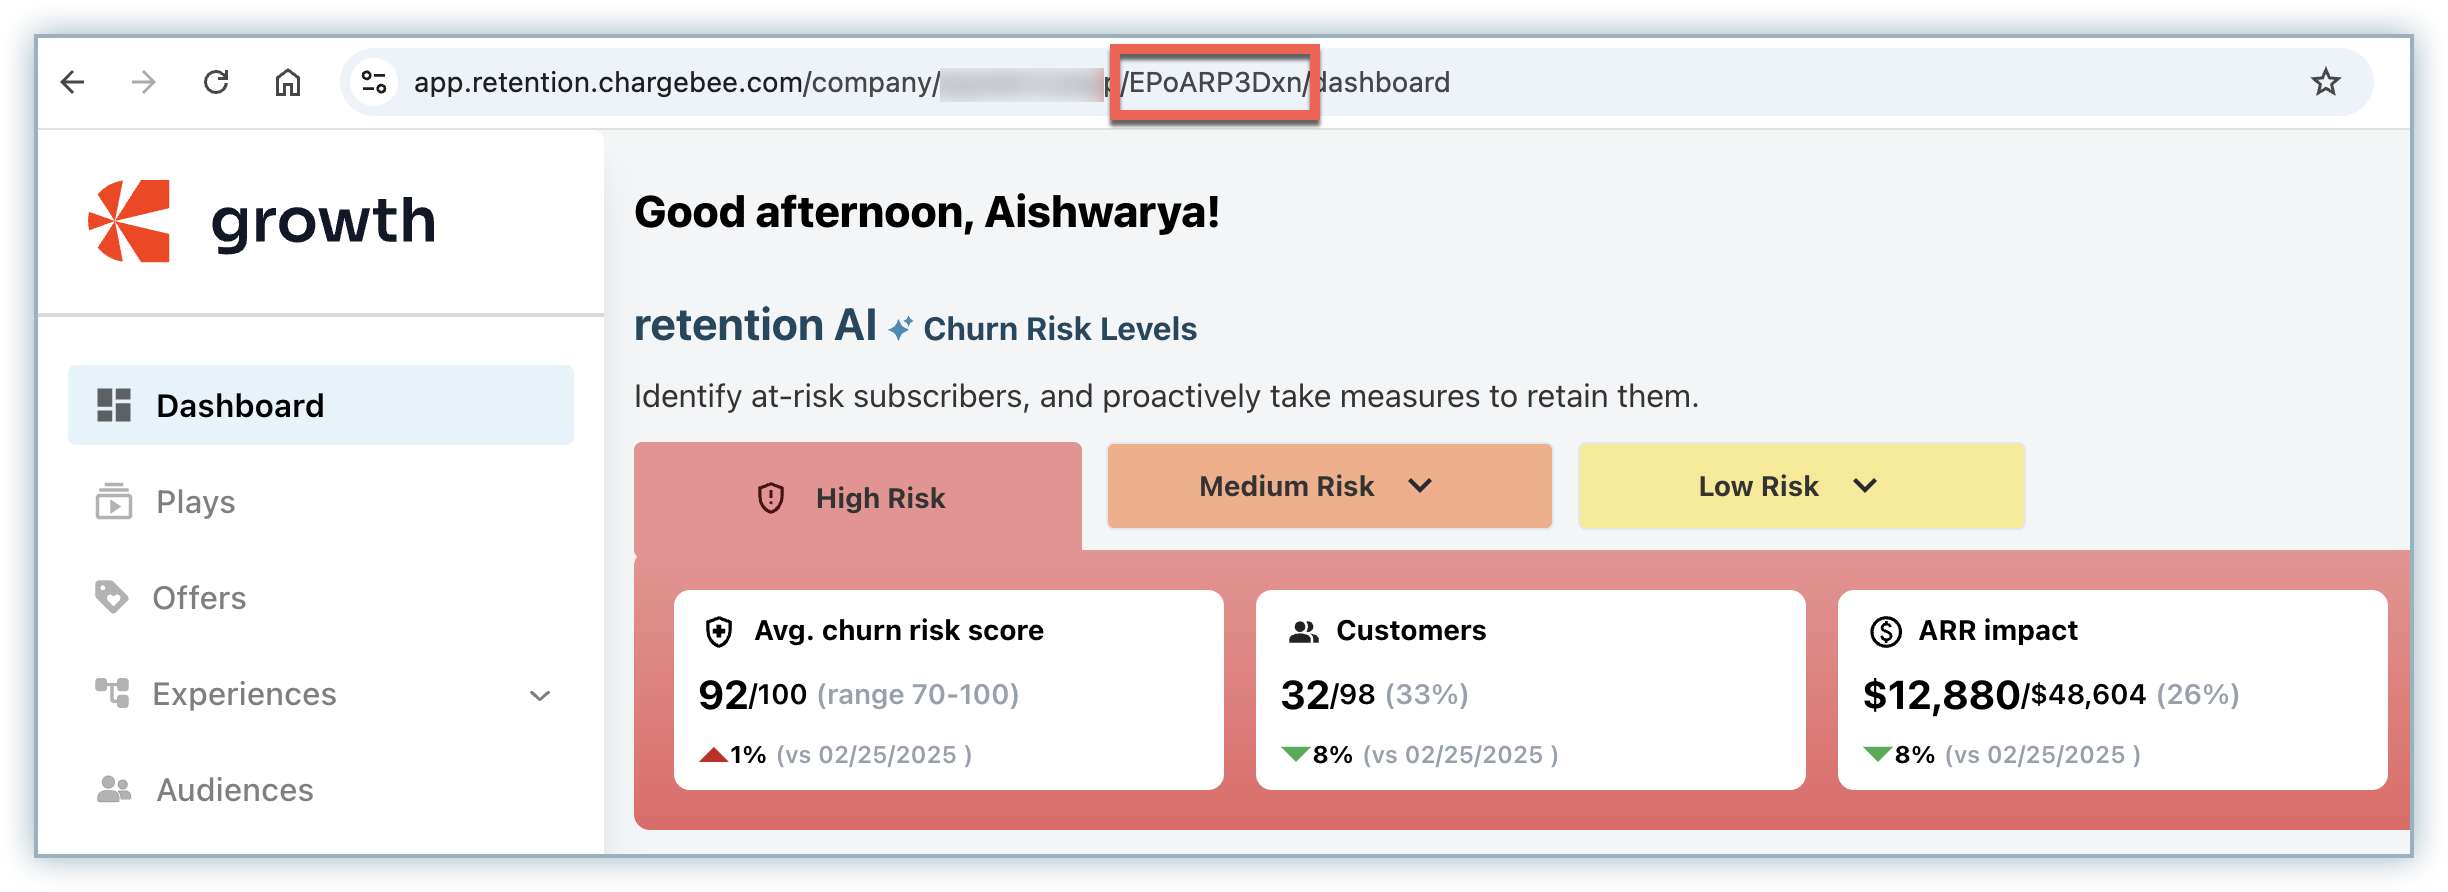
https://app.chargebee.com/retention/kav8jMaojO, thenkav8jMaojOis the App ID.
- Add the following snippet to your site, replacing YOUR_APP_ID with the extracted App ID:
<script>
   (function ())
      const cbretention = new ChargebeeRetention({
      api_key: <YOUR_APP_ID>
   });
</script>
This step enables Chargebee Growth to identify users, sync subscription data, and direct them to the appropriate offer within Growth solution.
Initialize the Growth solution
Once the Chargebee Growth instance is created, you need to initialize the offer rendering solution by calling the init() function and passing user-specific details such as customer ID and email address to identify the logged-in user or customer.
To initialize the solution:
Add the following snippet, replacing the placeholders with actual user data:
(function () {
   const cbretention = new ChargebeeRetention({
       api_key: kav8jMaojO
   });

   cbretention.init({
       customer_id: "5634354", // Customer ID within the integrated billing site
       user: {
           email: "jdoe@fantasyworld.com", // Your end user's email address
           roles: ["engineer", "admin"], // End user's roles
       },
   });
})();
Your Chargebee Growth instance is now initialized and is ready to process user interactions. If you are using Growth solution alone, this step has you covered.
Set up cancel flows along with offer flows
To use Growth solution along with Chargebee Retention, and to address churn and automate successful retention campaigns, you need to initialize the cancel flows as well and additionally embed the cancel button on your web page. If you have embedded the Chargebee Retention.js snippet on your site or app already, you can proceed to configure a cancel button within your Growth solution to enable a seamless cancellation experience.
To set up cancel flows:
-
Apply the
id="bb-cancel"selector to the button or link users will click to initiate cancellation. For example:<button id="bb-cancel" href="">Cancel Subscription</button>. -
Chargebee Growth will automatically detect this button and direct users to their personalized cancel experience.
If the JavaScript cannot process the request, the button will default to the href URL assigned in the link.
The above implementation steps are all you need to get started and they typically take only a few minutes to complete. Please reach out to us if you have any questions.
See also
Was this article helpful?