Installation Guide
Once you've configured pricing tables, in-app offers, or cancel pages, and their associated Plays in Chargebee Growth, you must integrate Chargebee Growth with your website or application to enable them to be displayed to your customers.
Integration typically involves:
- Chargebee.js (frontend): A one-time installation that you can reuse across features. Once added, you can enable Pricing Tables, In-app Offers, Cancel Pages, and other Chargebee-hosted experiences—without reinstalling Chargebee.js—as you expand to additional Chargebee features.
- Chargebee APIs (backend): Use when you need session-aware selection, secure customer context, or a fully custom UI.
| Feature | Use Case | Integration Types |
|---|---|---|
| Pricing Table | Display a specific Chargebee-hosted pricing table for anonymous users or new customers | Chargebee.js (low code) |
| Display a Chargebee-hosted pricing table selected by you for existing subscribers | Chargebee.js (low code) + API | |
| Use Plays to display a Chargebee-hosted pricing table offer dynamically for your existing subscribers | Chargebee.js (low code) + API | |
| In-app Offers | Use Plays to display Chargebee-hosted in-app offers to existing customers | Chargebee.js (low code) |
| Use Plays to display in-app offers with fully customized UX to existing customers | Chargebee APIs | |
| Cancel Pages | Use Plays to display full-page Chargebee-hosted cancel pages | Chargebee.js (low code) |
In the next sections, we'll elaborate on the use cases summarized in the table above.
Pricing Tables
Chargebee Pricing Tables help you launch Chargebee-hosted pricing pages that stay up-to-date with your latest product and pricing configuration. You can launch a pricing table for new customers using a low-code Chargebee.js integration. To select pricing tables based on a logged-in customer's context, use the Chargebee REST API to create pricing table sessions and embed them in your application—with or without Chargebee.js.
Display specific pricing tables for anonymous users or new customers
You can embed a specific pricing table in your website or application using Chargebee.js. This is the simplest, low-code approach for displaying a pricing table on your website or application.
See the Pricing Table Quickstart to do this.
Display specific pricing tables selected by you for existing subscribers
If you want to select the pricing table to be displayed based on the customer's session, you must select the pricing table using Chargebee APIs and use Chargebee.js to render it on your application.
See this tutorial to display specific pricing tables based on user sessions.
Display dynamic pricing tables for existing customers using Plays
For existing customers, you can also let Chargebee select the pricing table to be displayed based on customer context. You can do this by configuring pricing table plays. Plays help you setup targeting and deploy price experiments.
Follow this tutorial to render pricing tables using Chargebee Growth plays.
In-app offers
In-app offers are incentives such as discounts, trial extensions, or upgrades that can be displayed to your subscribers to help boost revenue growth.
Display Chargebee-hosted in-app offers using Plays
The simplest solution is to show pre-built Chargebee-hosted in-app offers to your customers. This low-code solution lets you customize the offer experience in Chargebee Growth. Offers are shown automatically to users when trigger conditions are met. Offer views and dismissals by users are tracked automatically.
See the In-App Offers integration guide to set this up.
Display in-app offers with fully customized UX
For complete control over offer delivery, use the Chargebee Offers REST APIs:
- Personalized Offers API: Pass customer details such as name, role, and subscription ID to get matching offer payloads that contain the content to display and the actions to take to fulfill the offer. Use these to render the offer with your own custom-built UI.
- Offer Fulfillment API: When a customer accepts an offer, use this API to trigger fulfillment workflows such as creating a Checkout page or fetching a URL to redirect your customer to, depending on the processing type configured for the offer in Chargebee Growth.
- Offer Events API: Enable offer analytics and reporting in Chargebee Growth by notifying Chargebee Growth when your customers view or dismiss offers.
Install the Chargebee client library for the appropriate language in your development environment to use these APIs.
Cancel pages
Cancel pages let you launch a Chargebee-hosted cancellation experience from your app's cancellation entry point. Depending on how you want to initiate the flow, you can use a low-code frontend integration or an API-first backend integration.
Launch Chargebee-hosted cancel pages using Chargebee.js
Use Chargebee.js to launch cancel pages directly from your website or application with minimal code. This is the simplest setup and the fastest way to go live. Once Chargebee.js is installed, new cancel plays work automatically after publishing with no additional implementation.
Follow the Cancel Page Quickstart to set this up.
Launch Chargebee-hosted cancel pages using APIs
Use Chargebee REST APIs to create a pre-cancel hosted page from your backend when you want backend-controlled launch flows (for example, controlling routing, and how the hosted flow is launched). Chargebee hosts the cancel UX while you control entry and routing from your app.
Follow this API guide to help set this up.
Appendix
In-app offers legacy integration
In-app offers legacy integration (Retention.js)
⚠️ Deprecated
This section provides the steps to integrate Retention.js, the older version of the Growth Solutions JS SDK. However, note that Retention.js is deprecated and does not receive any new updates. You should migrate to one of the above-mentioned Chargebee.js integrations as soon as possible.
Embed Chargebee Growth in your site or application
To ensure that Chargebee Growth is initialized correctly, you must embed a JavaScript snippet within your website or application such that it is automatically initialised on page load. Next, you need to create a new Growth instance by passing the application ID of your Chargebee Growth application.
To embed the script on your application or site:
- Identify a common location in your application where the snippet will load on every relevant page. We recommend embedding the java script snippet and making it available at a common location with your application to automatically initialize the Chargebee Growth instance.
- If you have a single-page application, such as a React app, you can include our js in the index.html file. Doing so will automatically include the js code on all the pages.
- If you have a multi-page application, you must include the js code on all the pages to load the js.
- Retrieve the Application ID for your Growth instance:
- Log in to your Chargebee Growth site.
- Extract the App ID from the browser URL.
For example, if the URL is
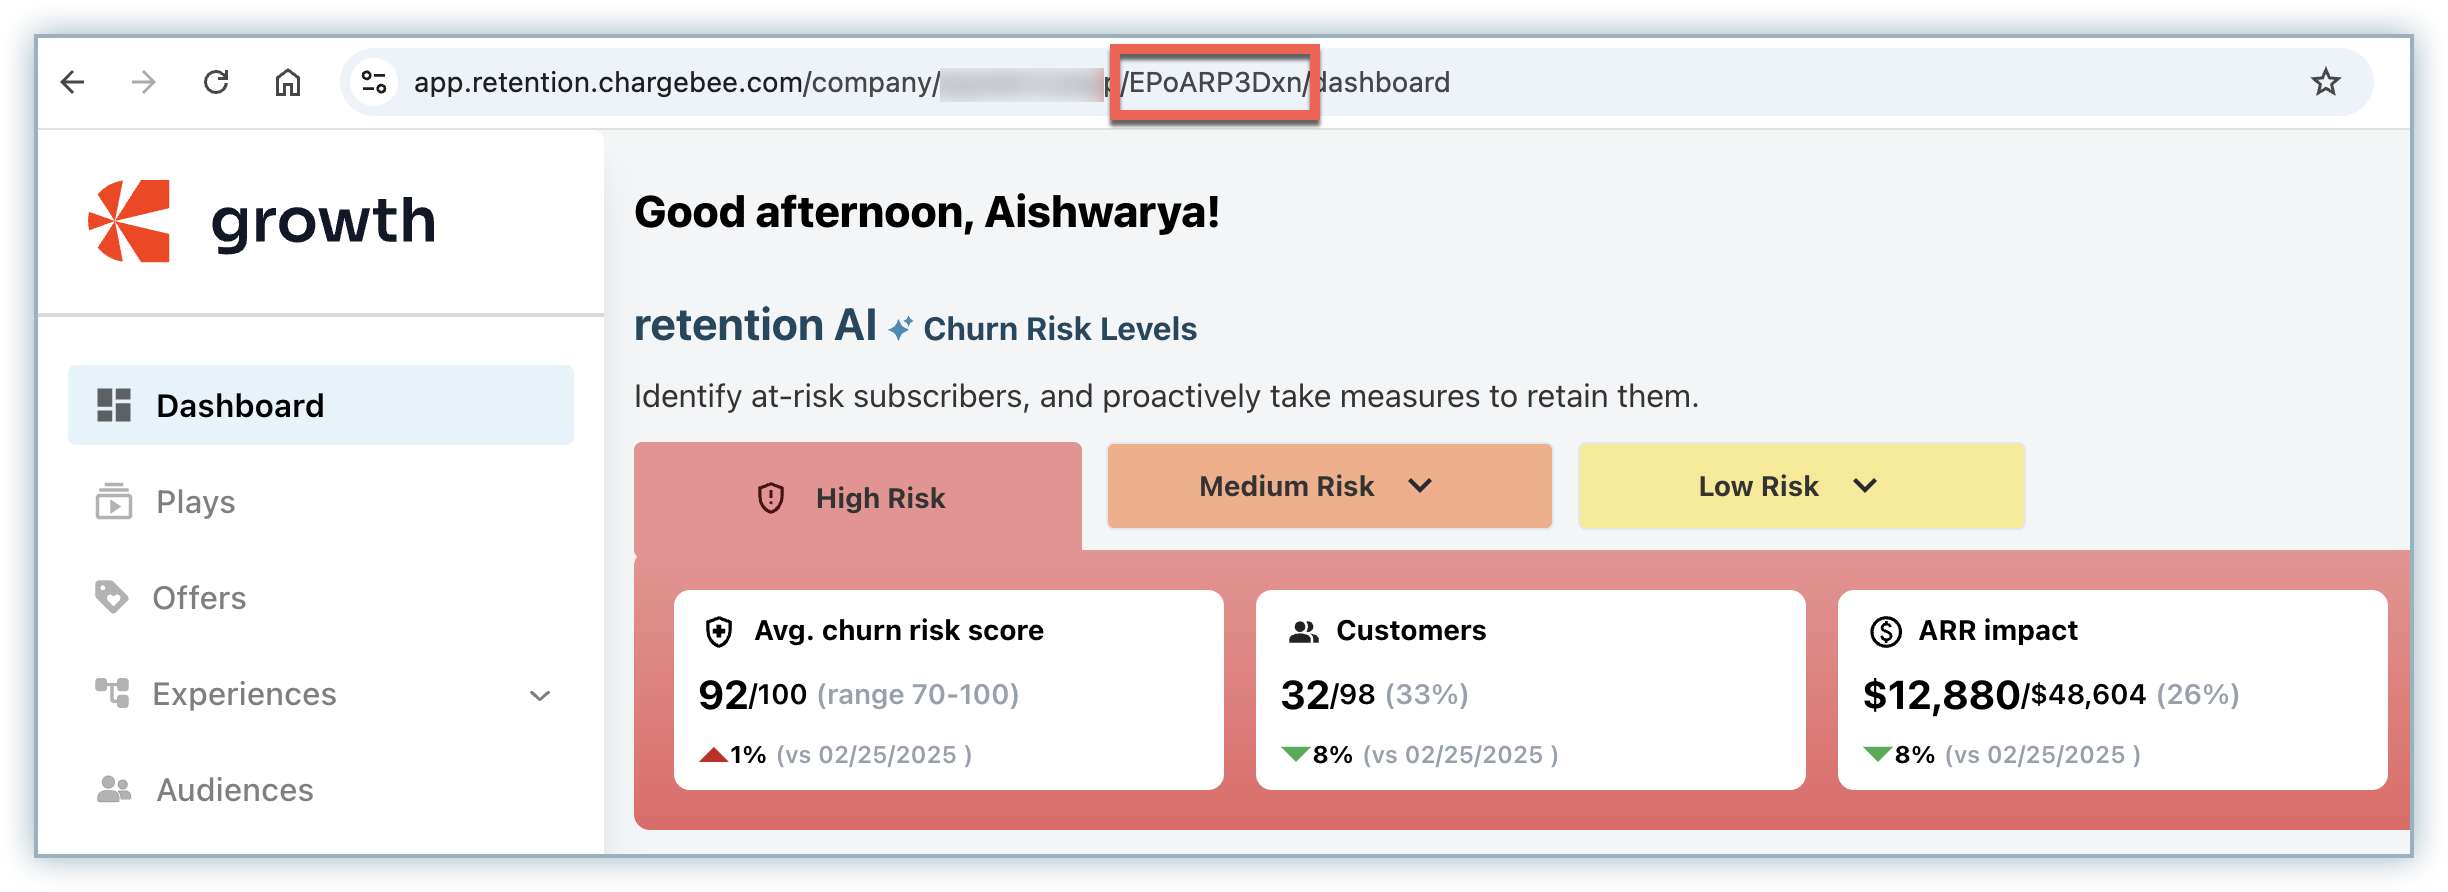
https://app.chargebee.com/retention/kav8jMaojO, thenkav8jMaojOis the App ID.
- Add the following snippet to your site, replacing YOUR_APP_ID with the extracted App ID:
<script>
   (function ())
      const cbretention = new ChargebeeRetention({
      api_key: <YOUR_APP_ID>
   });
</script>
This step enables Chargebee Growth to identify users, sync subscription data, and direct them to the appropriate offer within Growth solution.
Initialize the Growth solution
Once the Chargebee Growth instance is created, you need to initialize the offer rendering solution by calling the init() function and passing user-specific details such as customer ID and email address to identify the logged-in user or customer.
To initialize the solution:
Add the following snippet, replacing the placeholders with actual user data:
(function () {
   const cbretention = new ChargebeeRetention({
       api_key: kav8jMaojO
   });

   cbretention.init({
       customer_id: "5634354", // Customer ID within the integrated billing site
       user: {
           email: "jdoe@fantasyworld.com", // Your end user's email address
           roles: ["engineer", "admin"], // End user's roles
       },
   });
})();
Your Chargebee Growth instance is now initialized and is ready to process user interactions. If you are using Growth solution alone, this step has you covered.
Set up cancel flows along with offer flows
To use Growth solution along with Chargebee Retention, and to address churn and automate successful retention campaigns, you need to initialize the cancel flows as well and additionally embed the cancel button on your web page. If you have embedded the Chargebee Retention.js snippet on your site or app already, you can proceed to configure a cancel button within your Growth solution to enable a seamless cancellation experience.
To set up cancel flows:
-
Apply the
id="bb-cancel"selector to the button or link users will click to initiate cancellation. For example:<button id="bb-cancel" href="">Cancel Subscription</button>. -
Chargebee Growth will automatically detect this button and direct users to their personalized cancel experience.
If the JavaScript cannot process the request, the button will default to the href URL assigned in the link.
The above implementation steps are all you need to get started and they typically take only a few minutes to complete. Please reach out to us if you have any questions.
See also
Cancel pages legacy integration
Cancel pages legacy integration (Brightback.js)
Important Note
This section describes how to integrate Brightback.js, the earlier version of the Chargebee Retention JS SDK.
- If you already use Chargebee Billing: We recommend migrating your Brightback.js integration to Chargebee.js Cancel Page, for a unified and future-ready integration.
- If you don't use Chargebee Billing yet: You can continue with Brightback.js without interruption. We'll provide a clear migration path to Chargebee.js and notify you when it's available.
Steps to set up Brightback.js
- Embed the Brightback.js snippet on the page where your customer clicks cancel (e.g., account settings/management).
- Add custom data fields to enrich customer records, create audiences, and personalize content in Chargebee Retention. See Chargebee Brightback suggested data fields.
- Link the code to your cancel or downgrade button.
Note:
Steps 1 and 3 are enough to get immediate benefits from Chargebee Retention. However, step 2 provides a richer, more personalized experience for your customers. Pro tip: Scroll to the bottom of this article for a "bare minimum" installation.
Email Chargebee Brightback.js installation instructions to your developer here.
Test Brightback.js locally
For security reasons, Chargebee Retention's server does not respond to a cancel initiation (precancel) request from localhost. To test from your local machine during development, temporarily map a domain to your localhost or use a tunnel service like ngrok or localtunnel. Use the network tab in your browser's developer tools to diagnose issues.
Example
127.0.0.1 localhost example.local
1. Embed the Brightback.js snippet in your site or app
Installation for the Chargebee Brightback.js snippet varies for regular web apps and Single Page Apps. For Single Page App instructions, scroll to the bottom of this article. If your customers can have multiple subscriptions requiring a few possible cancel options, follow the Single Page App instructions.
Regular web apps
To add Chargebee Retention to your cancellation flow, start with this minimal code to paste in the <head> section, just before the </body> tag on the page where your Cancel button is located. See the snippet in action here: Chargebee Retention Snippet Example.
<a id="bb-cancel" href="/fallback">Cancel</a>
<script type="text/javascript" src="https://app.retention.chargebee.com/js/current/brightback.js"></script>
<script type="text/javascript">
  if (window.Brightback) {
    window.Brightback.handleData({
    app_id: 'RETENTION_APP_ID',
    email: 'UNIQUE_USER_EMAIL,
    save_return_url: '',
    cancel_confirmation_url: '',
    account: {
      internal_id: 'UNIQUE_USER_ID'
    }
  });
  }
</script>
Replace the APP_ID with your company's unique ID, which you can request from your CSM, and populate the email (optional) of the user and internal_id of your customer's account.
The minimum fields required to generate a Chargebee Retention cancel experience without a billing provider enrichment are as follows:
if (window.Brightback) {
    window.Brightback.handleData({
     app_id: 'RETENTION_APP_ID',
     email: 'UNIQUE_USER_EMAIL',
     account: {
      internal_id: 'UNIQUE_USER_ID'
     }
    });
  }
What are the standard Chargebee Brightback.js snippet fields?
Standard data fields in Chargebee Retention:
| Field | Description |
|---|---|
| app_id | This is your unique app ID that tells Chargebee Retention which company's cancellation experience to display. You can get your app ID from your dedicated CSM. |
| subscription_id | The subscription ID of your customer in your billing system (Stripe, Recurly, Chargebee). |
| first_name | Customer's first name. |
| last_name | Customer's last name. |
| full_name | Customer's full name. |
| Customer's email. | |
| save_return_url | Return URL from Chargebee Retention for customers who click Never mind. |
| cancel_confirmation_url | Return URL from Chargebee Retention for customers who cancel. |
Note:
If you want a richer cancellation experience for your customers, customize your code with desired customer attributes.
2. Add personalized data to capture and send to Chargebee Retention
Adding customer attributes allows for:
- Customizing customer data for a personalized experience.
- Grouping customers based on custom attributes (like big spenders vs. freebies).
- Reporting for deeper insights.
To add more data for personalization, simply edit your JS snippet to include those fields. Once you define which fields you'd like to include with your Customer Success Manager, we're happy to generate your unique code so all you need to do is copy and paste just before the closing </body> tag on the page where your Cancel button is located.
An example snippet looks like this:
<!-- Chargebee Retention | the customer retention company -->
<!-- * = required fields -->
<script type="text/javascript" src="https://app.retention.chargebee.com/js/current/brightback.js"></script>
<script type="text/javascript">
  if (window.Brightback) {
    window.Brightback.handleData({
      app_id: 'APP_ID',                      //*
      subscription_id: 'SUB_ID'              //*
      first_name: 'John',
      last_name: 'Doe',
      email: 'jdoe@example.com',
      save_return_url: 'https://site.com/account/',
      cancel_confirmation_url: 'https://site.com/account/cancel',
      account: {
        company_name: 'Acme Products',
        company_domain: 'acme.com',
        internal_id: 'USER_ID',              //*
        billing_id: 'cus_FfV4CXxpR8nAqB',
        plan: 'enterprise',
	plan_term: 'monthly',
        value: 1000.00,
        created_at: 1312182000
      }
    });
  }
</script>
Optional Fields
Here's a list of some built-in, but optional, standard fields we recommend pulling in under the account section of the code:
When your customer started the subscription. Helpful to capture for creating customer age profiles.
| Field | Description |
| company_name | Your canceling customer's company name. Recommended for reporting for B2B businesses. |
| company_domain | Your canceling customer's website. Recommended for reporting for B2B businesses. |
| plan_term | The renewal period for the subscription (yearly, weekly, monthly). |
| created_at | When your customer started the subscription. Helpful to capture for creating customer age profiles. |
| internal_id | Your customer's unique ID. |
| plan | Used for reports or creating personalized offers by plan type, like enterprise or freemium. |
| billing_id | Customer billing ID. |
| value | Revenue number to be displayed in reports or used for audiences. |
Adding Custom Data
Each business is unique, and that means providing unique cancellation experiences based on how it's important for your business to categorize your customers. Learn more about which custom data fields Chargebee Retention suggests to tailor Chargebee Retention for your subscription business.
Once fields are defined, add to your Chargebee Retention JS snippet in a custom section below the default fields.
Example snippet of a complete code snippet below:
<!-- Chargebee Retention | the customer retention company -->
<!-- * = required fields -->
<script type="text/javascript" src="https://app.retention.chargebee.com/js/current/brightback.js"></script>
<script type="text/javascript">
  if (window.Brightback) {
    window.Brightback.handleData({
      app_id: 'APP_ID',
      first_name: 'John',
      last_name: 'Doe',
      full_name: 'John Doe',
      email: 'jdoe@example.com',
      save_return_url: 'https://site.com/account/',
      cancel_confirmation_url: 'https://site.com/account/cancel',
      account: {
        company_name: 'Acme Products',
        company_domain: 'acme.com',
        internal_id: '1234AZ55',
        billing_id: 'cus_FfV4CXxpR8nAqB',
        plan: 'enterprise',
	plan_term: 'monthly',
        value: 1000.00,
        created_at: 1312182000
      },
      custom: {
        activity: {
          emails: 42085,  //For loss aversion card
          templates: 86,  //Values populated via a back-end
          contacts: 102546
        }
      }
    });
  }
</script>
You'll find the custom attributes defined in the custom section of the code:
custom: {
   activity: {
     emails: 42085,                  //   For loss aversion card
     templates: 86,                  //   values populated via a back-end
     contacts: 102546                //
   }
 }
3. Link the code to your cancel button
To redirect your canceling customer through the Chargebee Retention cancellation experience, identify the button or link that is clicked by the user when initiating a cancelation request. Give the cancel link or button in your app an ID of bb-cancel. Chargebee Retention will replace the href if we are able to render an exit experience based on the provided data following the call to window.Brightback.handleData. You should maintain a fallback that conforms with your existing workflow in the case that Chargebee Retention is unable to render an exit experience.
Example
<a id="bb-cancel" href="/fallback">Cancel</a>
Making precancel requests without using Chargebee Brightback.js
Chargebee Brightback.js is not required to create cancel sessions in Chargebee Brightback. You may also make your own POST request to our precancel endpoint. As long as you include the required properties and a valid app_id, our server will respond with a unique session URL for your user. More information can be found here.
Installing the code into a Single-Page App
If your app is characterized by asynchronous JS and few page refreshes, you may need to integrate Chargebee Retention in a slightly different way. See the snippet in action here: Chargebee Retention Single Page App JSFiddle
Include the Chargebee Retention JS library file in your HTML head element or however your framework (React, Angular, etc.) sets up the environment. This will bind a few functions to window.Brightback.
When your application is in a state where the user is presented with the cancelation option, you should set up the Chargebee Retention state, so that you can send the user immediately to the Chargebee Retention experience when the user clicks. This is achieved by sending the user's data to the window.Brightback.handleDataPromise method.
For example
const p = window.Brightback.handleDataPromise({
      app_id: 'APP_ID',
      first_name: 'John',
      last_name: 'Doe',
      full_name: 'John Doe',
      email: 'jdoe@example.com',
      save_return_url: 'https://site.com/account/',
      cancel_confirmation_url: 'https://site.com/account/cancel',
      account: {
        company_name: 'Acme Products',
        company_domain: 'acme.com',
        internal_id: '1234AZ55',
        billing_id: 'cus_FfV4CXxpR8nAqB',
        plan: 'enterprise',
	plan_term: 'monthly',
       value: 1000.00,
       created_at: 1312182000
  },
  custom: {
    activity: {
      emails : 42054,
      templates : 81,
      contacts : 102444
    }
  }
});
This will return a promise to a JSON validation object. The purpose of this step is to verify Chargebee Retention has sufficient data to render a cancelation experience prior to attempting to redirect the user. A successful validation object will look like this example:
{
  "valid": true,
  "url": "https://app.retention.chargebee.com/examplecompany/cancel/LAz4pVyRkq"
}
When the user clicks on your cancel button, you could redirect them as in the following example:
p.then((success) => {
  if (success.valid) {
    window.location.href = resp.url;
  } else {
    //use your current cancelation flow
  }
});
Example of a "bare minimum" installation
The following is an example of the data that is strictly required for the integration to function properly. While some of the personalization and loss aversion would fall back to defaults, this represents the place to start to get immediate value from an integration:
<a id="bb-cancel" href="/fallback">Cancel</a>
<script type="text/javascript" src="https://app.retention.chargebee.com/js/current/brightback.js"></script>
<script type="text/javascript">
  if (window.Brightback) {
    window.Brightback.handleData({
      app_id: 'APP_ID',
      email: 'jdoe@example.com',
      account: {
        internal_id: '1234AZ55'
      }
    });
  }
</script>
Just replace the APP_ID, and populate the email (optional) of the user and internal_id of your customer's account, and you're ready to go!
Example of a "bare minimum" installation with a supported billing system
If you are using Stripe, Recurly, or Chargebee, you'll only need to send the subscription ID of the cancel request. That will allow us to look up your user, cancel their subscription, or apply any offers if applicable.
<a id="bb-cancel" href="/fallback">Cancel</a>
<script type="text/javascript" src="https://app.retention.chargebee.com/js/current/brightback.js"></script>
<script type="text/javascript">
  if (window.Brightback) {
    window.Brightback.handleData({
      app_id: 'APP_ID',
      subscription_id: '96SL3sJRIRmi8KJWR'
    });
  }
</script>
Loading Chargebee Retention experiences in an iframe.
Wrapping the Chargebee Retention experience in an iframe is possible, but due to our security policy, you must have a vanity domain in place that matches the TLD of the referring site.
Was this article helpful?