Multi-Tenant Login
Introduction
Multi-Tenant Login allows users to access multiple sites belonging to a particular merchant. In other words, this feature allows a single user to have access to multiple sites.
Let's take the example of ACME Pvt. Ltd., a USA-based company with its headquarters in Boston. ACME has two more branches: San Diego and Philadelphia. Each branch has a separate instance of the Chargebee Receivables site.
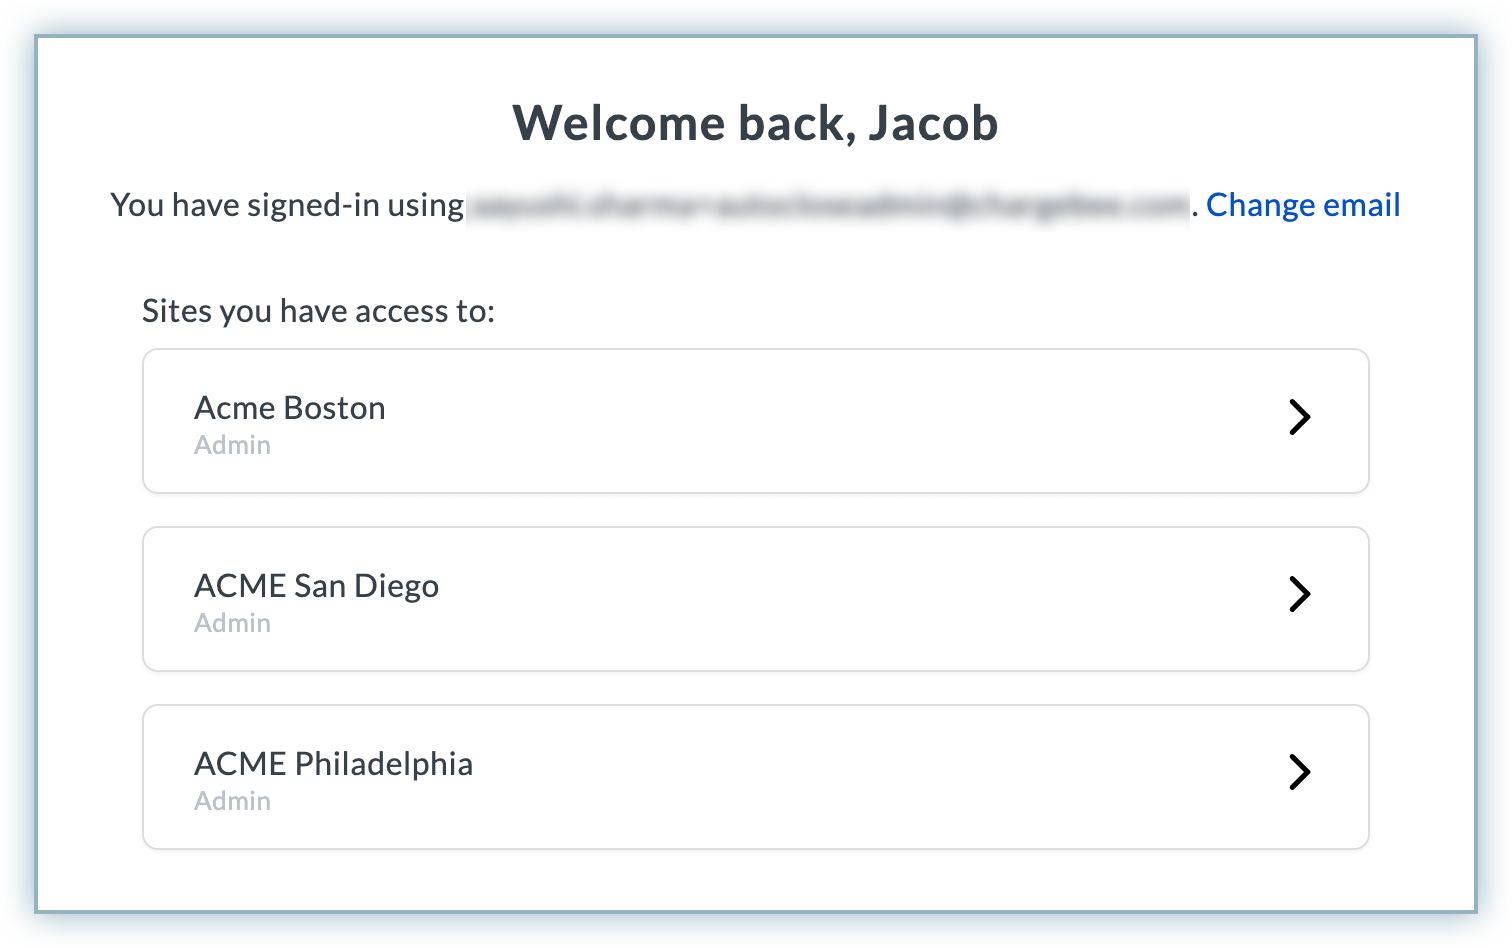
Jacob is a collector from ACME Pvt. Ltd. who manages collections from all three branches but previously had access to only the Boston Receivables account. With the Multi-Tenant Login feature, Jacob can access the San Diego and Philadelphia site instances as well.
If Jacob logs in to Chargebee Receivables with his credentials, a list of sites will be displayed. Jacob can choose to log in to and review the collections for any of those sites.
Switching Between Sites
Once you have logged in to a site, you can switch to another site using the Site Switcher in the left navigation pane.
Follow these steps:
- Click Switch next to the site name.
- Click the desired site name from the Select Your Site pop-up menu.
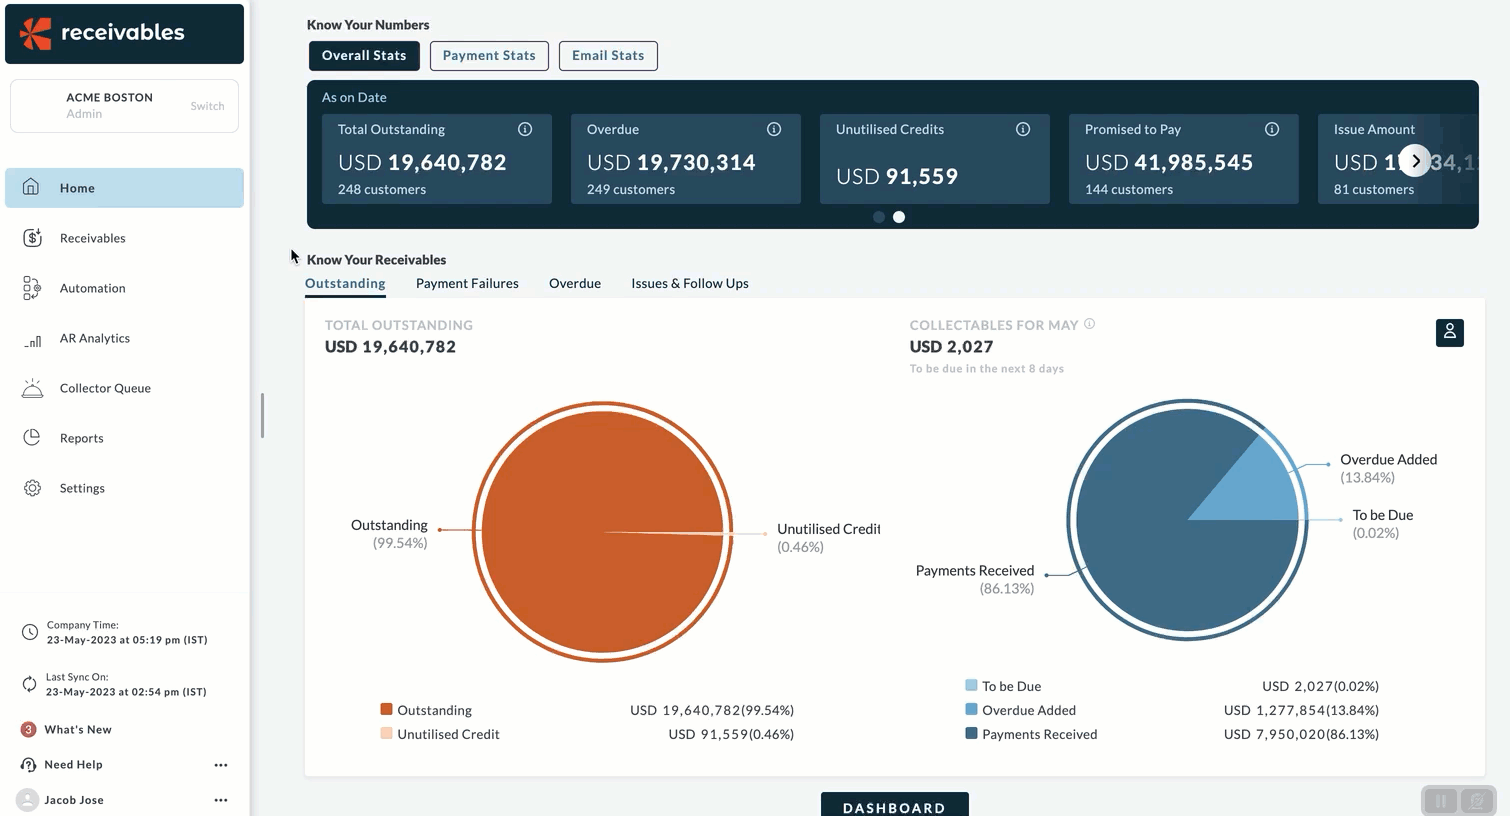
You have successfully switched to the desired site. You can now review the collections and perform any action for that particular site.
Suggestions for improvement and alignment with Microsoft/American English style:
- Use American English spellings (e.g., "log in" instead of "login" for the verb).
- Use the Oxford comma in lists.
- Use em dashes (—) for parenthetical statements, not double hyphens or en dashes.
- Use "and" instead of "&" in running text.
- Use sentence case for headings unless referring to UI elements.
- Use consistent casing for UI labels.
- Use parallel structure and punctuation in bullet and numbered lists.
- Clarify passive or wordy sentences for directness and clarity.
- Tone is generally clear and instructional, but can be more concise and direct in some places.
- No date format issues found.
- Markdown and formatting are consistent.
Was this article helpful?