Adding your Cancel Reasons
One of the first things you will need to do in Chargebee Retention is to add your cancelation reasons. It is common for customers to already have a set of cancel reasons they use internally when they start implementing Chargebee Retention. You will want to make sure you map these reasons to the correct Chargebee Retention Reason and Category, as this mapping will be important for benchmarking and reporting down the road. Start by reviewing our library content and align your reasons to ours. Once you have done so, this article will take you through the steps to physically add these reasons into Chargebee Retention and add them into a Cancel Page.
We currently provide two ways for you to add your Survey Reasons:
Which approach is better you may ask? It depends on your use case. We generally recommend that users start by mapping their existing Cancel Reasons to Chargebee Retention Reasons via the Survey Reason Library within the Experience Manager. You then can quickly edit or add a single reason to a Cancel Page via the Page Editor later on. But feel free to choose whichever approach is best for you.
Adding a Cancel Reason via the Survey Reason Library
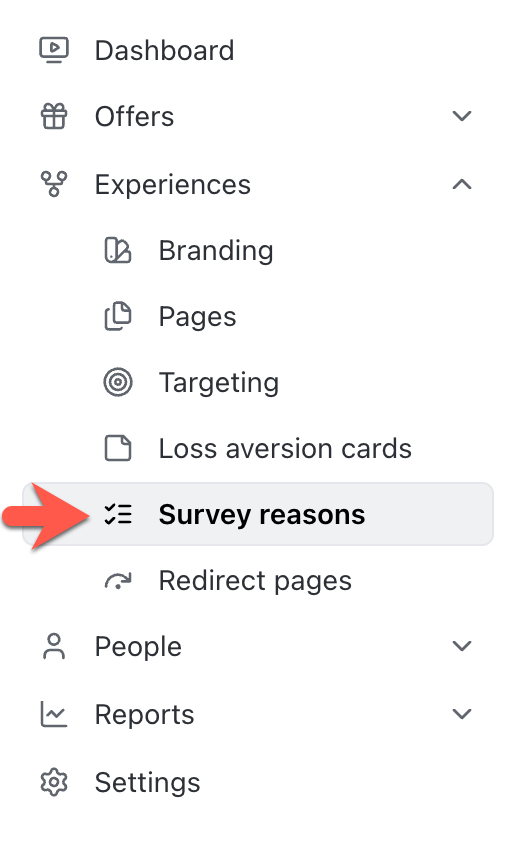
Start by navigating to your Chargebee Retention Experiences and selecting the Survey Reasons link.
You'll be presented with the "All Reasons" tab followed by a list of your active experiences. You can add and edit all of your reasons for this tab or select an individual experience to show or hide where those reasons are placed.
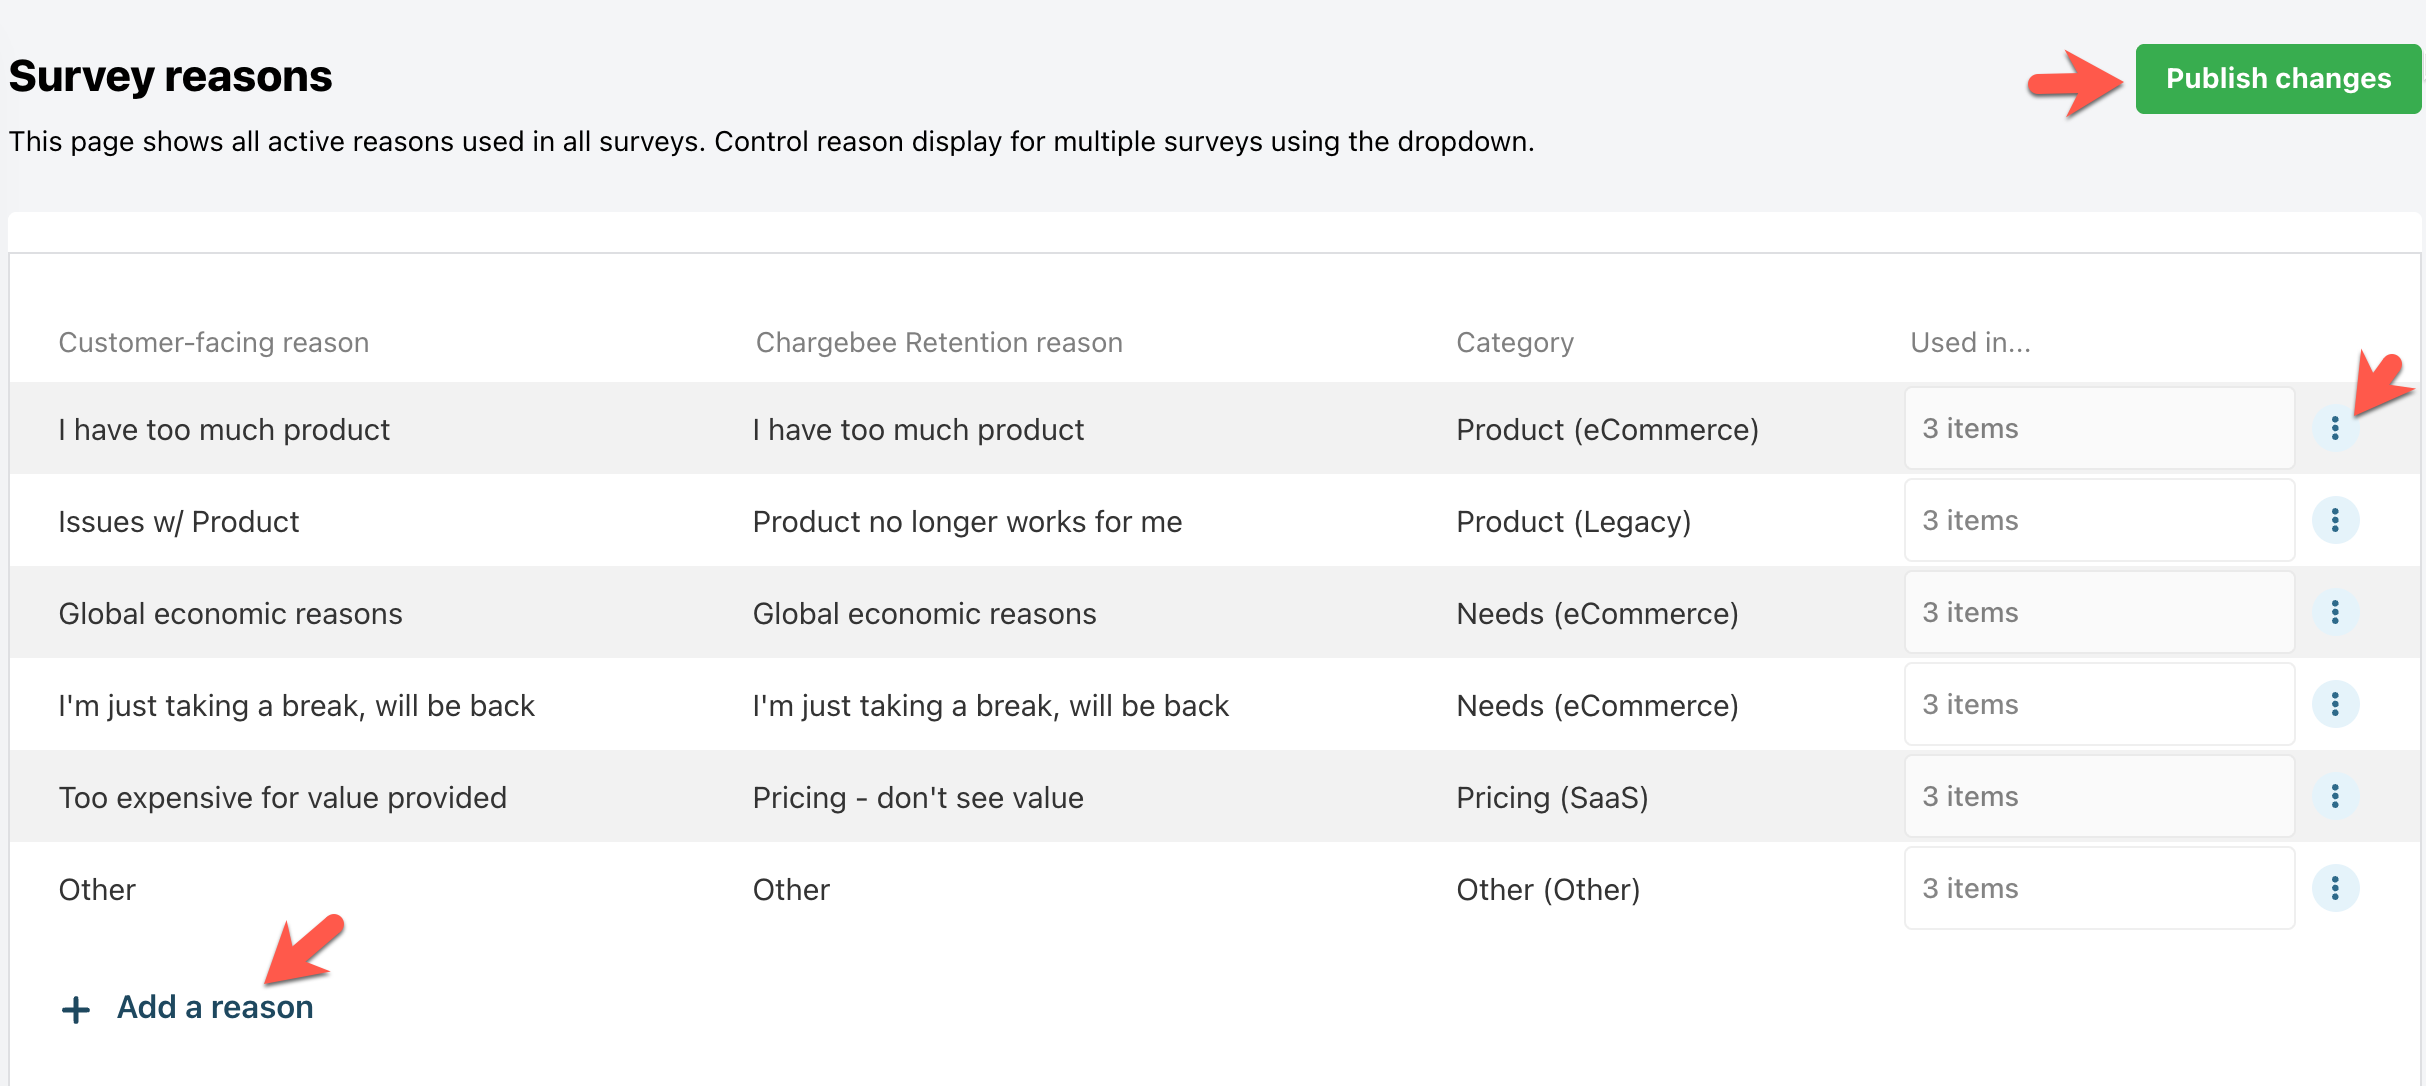
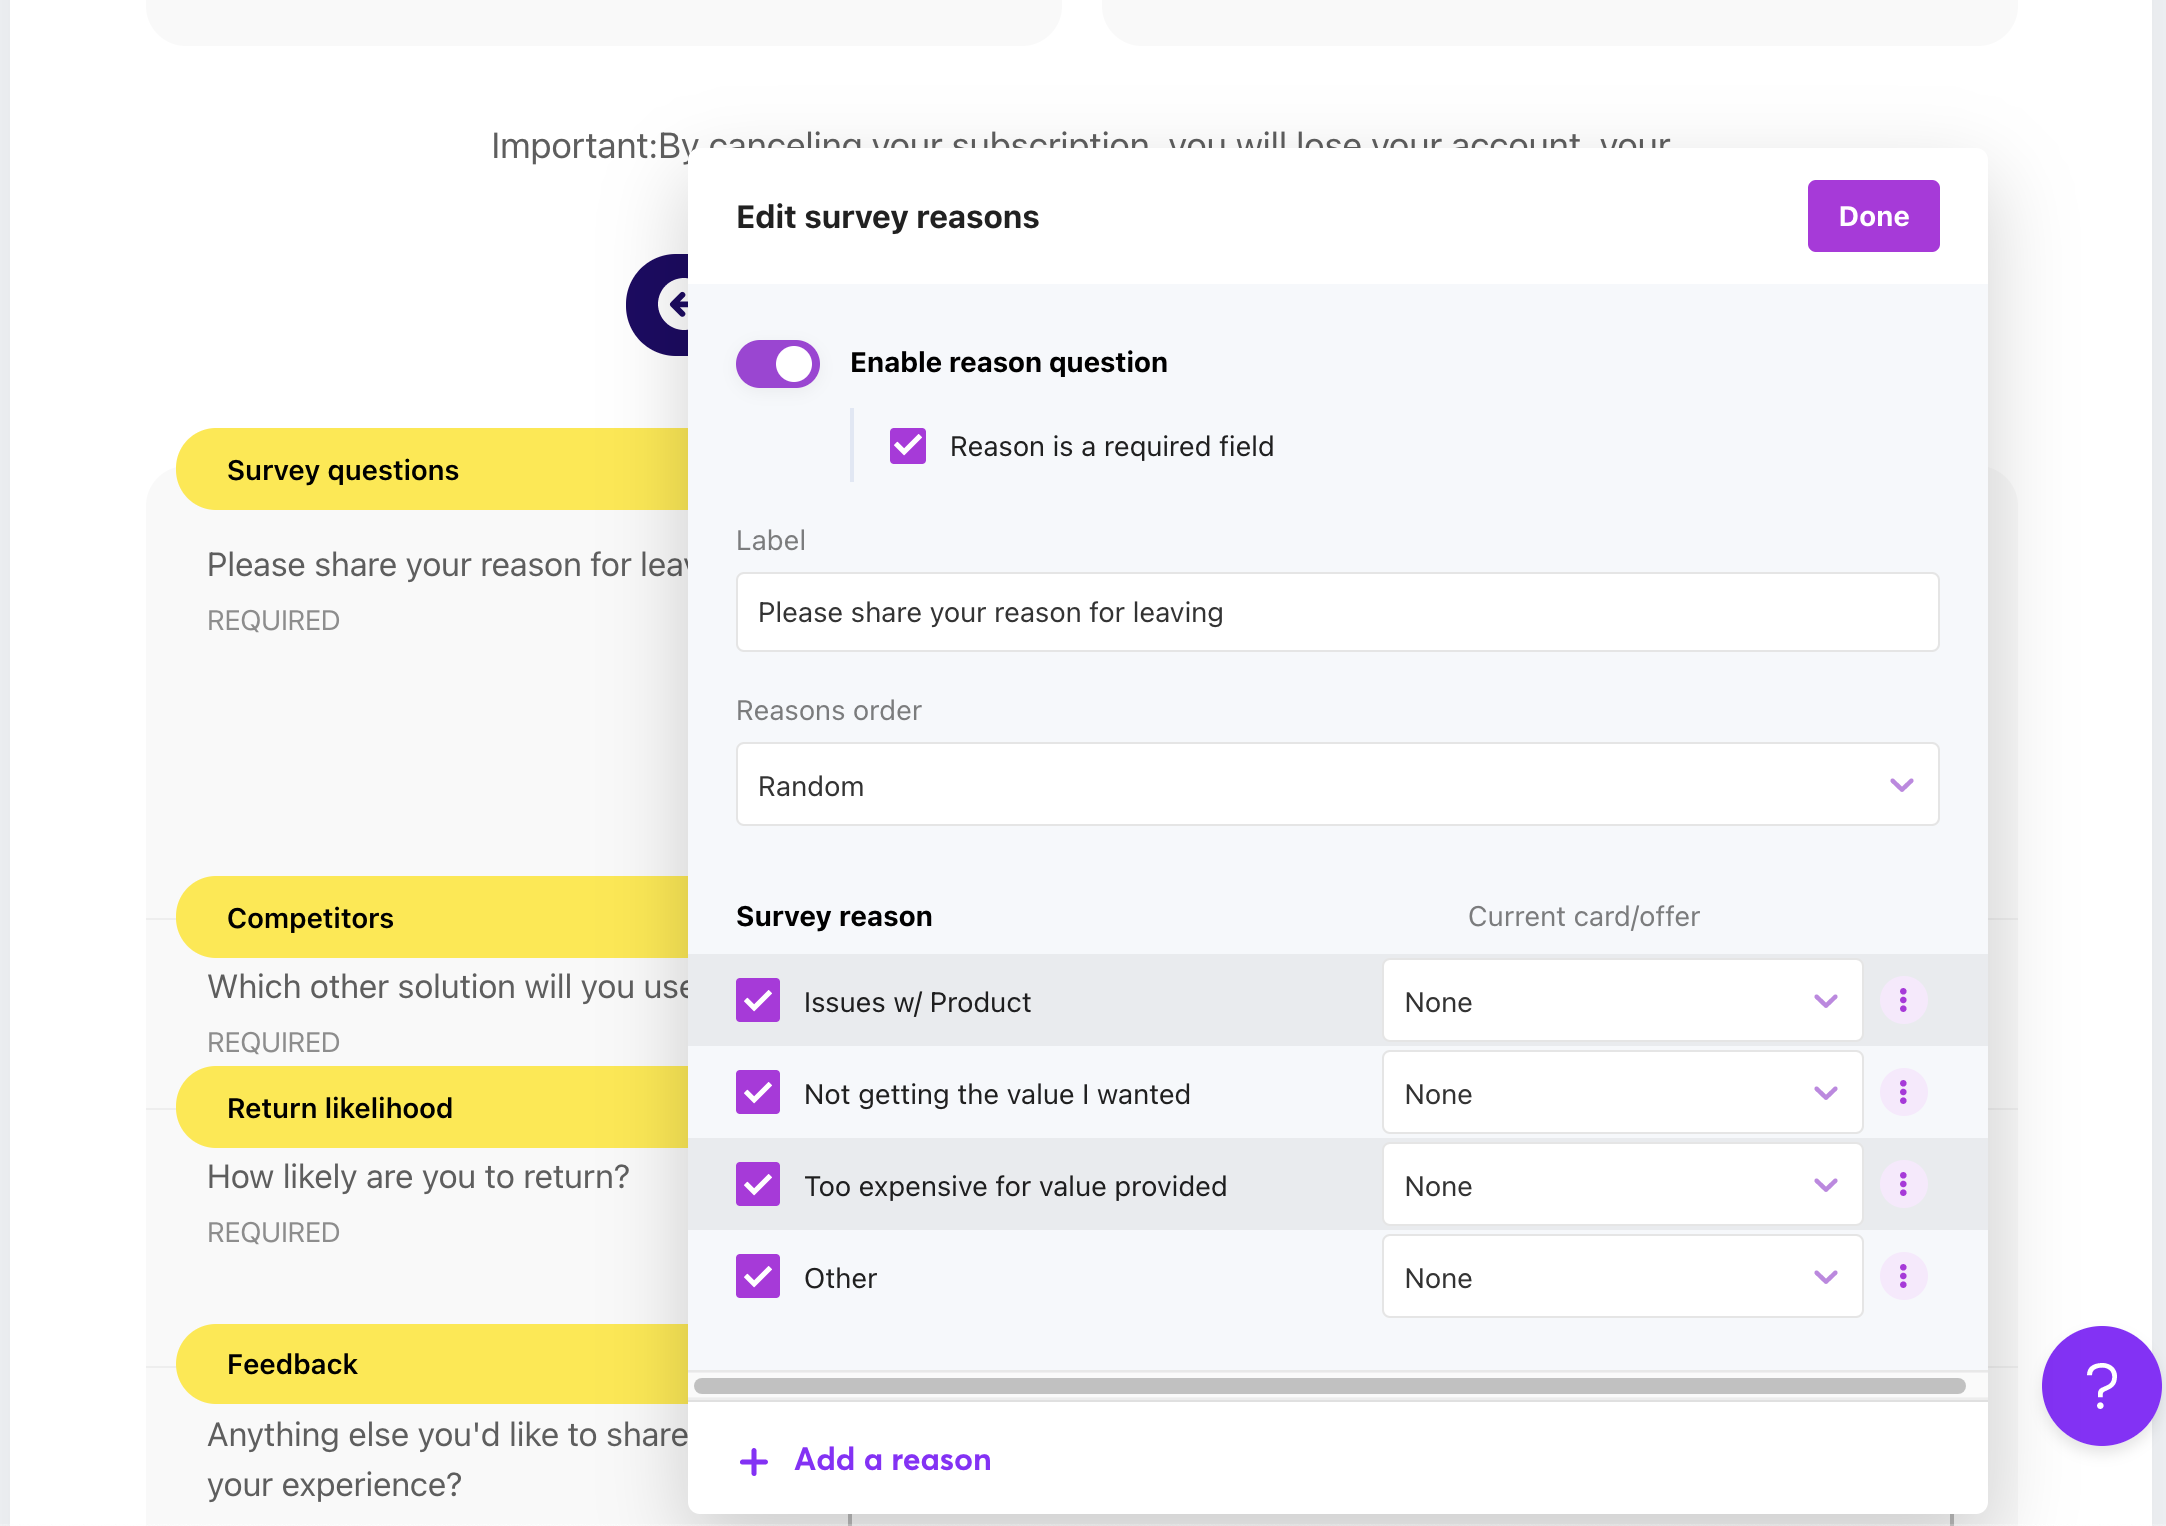
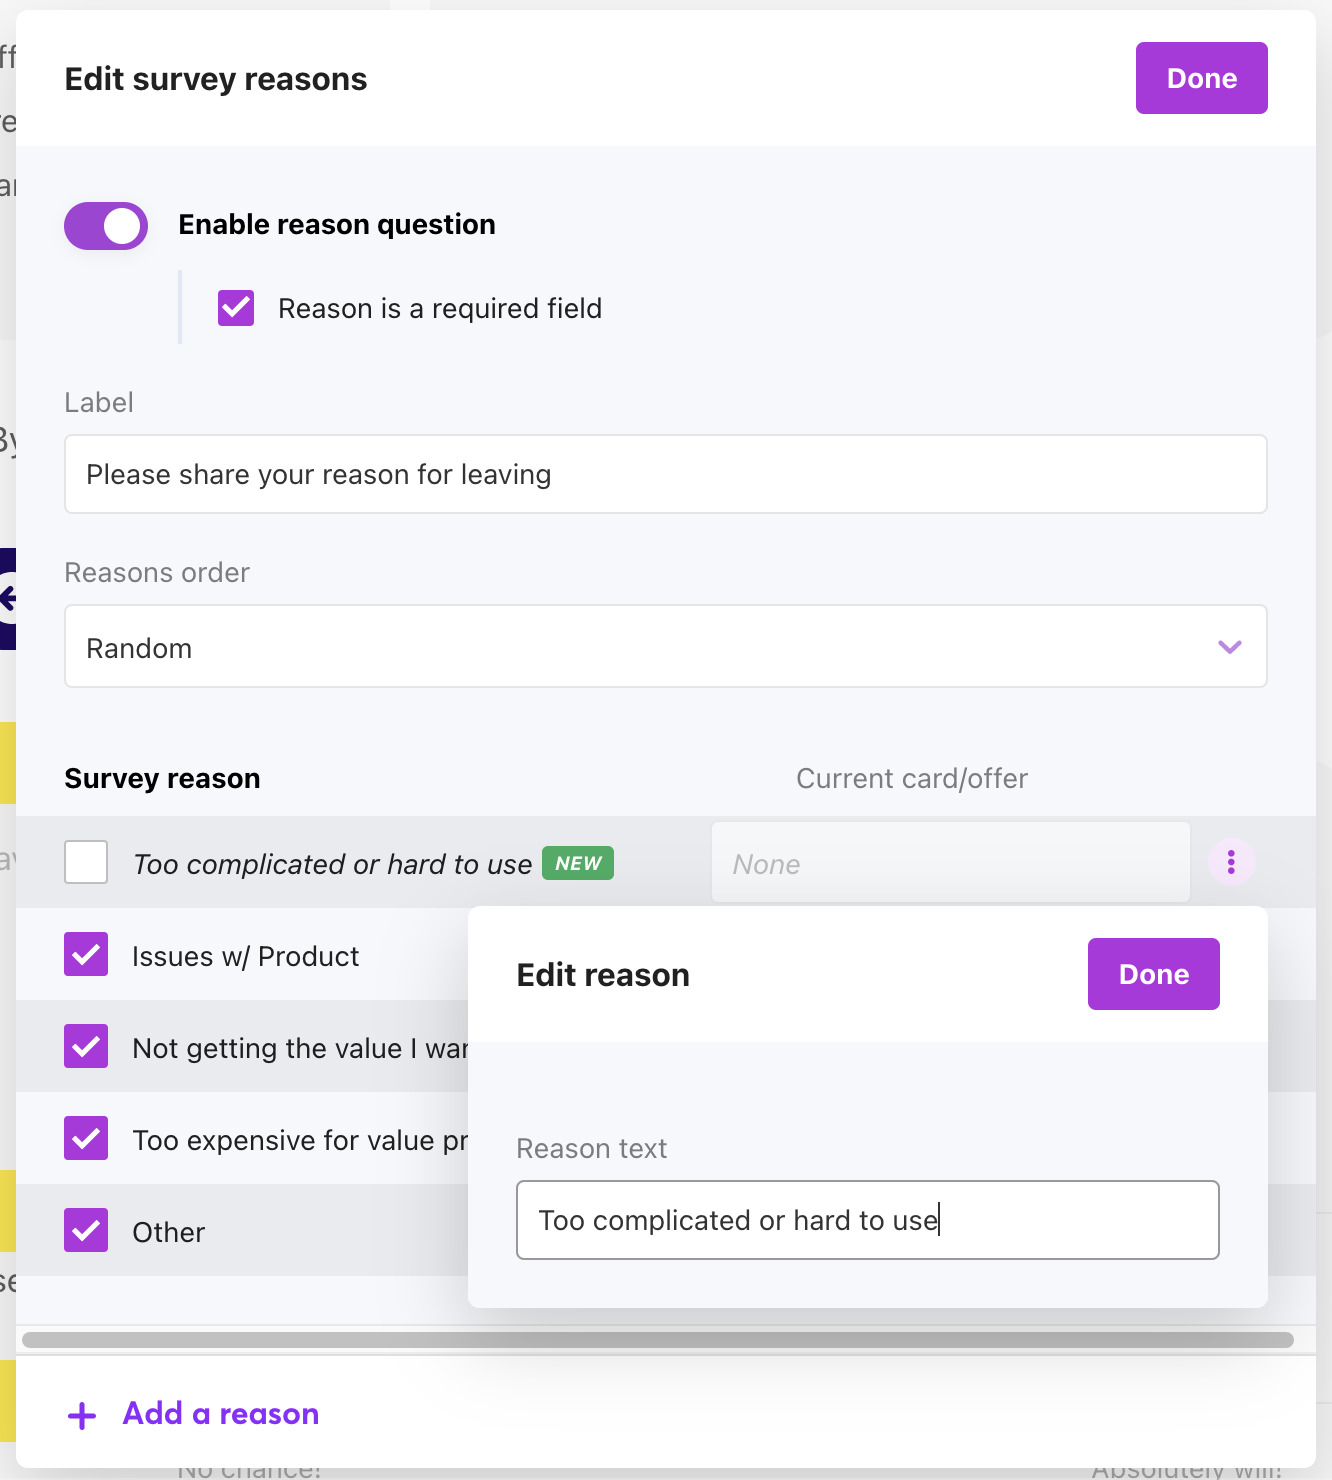
Navigate to the bottom of your list of reasons let's select Add a reason.
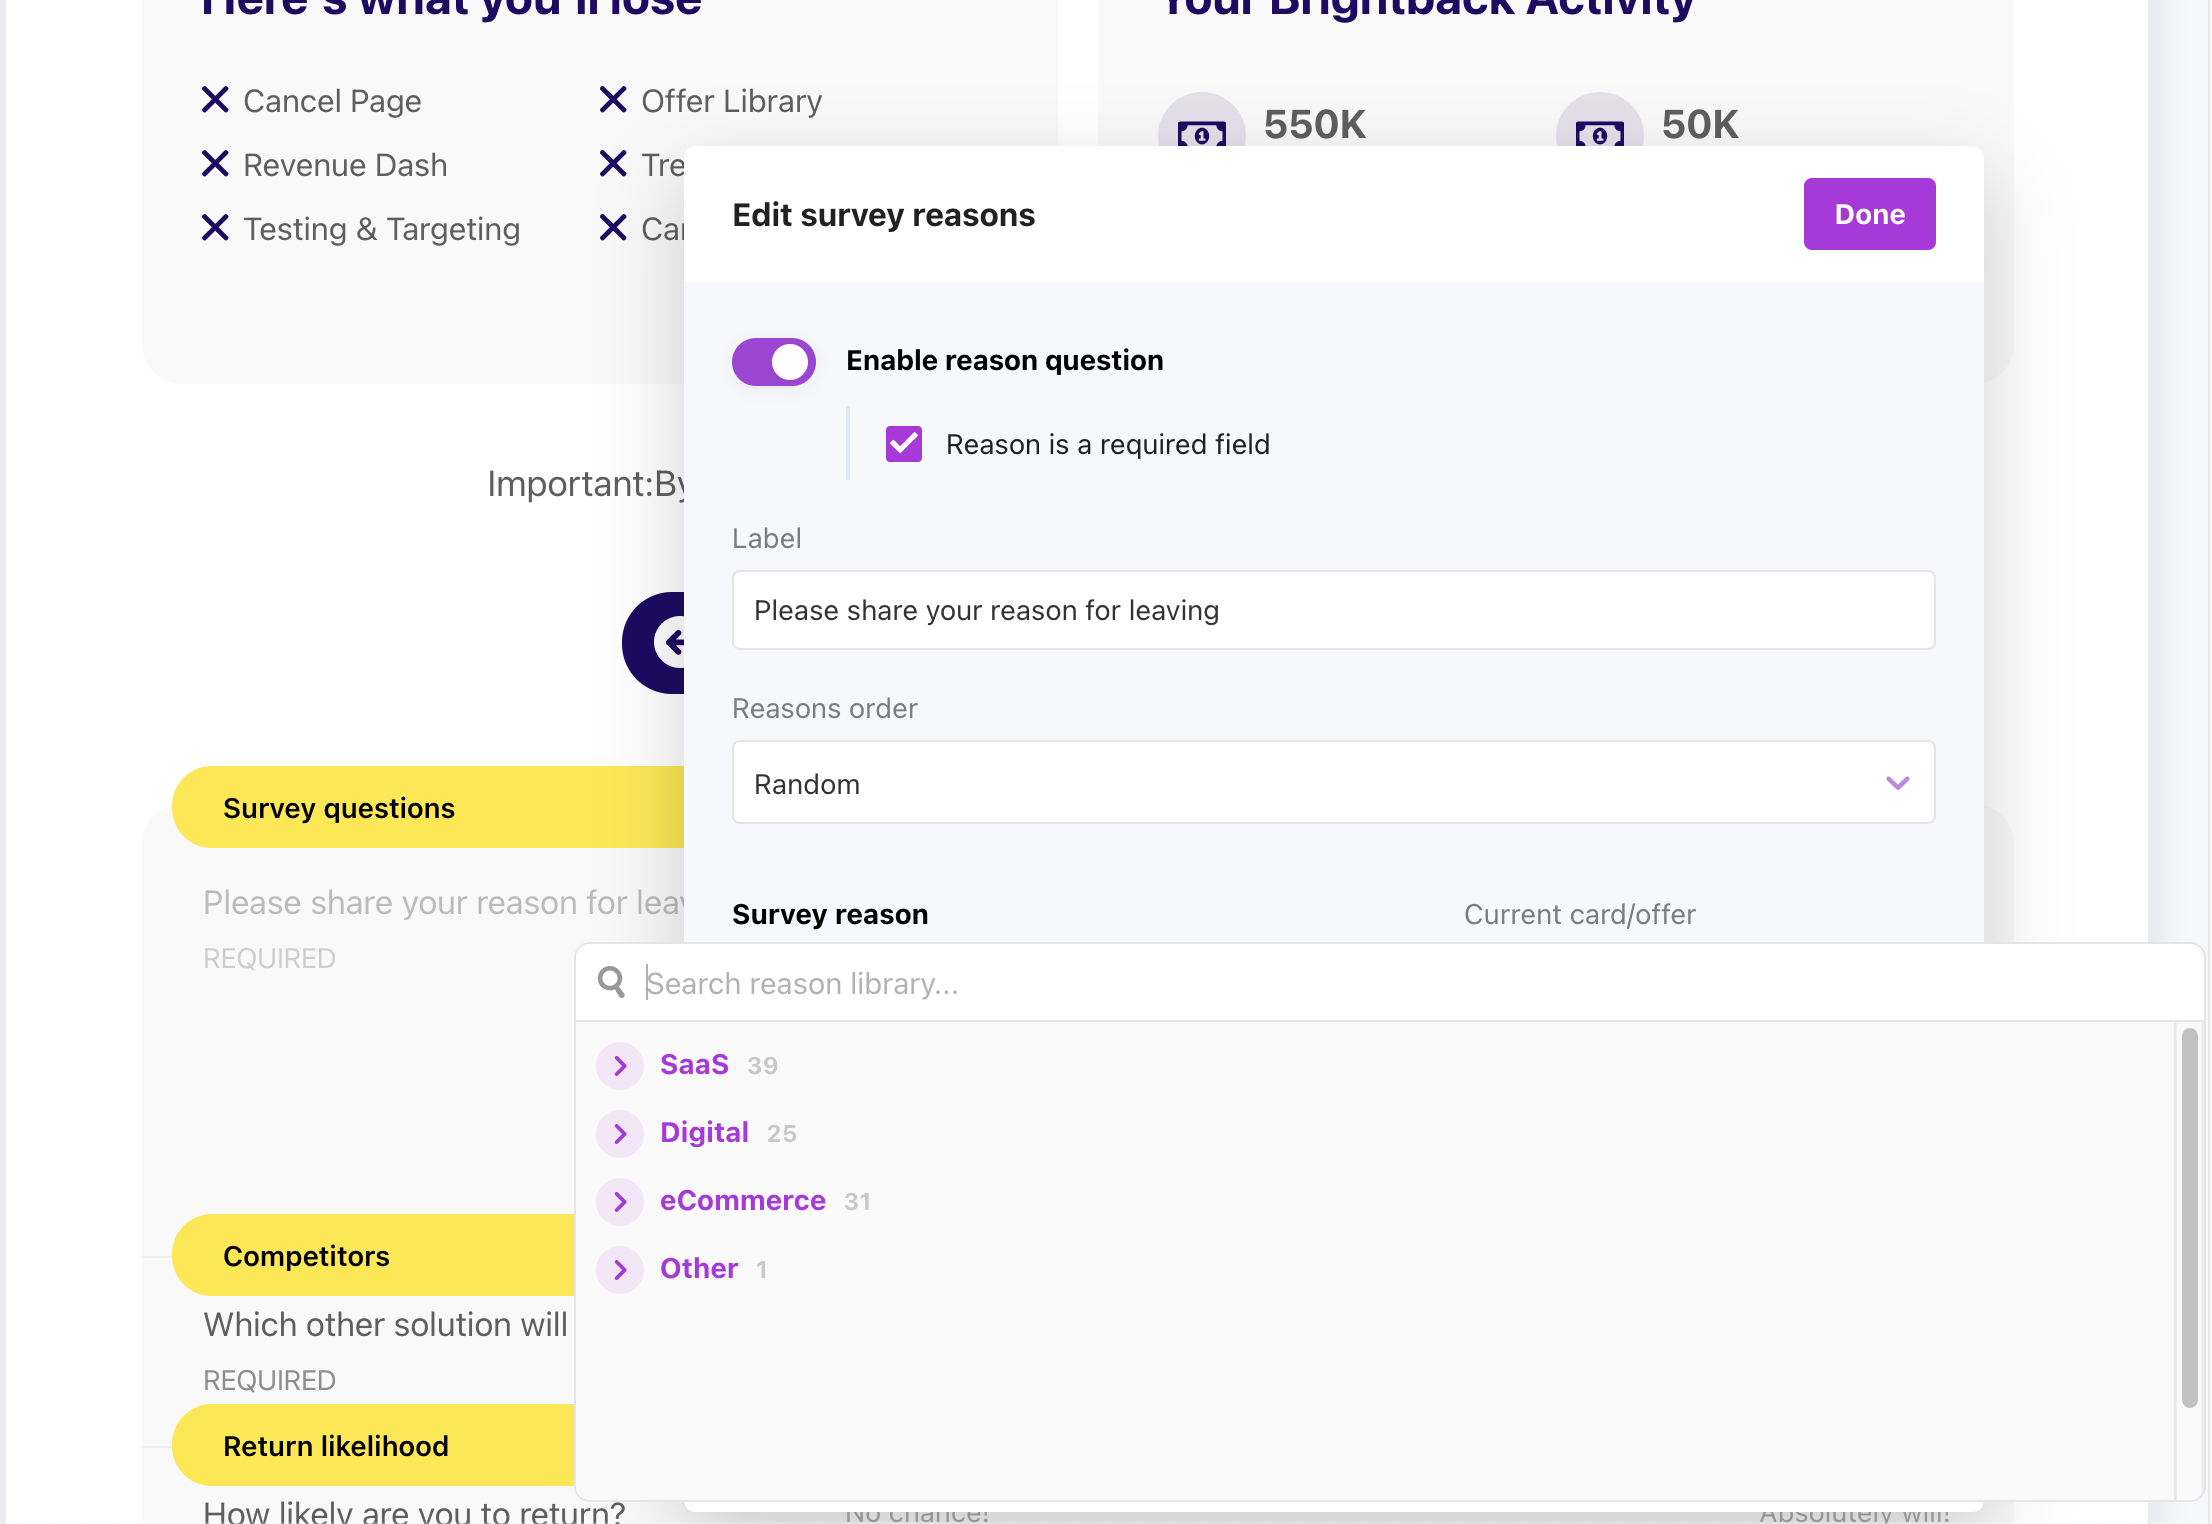
You'll be presented with a list of Business Models initially, choose the one that matches your subscription type. If you are unsure which one to select, feel free to browse the categories and reasons within each to see which seem to fit the best with your reasons.
Then select from the menu the Chargebee Retention Reason that most closely matches your reason. Once you do so, you will have a chance to edit the copy to match what you would like to display to customers.
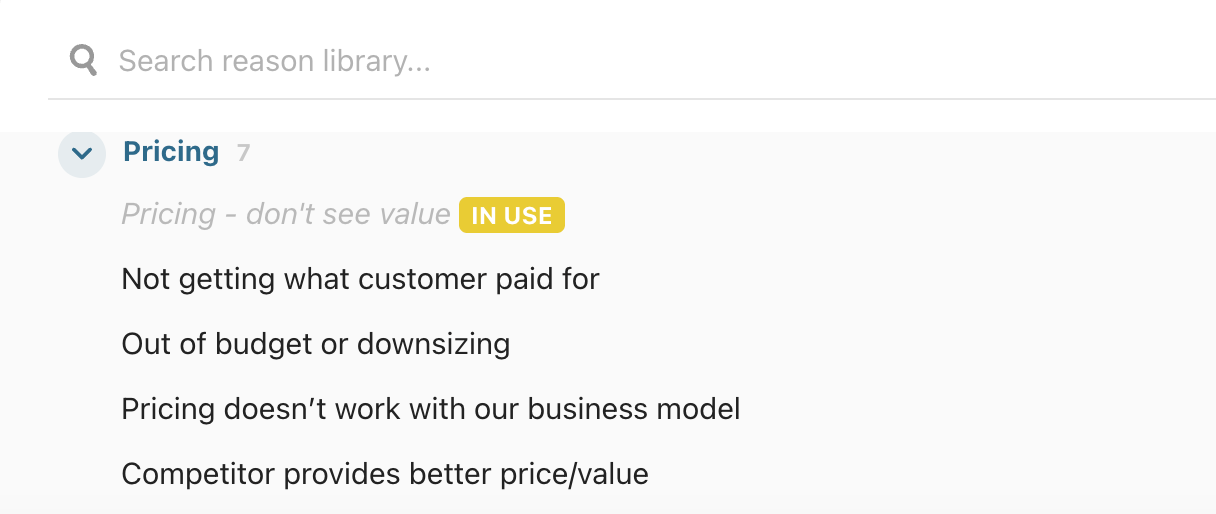
Let's click Pricing and choose a reason from the list. In this case "Not getting what customer paid for" under the SaaS Pricing category matches what we want to present, "Not getting the value I wanted."
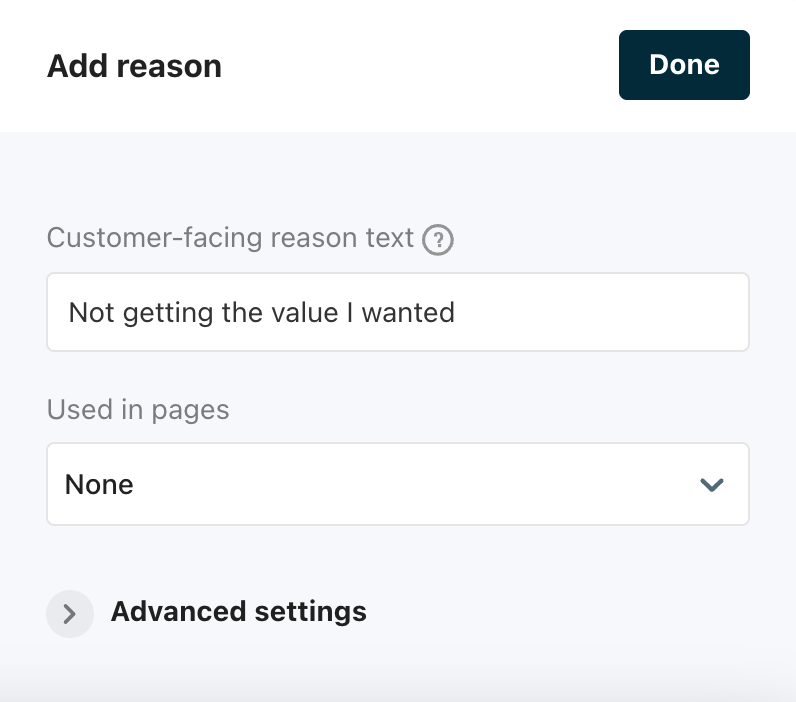
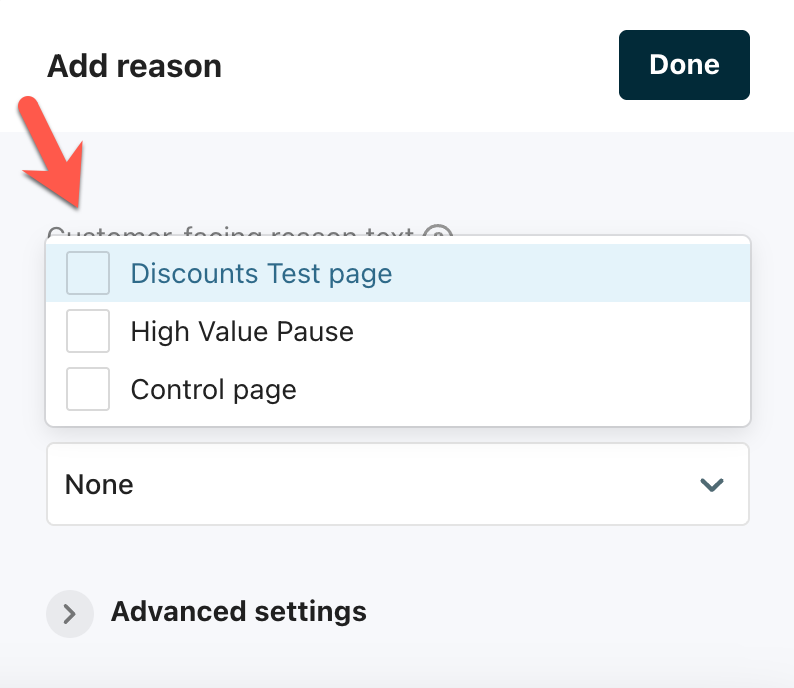
Once you edit this, you will see the reason appear in the view with a "New" icon next to it. You can also add this reason into a Cancel Page directly from within the Library here by updating the "Used in pages" dropdown.
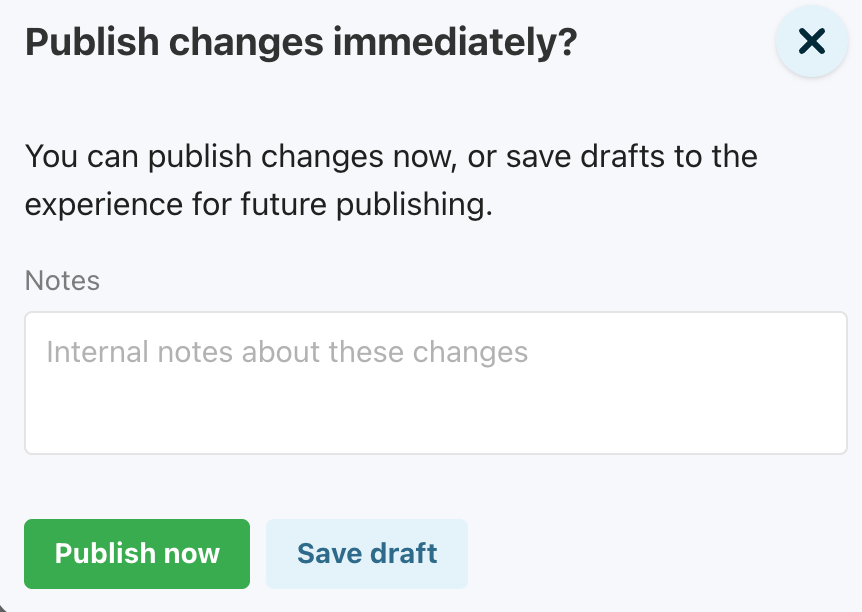
Finally, you will want to Publish changes to make sure these edits are saved and take effect in your app.
Adding a Cancel Reason via the Page Editor
The Chargebee Retention Page Editor also lets you pull in existing Survey Reasons and create new Survey Reasons from directly within the page itself.
And that's all there is to it. Adding your Cancel Reasons into Chargebee Retention should be fairly straightforward. Just be sure to make sure you select the right Chargebee Retention Category and Reason to map it to and you will be all set!
Was this article helpful?