Docschargebeedocs

HomeBillingPaymentsRevRecGrowthReveal
Support

Product Updates


  • Release Notes

Getting Started Guide


  • Getting Started Guide
    • Essentials Trial FAQ
    • Getting to know the Experience Manager
    • Chargebee Retention Category & Reasons
    • Editing Your Cancel Page
    • Edit your Cancel Page Template
    • Chargebee Retention Glossary
    • Retention Workflow Session Fees

Managing Experiences


  • Getting to know the Experience Manager

Reporting


  • Reporting Overview

Chargebee Billing Integration


  • Chargebee Billing Integration Features

Settings and Installation


  • Navigating the Chargebee Retention Settings Page

Integrations


  • Integrations Overview

Starter Churn Insights


  • Starter Churn Insights

Retention Best Practices


  • Testing in Chargebee Retention

Security


  • Chargebee Retention Security Overview
  1. Retention
  2. Managing Experiences
  3. Getting to know the Experience Manager
  4. Setting up Cancel Management at the Page Level
Proactively retain, expand, and grow revenue with Chargebee Growth - the next evolution of Chargebee Retention.Built on top of Chargebee Billing, Growth empowers you to design, experiment, and deploy monetization strategies not just at the moment of cancel but across the entire subscriber lifecycle.Go through ourdocumentationto know more.
  1. Retention
  2. Managing Experiences
  3. Getting to know the Experience Manager
  4. Setting up Cancel Management at the Page Level

Setting up Cancel Management at the Page Level

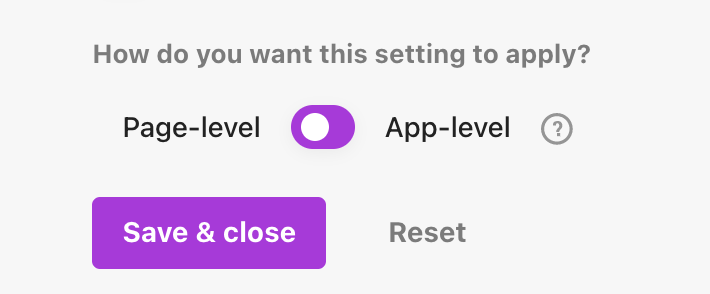
In Chargebee Retention you have the option to configure Cancel Management at the Page or App level.

image
This feature allows our Chargebee Billing, Stripe Billing and Recurly customers to process their cancels directly via the billing system API. However, many customers do not want all of their customers to be able to automatically cancel. They may want to have certain audiences go to a page that has a manual cancelation process or an email based cancelation process instead of automatically updating the subscription via the Billing system API. If this is the case, you will want to set this setting to be at the "Page-level" instead of the "app-level.

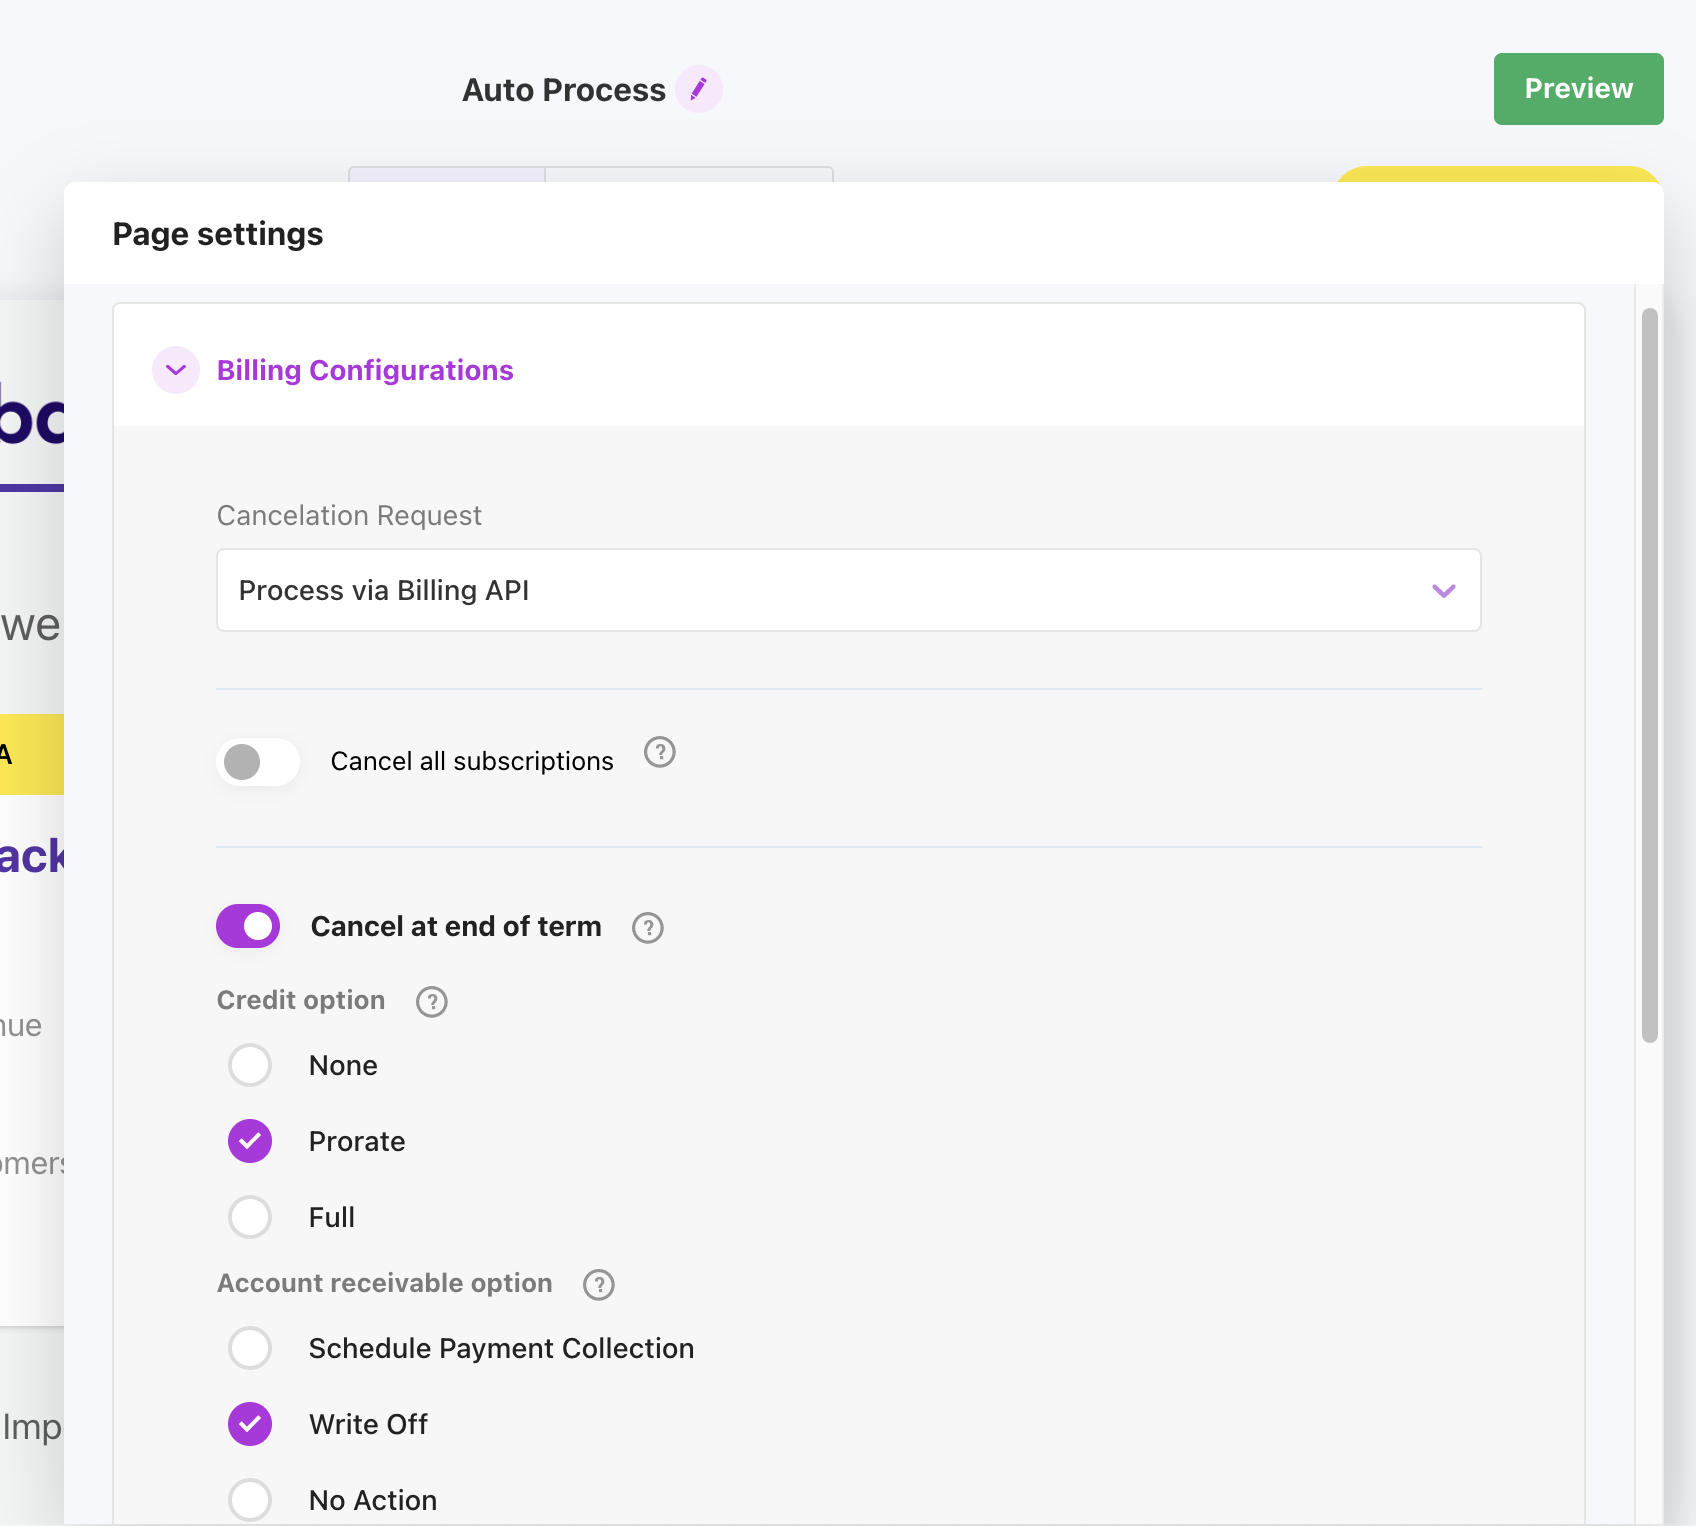
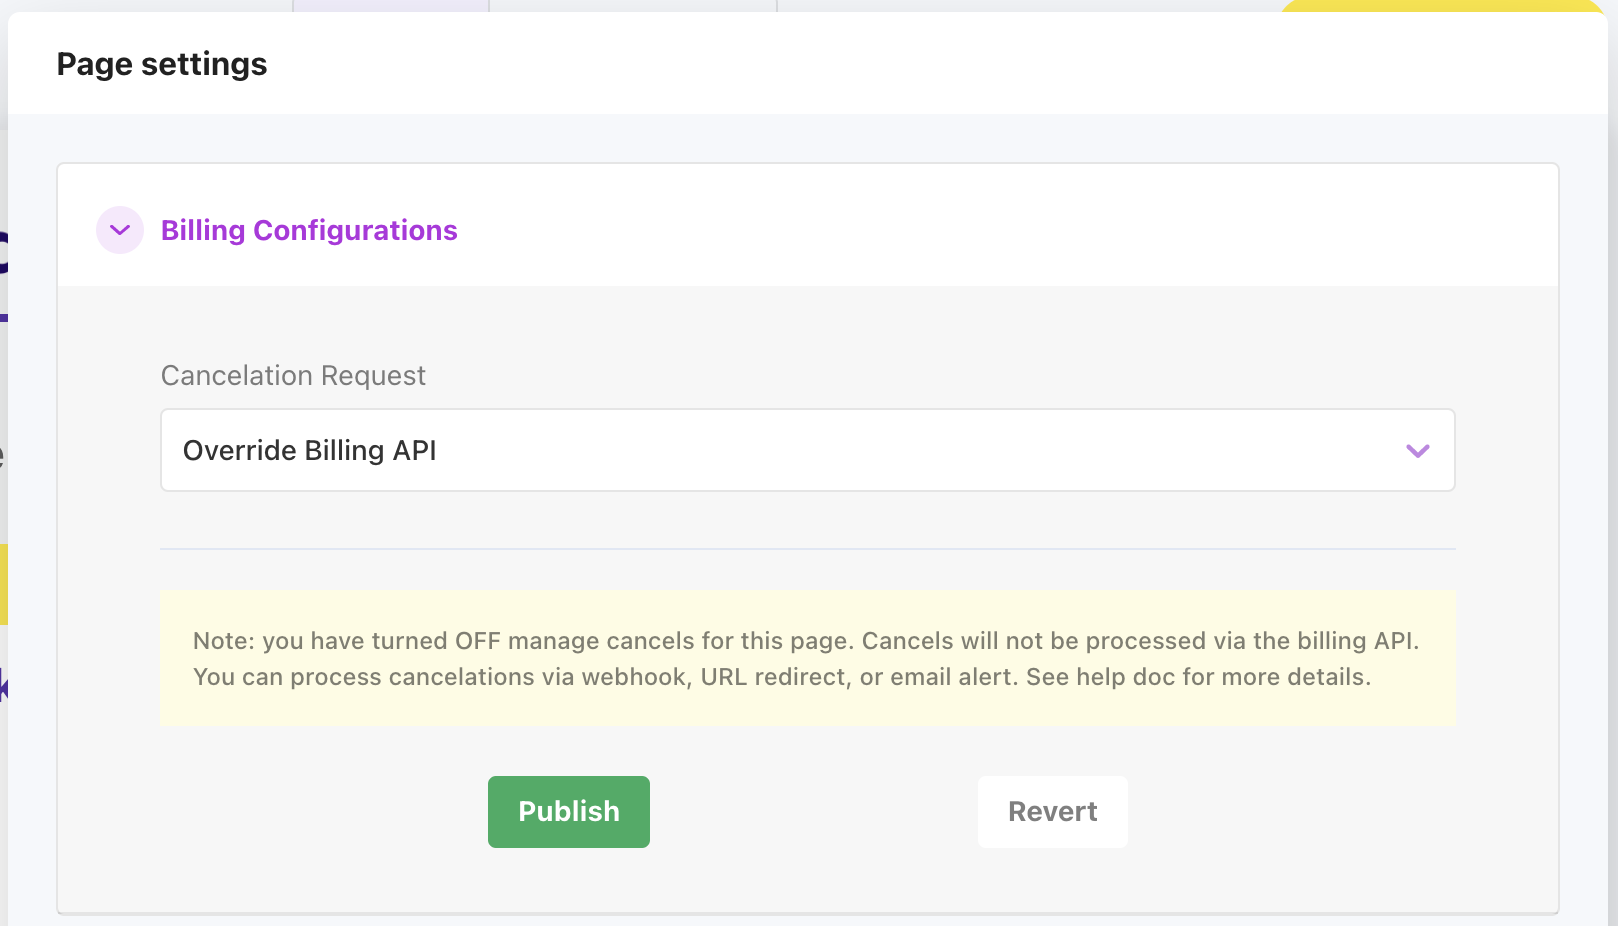
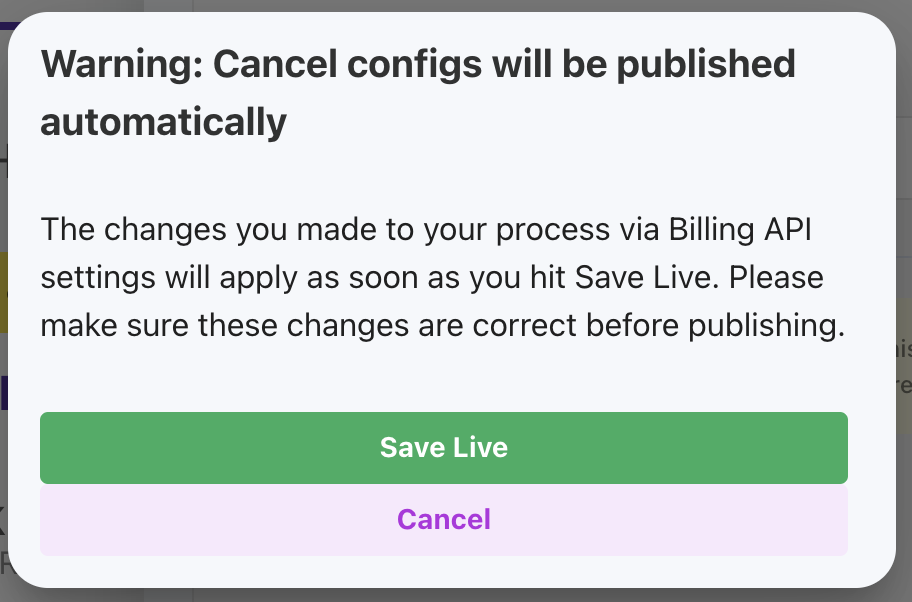
When you have saved this setting, you then can go to the Settings Tab in the Page editor to configure how that individual page will have Cancelations applied.

image
Here you will see a "Billing Configurations" option which allows you to configure how that page process the Cancelation Request. You can choose to Process via Billing API, and will be presented with all the configurations you use to have at the app level for this individual page. Or you can choose to "Override Billing API" which will disable the API for this page and fall back to whatever method of canceling the subscription you previously had (email, url redirect, or webhook).

image
These changes will be published as soon as you hit Publish, so be sure you have selected everything correctly before doing so.
image

If you have any questions or need help setting up Manage Cancels per-page, please don't hesitate to reach out.

Was this article helpful?