Report Subscription and Configurations
Overview
To effectively track the collection activities and accounts receivable data of your business, you can generate reports manually from Receivables. However, Receivables offers a report subscription service feature, allowing you to schedule recurring reports that will be automatically emailed to you and other users on your team at a particular time and frequency. It delivers updated and downloadable reports on a daily, weekly, or monthly frequency so that you always stay updated with a specific report related to your customer or financial activities in Receivables.
With report subscriptions, you can schedule a subscription for all configured or saved reports. Receivables provides multiple customization options to configure the grid reports related to your accounts receivable data and collection activities.
You can schedule a subscription by configuring and saving the following reports in Receivables:
- Receivables View
- Collection Review Report in the Customer Details page
- Collection Activity Reports
Scheduling Subscription to a Configured Report
To schedule a subscription for a configured report, follow these steps:
- Click Reports > All Configured Reports.
- Hover over the ellipsis icon next to the report you want to subscribe to.
- Click the Clock icon.
- In the Schedule Report page, configure the following details:
- Schedule Frequency: Select the subscription delivery frequency—daily, weekly, or monthly.
- Schedule Time: Select the time at which the report should be scheduled. Reports will be sent to recipients according to the timezone set in the company profile.
- Recipient: Select the subscriber and recipients of the subscription.
- Subject line: Enter the subject line of the email.
- Body: Enter the body of the email.
- Click Schedule.
The following illustration shows how to schedule a weekly configured report.
Recipients opted in to receive custom reports will get emails of the report on the specified day(s) and time you have configured. The email contains the custom report attached as an Excel/CSV file along with the text you have included in the email body.
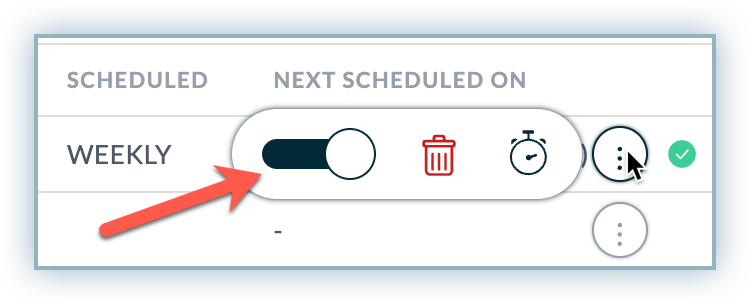
After scheduling a report, you can activate or deactivate the subscription anytime by clicking the toggle on/off button next to the report.
Manage Configured Reports
The reports are customizable and can be saved as personalized reports in Receivables. When you subscribe to a configured report, a system-generated email is sent to you based on the subscription frequency and scheduled time. You can also manage the configured reports either by updating the subscription details or deleting the reports.
Updating Report Subscription Details
Updating the report subscription details allows you to update the subscription frequency, schedule time, and text of the email. You can also use template variables.
To update the report subscription details, follow these steps:
- Click Settings > Reports > All Configured Reports.
- In the All Configured Reports page, select a report and hover over the ellipsis icon next to the report for which you want to update the subscription.
- Click the Clock icon.
- In the Schedule Report page, update the following details for this subscription:
- Schedule Frequency
- Schedule Time
- Recipients
- Email subject and body
- Click Update.
The following image displays how to update a scheduled report subscription.

Deleting a Configured Report
Note
Deleting a configured report also deletes the scheduled subscription, and recipients will no longer receive the email reports.
To delete a configured report, follow these steps:
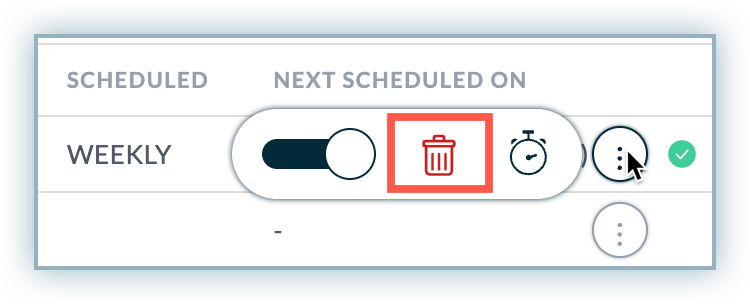
- Hover over the ellipsis icon next to the report you want to delete.
- Click the Trash icon.
The following image displays how to update a scheduled report subscription.
Deleting a Configured Report
Note
Deleting a configured report also deletes the scheduled subscription, and recipients will no longer receive the email reports.
To delete a configured report, follow these steps:
- Hover over the ellipsis icon next to the report you want to delete.
- Click the Trash icon.
Was this article helpful?