Proactively retain, expand, and grow revenue with Chargebee Growth - the next evolution of Chargebee Retention.Built on top of Chargebee Billing, Growth empowers you to design, experiment, and deploy monetization strategies not just at the moment of cancel but across the entire subscriber lifecycle.Go through ourdocumentationto know more.
Using Webhooks with Zapier
Zapier is a powerful automation tool that can be used to leverage data from Chargebee Retention events for follow up workflows, automation and analysis.
To start you'll need a Zapier account with access to the Webhooks by Zapier premium app.
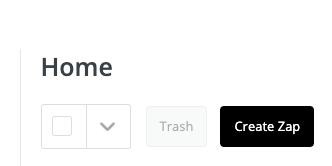
- Log in to your Zapier account and click Create Zap.
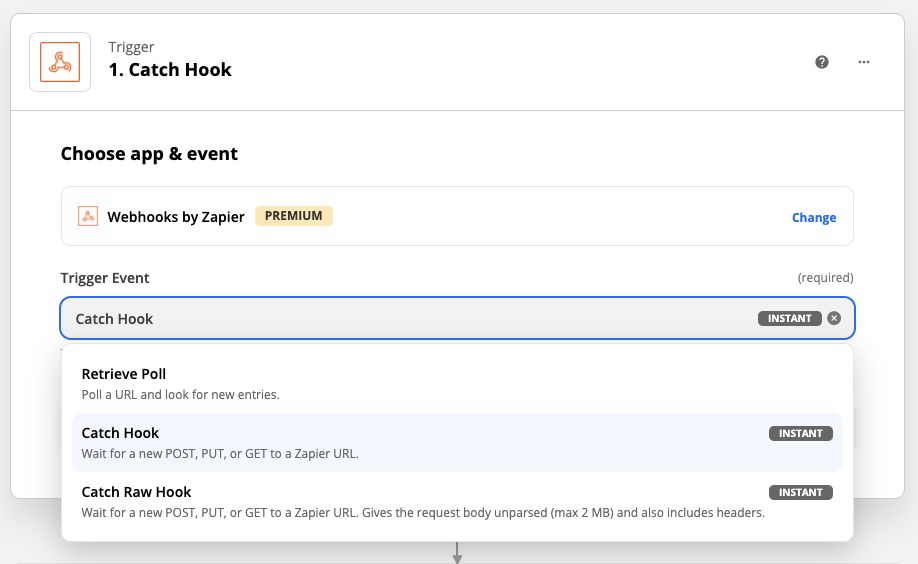
- Search for Webhooks by Zapier and select Catch Hook for your Trigger Event.
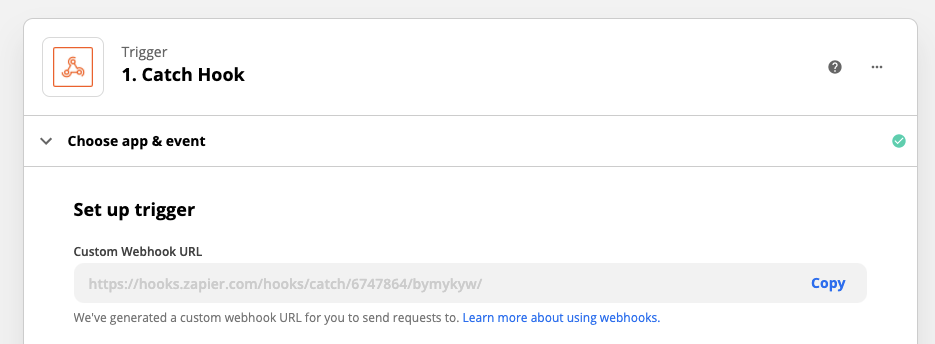
- Click continue and copy the Custom Webhook URL created by Zapier in the next step.
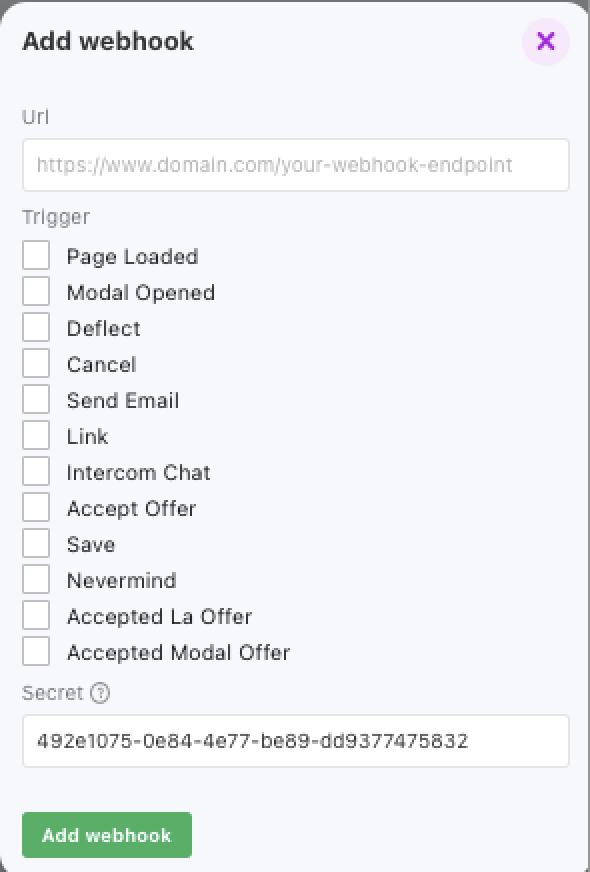
- Head over to your Chargebee Retention account and select Settings > Alerts & Webhooks > Add.

- Enter the Custom Webhook URL you copied from step 3, select the event you would like notifications for, and click Add webhook.
Take a look at our webhook article to see what an example payload from a Chargebee Retention event looks like.what event you would like to track.
- Back at Zapier click Continue.

- Now you'll need to send some traffic to Zapier from BrigChargebee Retention. If your cancel experiences are already live you can simply wait for a canceller to come through or generate a session yourself by logging in to your site as a user and clicking cancel. When a cancel session event occurs an event will POST to Zapier. Click on a recent request or Load More.
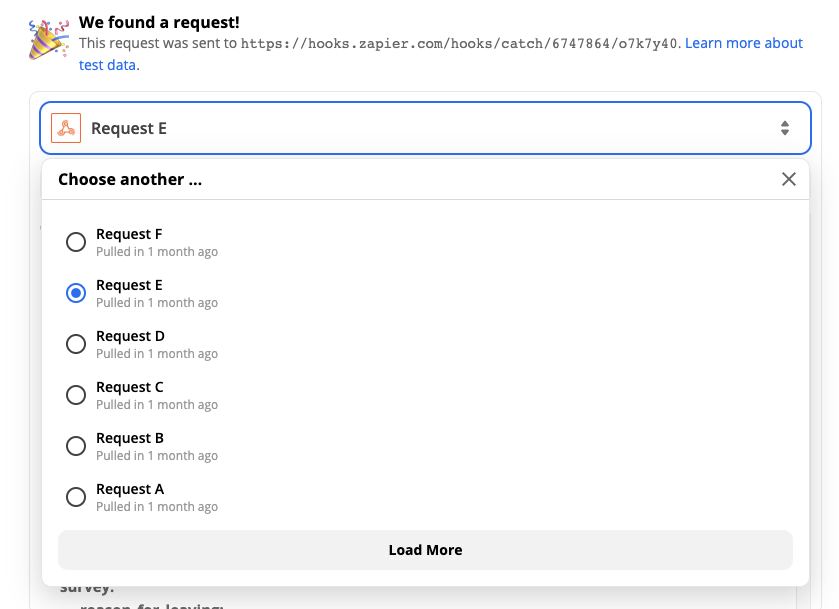
- Viewing a request will bring up a sample you can scroll through and use in the next step.

- Next choose an App event from Zapier's library. There are many to choose from.

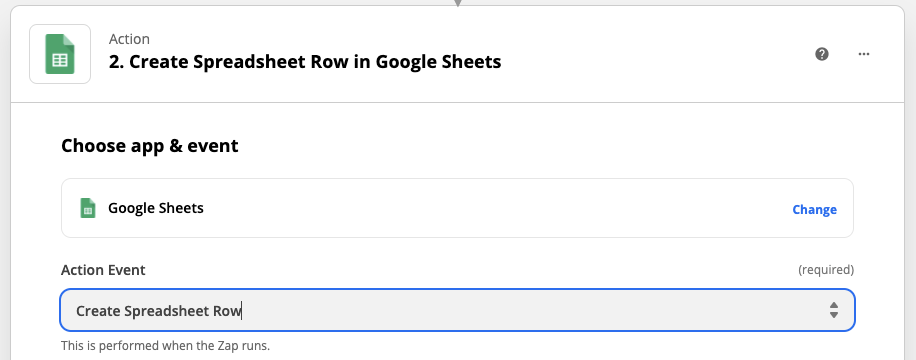
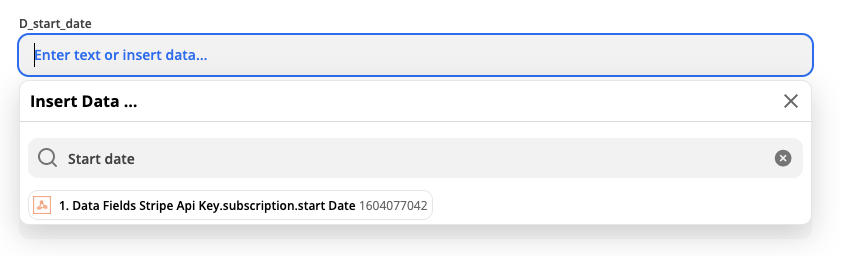
- Set up your action. Using the appropriate steps for the App you have chosen. The entire Chargebee Retention session payload will be available to you. That includes Custom and Standard JS fields, Enrichment fields from Billing providers or Salesforce as well as Survey responses, Feedback, and Accepted Offers depending on the event type you chose.
Zapier is a powerful tool that you can use to create follow-up workflows, perform data analysis, create helpdesk tickets or track Chargebee Retention events. If you would like some help getting this set up please reach out to your Technical Account Manager through our support team at retention-support@chargebee.com
Was this article helpful?