Advanced Targeting
If you are an Essentials, Performance or Enterprise customer, you will see the Advanced Targeting displayed when you first land on the page.
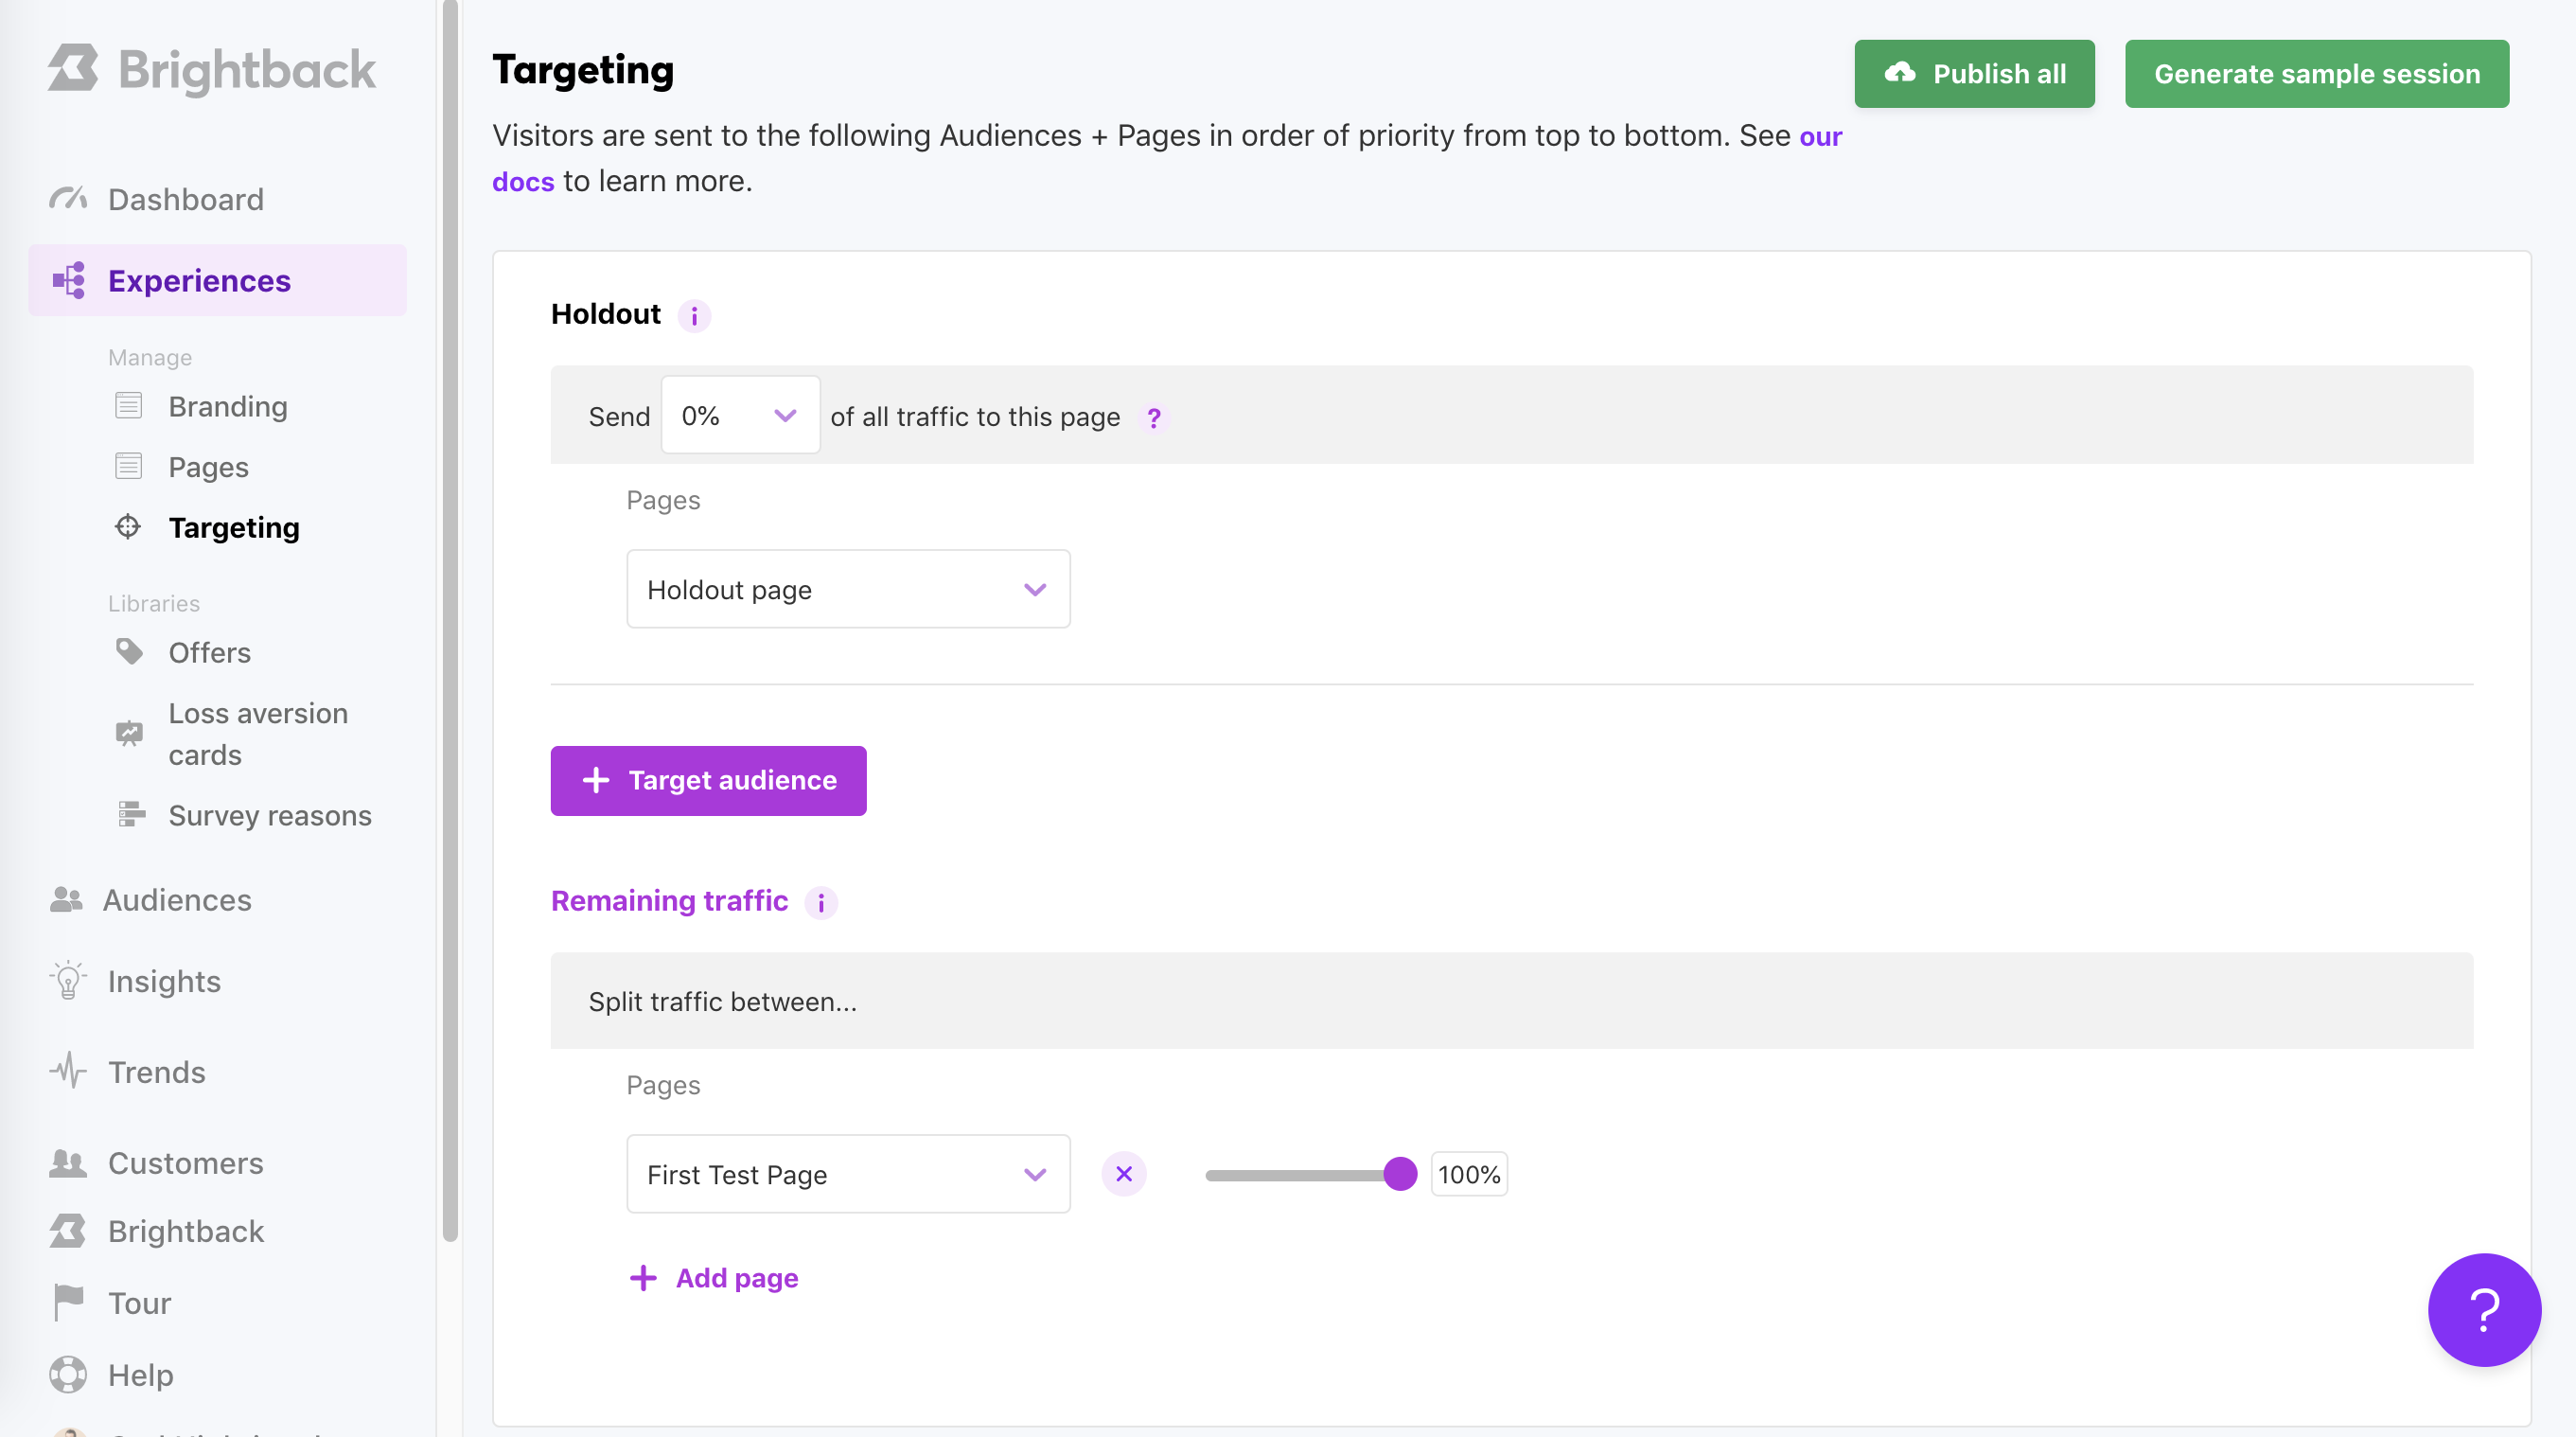
Here you can customize your Targeting tree to fit whatever setup you desire. There are a few core components of the Targeting tab that we will go through in more detail:
- Configuring a Holdout
- Splitting the Remaining Traffic
- Adding an Audience
- Splitting Traffic into Sub-Audiences
- Publishing Targeting
Read on for details on how to set each of these components up. We also outline the overall Chargebee Retention Testing Methodology and how to think about testing specific types of cancel experiences in Chargebee Retention. These resources are good starting points before you dive into setting up your actual Targeting with Audiences.
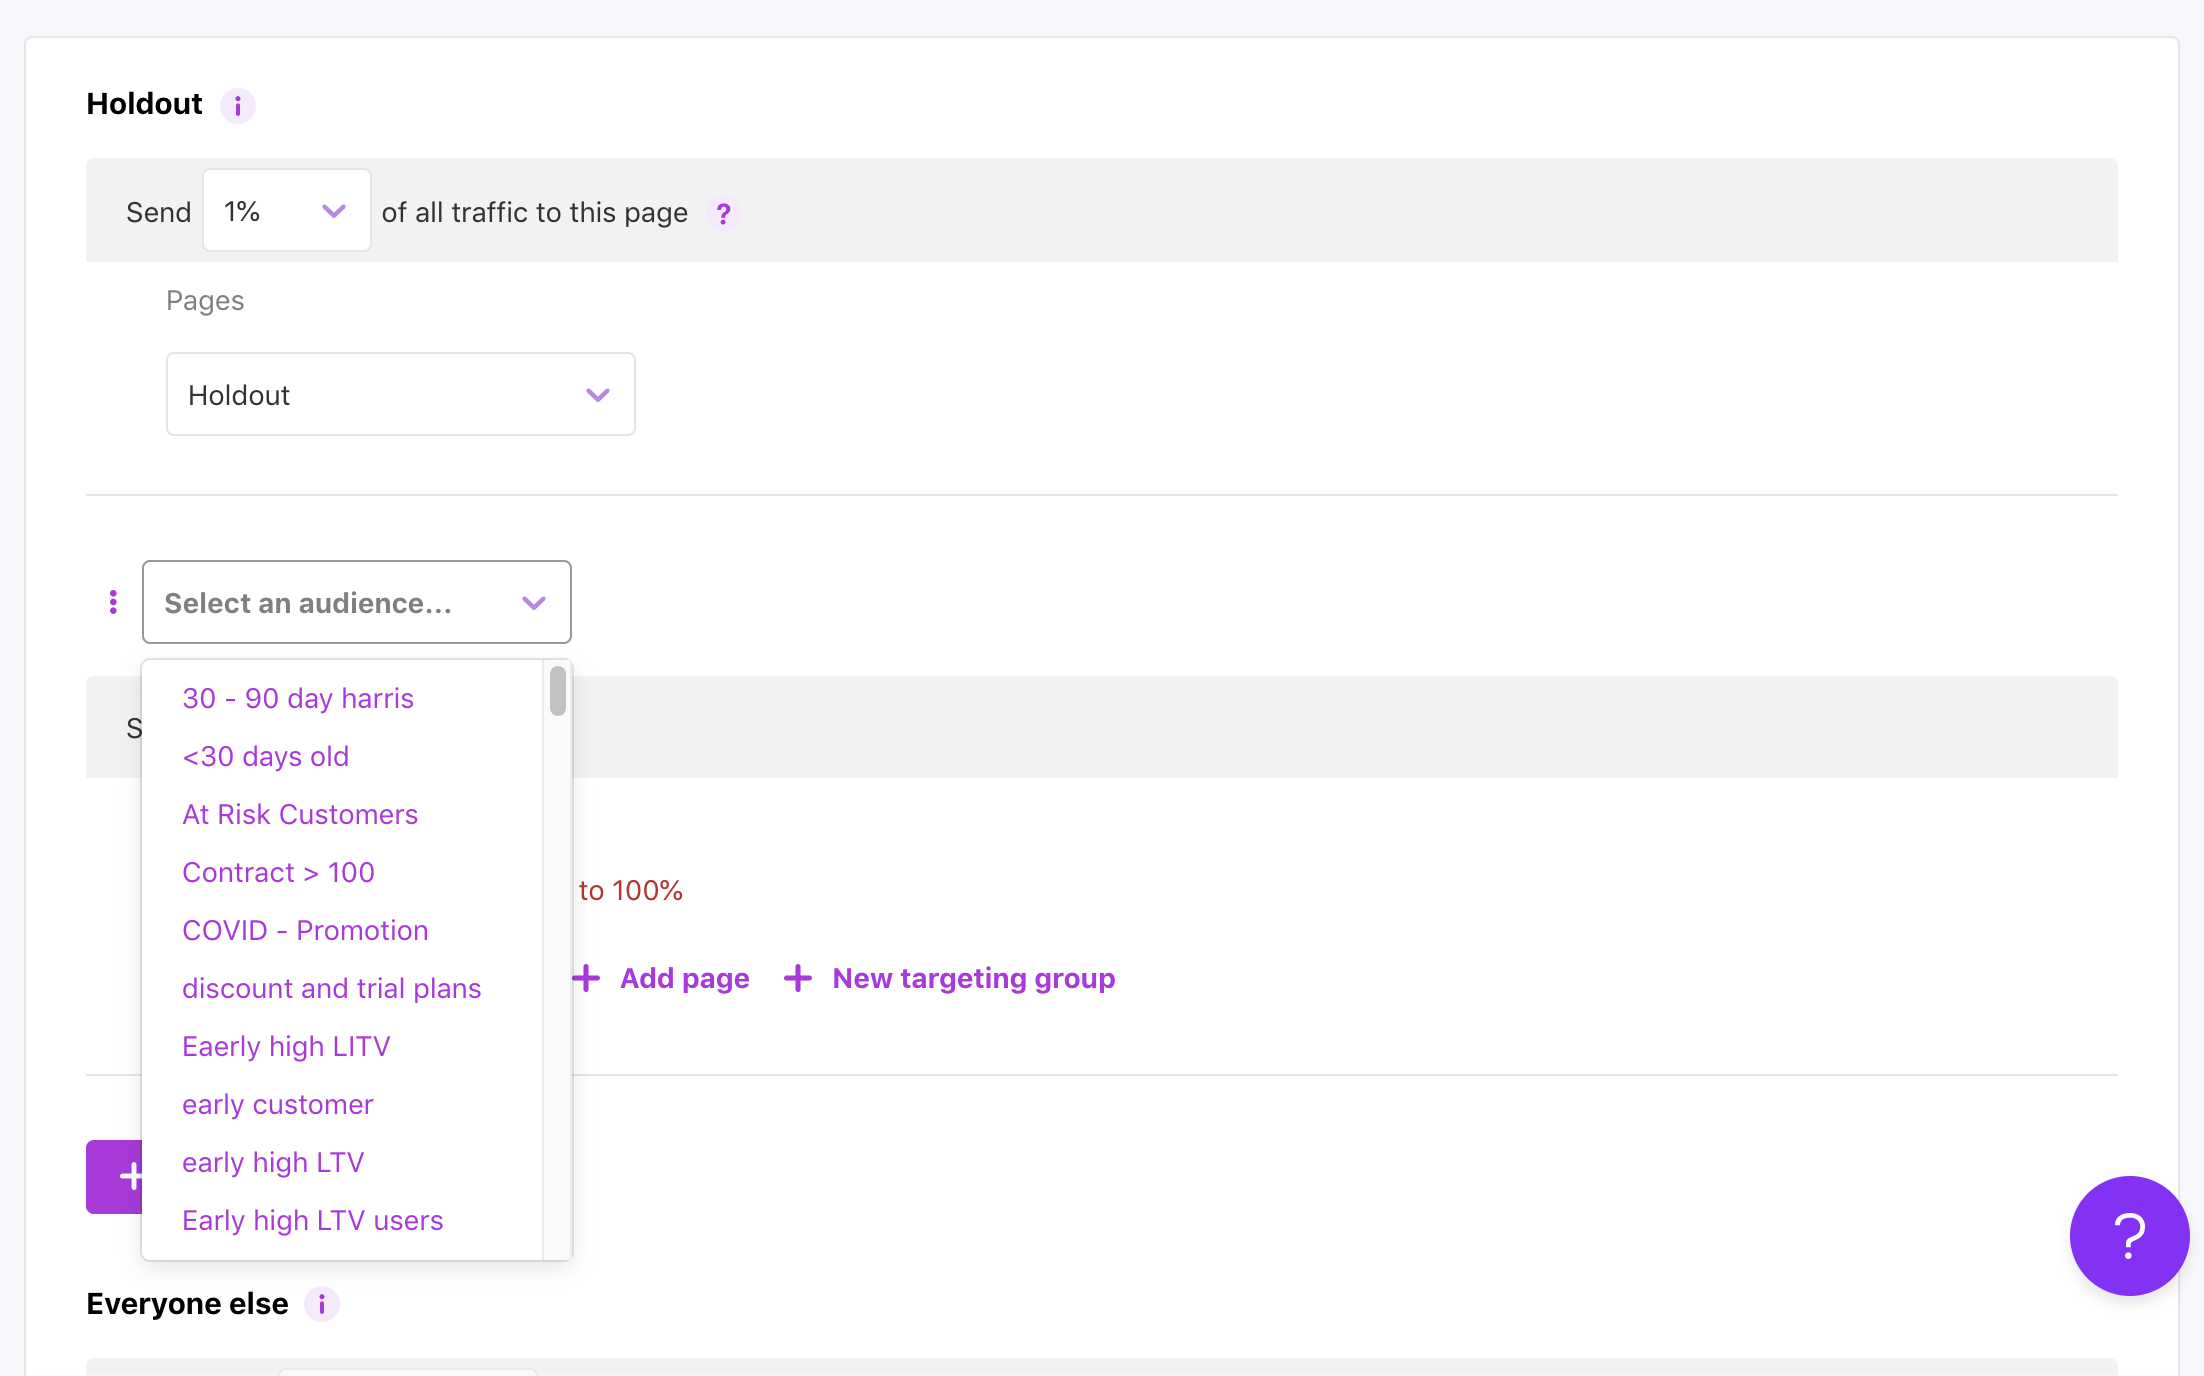
Configuring a Holdout
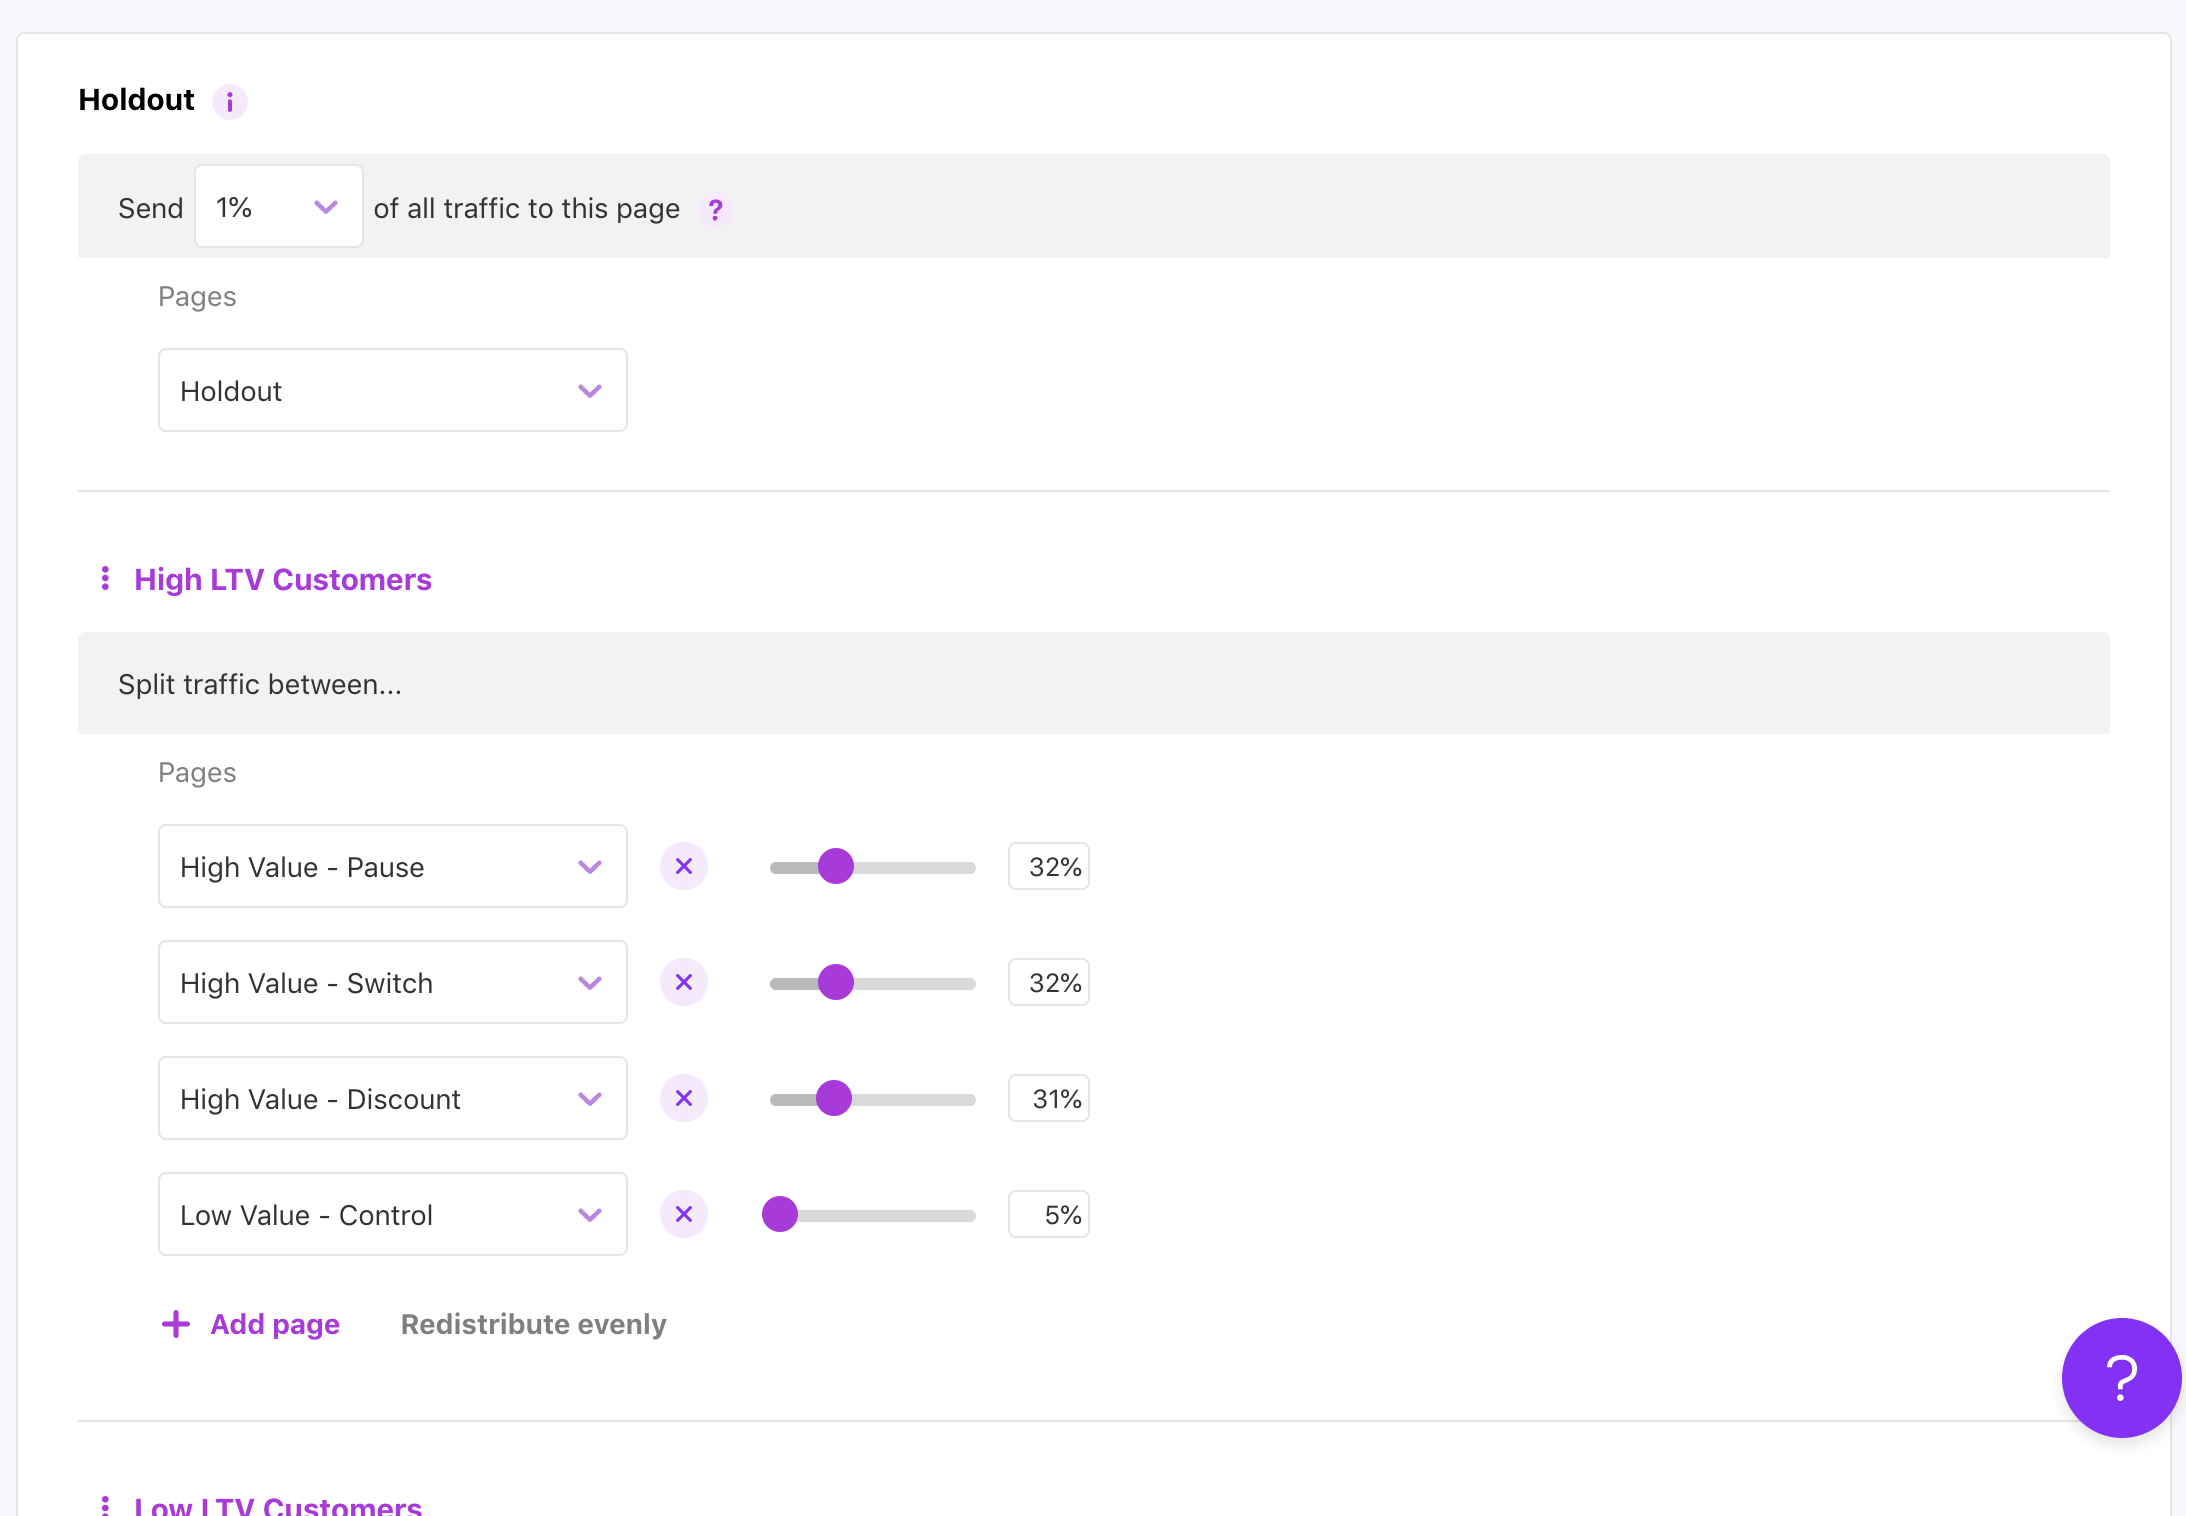
The first thing you will see at the top of the Targeting Tab is your Holdout. This section will always be shown, but you can override the Holdout by setting the traffic to it to 0%. We typically encourage our customers to keep a nominal % of traffic (1-5%) to the no-offer Holdout page. There are many reasons for the Holdout which we cover in more detail in this article, but a primary one is to have a comparison when performance changes.
Splitting the Remaining Traffic
Below the Holdout, you will see the "Remaining traffic" section. This is where the rest of your cancel traffic will be sent after the 5% is routed to the Holdout Page. Customers who don't have any Audiences defined from the beginning will typically launch with 3/4 offers being tested against the Holdout. To configure this setup, add three pages to the "Remaining traffic" section and select the "Redistribute evenly" button. This will update the traffic splits to be evenly balanced across the remaining 100% of traffic.
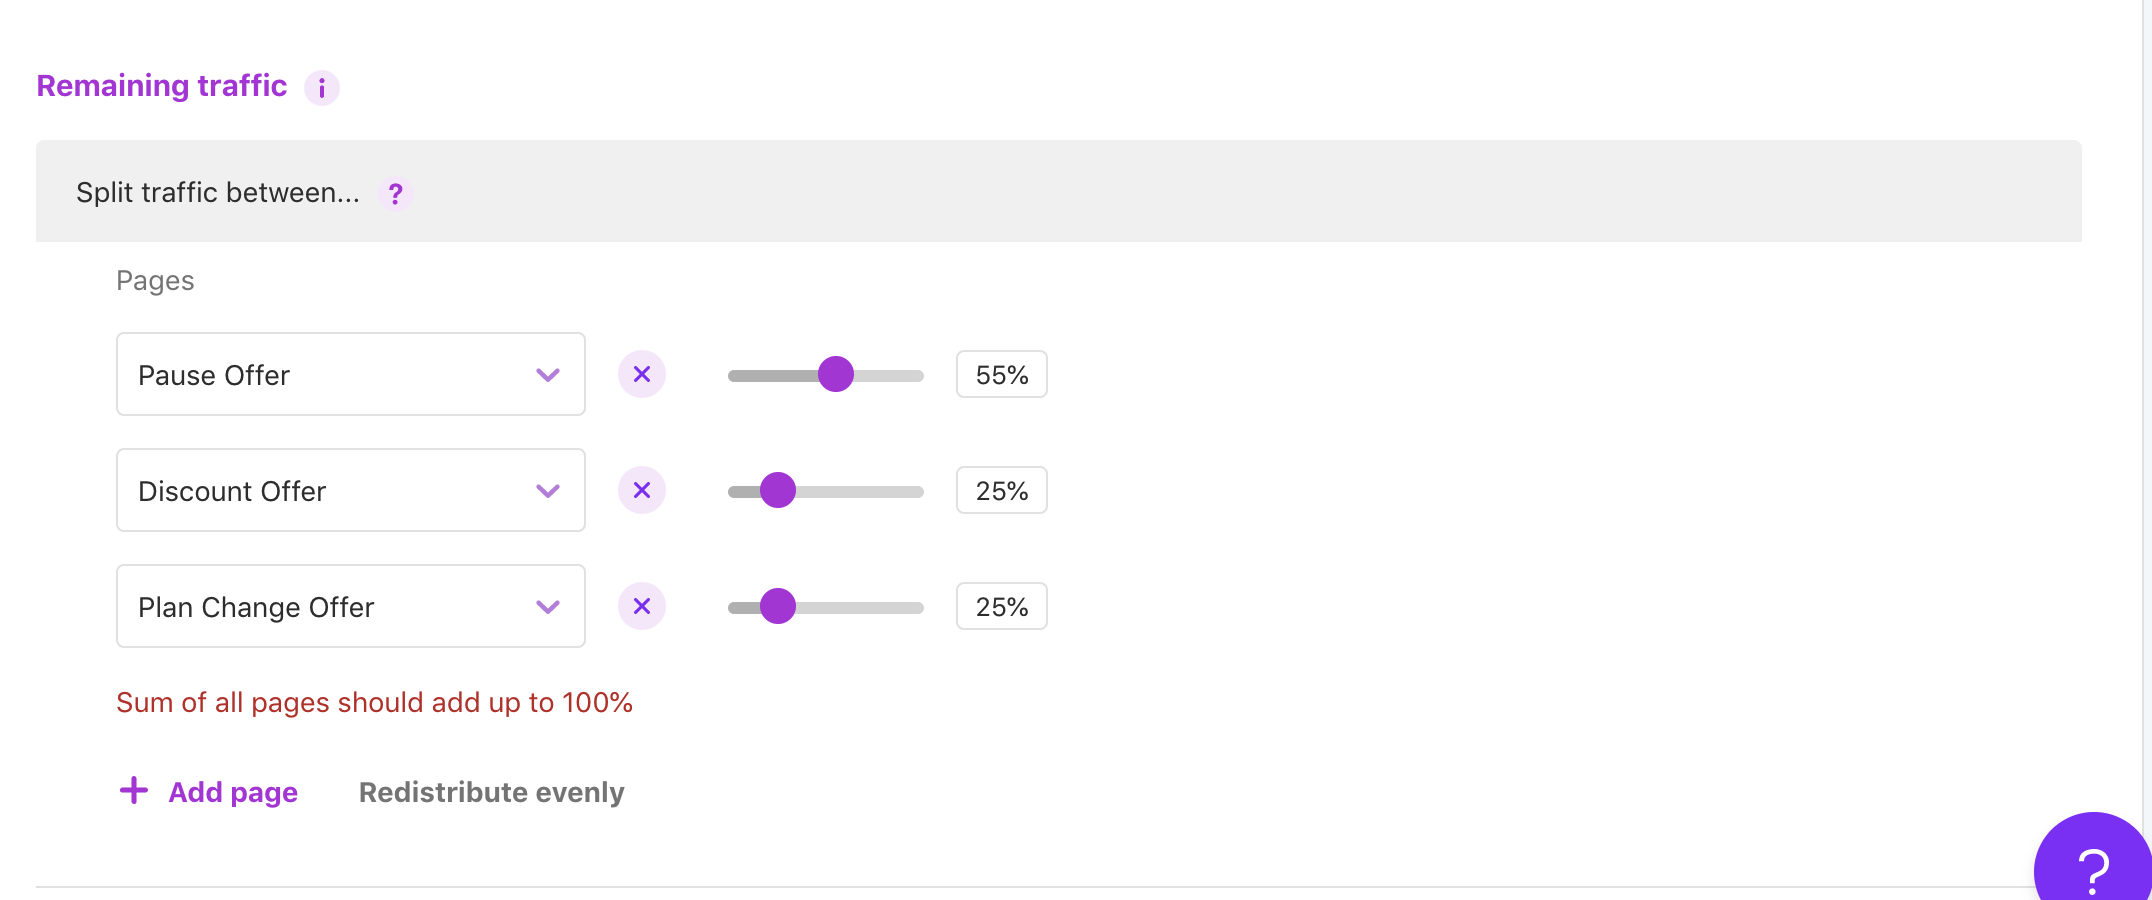
Note
Within a Targeting Block such as Remaining traffic, the % distribution must add up to 100% for those Pages. If it does not, you will get the error message below and will be forced to adjust the % until they total 100%.
Adding an Audience
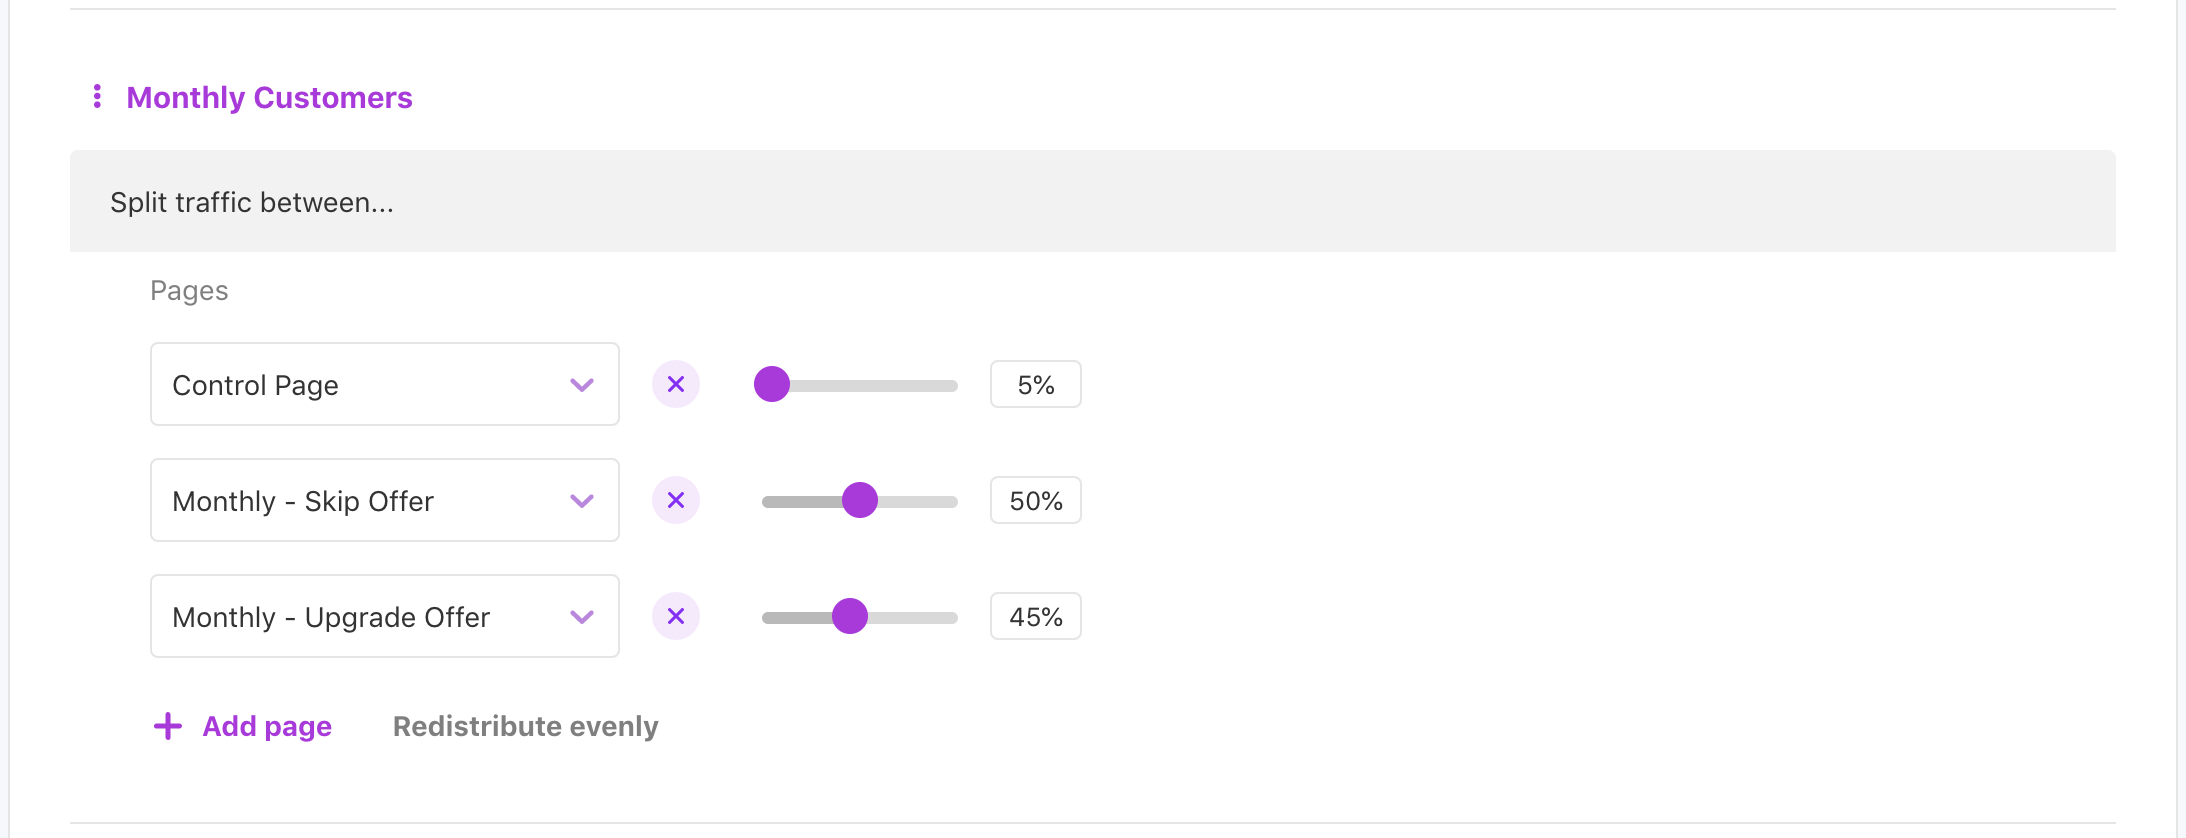
Now you may want to add an Audience split to your Targeting to set up different pages to be presented to different customers based on their Audience definition. A simple example is Monthly vs. Trial Customers. Once these Audiences have been defined in the Audience Manager, you can add them to the Targeting tab by selecting "+ Target Audience" in the top right-hand corner of the page. If you need help defining them, visit this doc on how to create an audience.
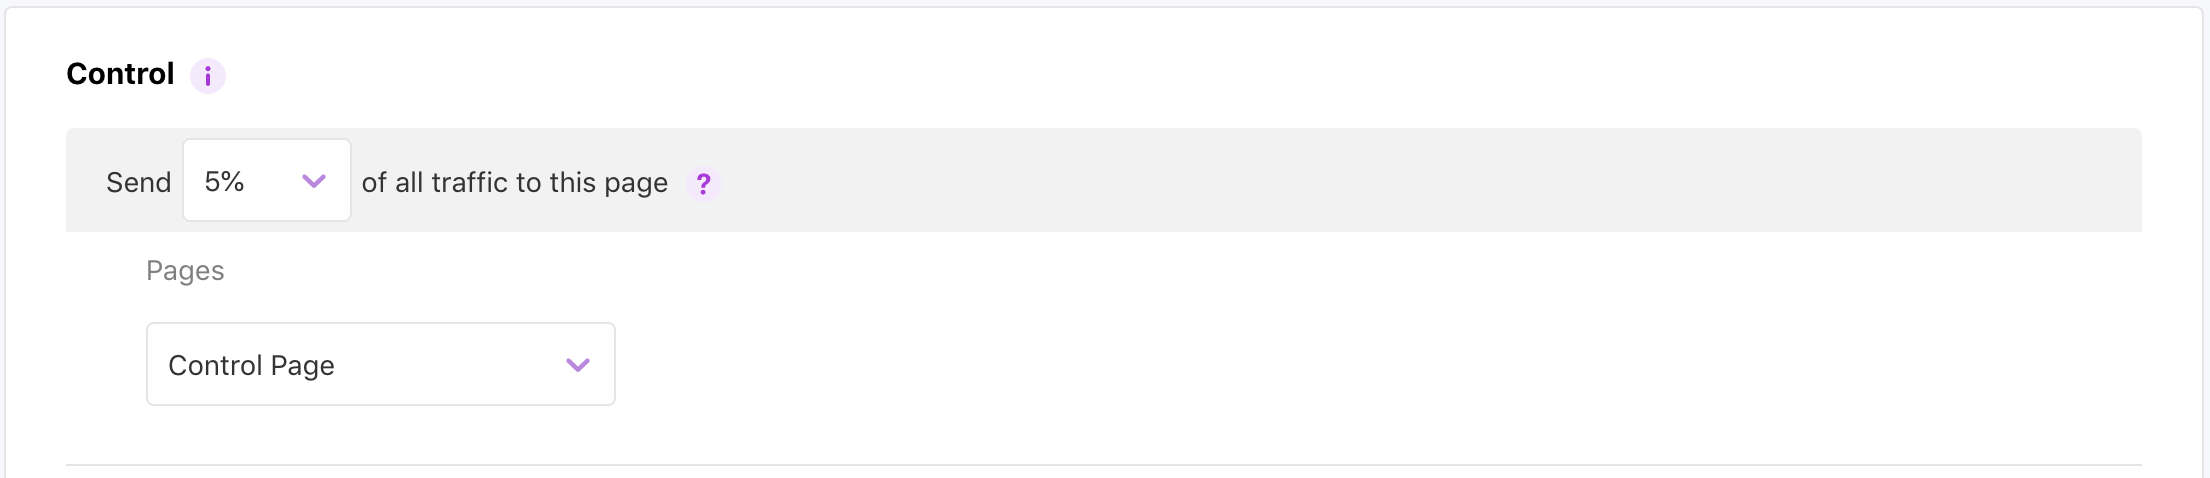
Doing so will add an Audience split in the Targeting Tab and will present you with a drop-down of the available Audiences to select from. From here we can easily configure a simple split test with a Monthly control by adding three pages and configuring them as shown below.
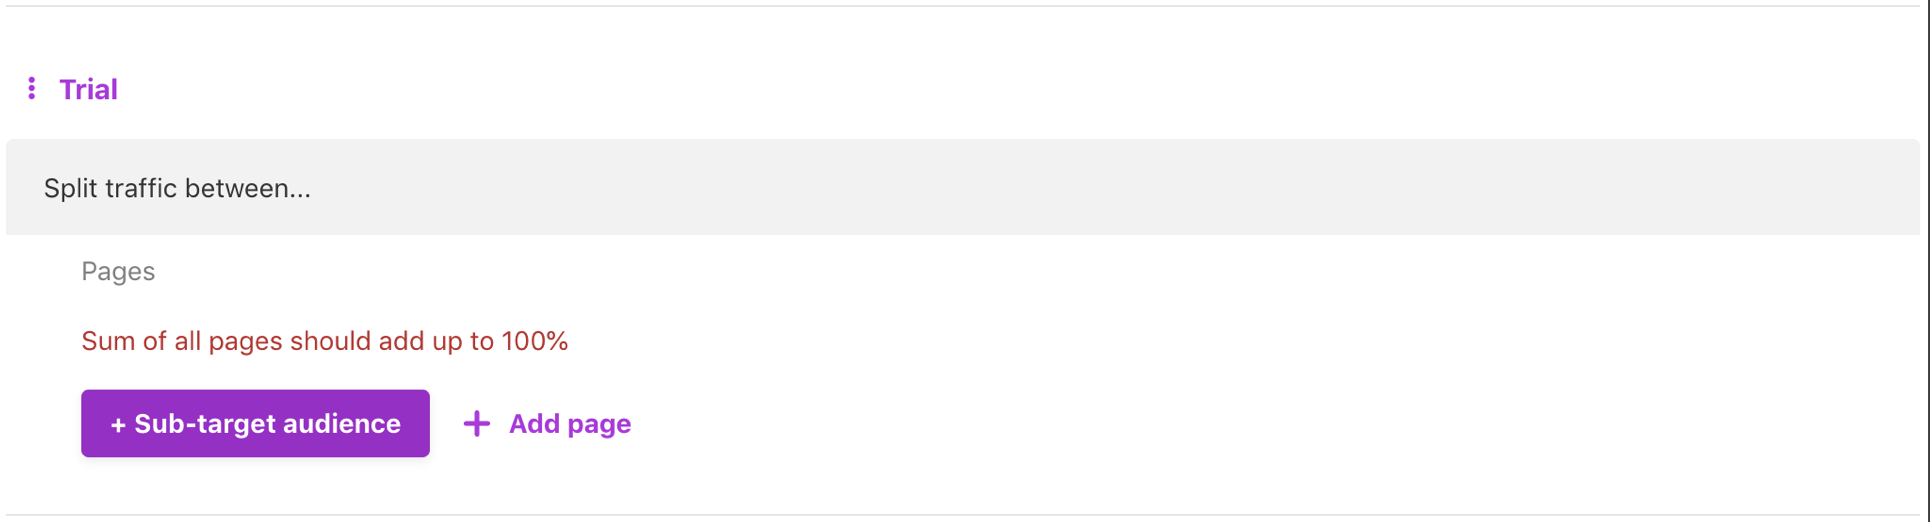
Splitting Audiences into Sub-Audience Tests
Another common use case is to have an additional rule that gets applied within an Audience. For example, you can have trial customers who are eligible for a set of Offer and those who are low potential value and thus not. In this case, you want to split the Trial group test one level further into "Eligible for Offers" and "Ineligible".

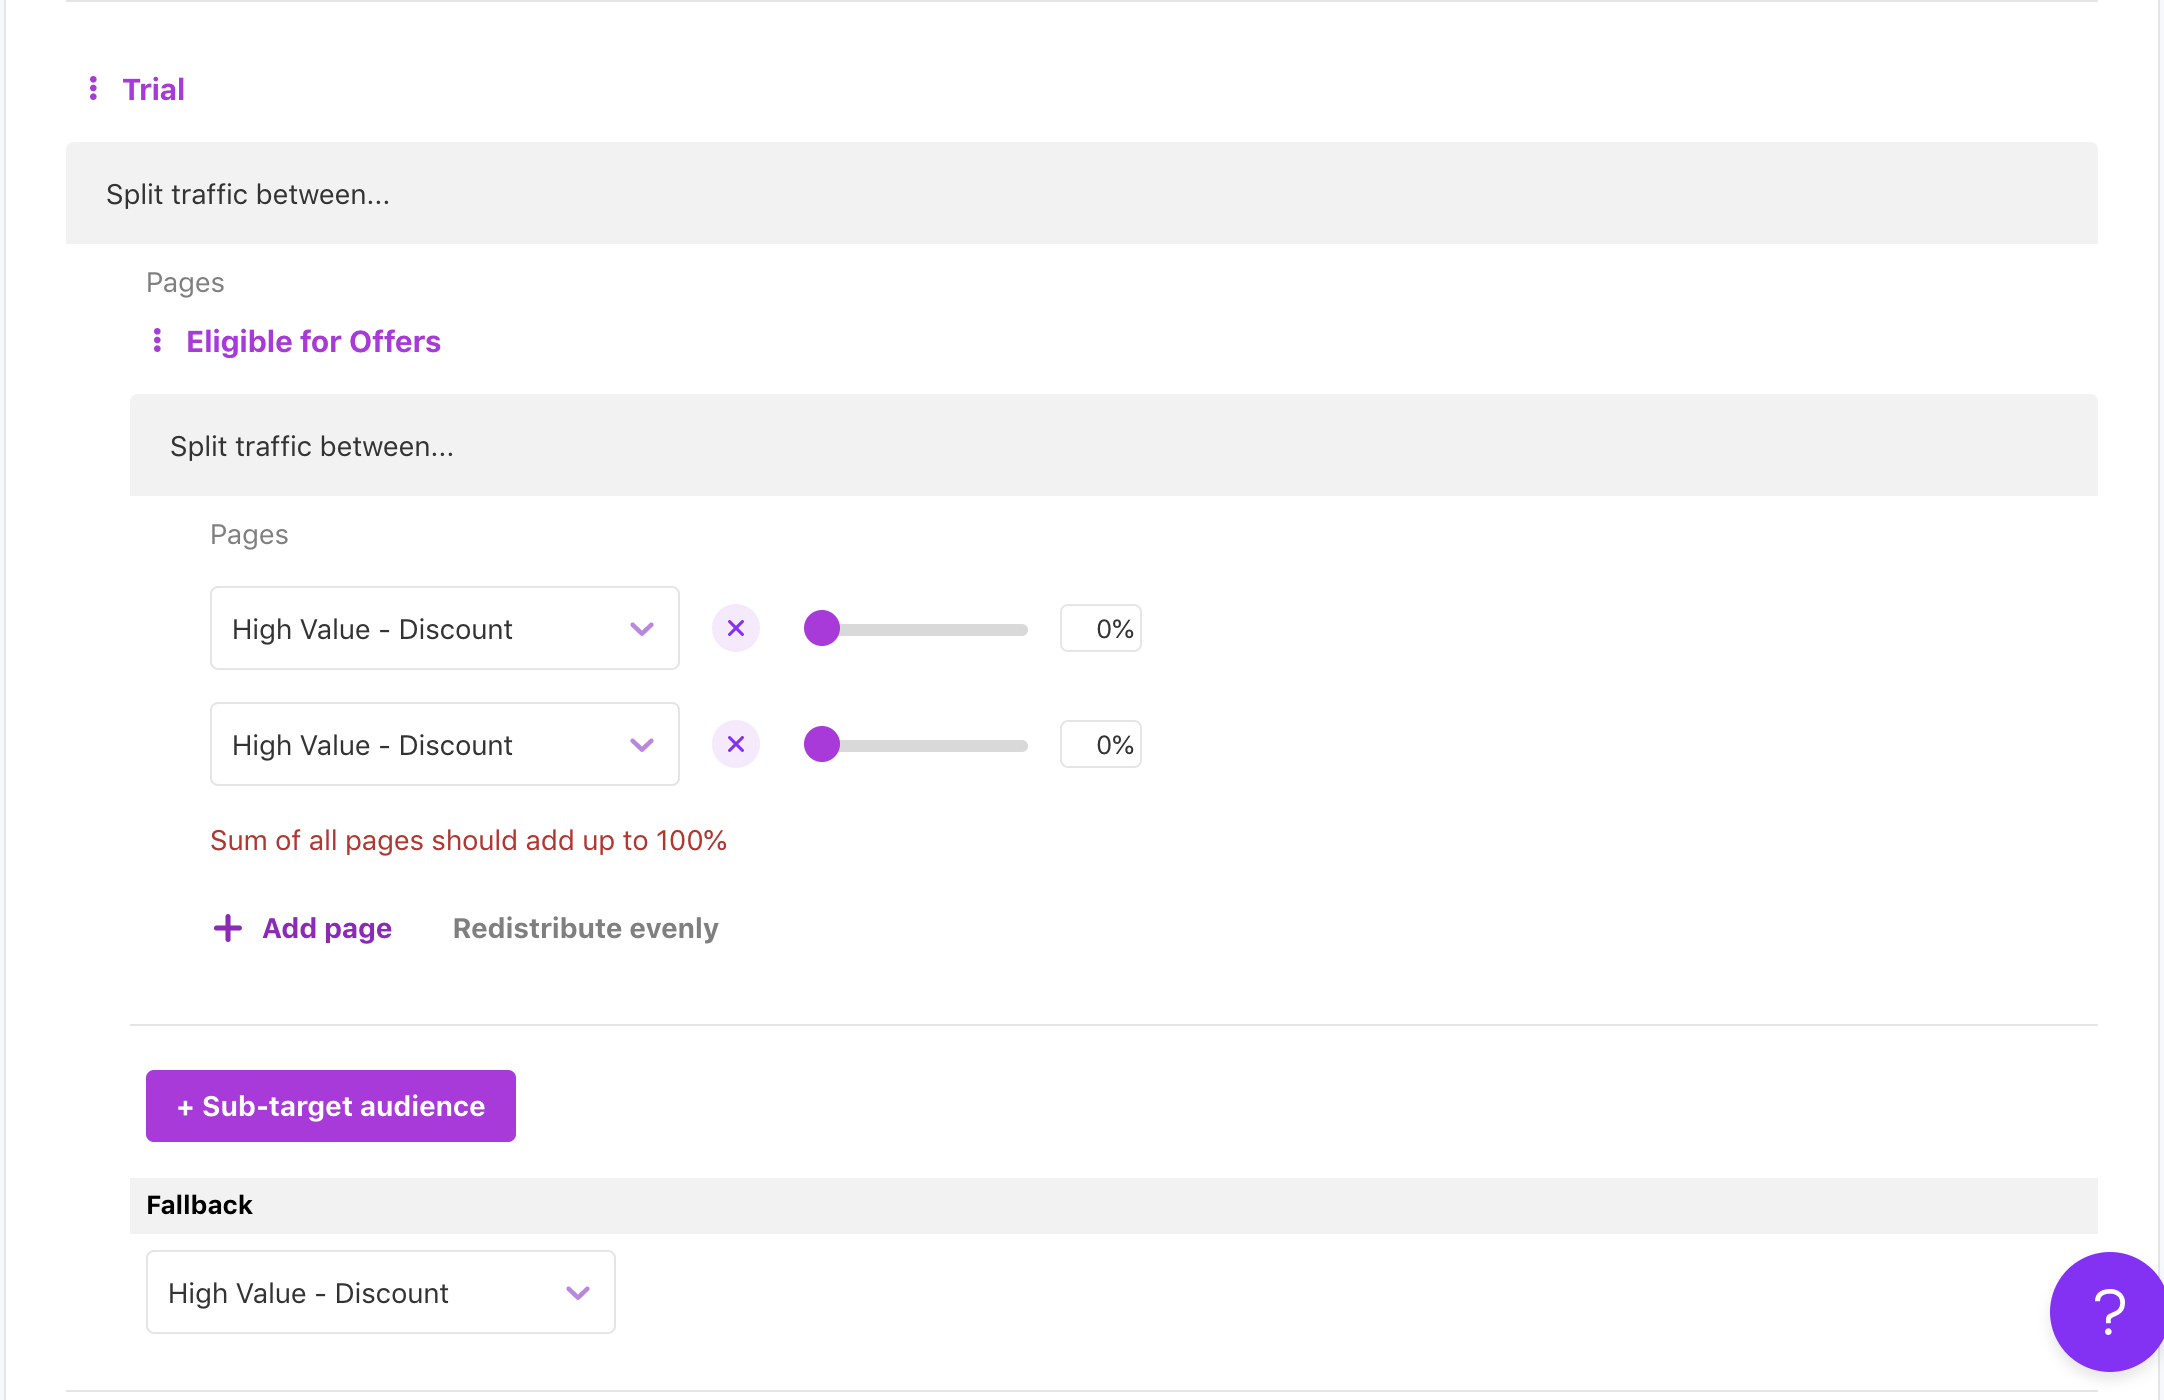
Select "+ Sub-targeting group" here and you will get an additional option to split the page further by an additional Audience. This second Audience will be nested within the top-level one to form "and" logic.
Once you have added the sub-audience, you will have the opportunity to add pages and redistribute traffic within this group. You can add additional sub-audiences, and then finally will have a fallback for that Trial group. This fallback will be invoked if none of the sub-audience rules are met that you have specified.
Publishing Targeting
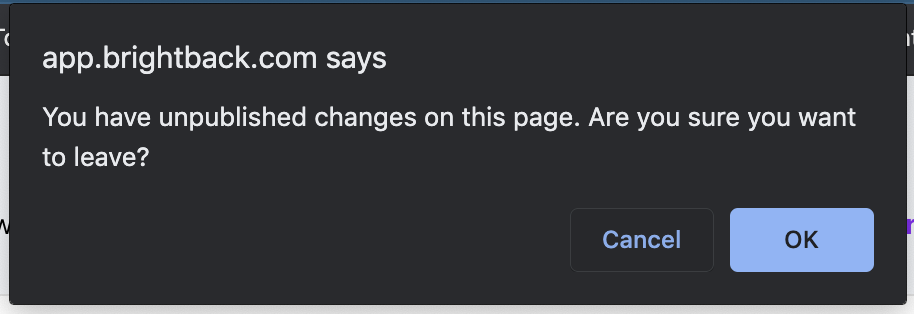
Changes that you make when on the Targeting tab will all be queued up in a "draft state" while you remain on the page. To publish these changes, hit the "Publish all" button in the top right corner of the page. This will promote all the changes you have teed up to your targeting live at once. If you try to navigate away from the Targeting page without publishing, you will be presented with a confirmation that your changes will not be saved until they are published.
If you have any additional questions or need help with your Chargebee Retention Targeting setup, please contact retention-support@chargebee.com.
Was this article helpful?