Authorize.net Direct Integration
Authorize.net is a payment processing solution that simplifies online payments and provides the complex infrastructure and security necessary to ensure fast, reliable, and secure transmission of transaction data. You can select between Authorize.net's merchant account with the payment gateway plan or the payment gateway-only plan. Read more about the plans from Authorize.net here.
As part of this direct integration, you will save the customer's card details within Authorize.net's secure vault. This direct integration offers the following additional benefits:
- Simplified and quicker support for API connections.
- Real-time access to payment gateway updates and upgrades.
- Reduced resolution time for any issues.
- Account Updater ensures timely updates to customer payment details.
Note
- It normally takes between two and thirty days for Chargebee to reflect the latest account update. During this time, the customer's most recent updates will not reach Chargebee and the invoice might reflect old card details.
- If fraud rules are configured that delay transaction confirmation, gift checkout will not be supported as it requires immediate confirmation.
Choosing Authorize.net
Consider the following factors before choosing Authorize.Net as a payment solution:
- Supported countries: Authorize.Net is currently available for companies based in the United States, Canada, the United Kingdom, Europe, and Australia.
- Supported payment methods: Authorize.Net supports major credit and debit cards such as Visa, MasterCard, American Express, Discover, Diner's Club, Japan Credit Bureau (JCB), and Automated Clearing House (ACH).
- Pricing: Authorize.Net has service fees which include setup, monthly, and per-transaction fees. Read more here.
- Currency: The currency configured within your Authorize.Net account will be used for transactions, regardless of the currency configured in Chargebee. Ensure the currency configured in your Authorize.Net account matches that of your Chargebee account.
Due to recent world events, you may experience failures for payments originating from Russian financial institutions. We recommend reviewing guidelines issued by respective payment gateways for additional information.
Prerequisites
The following prerequisites must be met before configuring the direct integration of Authorize.net account with your Chargebee site:
- You must have an Authorize.net payment gateway account or a payment gateway plus merchant account.
- You must have your Chargebee live site set up, since this Authorize.Net integration is supported on Chargebee's live site only.
- You must enable the Customer Information Manager (CIM) option within your Authorize.net account. Read more about CIM here.
- You must enable the Automated Recurring Billing functionality within your Authorize.net account.
Integration options
The following options are available to integrate your Authorize.net gateway with Chargebee:
| Integration Method | Description | PCI Requirements | 3DS support Available? |
|---|---|---|---|
| Chargebee API + Authorize.net Gateway | Collects card details using Chargebee's secure hosted pages and directly pass those details to Authorize.net. | Low | No |
| Chargebee JS | Collects card details using Chargebee's Components and Fields and initiate tokenization using Chargebee's temporary token. | Low | No |
| Chargebee JS | Collects card details using Authorize.net's Accept Hosted pages and tokenize using Chargebee.js. | Low | No |
| Chargebee JS | This integration method uses permanent token that represents a customer's card details stored in Authorize.net's vault to process payments. | When creating a new token and converting card details to tokens using:
| No |
Configuring Authorize.net with Chargebee
The integration requires you to take action on your Authorize.net and Chargebee accounts. Follow the steps below to complete the configuration:
Authorize.net
Complete the following actions on your Authorize.net account
Enable CIM
Follow the steps below to enable CIM on your Authorize.net account.
-
Log into your Authorize.net account.
-
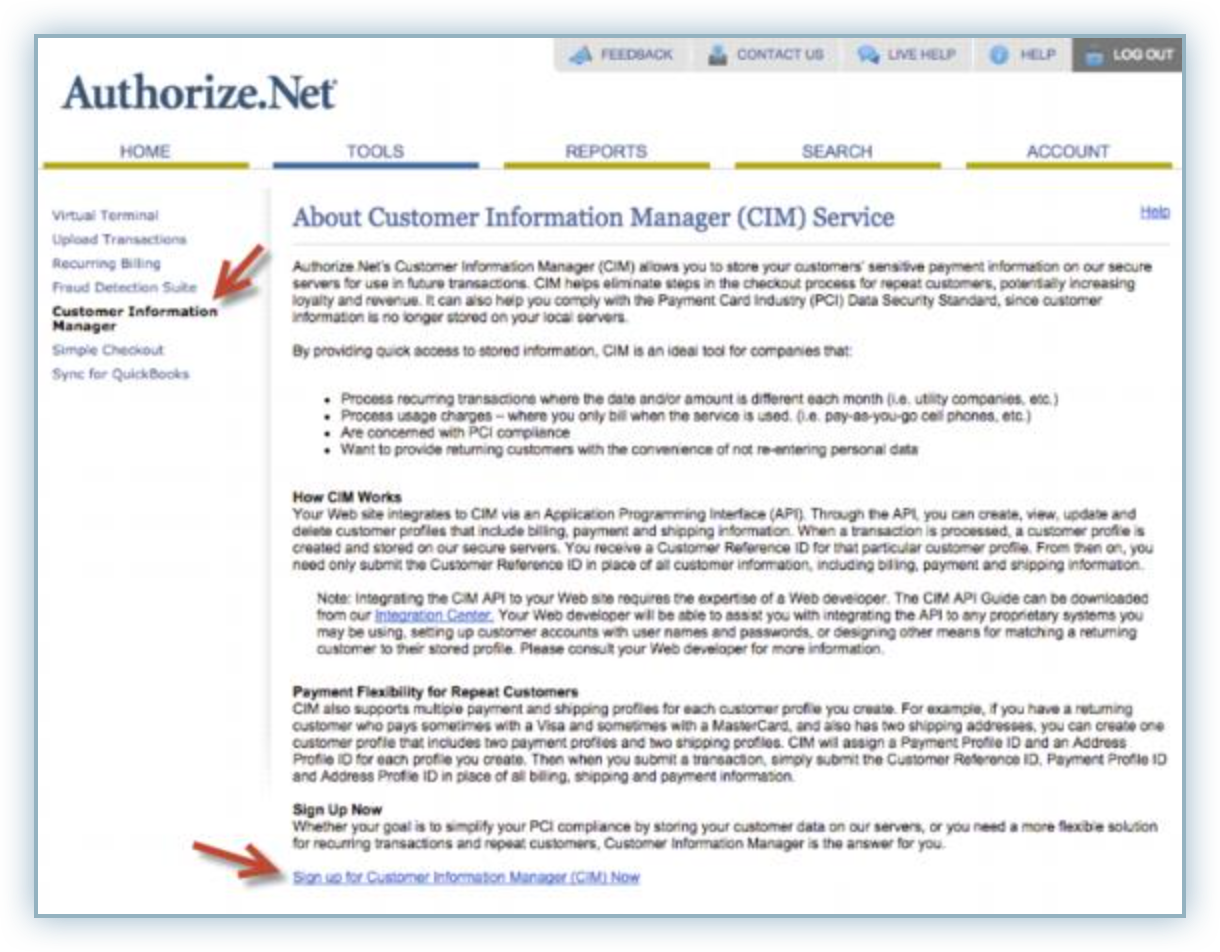
Click Customer Information Manager from the main menu.
-
Click Sign up for Customer Information Manager (CIM) Now to initiate the sign-up.
-
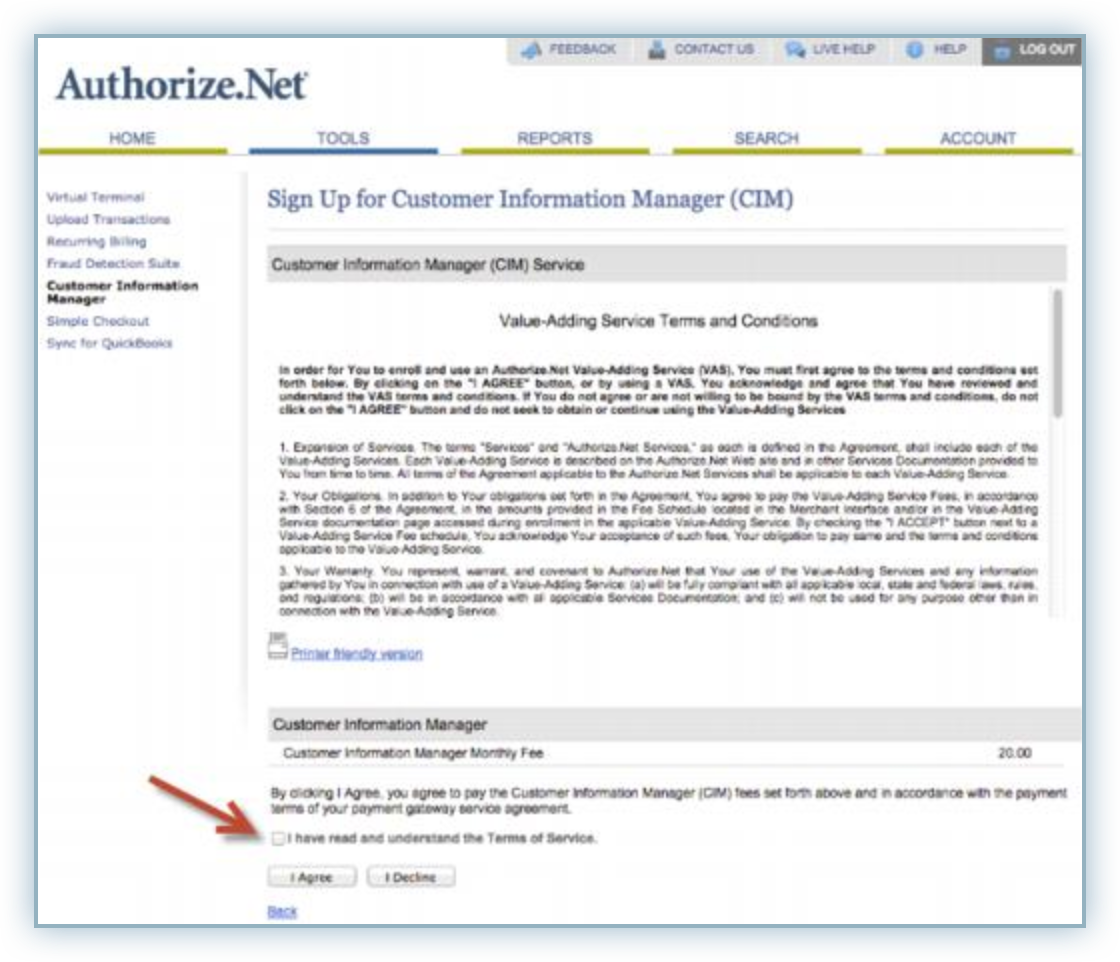
Review the terms and conditions and click the I have read and understand the Terms of Service checkbox to accept their terms of service.
-
Click I Agree.
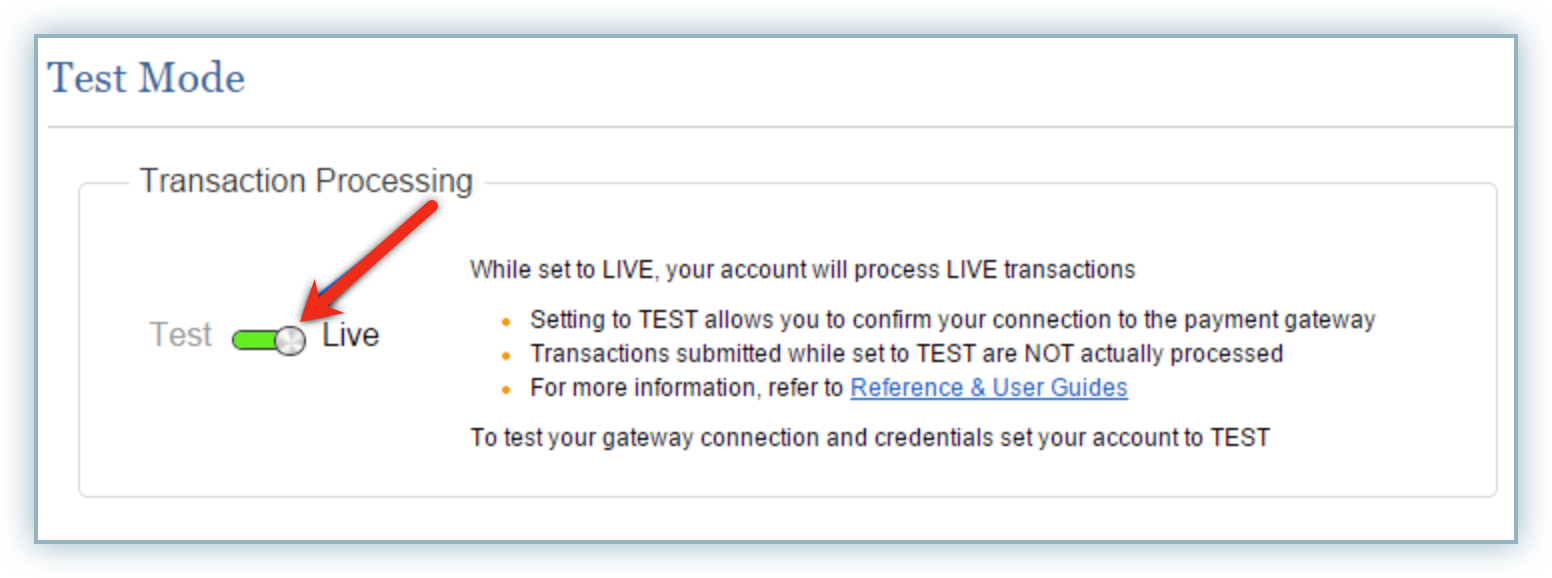
Turn off Test Mode Authorize.Net has a Test Mode in its production account which lets you test your connection with the payment gateway without carrying out actual charges. By default, your payment gateway account is set to Test Mode. To carry out live transactions, ensure Live Mode is enabled.
Follow the steps below to complete this:
-
Click Account from the main toolbar.
-
Click Settings in the main menu on the left.
-
Click Test Mode under the Security Settings section.
-
Drag the toggle to Live. The interface will confirm that the Test Mode settings have been successfully applied and the account is now in Live Mode.
Chargebee Follow these steps to configure Authorize.Net to your Chargebee live site:
-
Log into your Chargebee Live site.
-
Navigate to Settings > Configure Chargebee > Payment Gateways > Add a Gateway.
-
Select Authorize.net from the gateway list.
-
Enter your Authorize.net API Login Id, Transaction Key, and Public Client Key in the applicable fields.

-
Click Connect.
-
Enable necessary card settings by clicking Manage in the Cards section and click Save.
You have successfully configured your Authorize.net account with Chargebee.
Was this article helpful?