New in Chargebee: Explore Reveal and understand your payment performance end-to-end.Try Now
Docschargebee docs
HomeBillingCPQPaymentsRevRecGrowthReveal
Support

Chargebee CPQ


  • Overview
  • Chargebee CPQ Configuration
  • Generate Quote
  • Submit Quote for Approval
  • Send Quote to Customer for Acceptance
  • Convert a Quote to Subscription

Chargebee CPQ for Salesforce


  • Overview
  • Configuration
  • Generate Quote
  • Submit Quote for Approval
  • Approve a Quote
  • Send Quote to Customer for Acceptance
  • Convert a Quote to Subscription

Chargebee CPQ for HubSpot


  • Overview
  • Configuration
  • Generate Quote
  • Submit Quote for Approval
  • Send Quote to Customer for Acceptance
  • Convert a Quote to Subscription
  1. CPQ
  2. Chargebee CPQ for Salesforce
  3. Configuration
  1. CPQ
  2. Chargebee CPQ for Salesforce
  3. Configuration

Configuration

To install and set up the Chargebee for Salesforce managed package, visit the Install Chargebee for Salesforce guide.

After completing the setup, follow these steps to start using Chargebee CPQ Quoting.

Update Page Layouts for Chargebee CPQ for Sales

To ensure users have access to the right actions and the latest Quote page layout, follow the steps below to properly configure Chargebee CPQ in Salesforce.

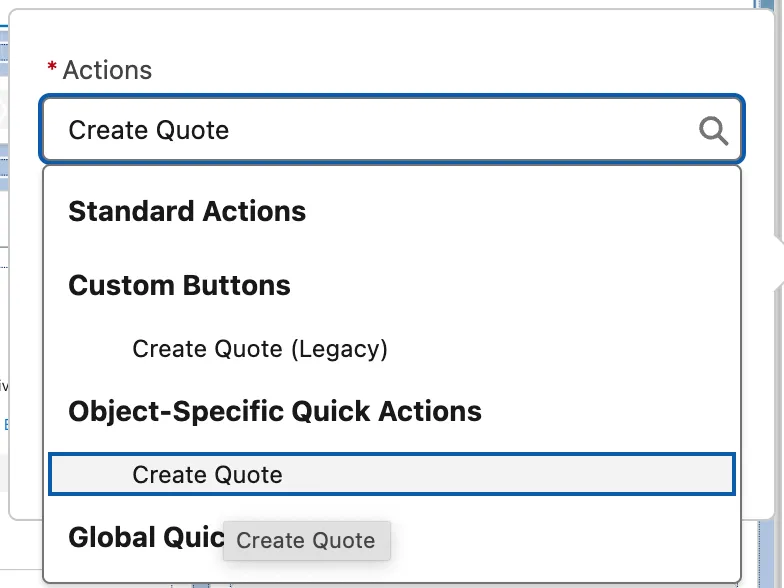
Add the Create Quote Action for Chargebee CPQ for Salesforce

Lightning Experience

  1. Open the Lightning App Builder or page layout editor.
  2. Select the Create Quote item under Object Specific Quick Actions.
Create Quote item selection in Object Specific Quick Actions

Salesforce Classic

  1. In the Classic page layout editor, add the Mobile & Lightning Actions section to the layout.
Mobile & Lightning Actions section in Classic page layout editor
  1. Confirm that the Create Quote action is included within this section.

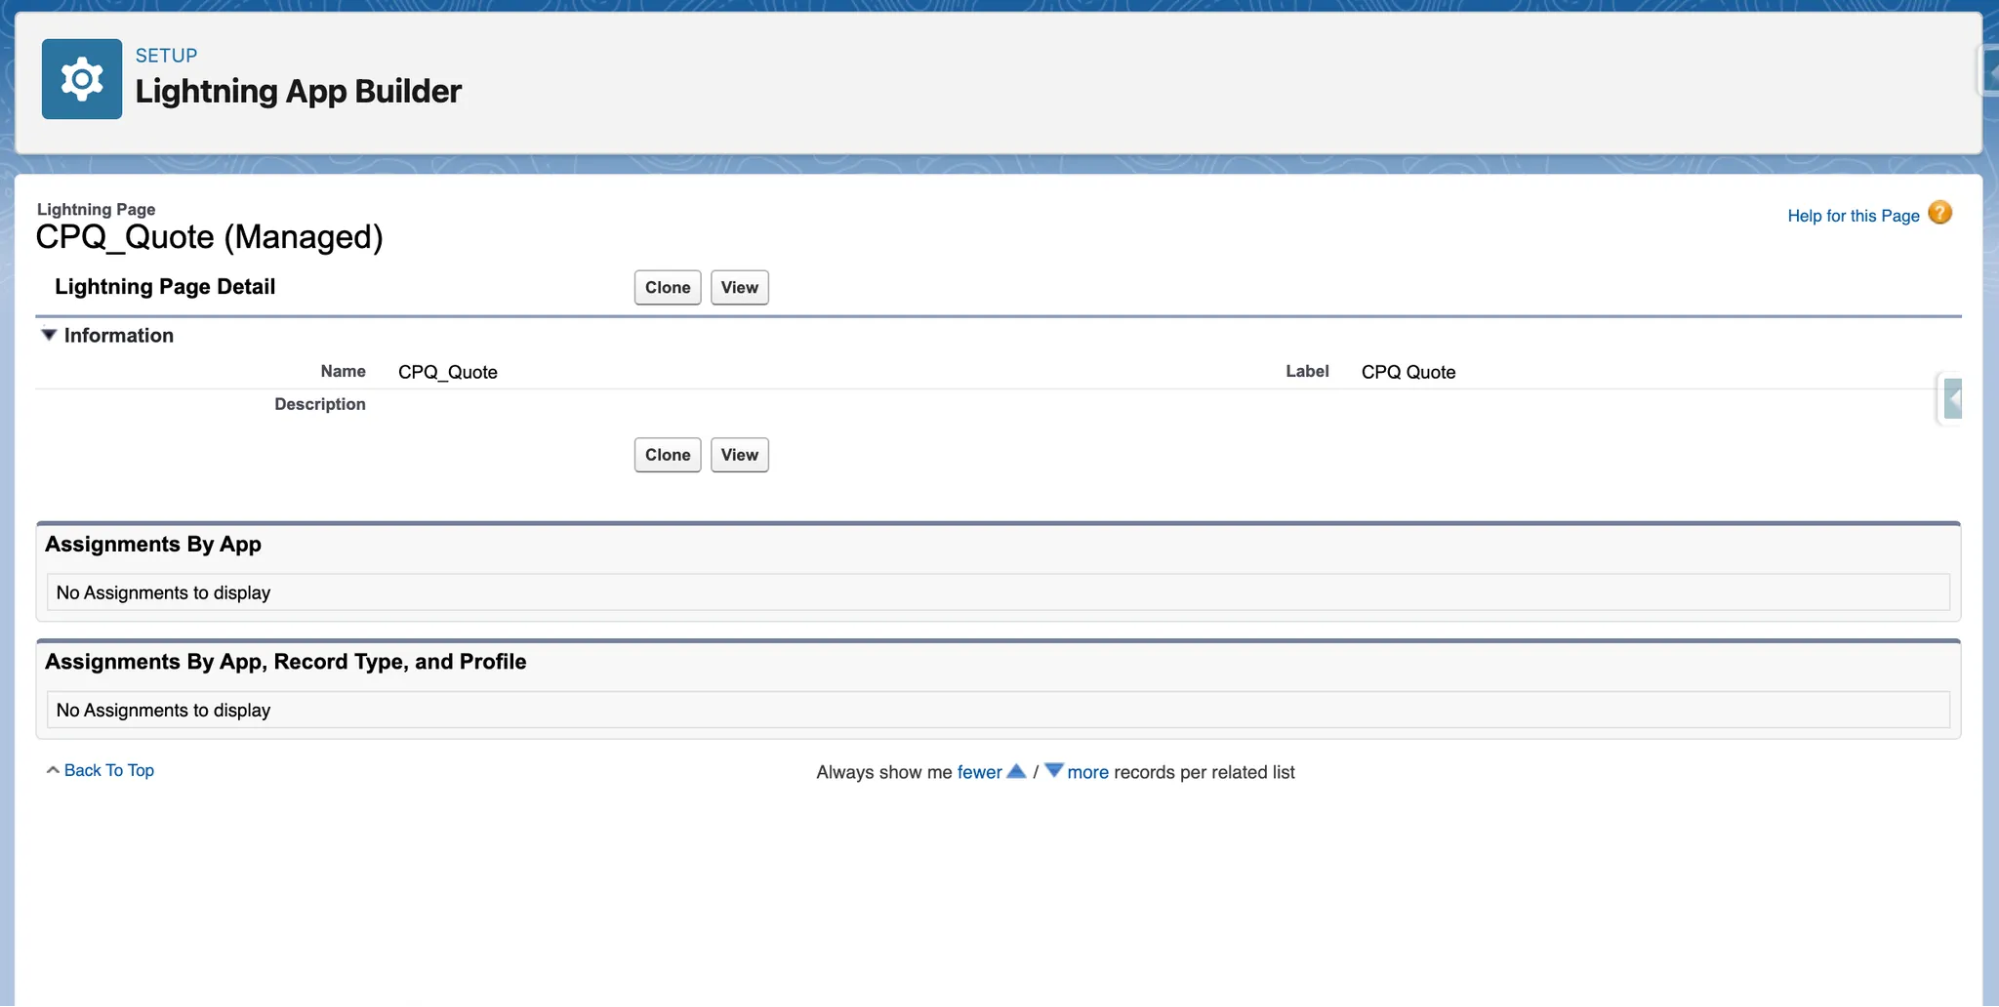
Update the CB Quote Lightning Page

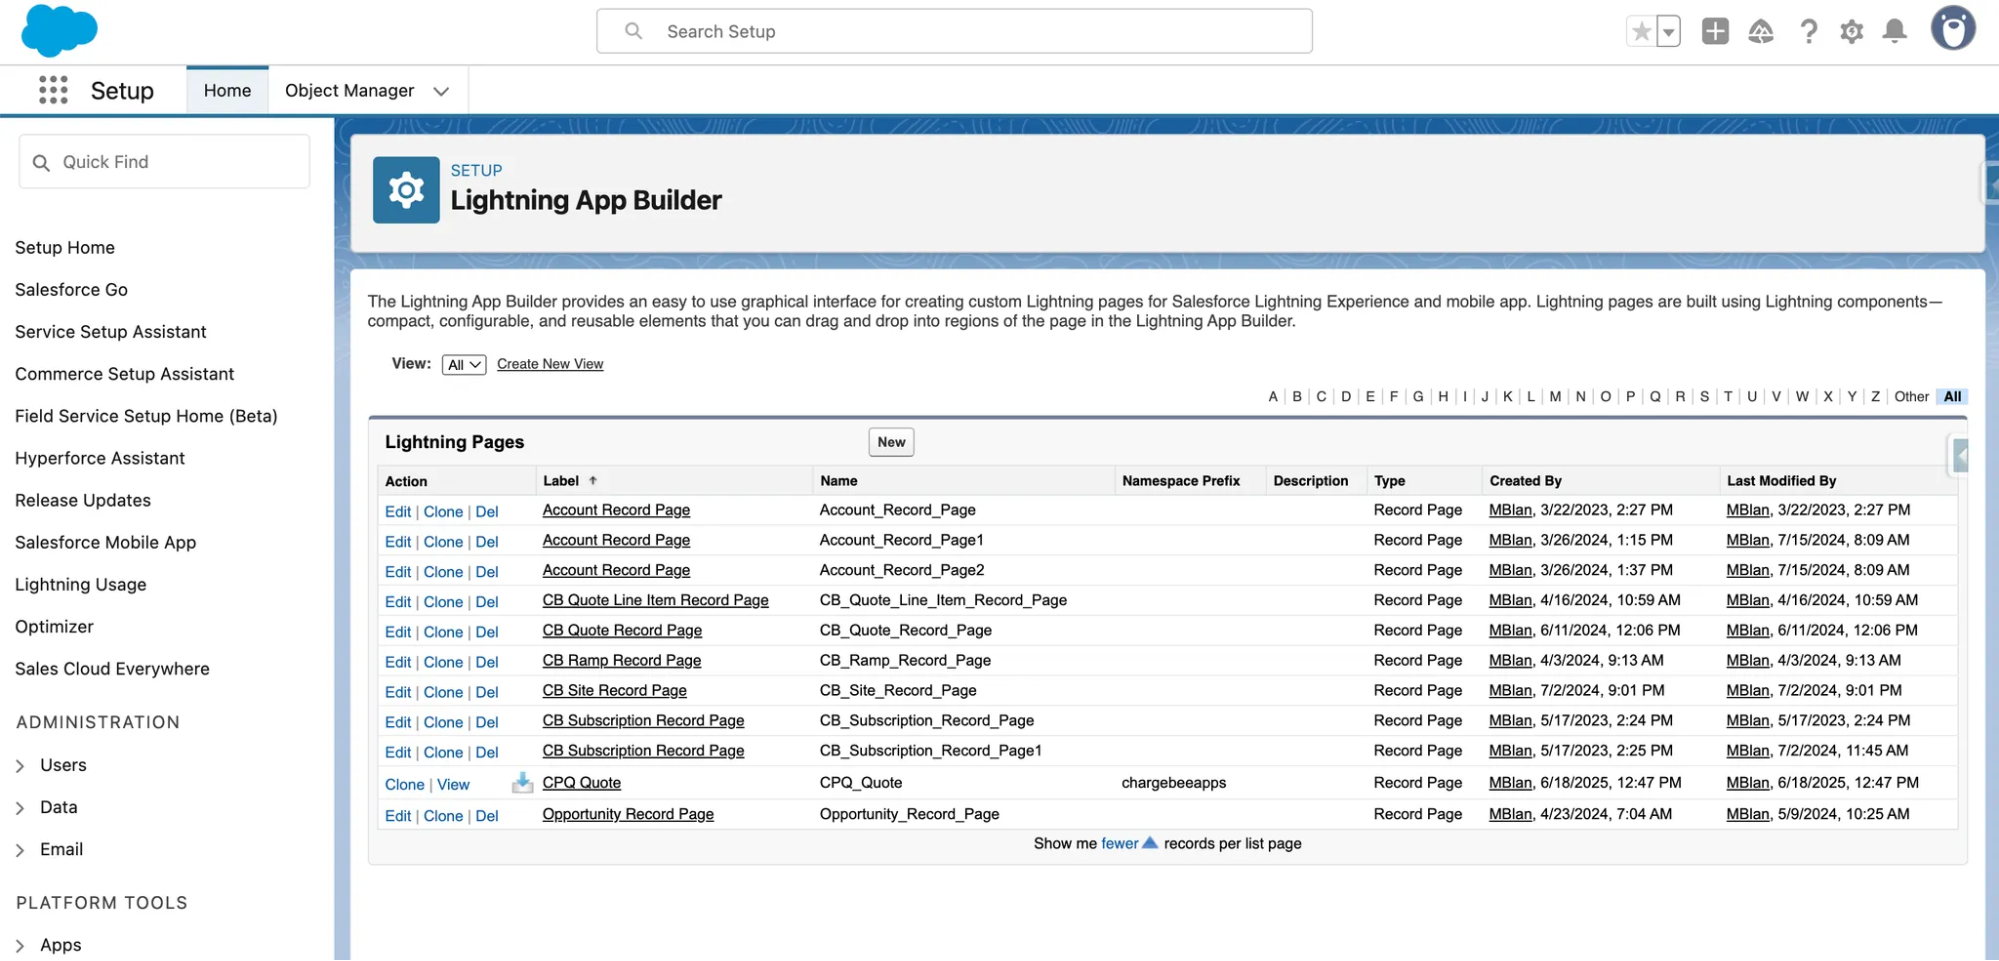
  1. Go to Setup > Lightning App Builder.
Setup menu with Lightning App Builder option
  1. Locate and select the CPQ Quote page.
CPQ Quote page selection in Lightning App Builder
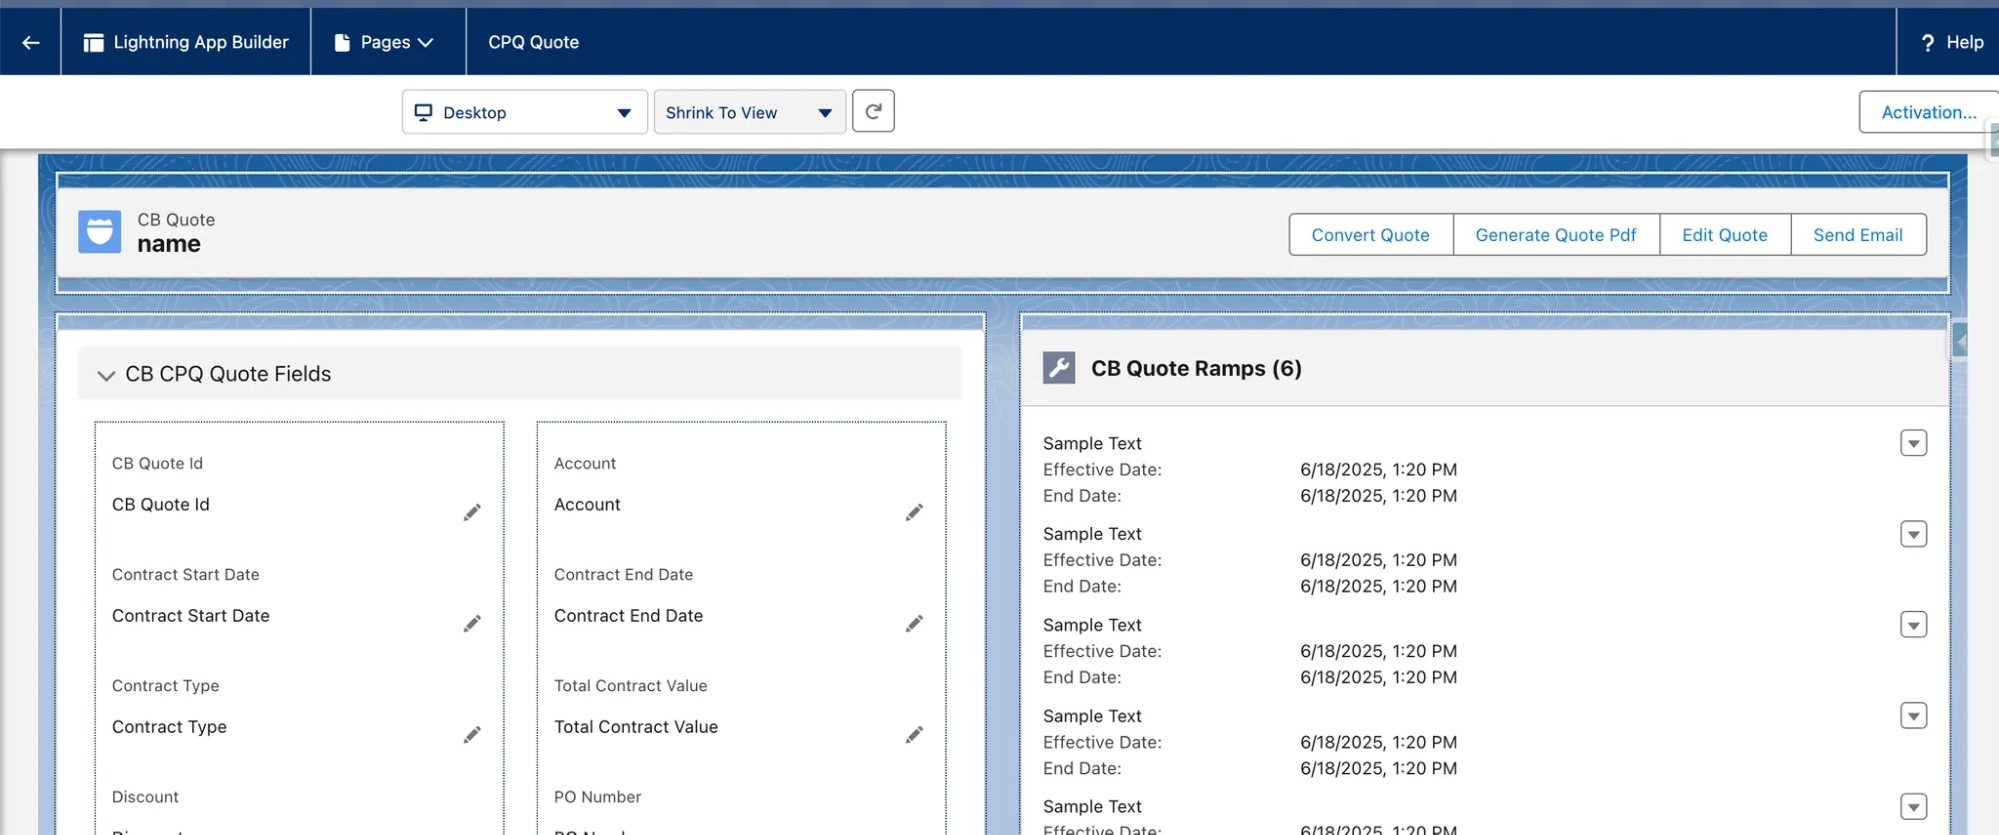
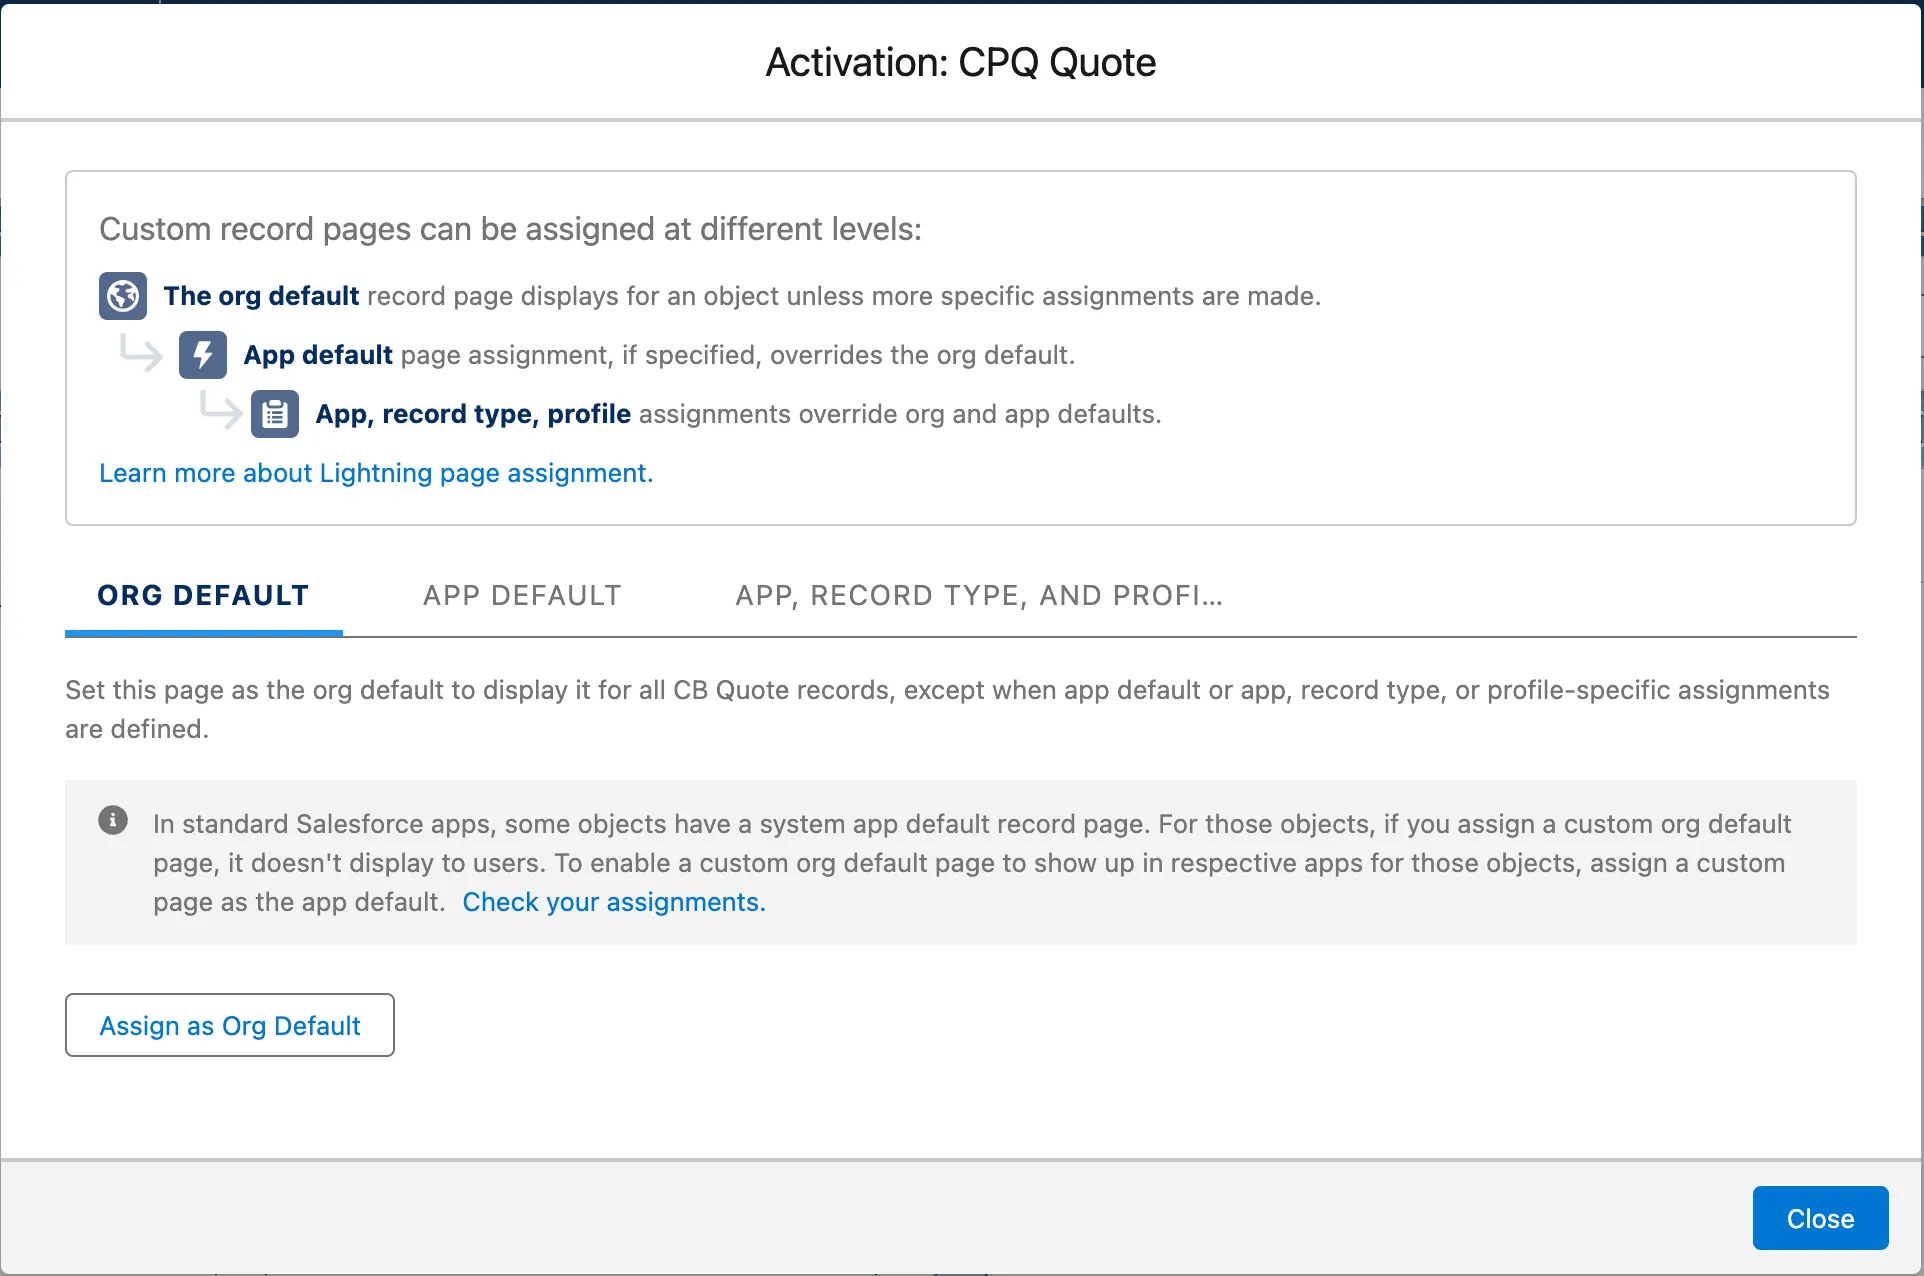
  1. Click View > Activate.
View and Activate options for CPQ Quote page
  1. Under Activation Settings, choose Assign as Org Default.
Activation Settings with Assign as Org Default option

Was this article helpful?