Integration Options
Chargebee offers the following options to integrate the hosted portal depending on your application or website's framework and business model:
- API (recommended if you want to authenticate the user at your end)
- Drop-in script
When to use API vs. drop-in script
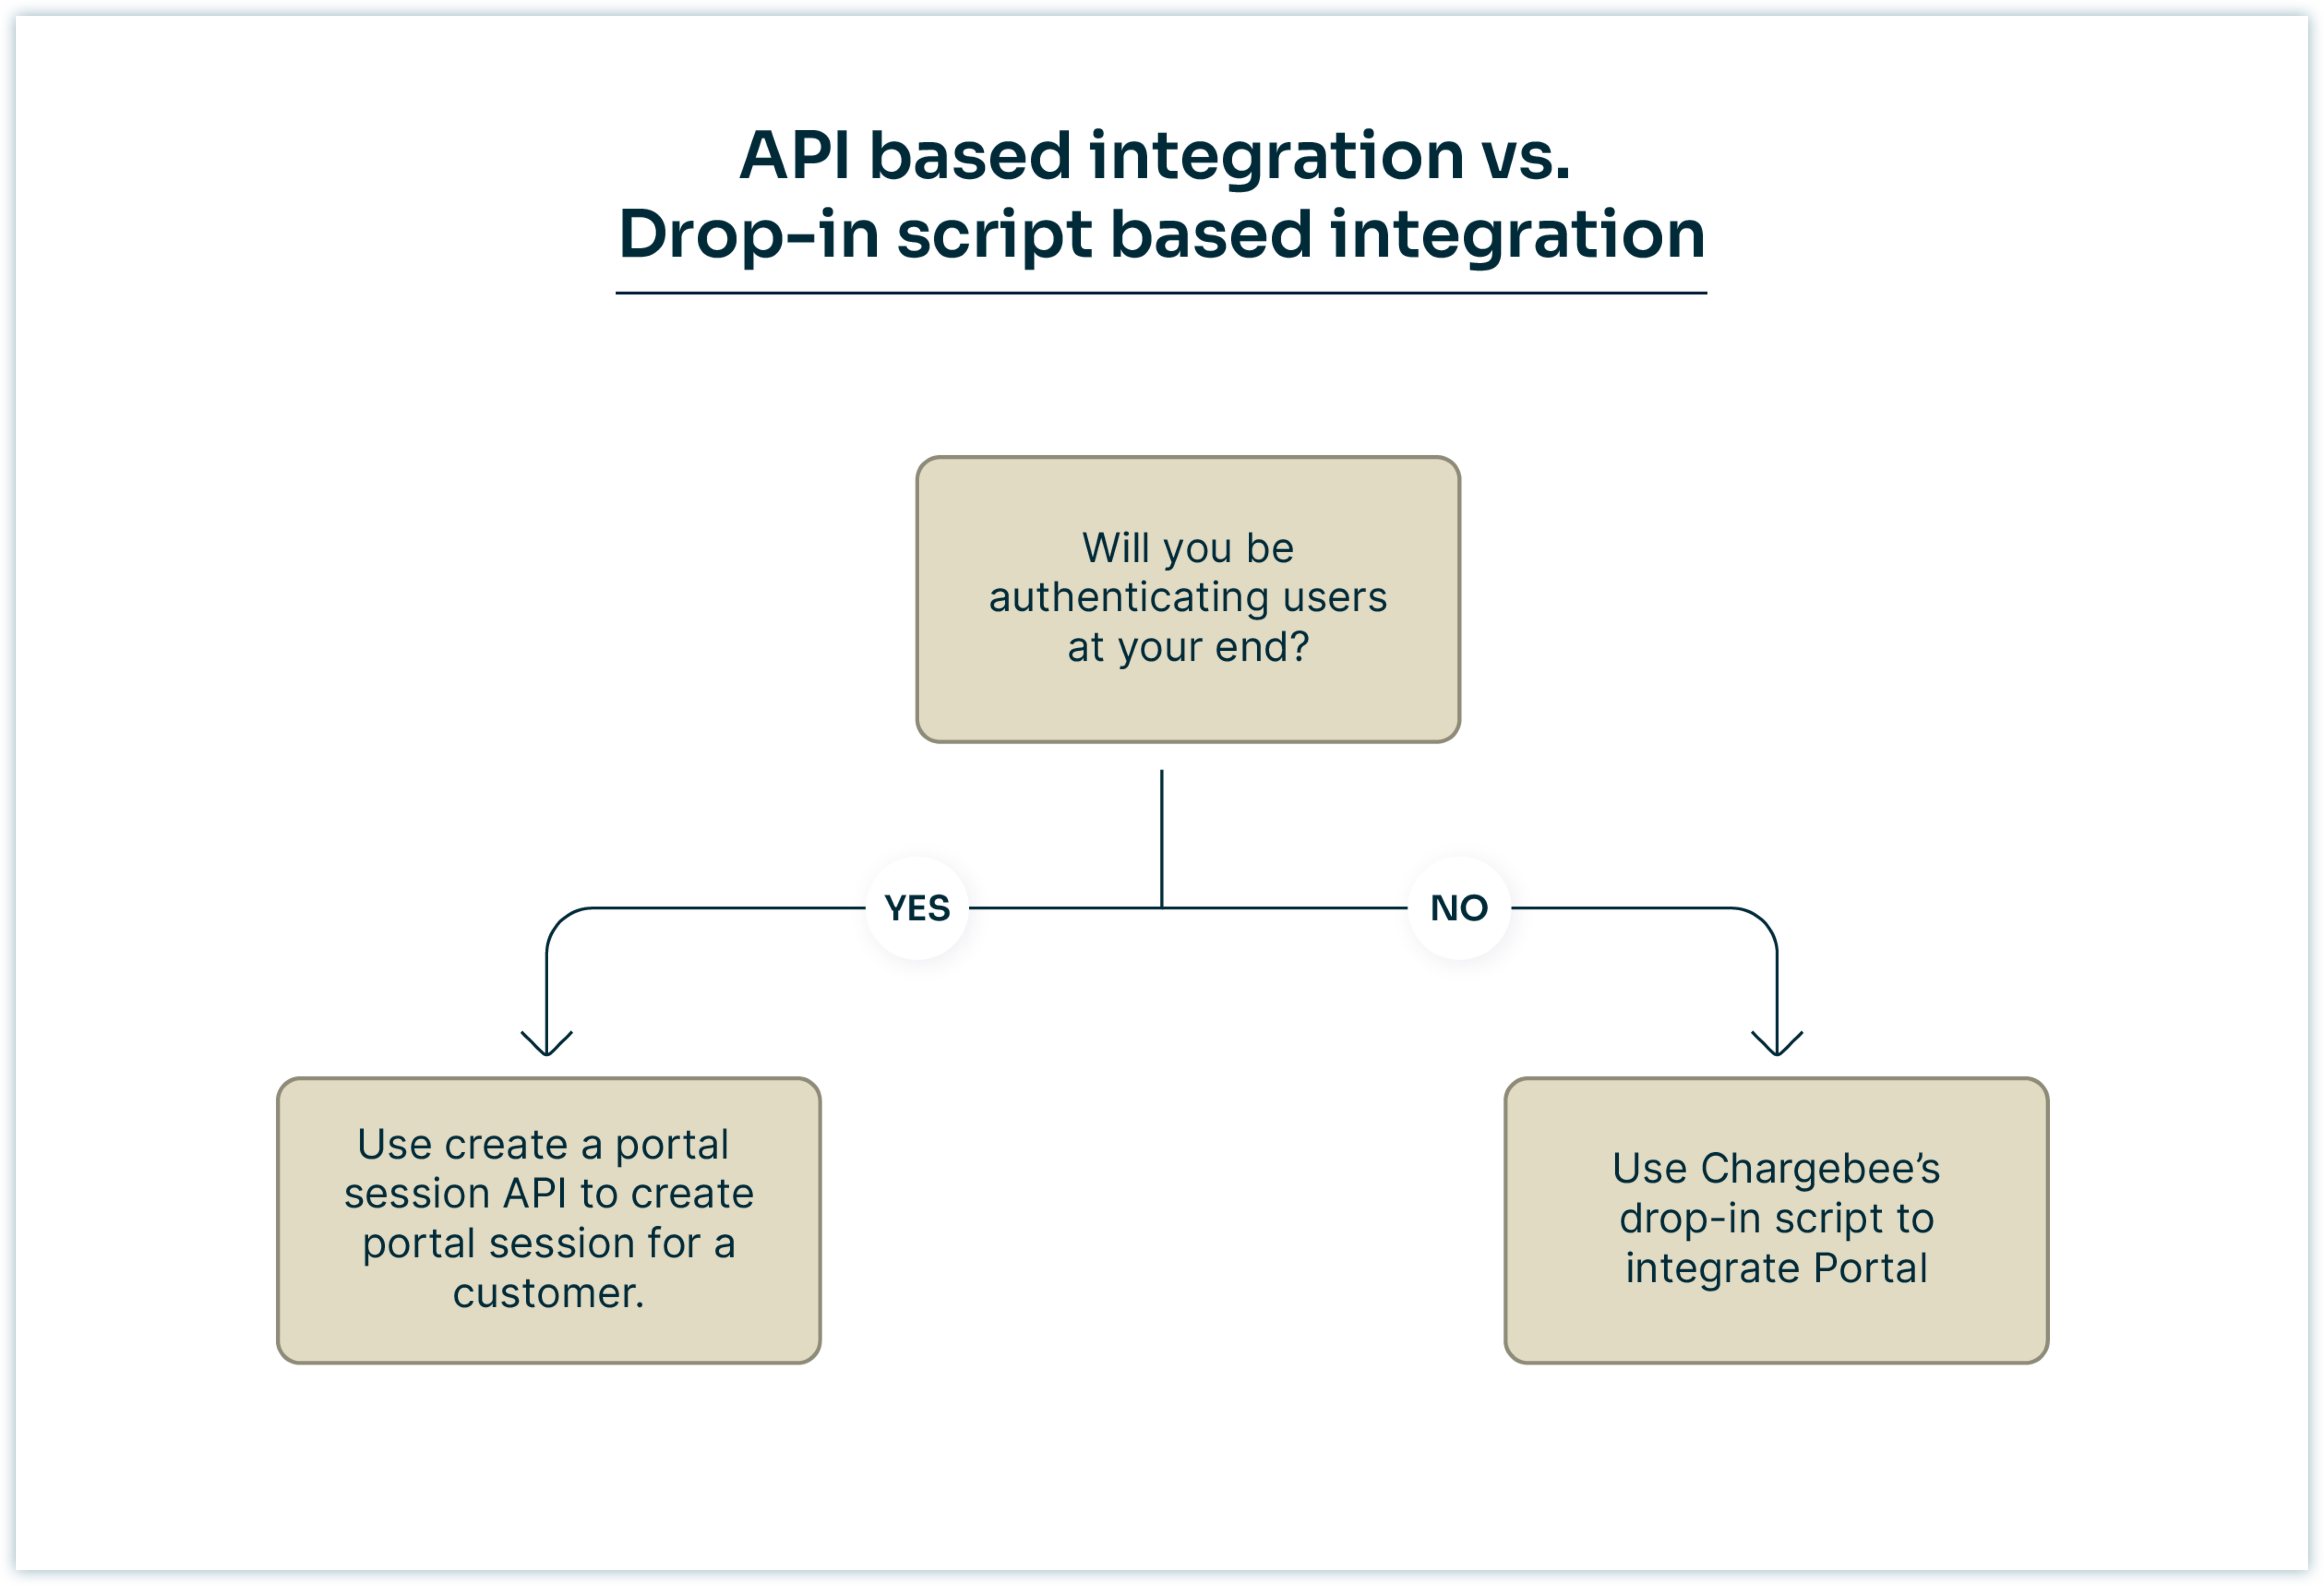
API-based integration
Chargebee supports Single Sign-On (SSO) to access the customer portal. If you have your own mechanism for authenticating users, you can use Chargebee's SSO capability to provide portal access for managing billing and subscription details.
Note
The Portal Session URL generated via the API expires 1 hour after creation.
When you integrate using an API-based integration, the workflow looks like this:
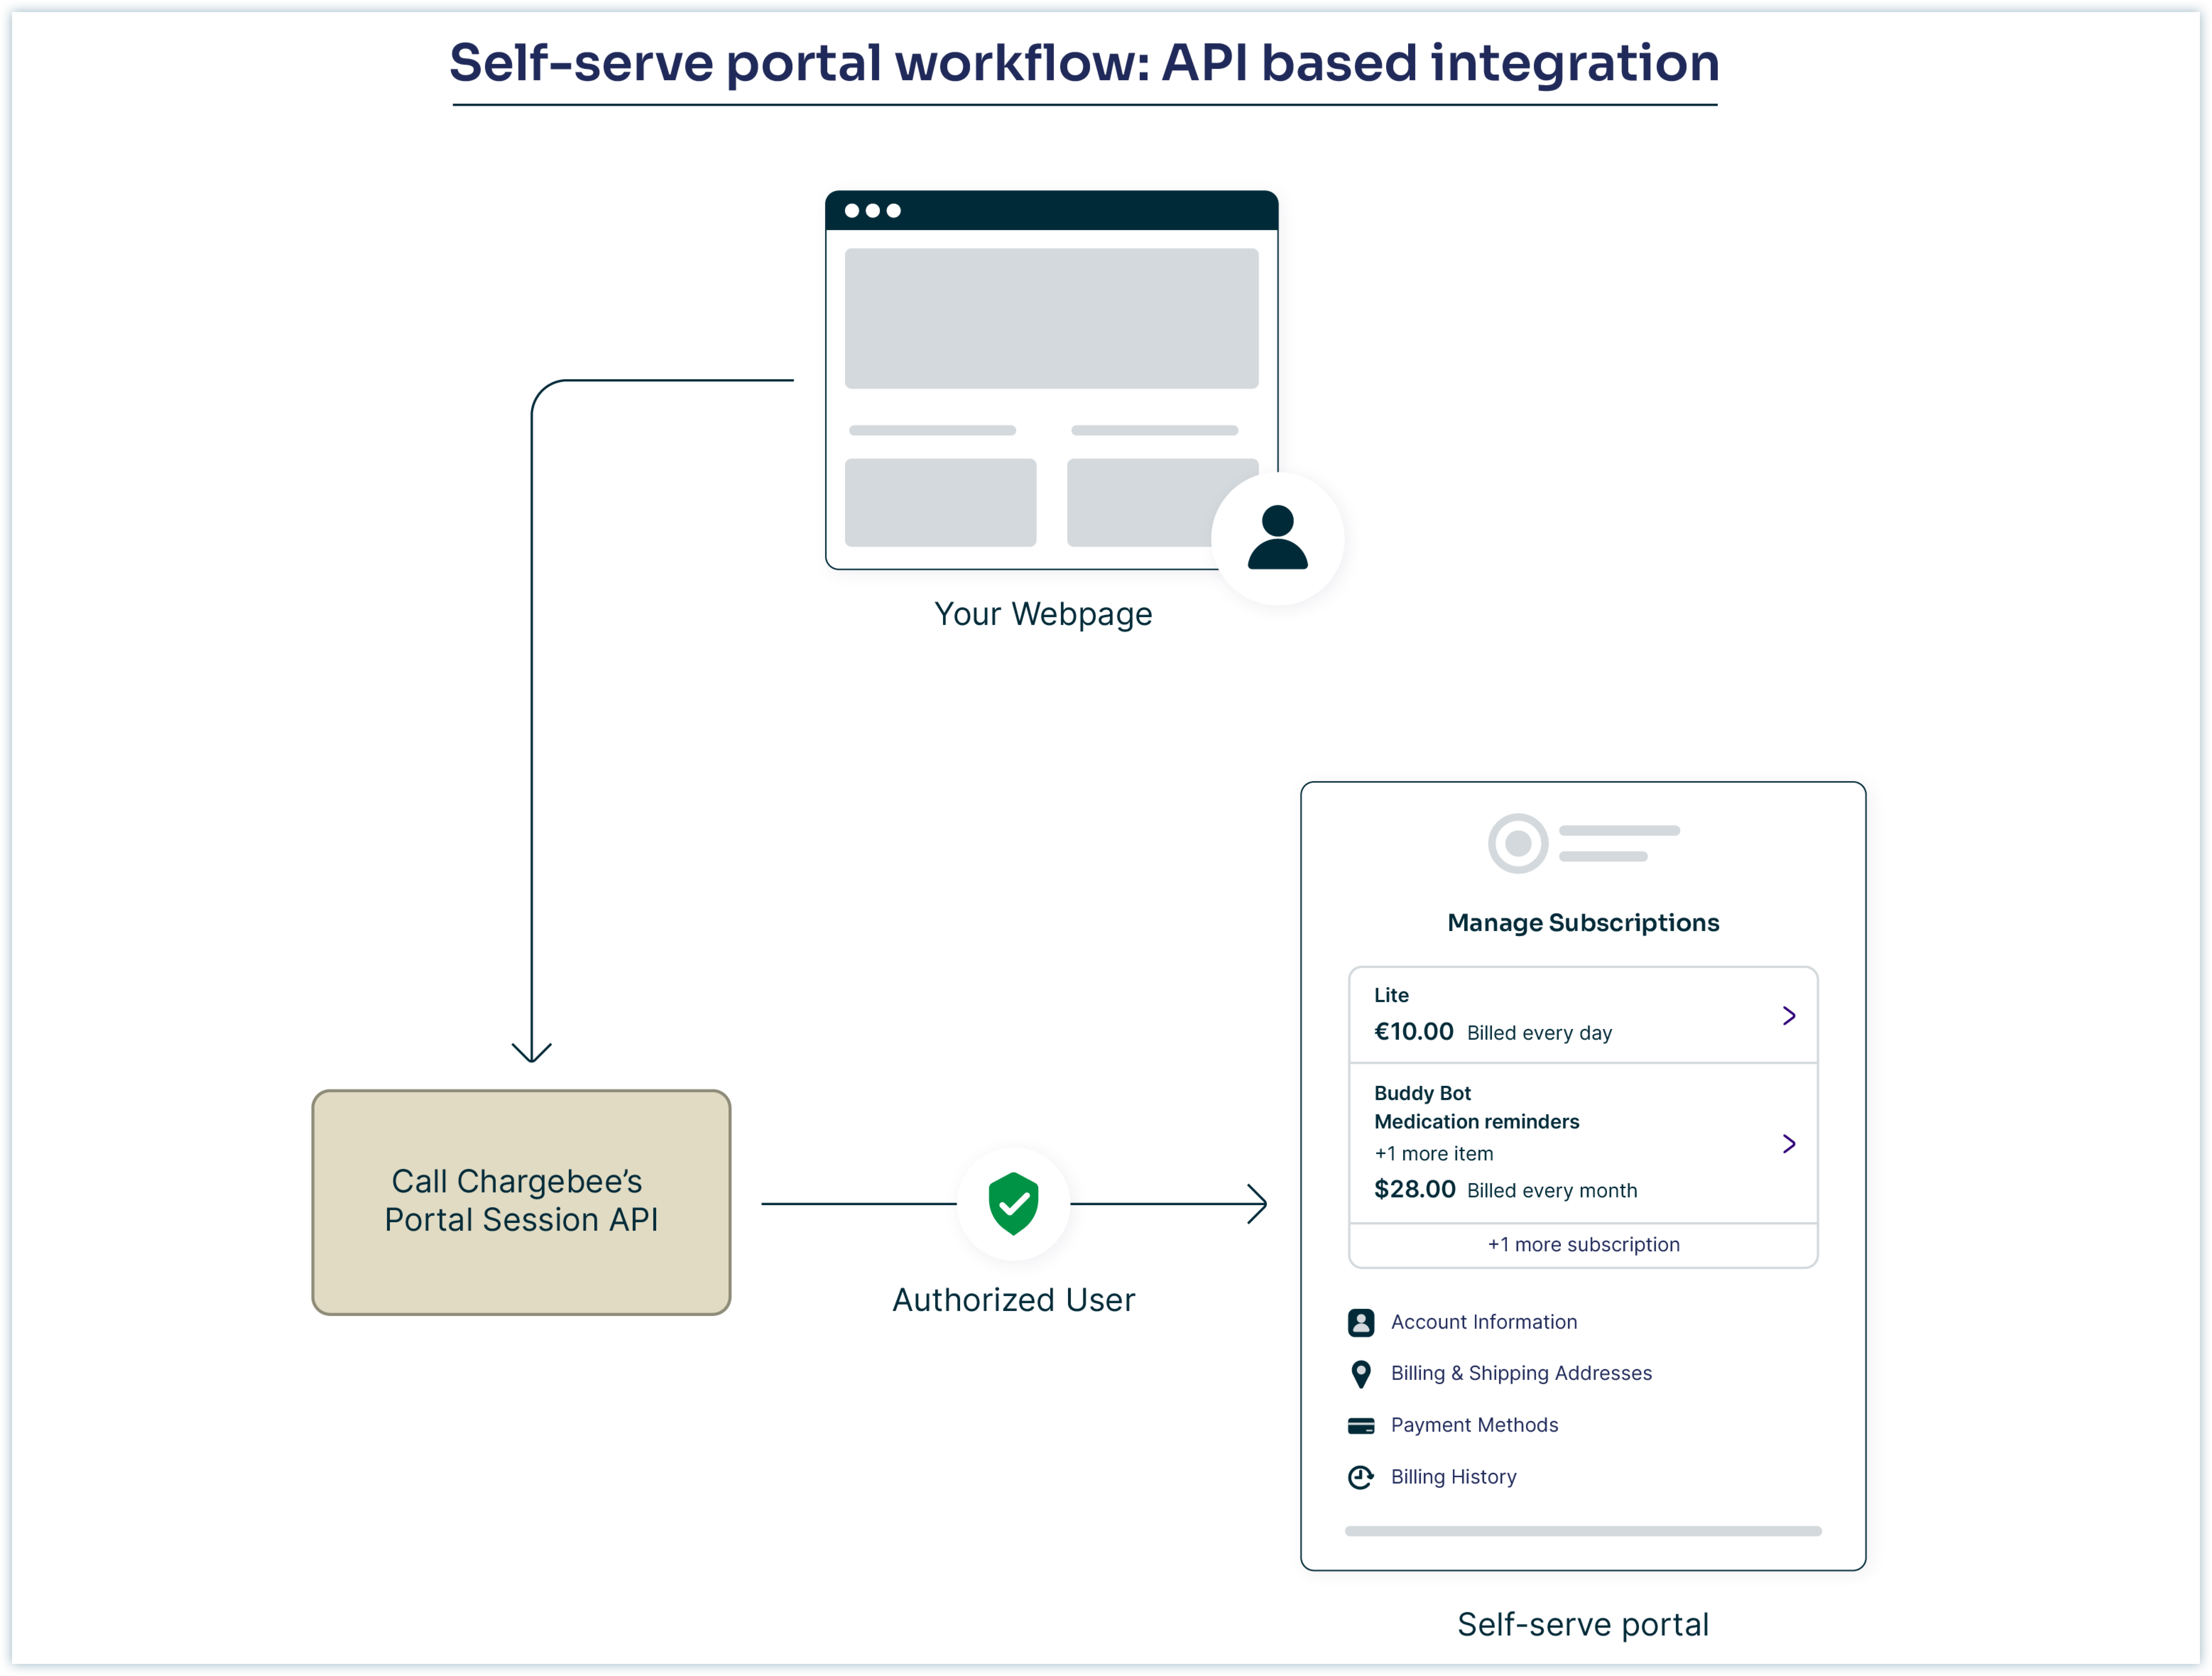
Learn more about portal integration using Chargebee API.
Drop-in based integration
The drop-in script is the easiest and quickest way to integrate the hosted portal into your website. No coding knowledge is required. But your requirements should satisfy this condition:
- You do not have a user authentication system at your end and you rely on Chargebee for providing it.
When you integrate using a drop-in script, the workflow looks like this:
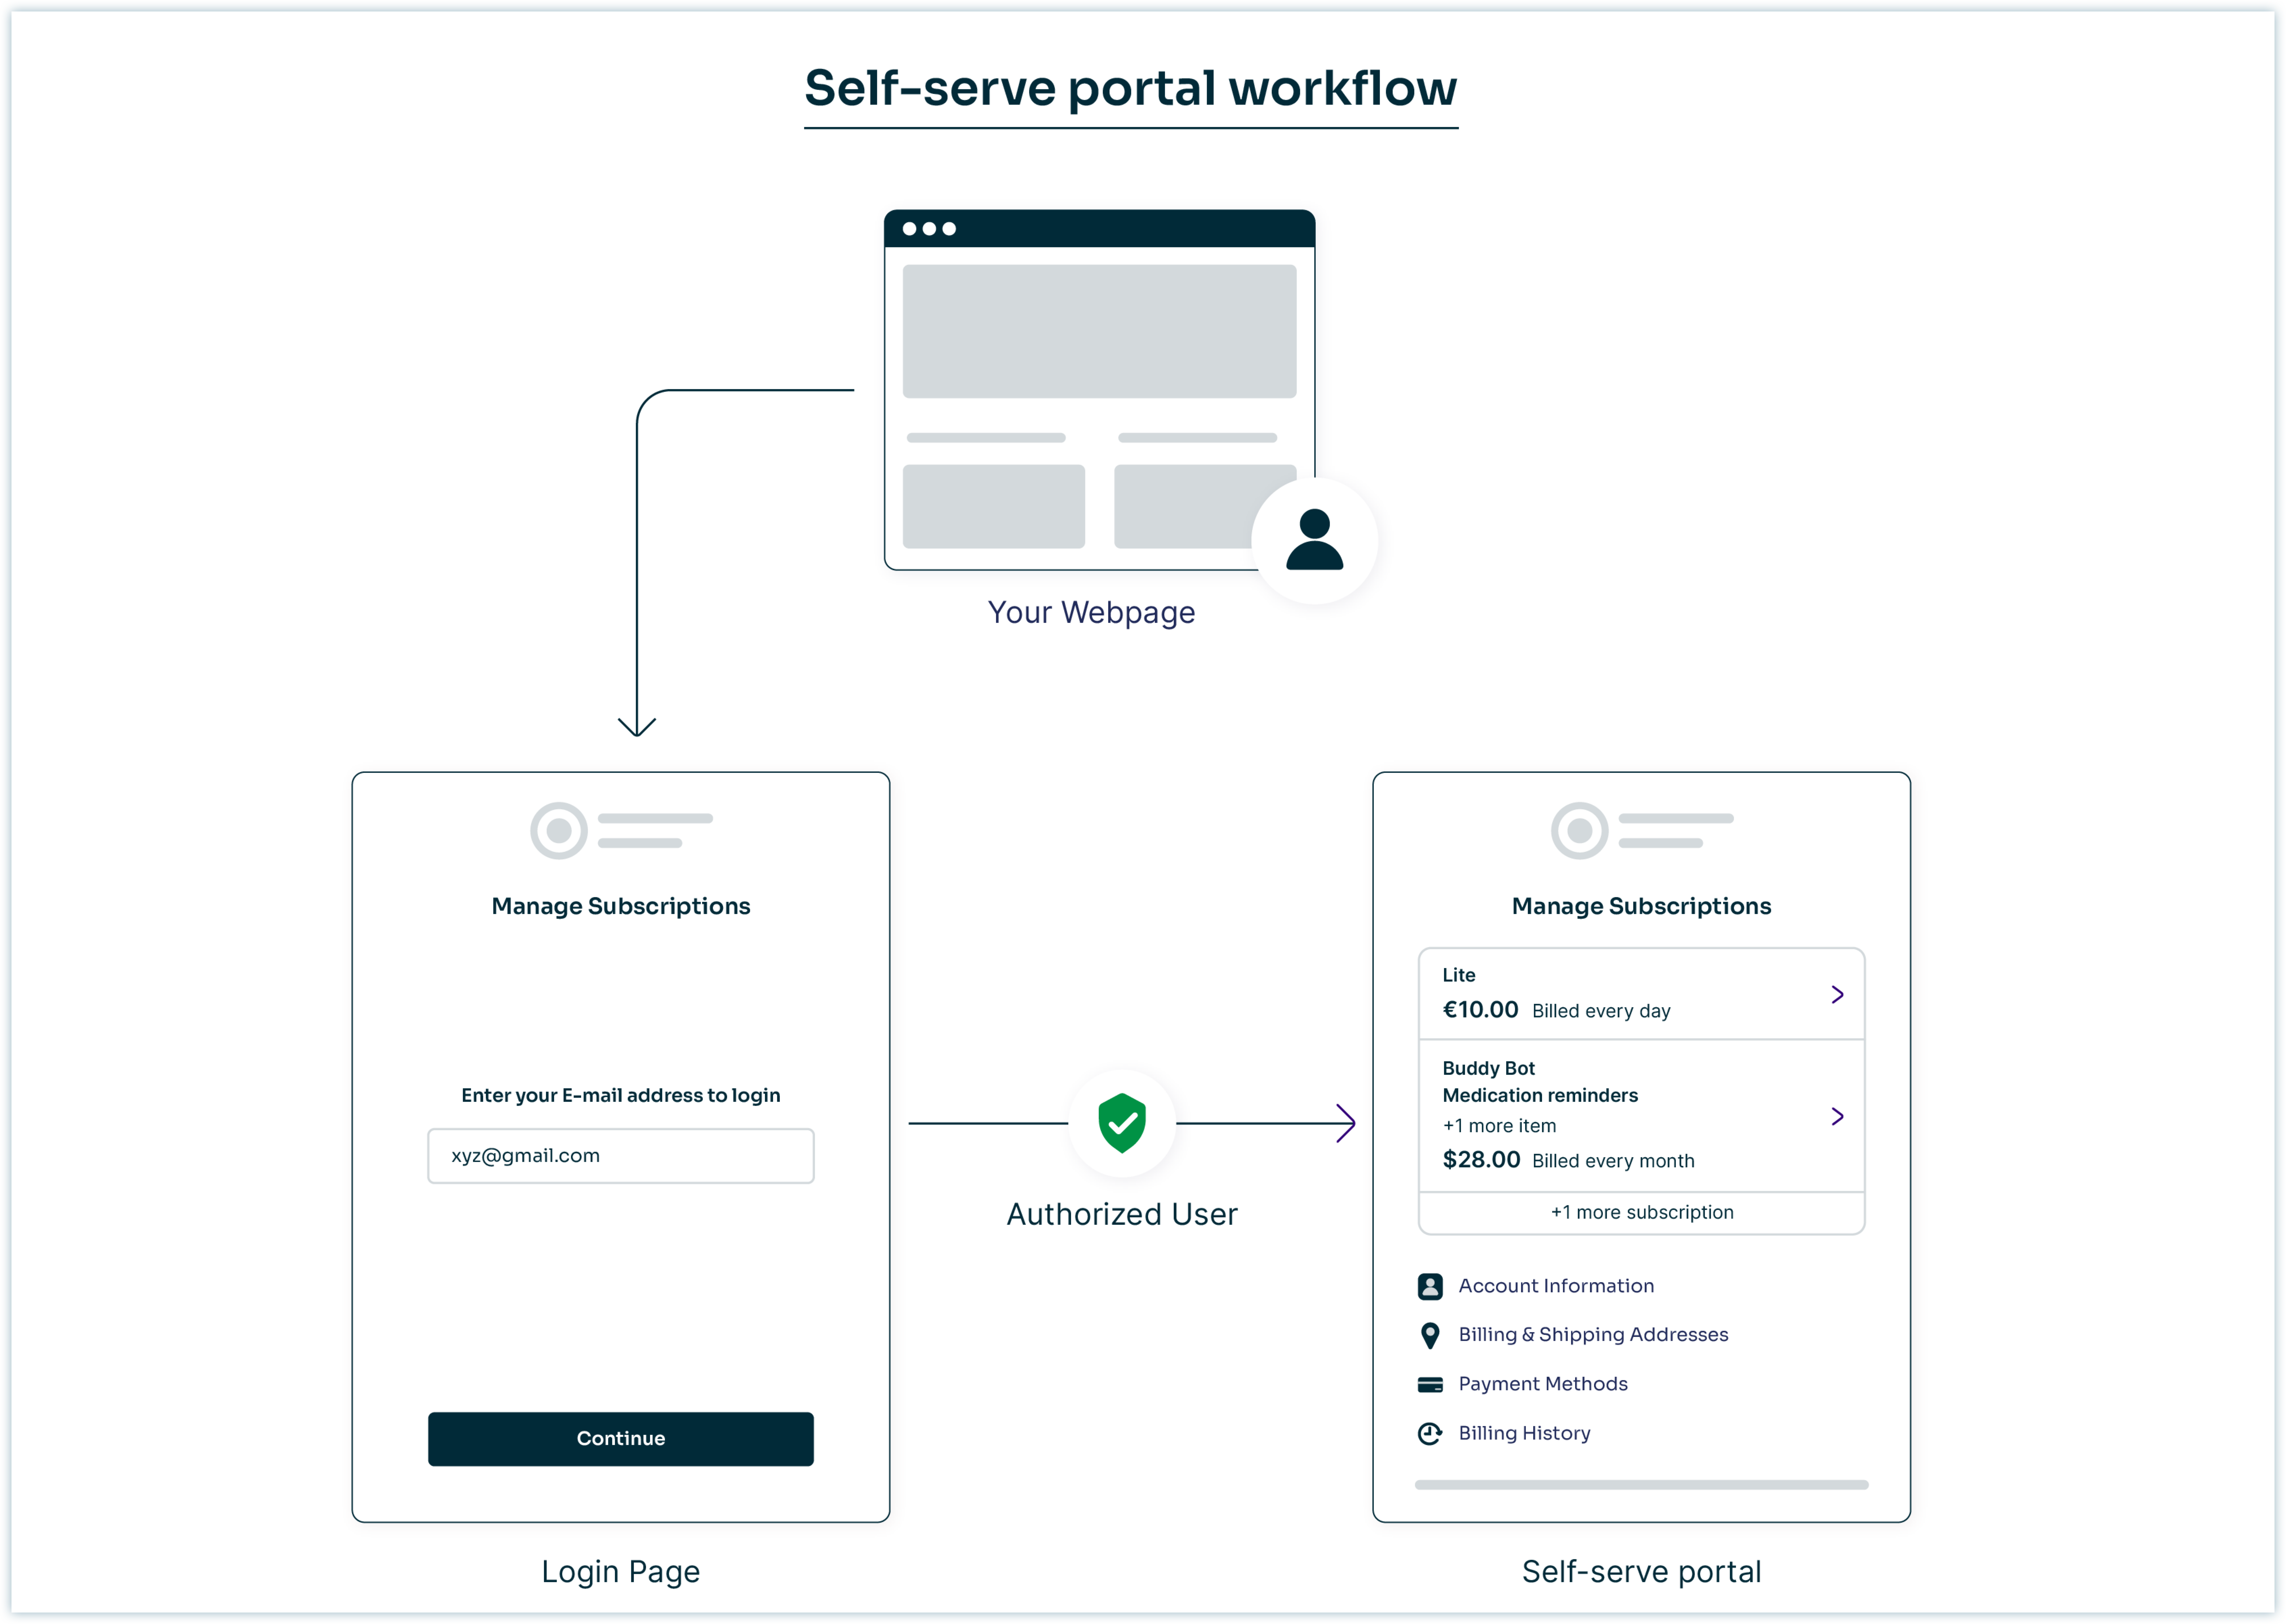
Learn more about portal integration using drop-in script.
Single account vs multiple account login
In Chargebee, a merchant can create customer accounts using the email address in two different methods:
- Single account: An email address dedicated to one customer account.
- Multiple accounts: An email address dedicated to multiple customer accounts.
Once the account or accounts are created, merchants can log in and use the Self-Serve Portal. The login experience differs for these two scenarios.
Single account login
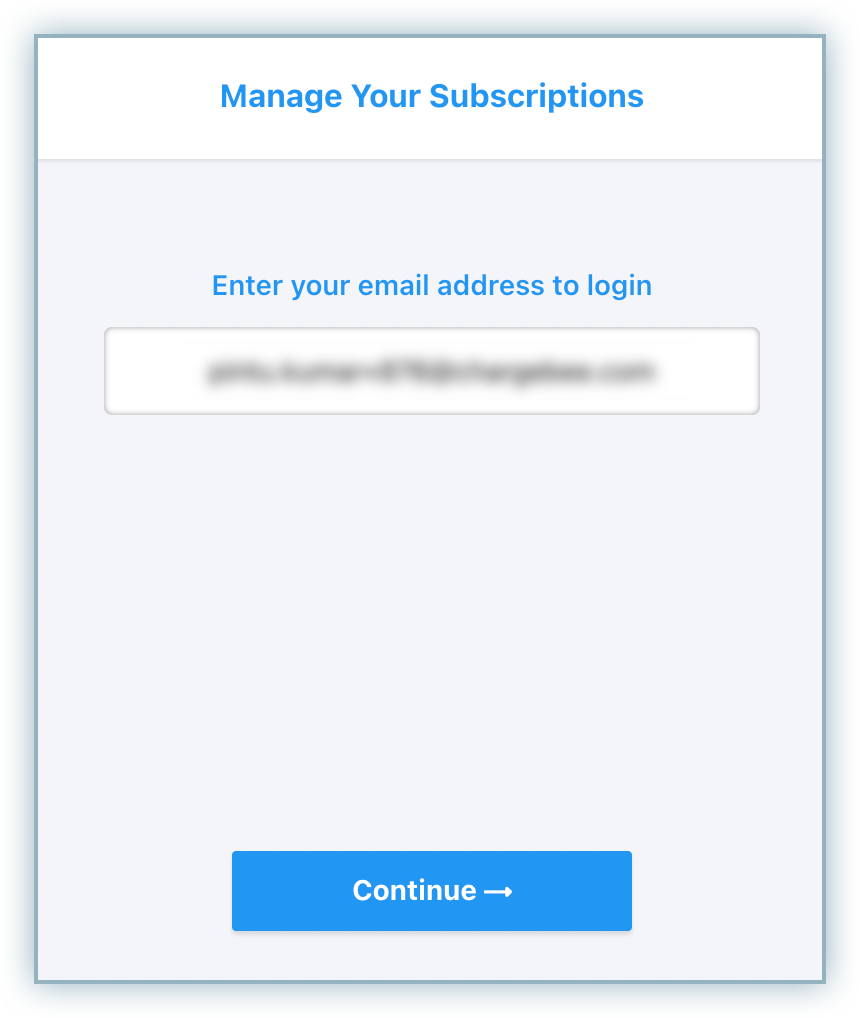
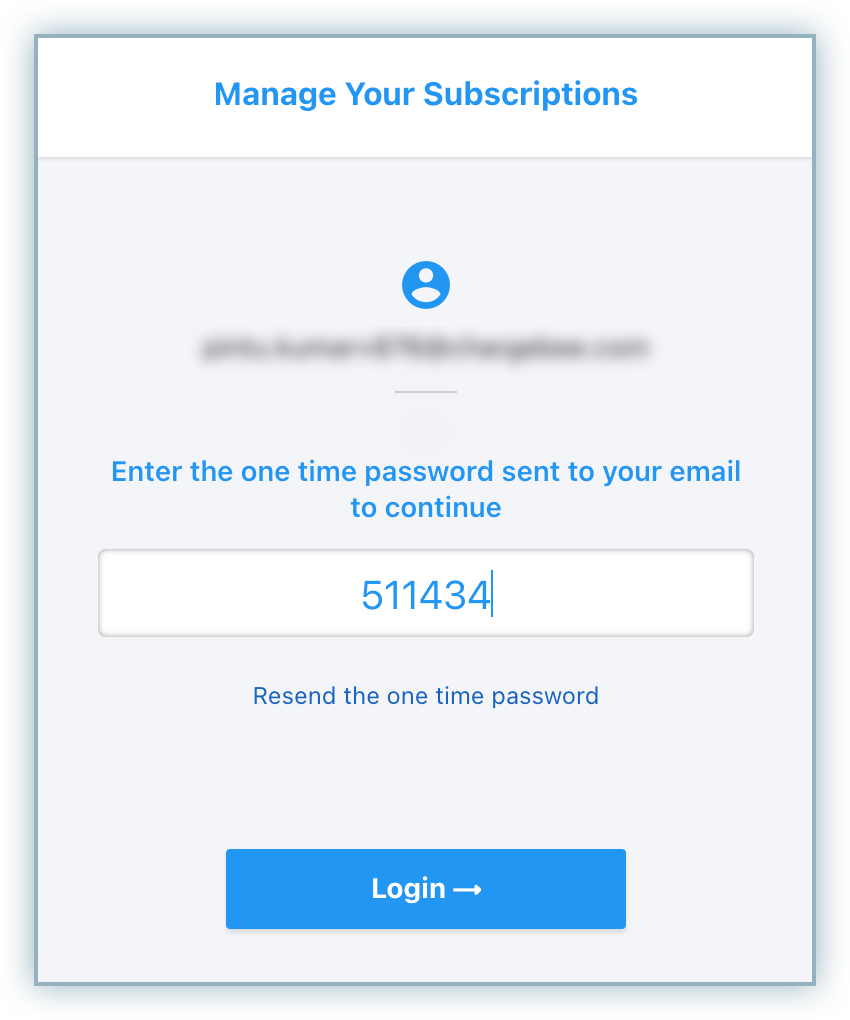
For scenarios with just one customer account with a dedicated email address, the flow without any account selection page applies. This flow simply involves entering the email address and the received OTP consecutively to log in to the Self-Serve Portal.
Multiple account login
For scenarios where multiple customers are associated with one email address, the login flow includes an account selection section (displayed in the third step below) where you can select the customer account for which you want to log in to the Self-Serve Portal. This page fetches all the accounts linked to the entered email address, and you can view them as you scroll down the page.
The login flow looks like this:
-
Enter your email address and click Continue.
-
Enter the one-time password received on your email address.
-
The account selection screen appears. Scroll down, locate the relevant account and select it to access the Self-Serve Portal.
-
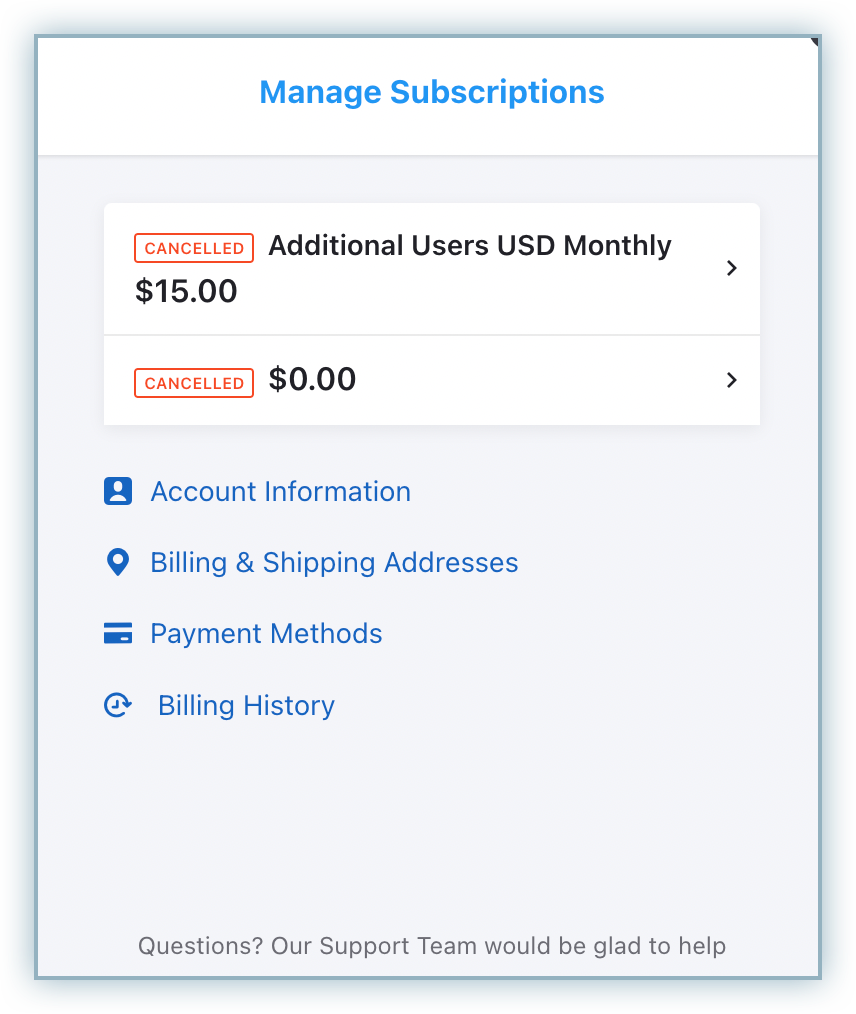
After selecting the relevant account, you can view the Self-Serve Portal for the selected account.
Display additional information for the accounts
By default, on the account selection page, the accounts are distinguished by a # number along with the Signed up on date. This doesn't provide enough details to help the customer select the correct account to log in to.
You can add more information like First Name, Last Name, Company, and more to the account tabs by using an existing label.
Follow these steps to configure the label for your accounts:
-
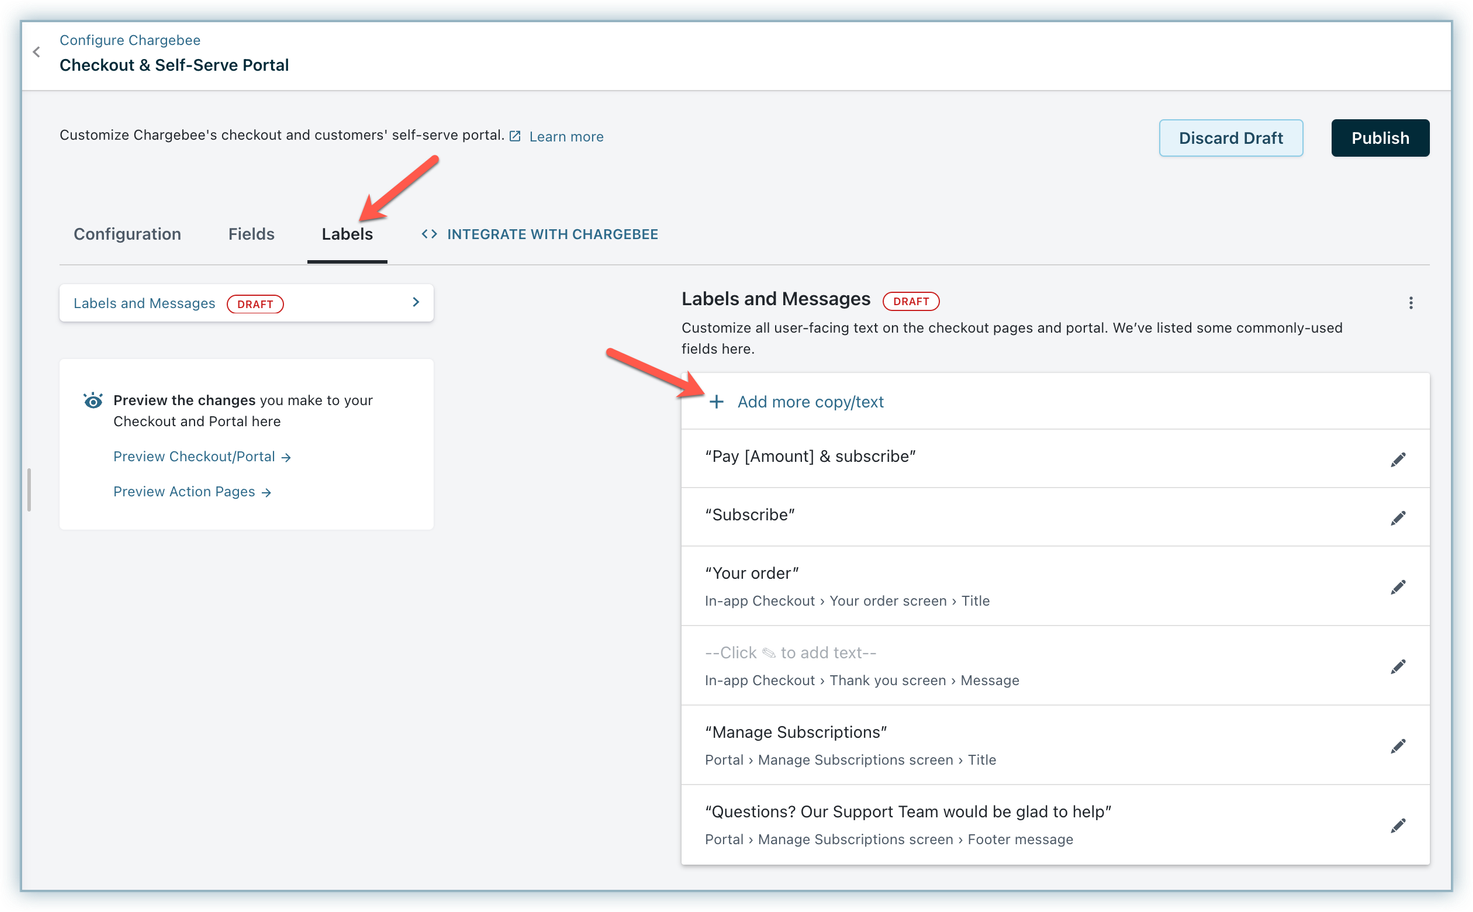
In your Chargebee app, go to Settings > Configure Chargebee > Checkout & Self Serve Portal.
-
Select the Labels tab and click Add more copy/text.
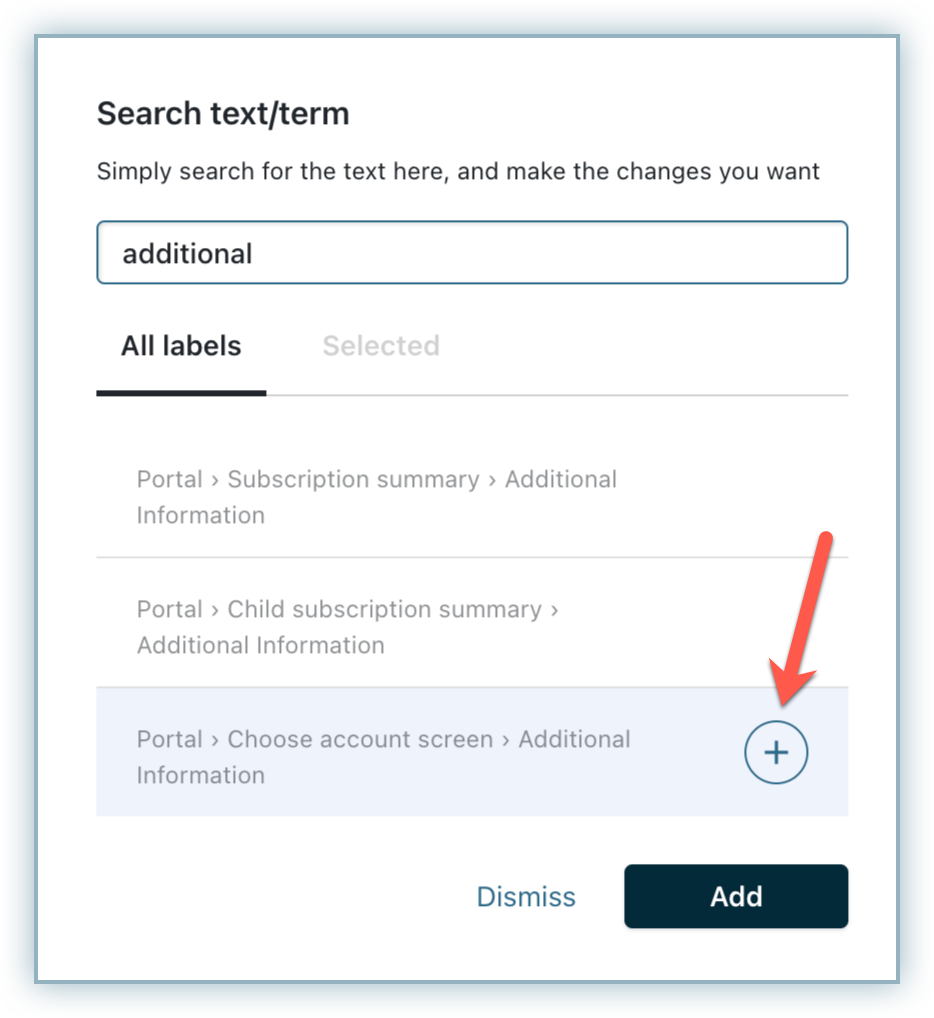
-
Search for additional and click the + icon against the Additional Information label and then click Add.
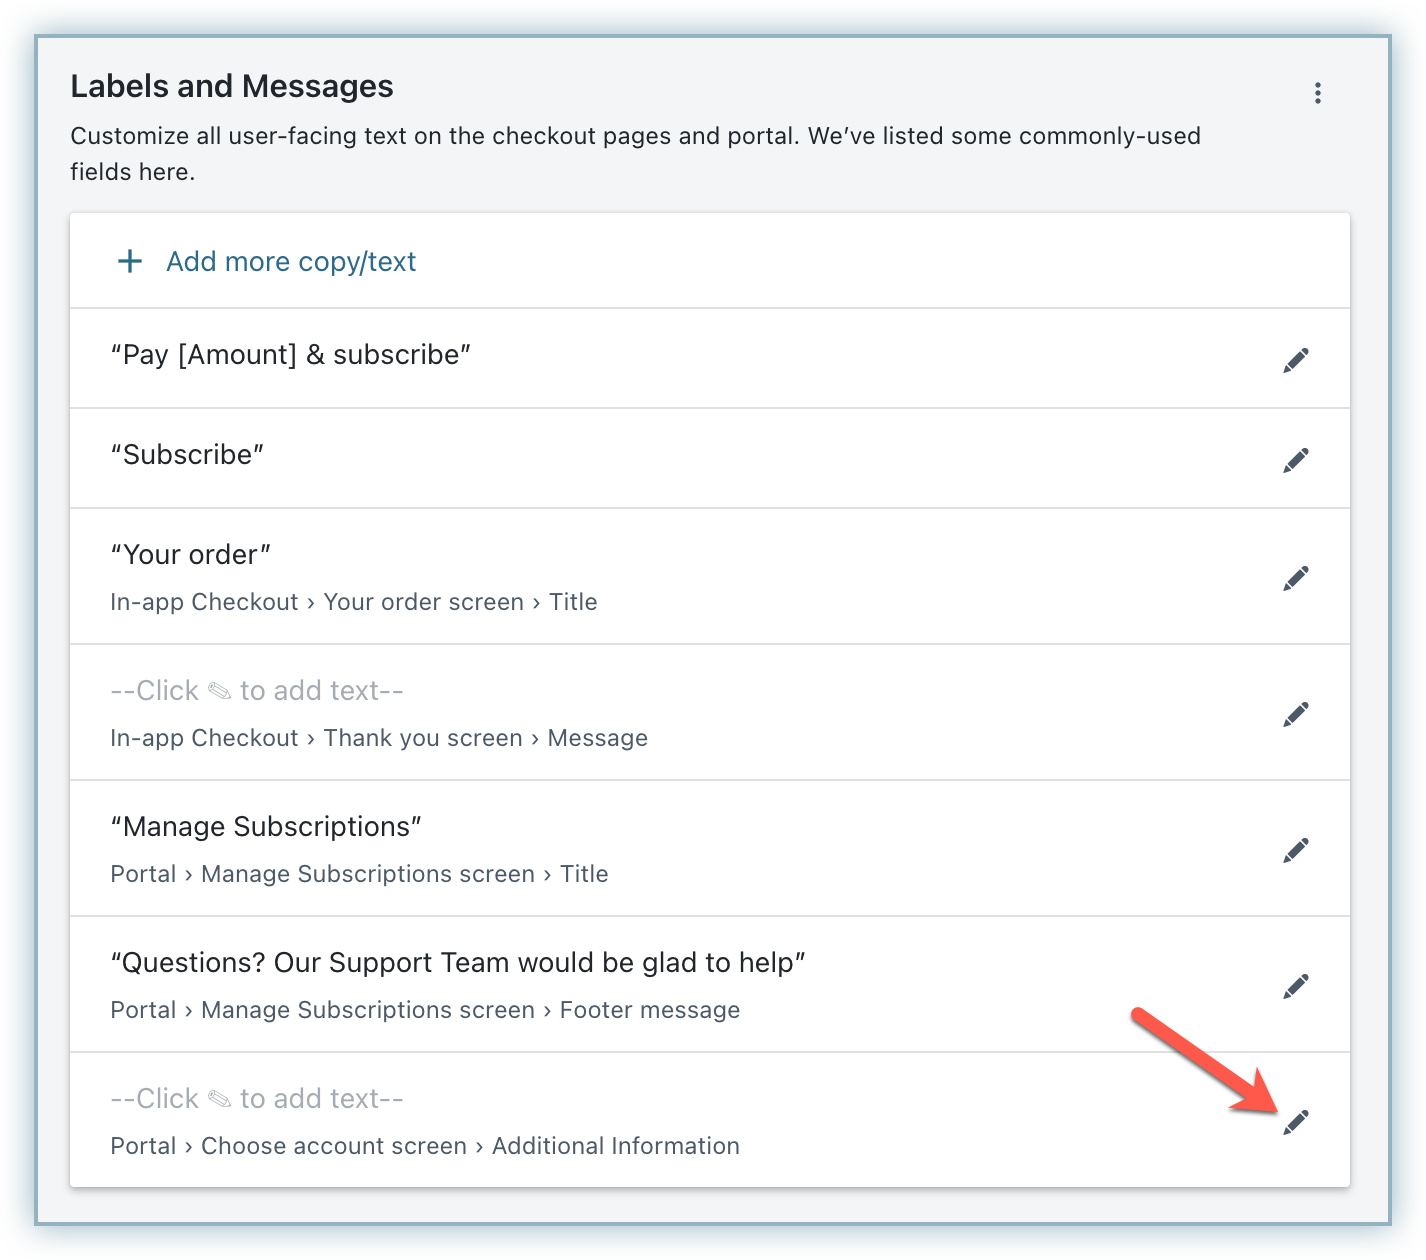
-
Click the edit icon against the newly added label in the list.
-
In the Configuration for Additional Information box:
- Press the space bar once, click the + button, and select the field from the list that you want to add.
- To add another field next to the previous one, press the space bar on your keyboard again, click the + button and select the field.
- To end the current line and add a new field to the next line, write
{space}EOL{space}and add the field that you want to add after it. Note that{space}indicates leaving a space before and afterEOL. - Click Apply.

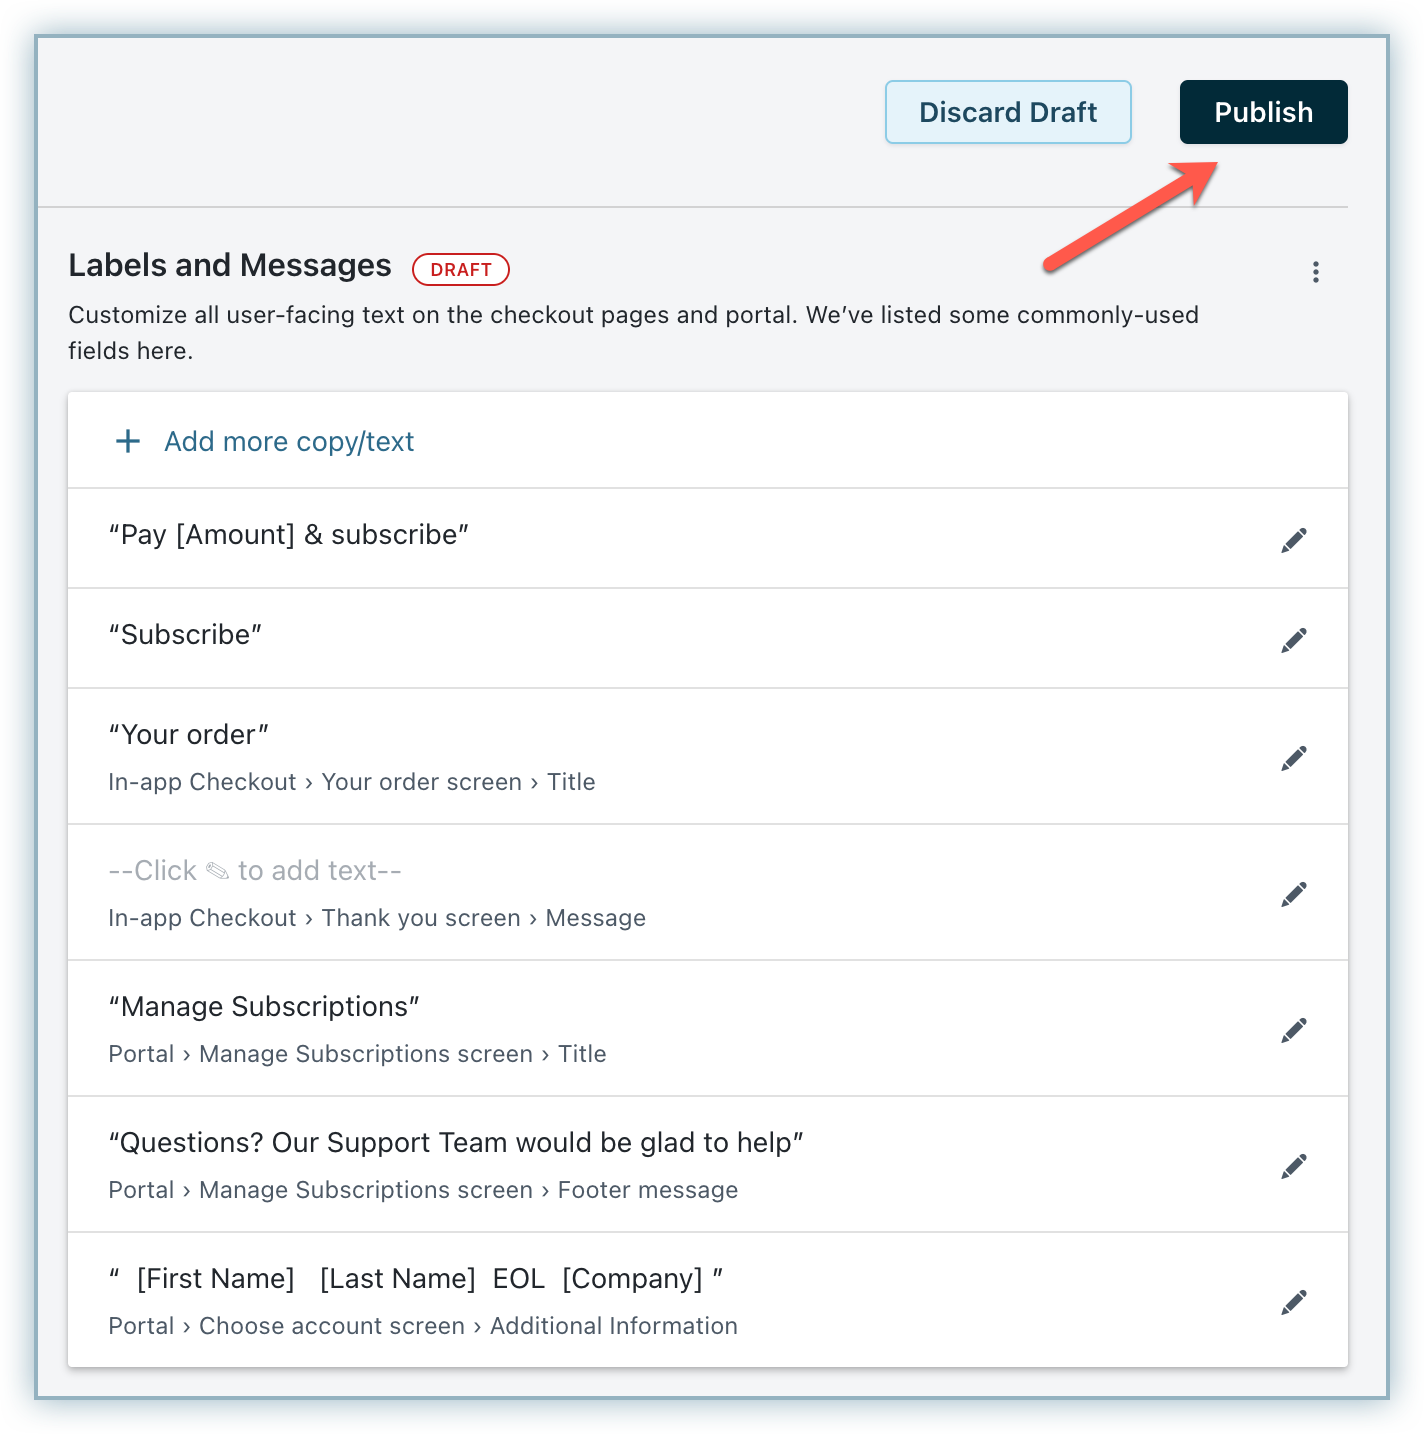
-
Click Publish.
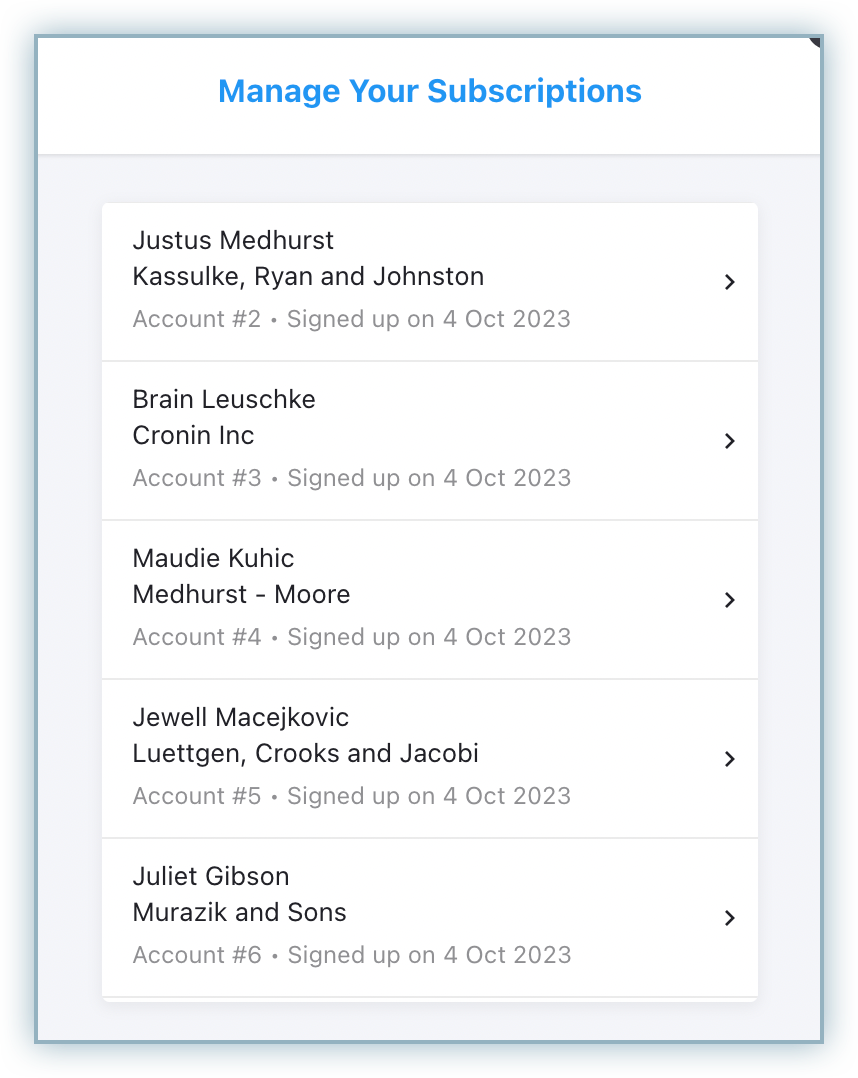
Now, restart the login flow and the changes will be visible on the account selection page.
Was this article helpful?