Razorpay Netbanking and UPI Processing
You can choose to accept Netbanking and Unified Payments Interface (UPI) payment methods with your Razorpay gateway. However, you must review the following conditions that apply:
- Enable Netbanking and UPI in your Razorpay gateway.
- Netbanking e-mandates and UPI mandates payment methods differ from conventional Netbanking and UPI, which are used for P2P or A2A transfers. Chargebee's implementation of Netbanking mandate and UPI mandates is optimized for recurring payments and adheres to limitations prescribed by Razorpay and banks.
Note
Razorpay only supports Netbanking and UPI payment methods for domestic payments where the presentment and settlement currencies are INR. By default, the maximum amount for a UPI mandate is set to Rs. 5,000 and for a Netbanking mandate to Rs. 1,000,000. You can also set a custom mandate limit for UPI and Netbanking (below the default maximum limit) for your account via Payment Preferences
Mandate properties and customizations
As part of the mandate setup process, you need to configure the amount and frequency of payment collection. By default, the following values are set for UPI and Netbanking in the Chargebee and Razorpay integration:
UPI
- Amount: Rs. 15,000
- Frequency: As presented
Netbanking
- Amount: Rs. 1,000,000
- Frequency: As presented
Customizing the mandate values
Frequency
Razorpay supports multiple frequencies for UPI mandates, providing greater flexibility for your billing needs. The supported frequencies are:
- Daily
- Weekly
- Monthly
- Yearly
- As Presented (Ad hoc)
For new merchants setting up Razorpay, As Presented is the default frequency for UPI mandates, offering more flexibility to accommodate various workflows.
You can configure your site to enforce a specific billing frequency, such as Monthly, for all your plans in the checkouts. Simply reach out to Chargebee Support with the desired default frequency.
The specified frequency will override the default and apply to any new subscriptions created after the change, affecting all plans and products.
Note
Currently, you cannot change the frequency of Netbanking mandates.
Amount
You can customize the default maximum amount for both UPI and Netbanking mandates by setting a specific value. To do this, Contact Chargebee Support with the amount you wish to set for the mandate.
Checkout flow
Let's review the checkout flow for Netbanking and Unified Payments Interface (UPI):
Netbanking
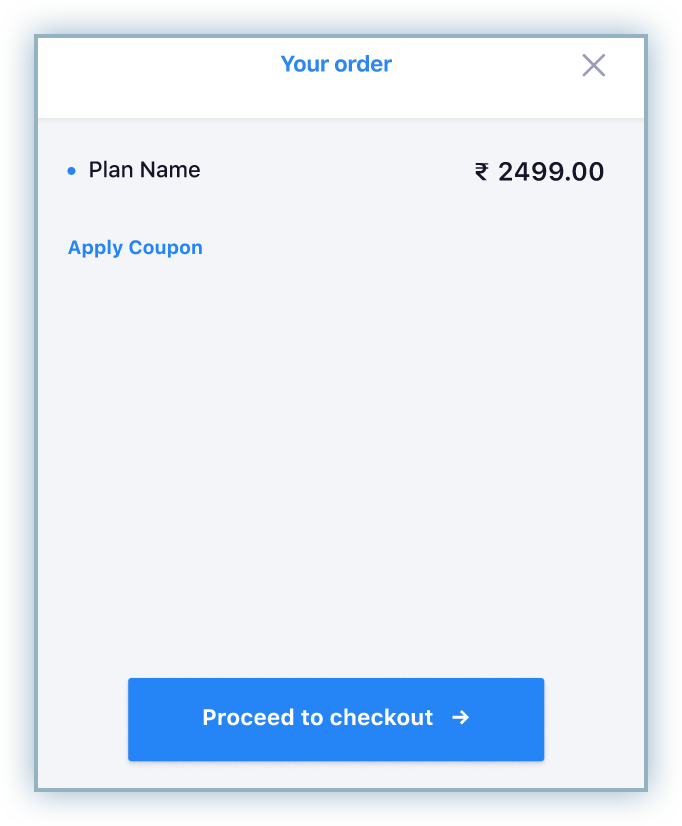
- Review the details of the order and click Proceed to checkout.
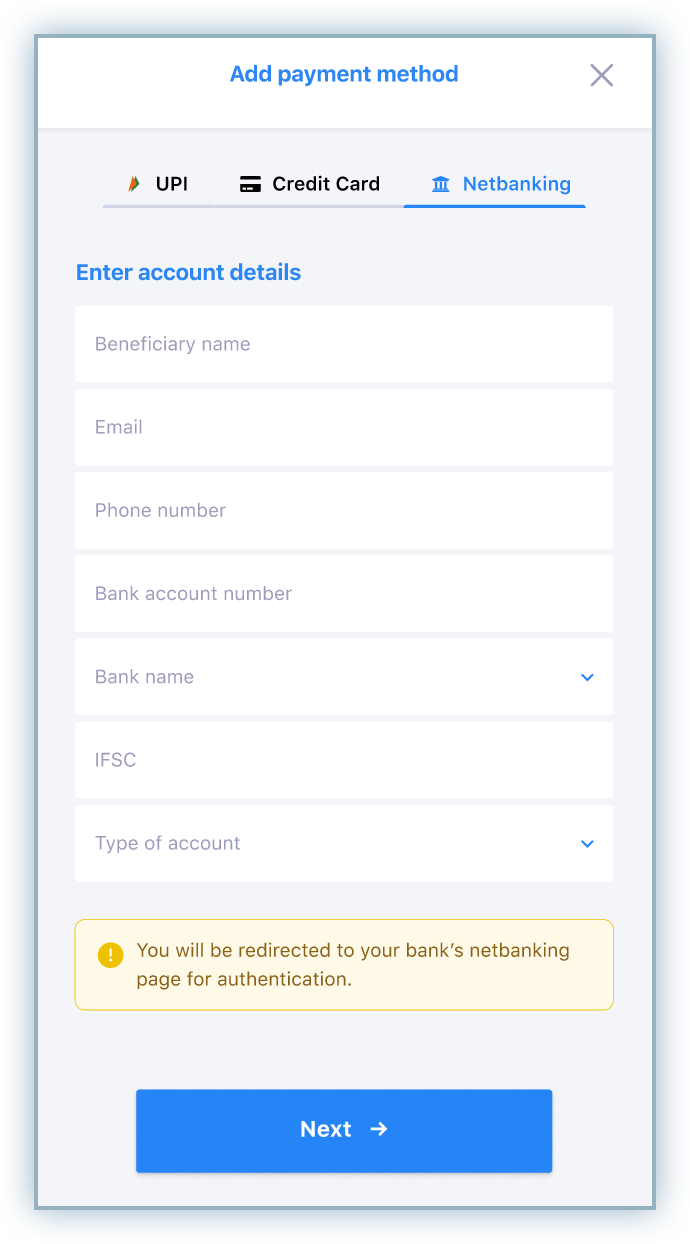
- Enter the applicable account details and billing address. Click Next to proceed.
- Click the Netbanking tab and enter your account details. Click Next to proceed.
- Review the mandate details, which include the following conditions:
- The validity for this recurring mandate is set to 10 years.
- The maximum billing amount is set for INR 1,000,000 (Ten Lakhs).
- The frequency is set up to be honored whenever a payment request is presented.
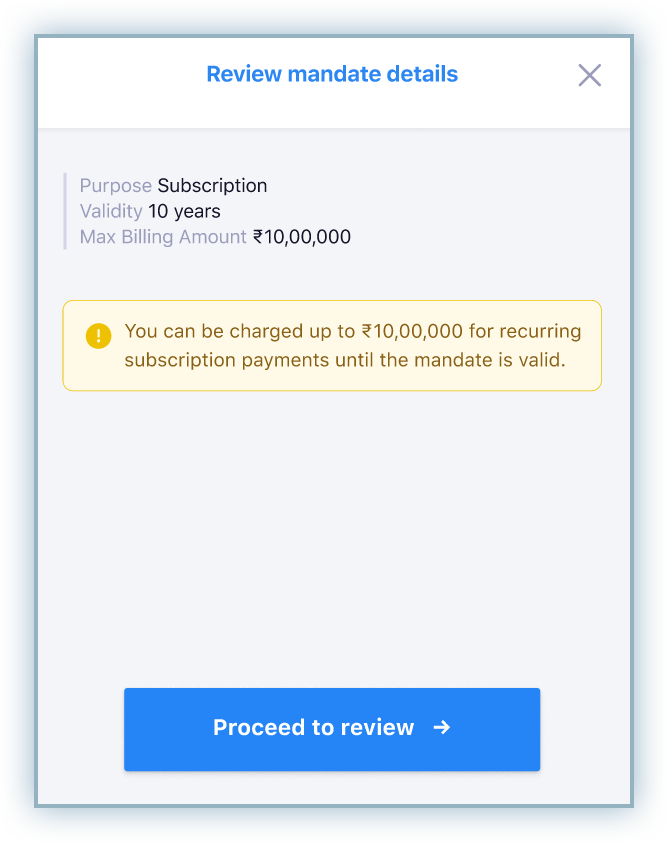
- Click Proceed to review.
- Click Pay to complete the transaction and you are redirected to your bank's website.
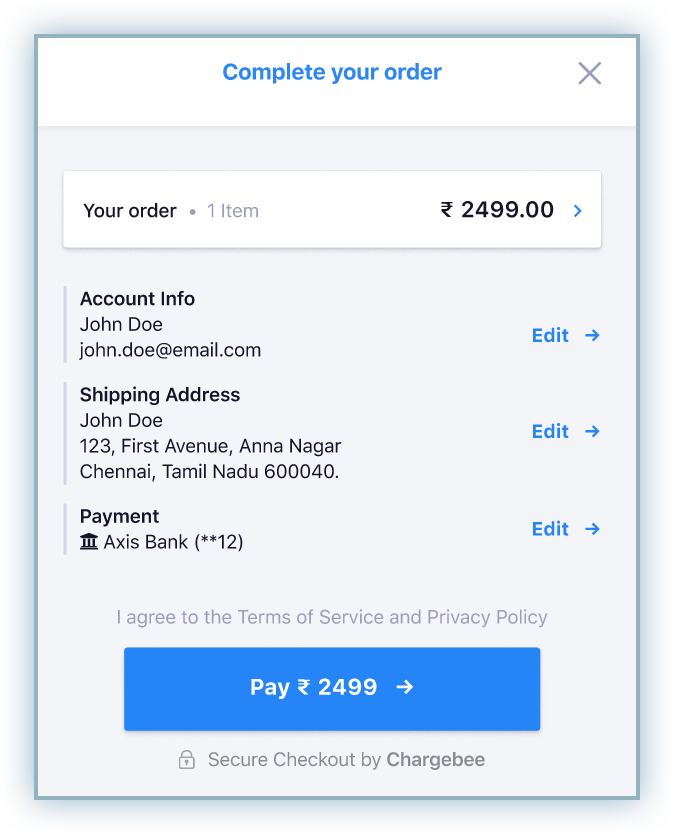
- Complete the authentication on the bank's page to complete the transaction.
- After successful authentication, customers are redirected back to the checkout page to confirm the transaction is complete.
Unified Payments Interface (UPI)
-
Review the details of the order and click Proceed to checkout.
-
Enter the applicable account details and billing address. Click Next to proceed.
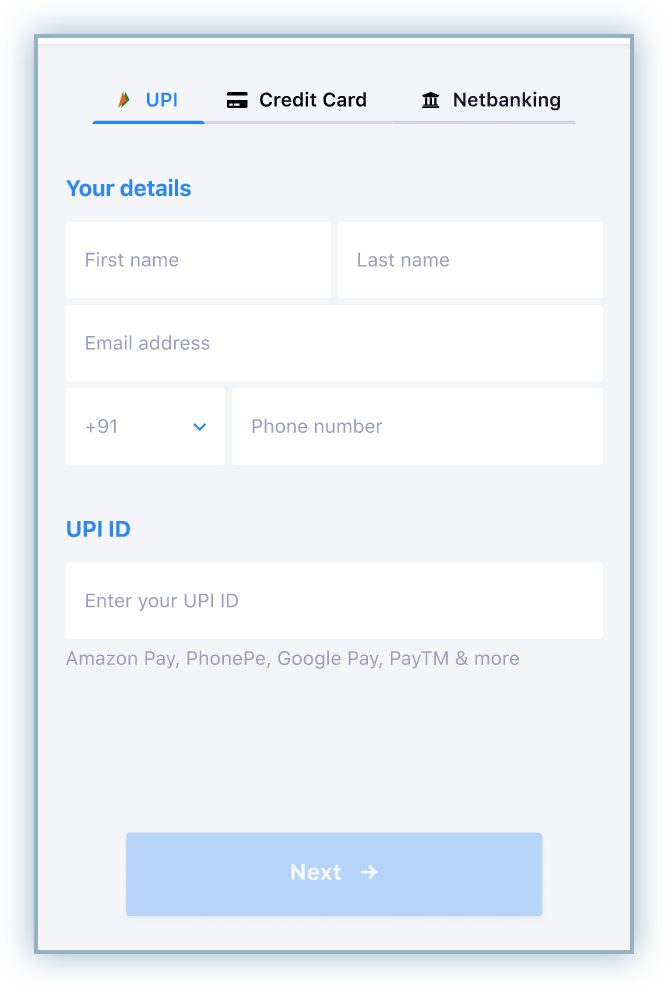
-
Click the UPI tab, enter details including phone number and UPI ID. Click Next to proceed. Note: Any errors with the UPI ID will prevent you from making further progress.
-
Review the details of the mandate, which include the following conditions:
- The validity of the recurring mandate is set to 10 years.
- The maximum amount is fixed to be INR 5,000.
- The frequency can be set to once a month (monthly) only.
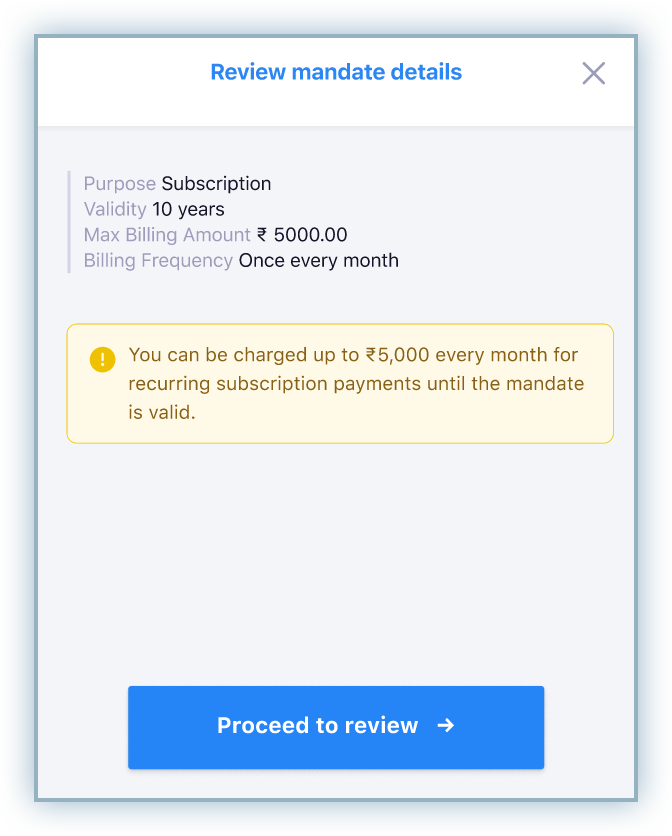
-
Review the details and proceed to complete the transaction.
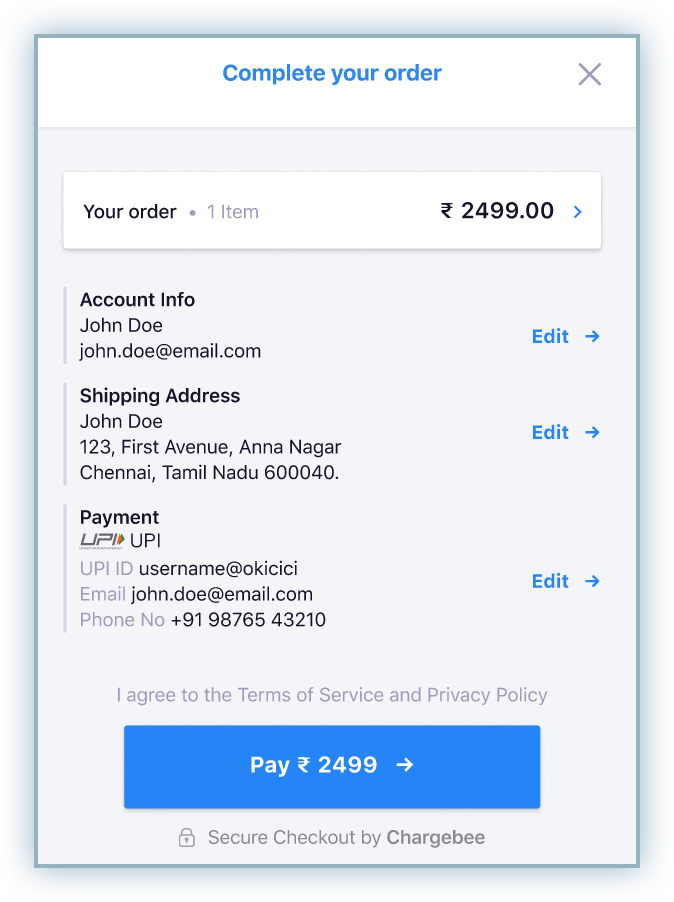
-
Access the UPI application where the payment is initiated and approve the payment request to complete the transaction.
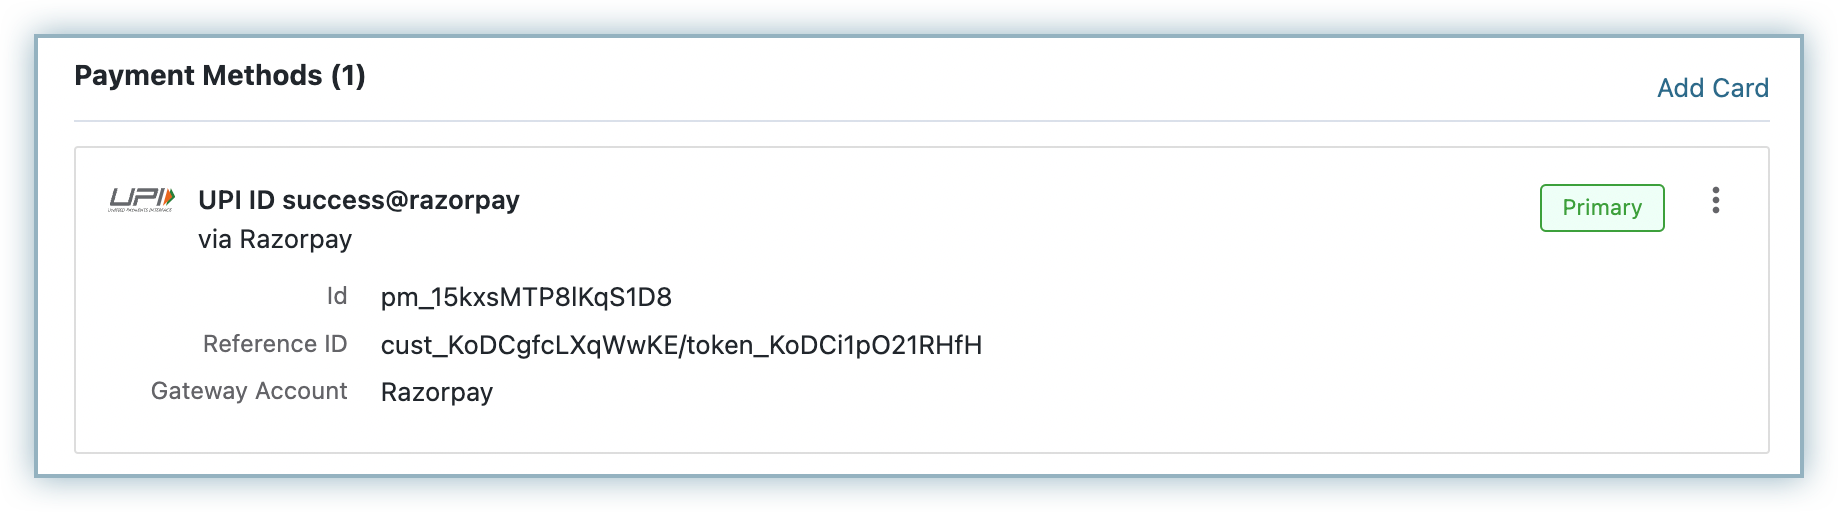
View customer subscription details
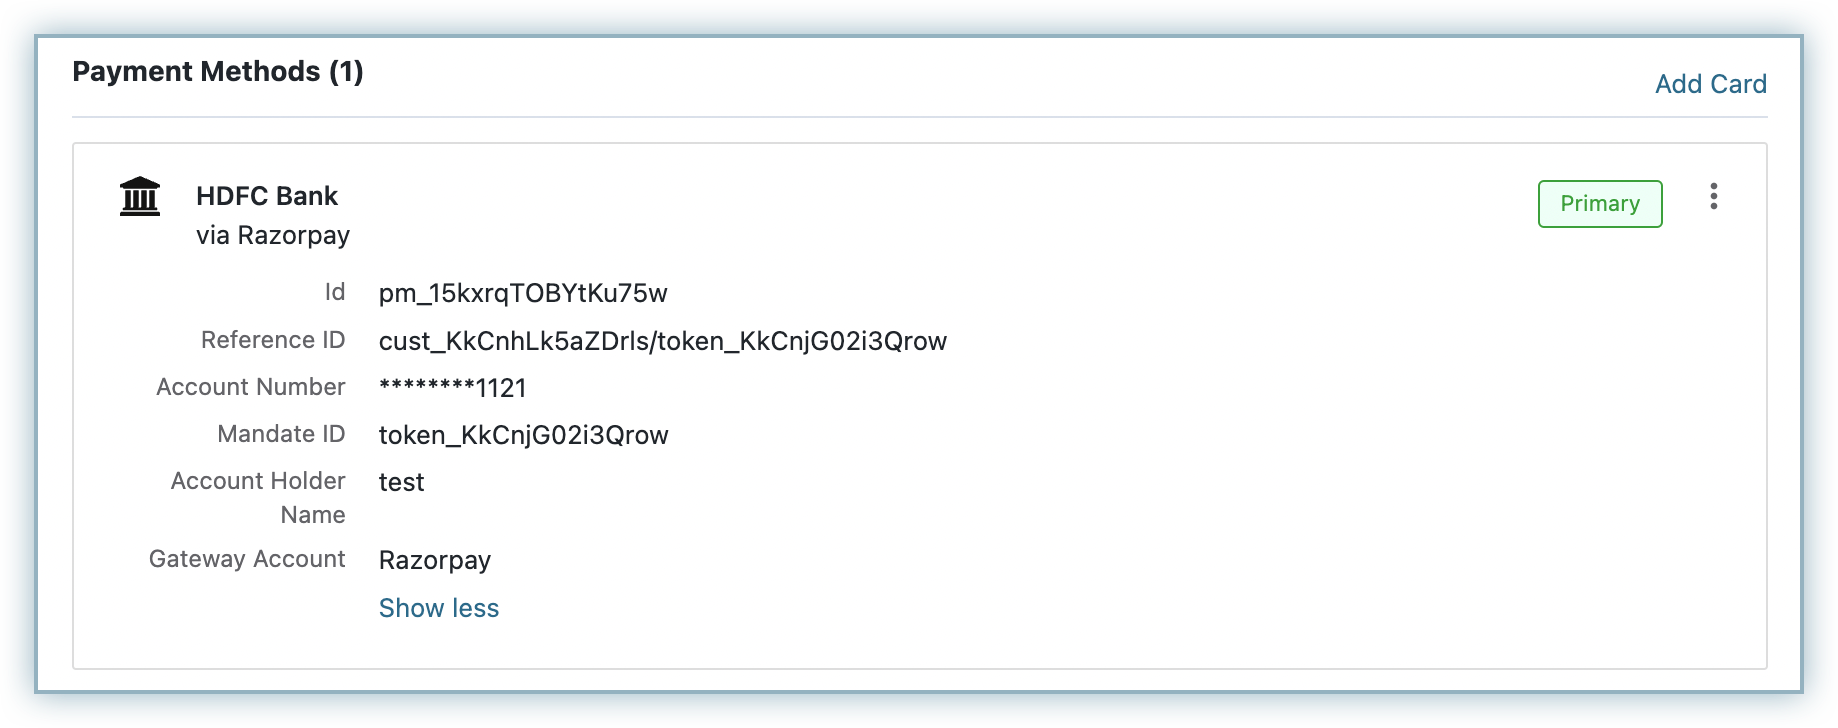
After successfully completing the transaction, the payment method is now aligned to the subscription and can be viewed on the subscription page as shown below:
UPI
Netbanking
Was this article helpful?