New in Chargebee: Explore Reveal and understand your payment performance end-to-end.Try Now

Docschargebeedocs

HomeBillingPaymentsRevRecGrowthReveal
Support

Product Updates


  • Release Notes

Getting Started


  • Overview
  • Chargebee Billing Data Centers
  • Object Relationship Model
  • Understanding Sites
  • Developer Resources
  • Chargebee Tech Glossary
  • Articles and FAQ

Implementing Chargebee


  • Implementation Guide
  • Go-live Checklist
  • Articles and FAQ

AI in Chargebee


  • Chargebee Agents
  • Chargebee Copilot
  • Chargebee MCP Server (Model context protocol)

Product Catalog


  • Product Catalog Overview
  • Coupons
  • Articles and FAQ

Subscriptions


  • Working with Subscriptions
  • Billing
  • Orders
  • Articles and FAQ

Customers


  • Managing Customers
  • Account Hierarchy
  • Email Notifications
  • Branding
  • Configure Multiple Languages
  • Articles and FAQ

Invoices, Credit Notes and Quotes


  • Invoices
  • Credit Notes
  • Quotes [Legacy]
  • Transactions
  • Articles and FAQ

Taxes


  • Overview
  • Configuring Taxes
  • Country-specific Taxes
  • Articles and FAQ

Hosted Capabilities


  • Overview
  • Hosted Checkout
  • Hosted Self-Serve Portal
  • Hosted Pages Features
  • Additional Hosted Pages
  • Payment Components
  • Managing payments with ChargebeeJS
  • Mobile-Optimized Hosted Pages
  • Articles and FAQ

Site Configuration


  • Users & Roles
  • Custom Fields & Metadata
  • Mandatory Fields
  • File Attachments & Comments
  • Advanced Filter Options
  • Multicurrency Pricing
  • Multi-decimal Support
  • Configuring Reason Codes
  • Events and Webhooks
  • API Keys
  • Time Zone
  • Time Machine
  • Transfer Configurations
  • Articles and FAQ

Reports and Analytics


  • RevenueStory
  • Home Dashboard
  • Frequently Asked Questions
  • FAQs for Classic Reports Sunset
  • Articles and FAQ

Integrations


  • Sales
  • Customer Support and Success
  • Finance
    • QuickBooks Online
      • Configuring QuickBooks
      • Record Mapping in QuickBooks
      • QuickBooks Customer Mapping
      • Reconciling Chargebee Invoices with QuickBooks
      • Reconnecting QuickBooks to Chargebee
      • Objects and Fields Mapped between Chargebee and QuickBooks
      • Quickbooks common sync errors
    • Xero
    • Sage Intacct
    • Oracle NetSuite
  • Tax
  • Marketing
  • Stitch
  • Collaboration
  • Contract Management
  • Order Management
  • Mobile Subscriptions (Legacy)
  • Other Integrations
  • Articles and FAQ

Data Privacy & Security


  • Two Factor Authentication
  • SAML Single Sign-On
  • System for Cross-Domain Identity Management (SCIM)
  • EU-GDPR
  • Consent Management
  • Personal Data Management
  • Compliance Certificates
  • HIPAA Guidelines
  • PCI Recommendations and Integration Types
  • Articles and FAQ

Data Operations


  • Bulk Operations
  • Migration
  • Articles and FAQ
  1. Billing
  2. Integrations
  3. Finance
  4. QuickBooks Online
  5. Reconnecting QuickBooks to Chargebee
  1. Billing
  2. Integrations
  3. Finance
  4. QuickBooks Online
  5. Reconnecting QuickBooks to Chargebee

Reconnecting QuickBooks to Chargebee

If your QuickBooks integration is disconnected due to OAuth token expiry, a banner will be displayed in your Chargebee site with a message that says, "QuickBooks Disconnected. You will no longer be able to sync data to your QuickBooks account from Chargebee". When these conditions occur, you can reconnect and authorize your Chargebee site anytime. After authorization, data sync from your Chargebee site to your QuickBooks account will be resumed as usual and the configuration remains unchanged.

This page provides information on the steps for reconnecting with your QuickBooks Online account if the integration was disconnected due to OAuth token expiry. 

Note

Follow the steps above if you Unlink the QuickBooks integration from your Chargebee site. If the integration is unlinked, Chargebee will completely remove the authentication and configuration of your QuickBooks account. You need to reconnect, authorize your QuickBooks account, and follow all the configuration steps as explained here.

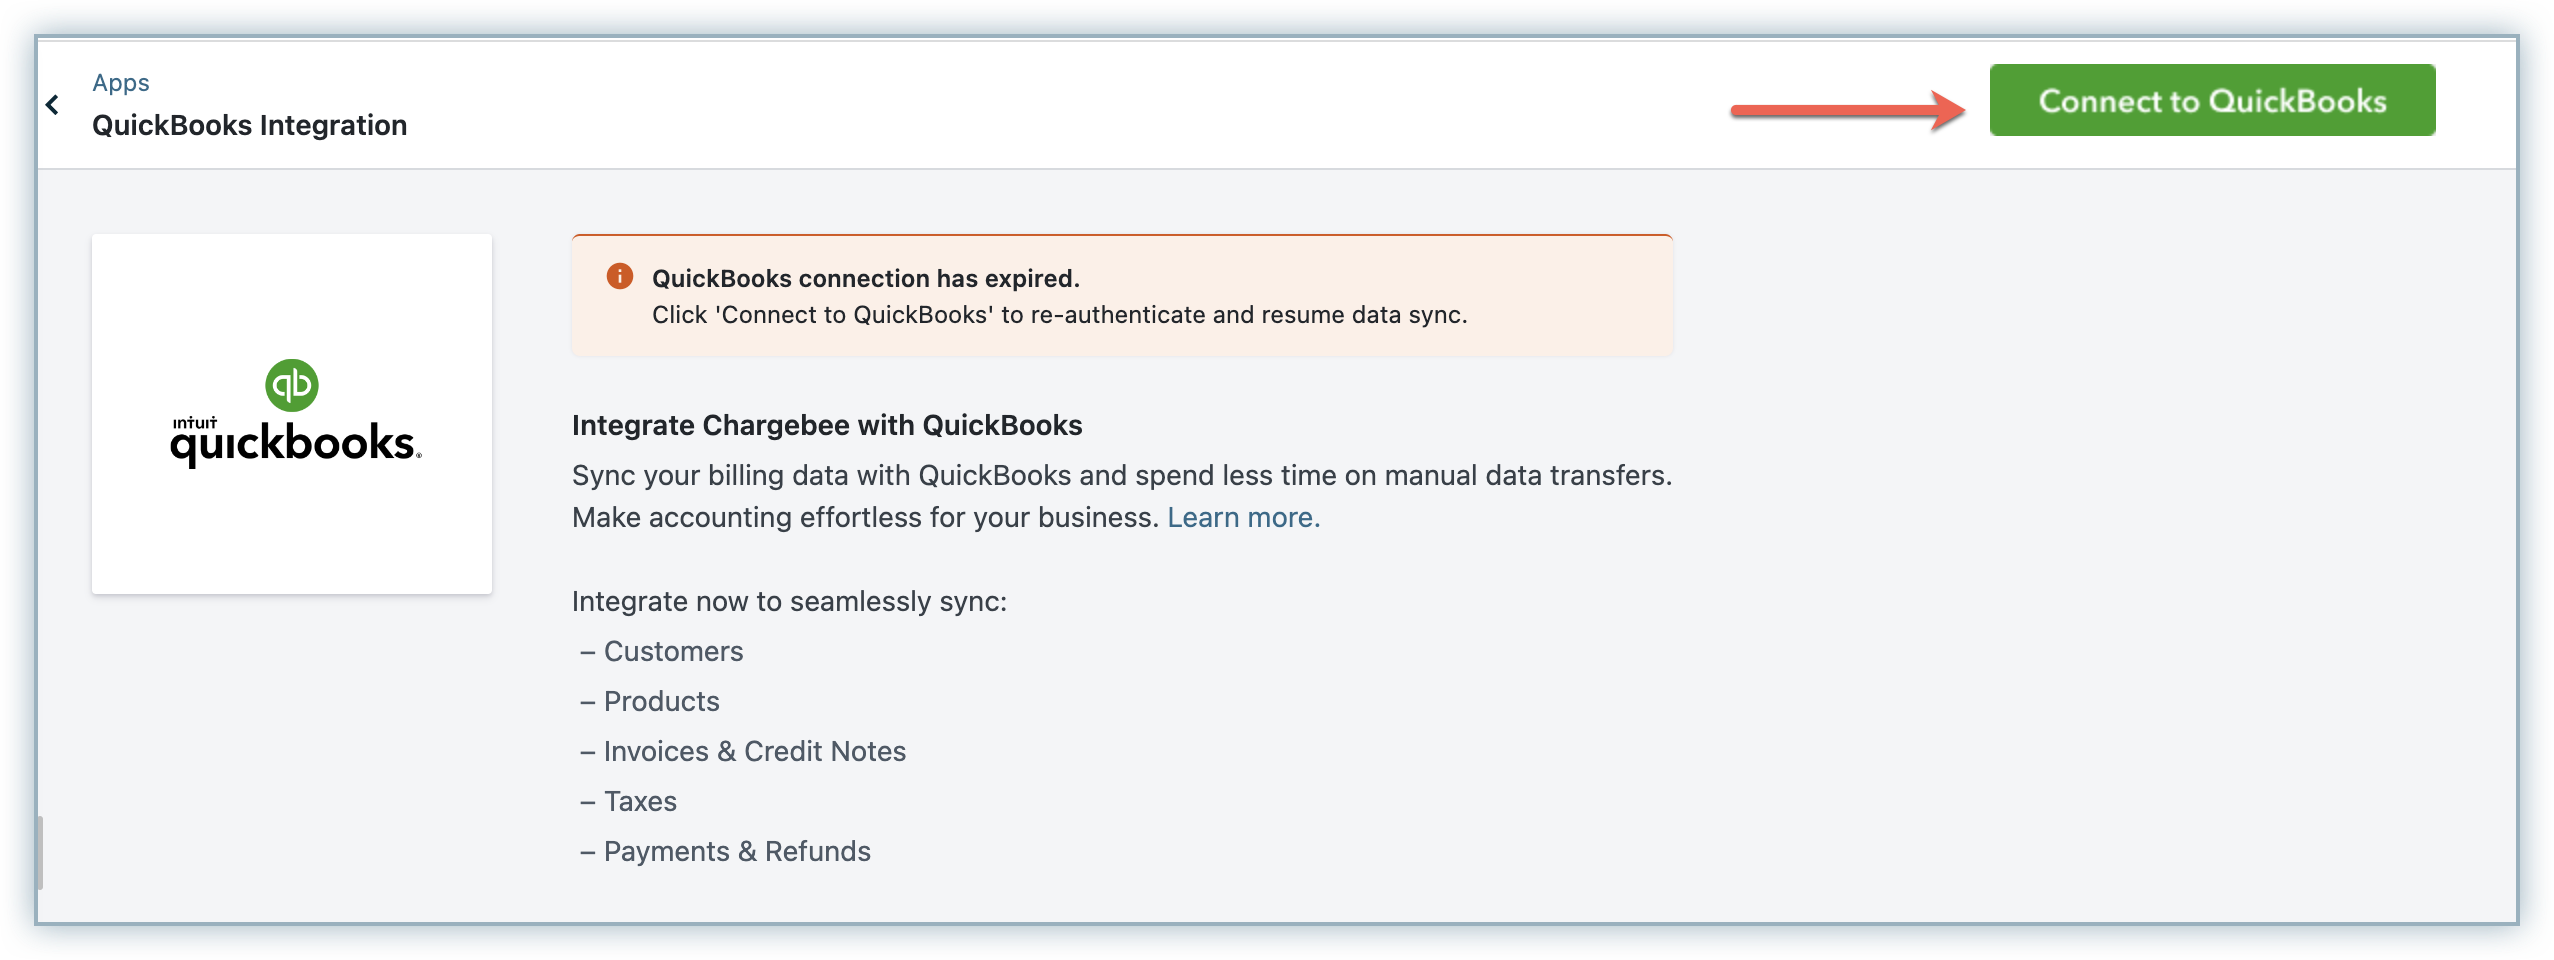
To reconnect your QuickBooks account with Chargebee, follow these steps:

  1. Click Apps > Go to Marketplace > Accounting > QuickBooks. Click Connect and link your QuickBooks Online account.

    image
  2. In the Intuit page that follows, click Connect. This authorizes Chargebee to view and update data from your QuickBooks account.

    image
  3. After authorizing, you will be redirected to your Chargebee Site automatically. Data sync from your Chargebee site to your QuickBooks account will be resumed as usual.

See also

  • QuickBooks Configuration
  • Customer Mapping
  • QuickBooks Reconciliation

Was this article helpful?