Launching a Pricing Table
This guide walks you through the process of setting up and launching your first pricing table with Chargebee. You'll learn how to customize your pricing table and share it with your customers or integrate it within your website or application.
1. Create and customize your pricing tables
Follow this guide to create and customize pricing tables.
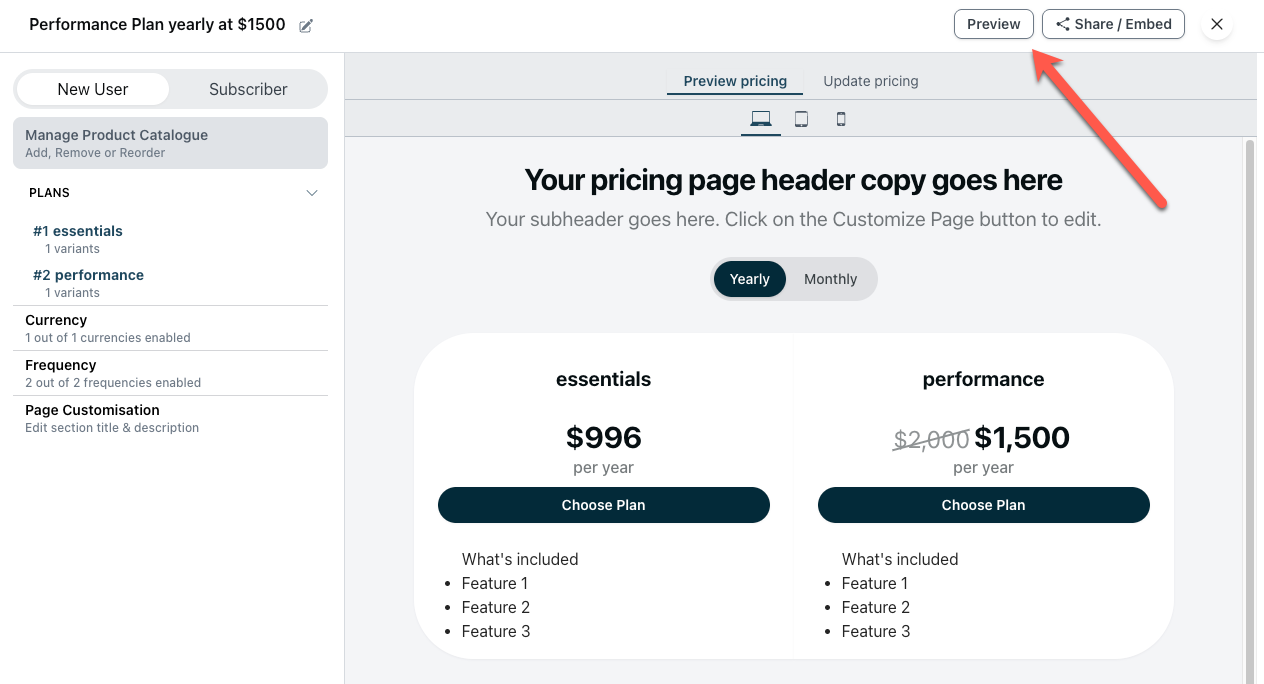
You can customize the experience for both new users and returning subscribers individually. Key customization options include managing your product catalog by adding, removing, or reordering plans; editing plan details such as descriptions, pricing, and feature lists; configuring currency and billing frequency options; customizing button text and behavior; and tailoring the branding to align with your company's visual identity.
As you make these changes, you can click Preview to preview the pricing page on a separate tab.
2. Share/embed your pricing table
After you create and configure pricing tables in Chargebee Growth, you can do either of the following.
Share a pricing table link
- Go to Offers > Pricing Tables.
- Select the pricing table to open its configuration page.
- Select Share/Embed.

- Select Copy URL.
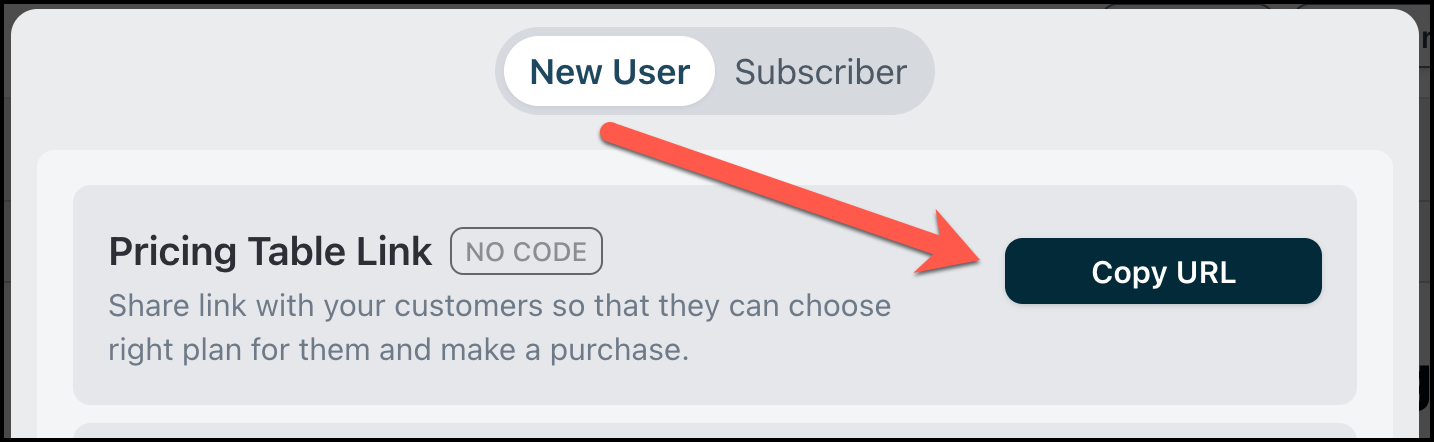
- Share the URL with customers, such as in an email, so they can view the pricing table and complete the purchase.
Embed pricing tables in your website or app
Use Chargebee.js and (optionally) the Chargebee REST APIs to embed Chargebee Growth pricing tables in your website or app.
For examples and use cases, see this section in the Chargebee Growth installation guide.
Frequently Asked Questions (FAQ)
Listed here are answers to some of the commonly asked questions about Chargebee pricing table.
Pricing page UI and UX
Can I pre-fill my customer's email address or name in the Chargebee Checkout widget?
Yes. To pre-populate customer details on the Chargebee Checkout widget, you can use the functions setVisitor(), setBillingAddress(), or setQuantity(). You can also control whether these fields should be editable by your customers or not.
I am using the "Redirect to URL" option for the button behavior. Can the pricing page automatically populate variables such as plan ID in the custom URL?
Yes, you can append the following query parameters with your URL to populate variables:
item.billingSystemId(This will populate the item ID from Chargebee).price.billingSystemId(This will populate the item price ID from Chargebee).quantity(This will populate the item quantity selected by the visitor via the quantity slider).- Additionally, if you are using the function
setVisitor()to pass certain visitor information such as name, email, etc., you can also append the visitor variables in the URL, e.g.,visitor.emailorvisitor.customFields.cf_name. Click here to know the full list of fields present within the visitor object that you can append as query parameters.
Example URL
http://www.chargebee.com/?item={{item.billingSystemId}}&price={{price.billingSystemId}}&email={{visitor.email}}&name={{visitor.firstName}}
Note
All the variables are case-sensitive. Ensure to include them in the exact capitalization mentioned above.
The pricing page is not able to redirect the users to a specific URL after a successful checkout. How can I solve this?
You need to set up redirection individually for every plan within your product catalog. You can set a redirect URL for each of your plans by navigating to Chargebee Billing > Product Catalog > Plans.
Compliance and security
Where is the pricing page hosted?
The pricing pages and associated data are stored in Chargebee servers in a US data center. Note that all data relevant to your pricing pages will be stored in the US data center irrespective of your data hosting region.
Was this article helpful?