New in Chargebee: Explore Reveal and understand your payment performance end-to-end.Try Now
Docschargebee docs
HomeBillingPaymentsRevRecGrowthReveal
Support

Product Updates


  • Release Notes

Getting Started


  • Overview
  • Chargebee Billing Data Centers
  • Object Relationship Model
  • Understanding Sites
  • Chargebee Tech Glossary
  • Articles and FAQ

Implementing Chargebee


  • Implementation Guide
  • Go-live Checklist
  • Articles and FAQ

AI in Chargebee


  • Chargebee Agents
  • Chargebee Copilot
  • Chargebee MCP Server (Model Context Protocol)

Developer Resources


  • Developer Resources Overview
  • Articles and FAQ

Product Catalog


  • Product Catalog Overview
  • Coupons
  • Articles and FAQ

Subscriptions


  • Working with Subscriptions
  • Billing
  • Orders
  • Articles and FAQ

Customers


  • Managing Customers
  • Account Hierarchy
  • Email Notifications
  • Branding
  • Configure Multiple Languages
  • Articles and FAQ

Entitlements


  • Entitlements Overview
  • Features Overview
  • Feature Management
  • Managing Product Entitlements
  • Subscription Entitlements
  • Customer Entitlements
  • Grandfathering Entitlements
  • Articles and FAQ

Usage Based Billing


  • Understanding Usages
  • Setting up Usage Based Billing
  • Usage Alerts
  • Metered Billing
  • Articles and FAQ

Chargebee CPQ


  • Chargebee CPQ
  • Chargebee CPQ for Salesforce
  • Chargebee CPQ for HubSpot

Invoices, Credit Notes, and Quotes


  • Invoices
  • Credit Notes
  • Quotes [Legacy]
  • Transactions
  • Articles and FAQ

Taxes


  • Overview
  • Configuring Taxes
  • Country-specific Taxes
  • Articles and FAQ

Hosted Capabilities


  • Overview
  • Hosted Checkout
  • Hosted Self-Serve Portal
  • Hosted Pages Features
  • Additional Hosted Pages
  • Payment Components
  • Pricing Table
  • Managing Payments with Chargebee.js
  • Mobile-Optimized Hosted Pages
  • Articles and FAQ

Site Configuration


  • Users & Roles
  • Custom Fields & Metadata
  • Approvals
  • Mandatory Fields
  • File Attachments & Comments
  • Advanced Filter Options
  • Multicurrency Pricing
  • Multi-decimal Support
  • Configuring Reason Codes
  • Events and Webhooks
  • API Keys
  • Time Zone
  • Time Machine
  • Transfer Configurations
  • Articles and FAQ

Multi Business Entity


  • Multi Business Entity Overview
  • Customer Transfer Overview
  • Articles and FAQ

Mobile Subscriptions


  • Overview
  • Omnichannel Subscriptions
  • Omnichannel One-Time Orders
  • Mobile Subscriptions (Legacy)

Reports and Analytics


  • RevenueStory
  • Home Dashboard
  • Frequently Asked Questions
  • FAQs for Classic Reports Sunset
  • Articles and FAQ

Integrations


  • Sales
  • Customer Support and Success
  • Finance
  • Tax
  • Marketing
  • Stitch
  • Collaboration
  • Contract Management
  • Ecommerce Management
  • Articles and FAQ

Data Privacy & Security


  • Two Factor Authentication
  • SAML Single Sign-On
  • System for Cross-Domain Identity Management (SCIM)
  • EU-GDPR
  • Consent Management
  • Personal Data Management
  • Compliance Certificates
  • HIPAA Guidelines
  • PCI Recommendations and Integration Types
  • Articles and FAQ

Data Operations


  • Bulk Operations
  • Migration
  • Articles and FAQ
  1. Billing
  2. Product Catalog
  3. Enable Product Images
  1. Billing
  2. Product Catalog
  3. Enable Product Images

Product Images

Note

Enable the full-page checkout layout before you use product images.

Use product images to help customers recognize offerings quickly and make purchase decisions. Add images to plans, addons, and charges in the product catalog and display them during checkout.

Do these two tasks:

  • Enable product images.
  • Upload images to plans, addons, and charges.

Enable product images

  1. Log in to your Chargebee site.

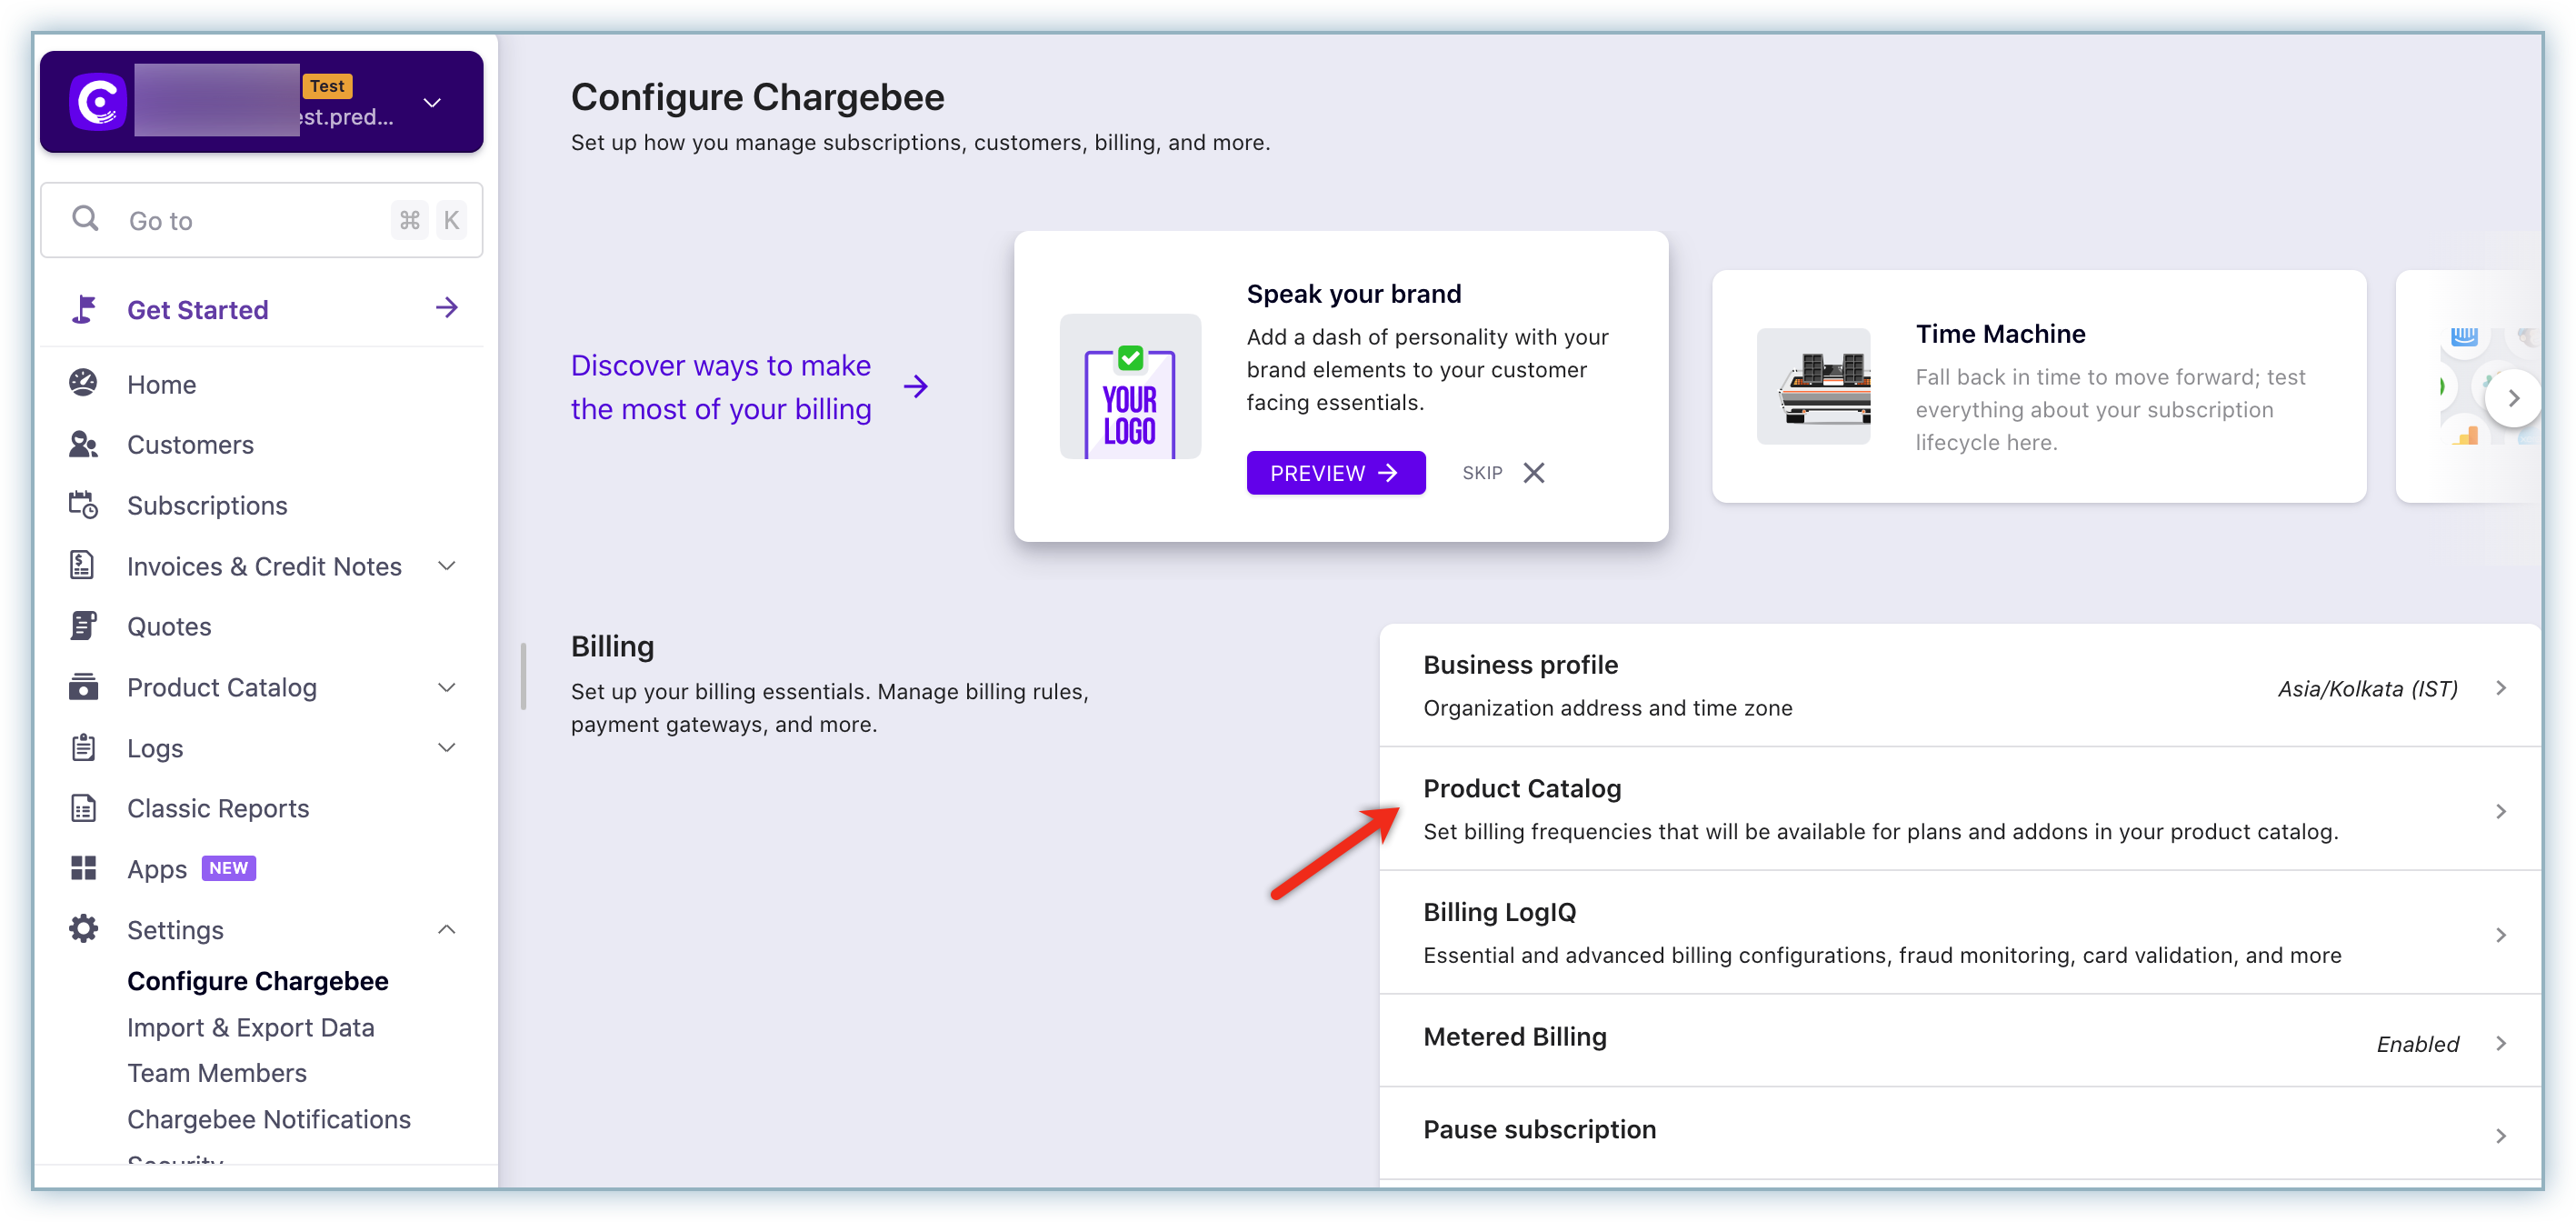
  2. Go to Settings > Configure Chargebee > Product Catalog.

    image
  3. Enable the toggle for Add placeholder to collect product images.

    Enable Product Images

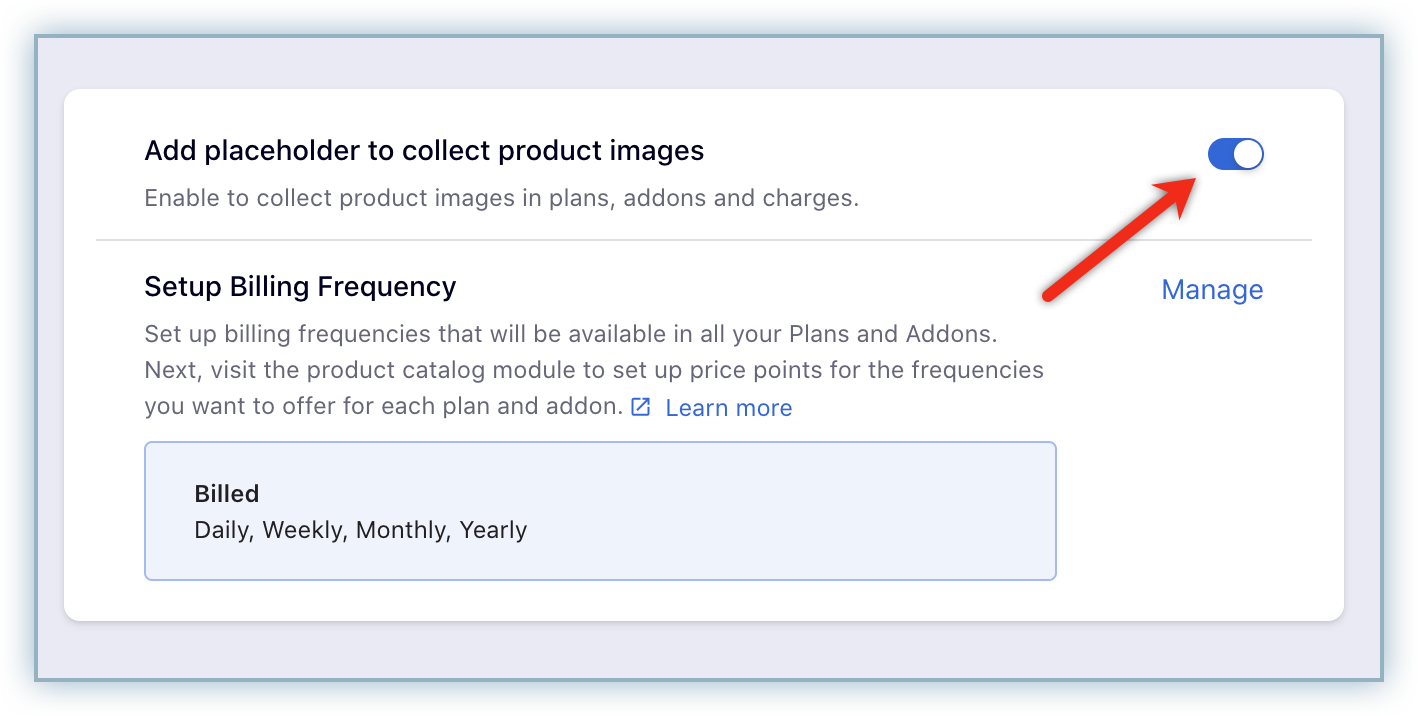
    Once enabled, you can upload images to products or plans in your product catalog.

Upload product images

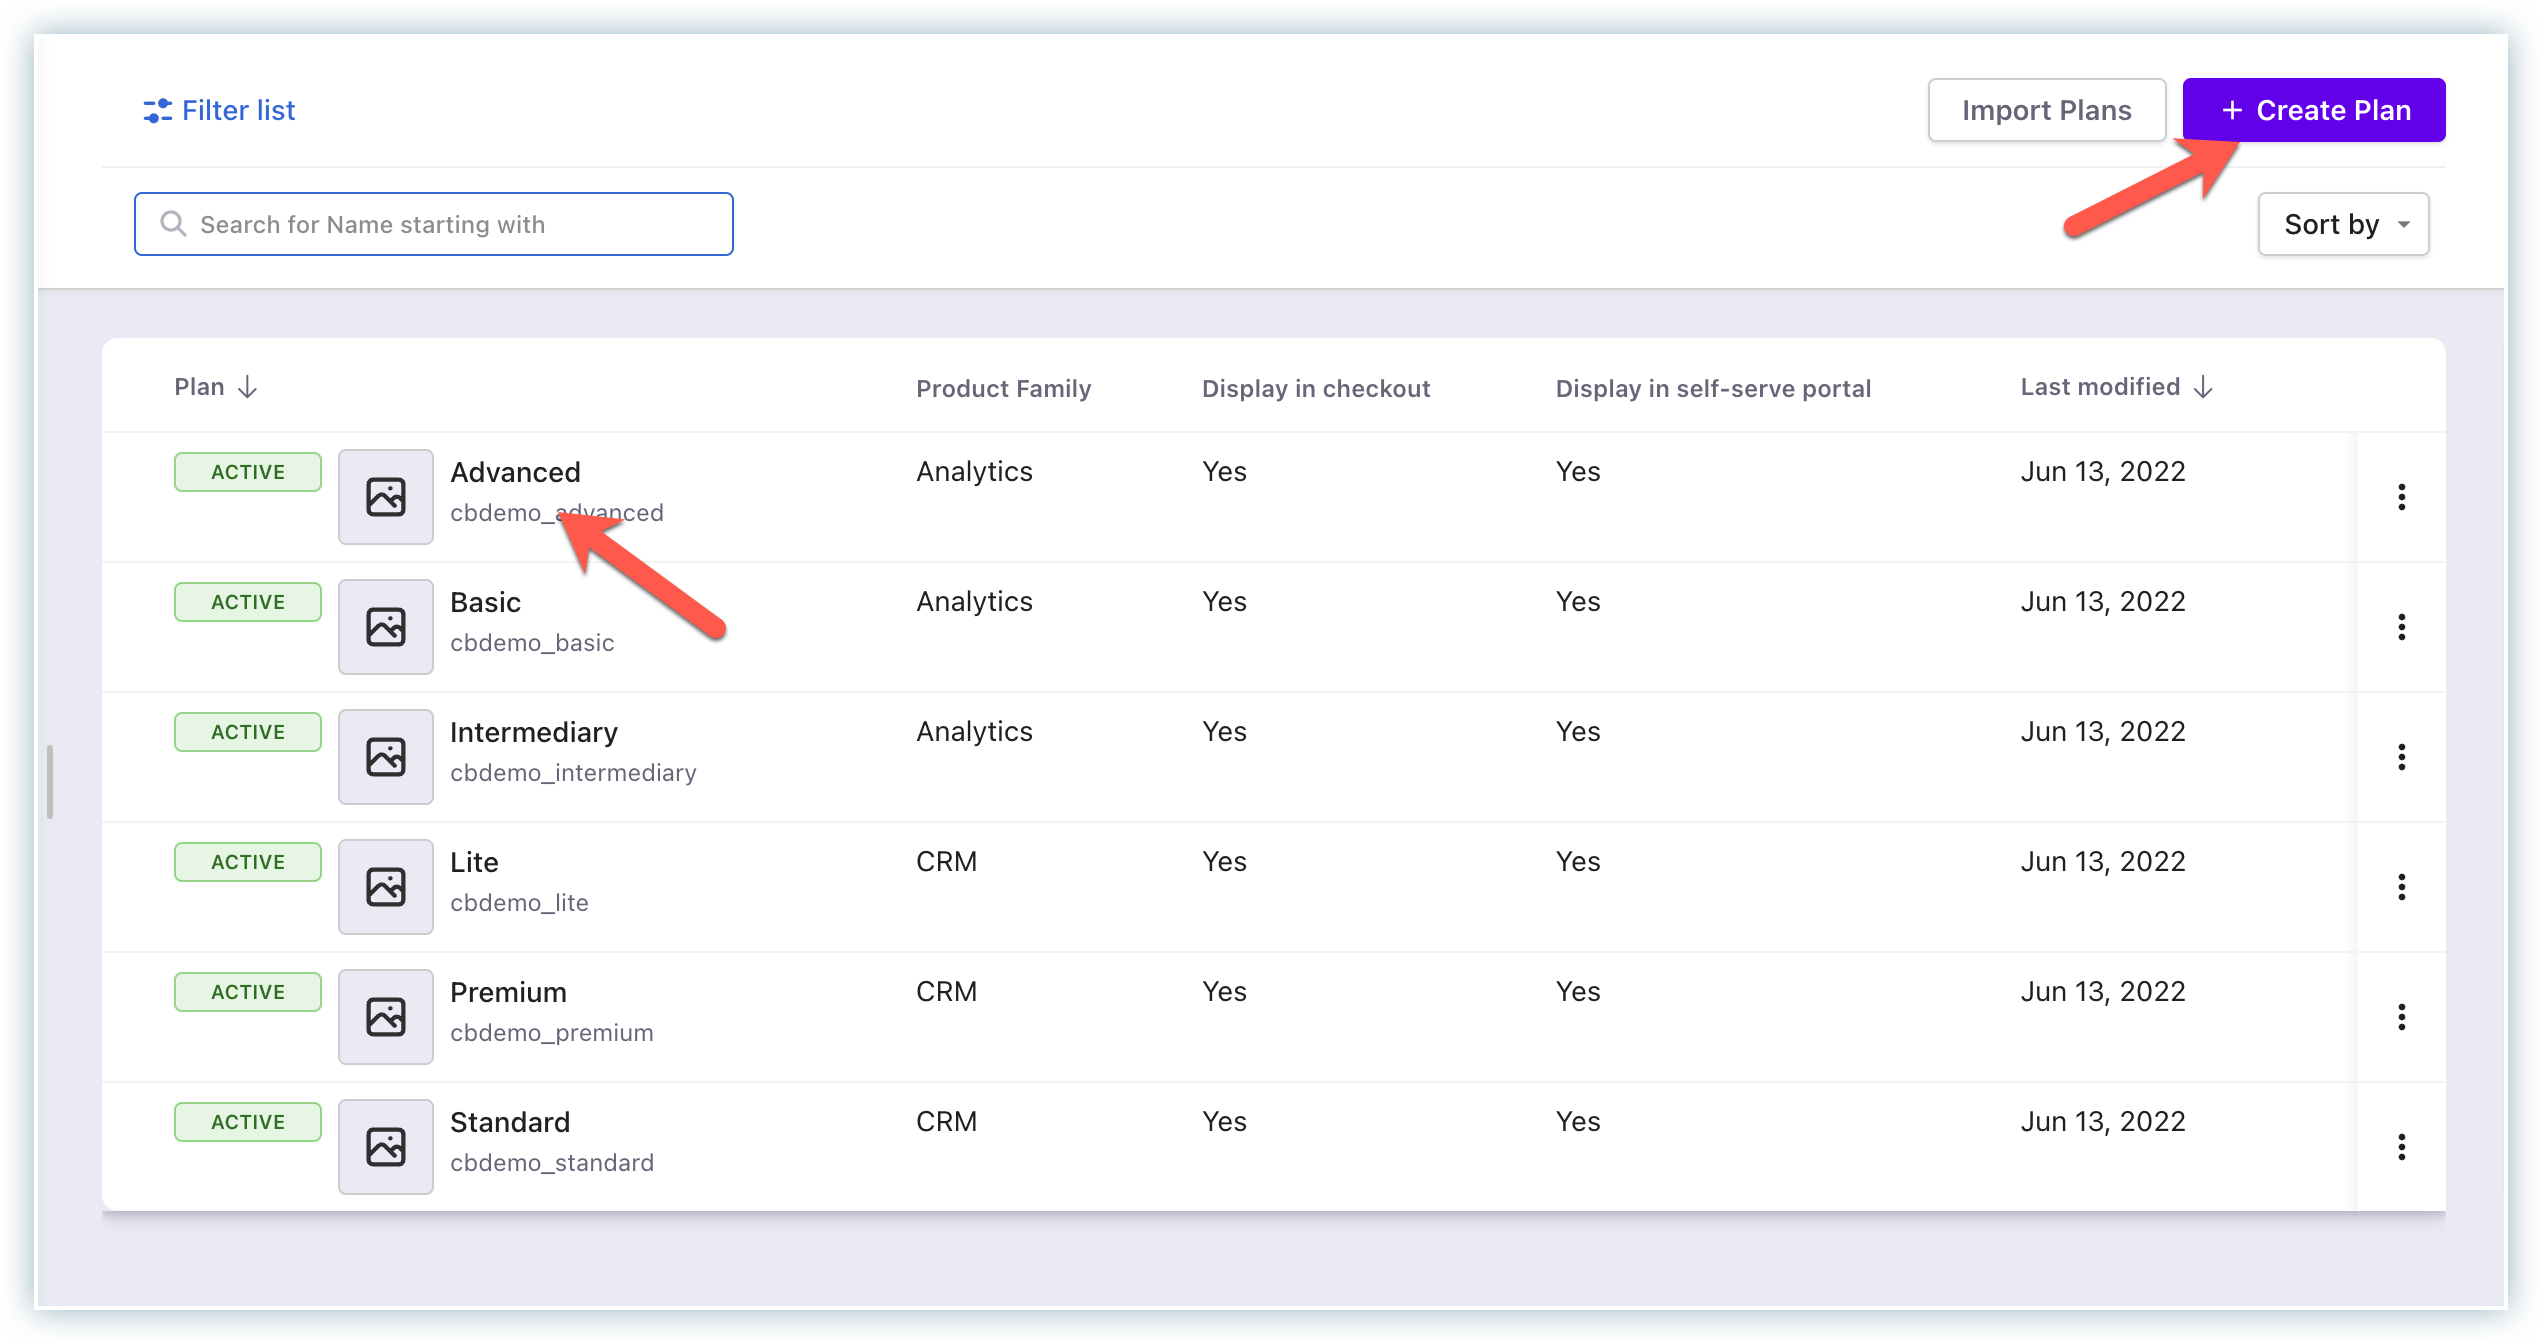
  1. Go to Product Catalog > Plans.

  2. Click +Create Plan to create a new plan, or select an existing plan.

    image
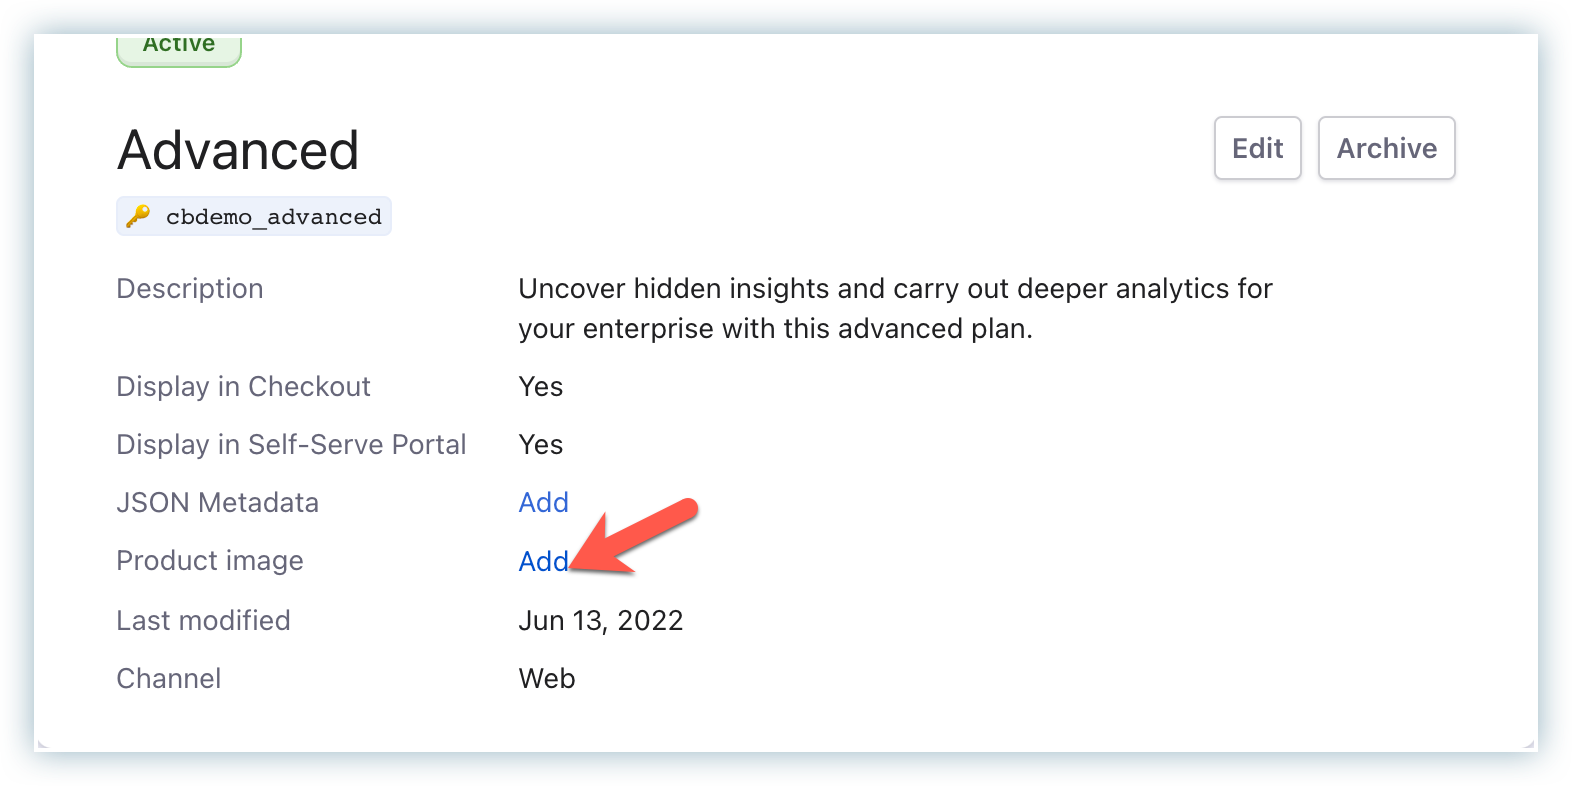
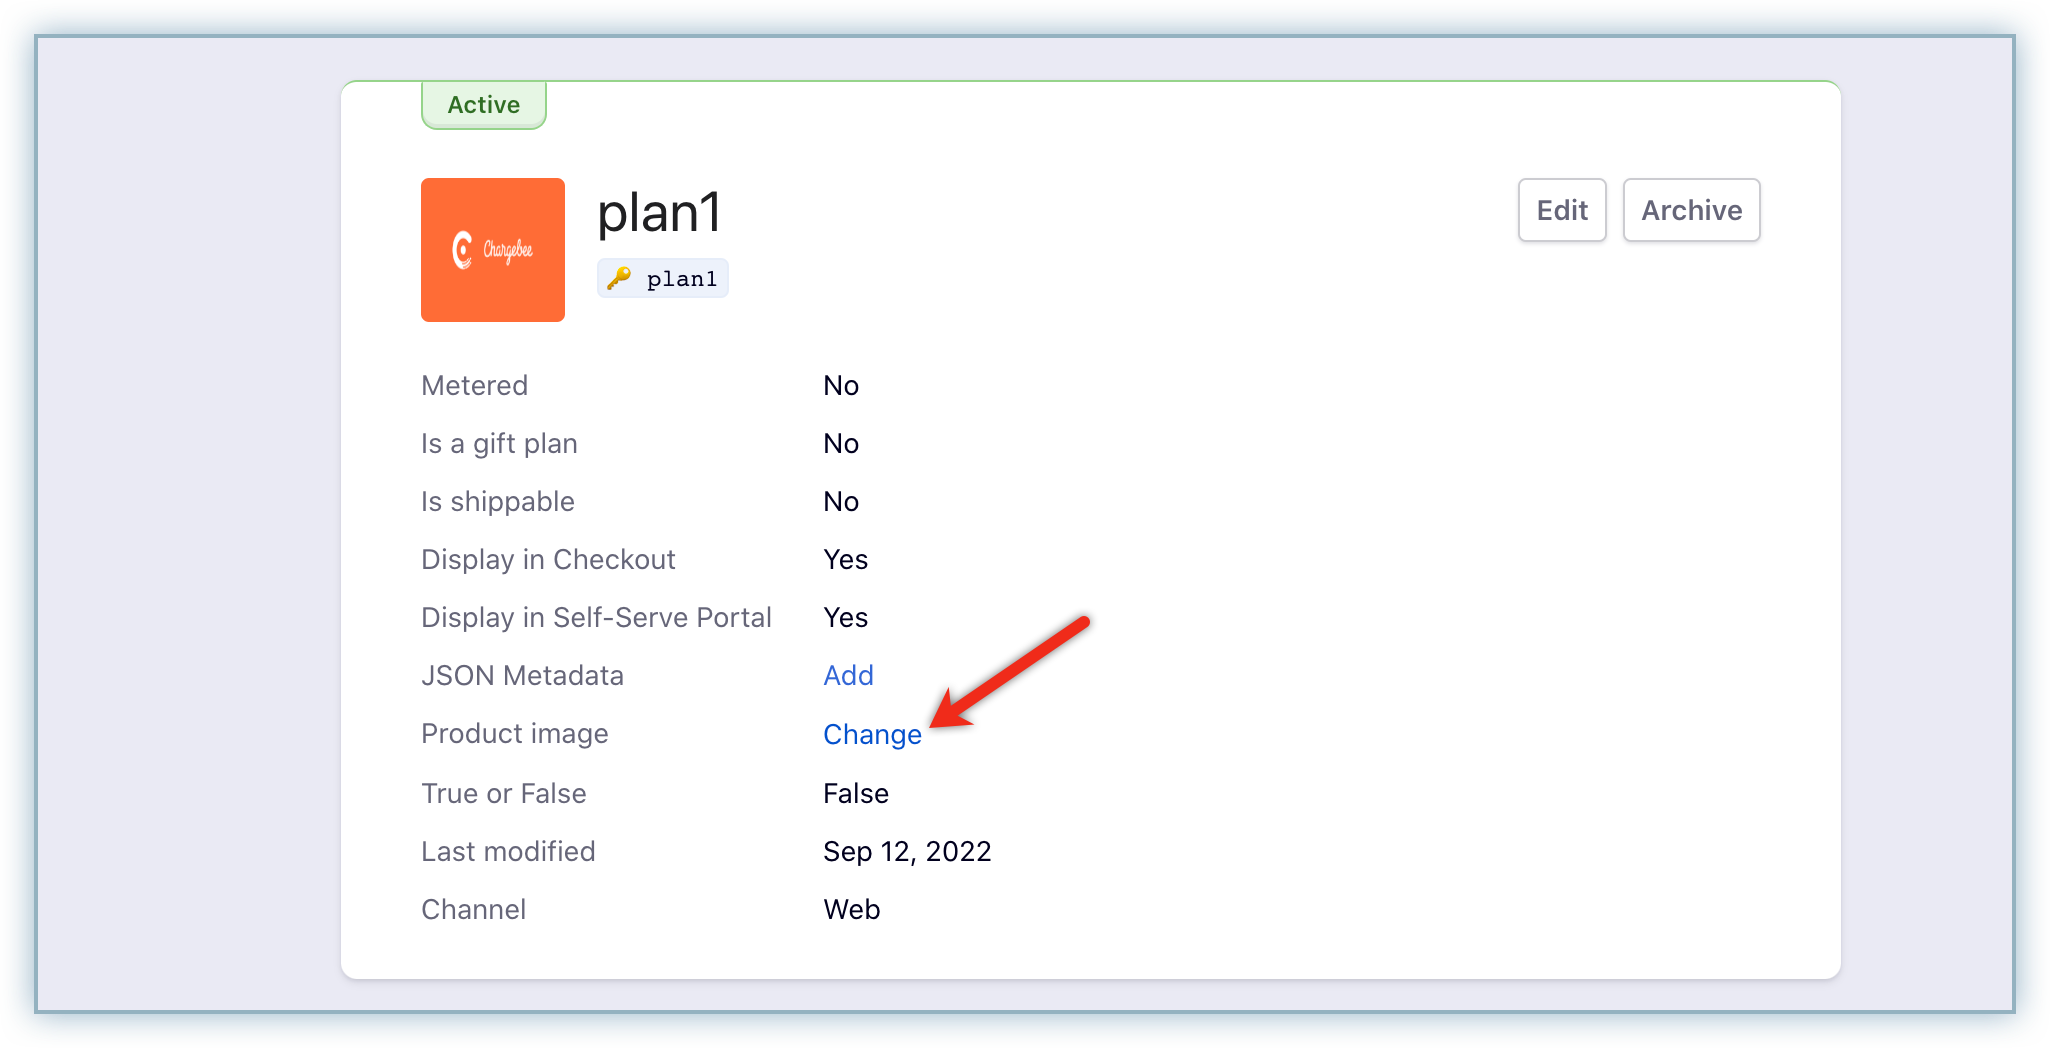
  3. Click Add next to the Product image option.

    image
  4. Drag and drop the image or click Upload to select a file.

    • Supported formats: PNG and JPG, up to 1 MB in size.
    • Recommended: 1:1 aspect ratio, 400x400 px.
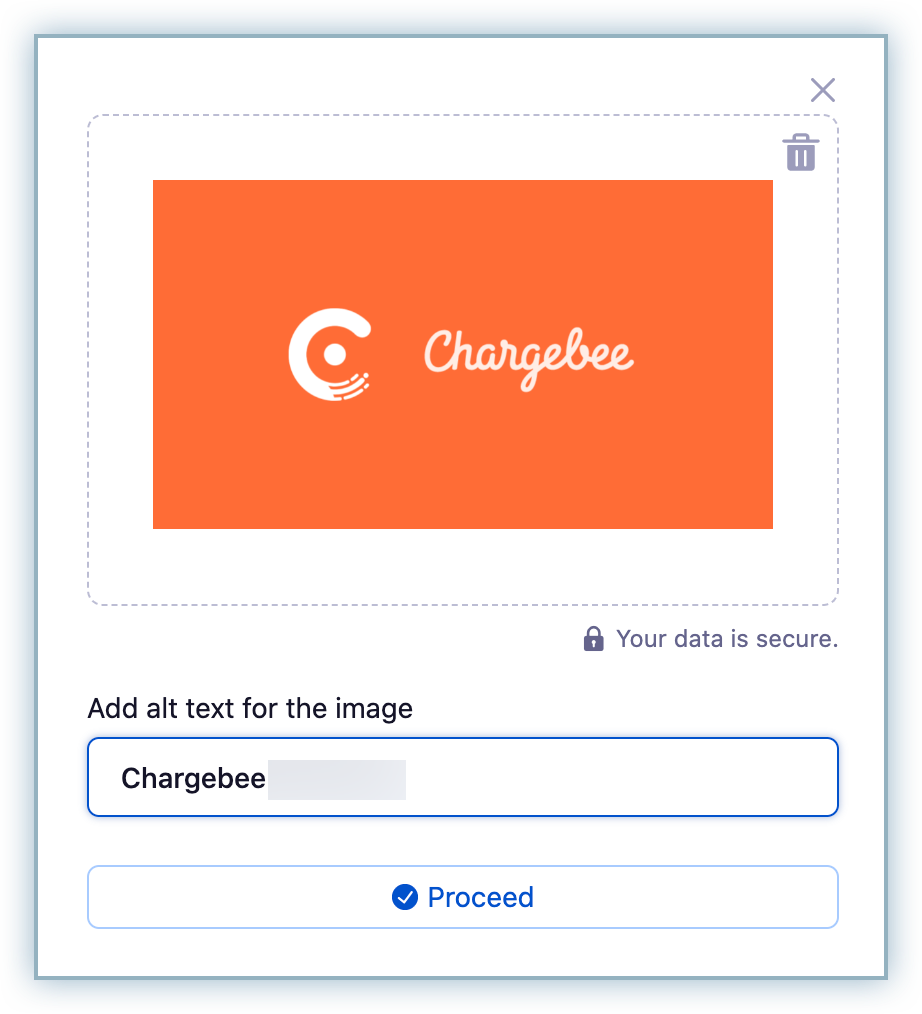
  5. Enter a description in the Add alt text for the image field and click Proceed.

    image
  6. Click Change if you want to update your product image.

    image

Follow the same steps to add images for new or existing Addons and Charges.

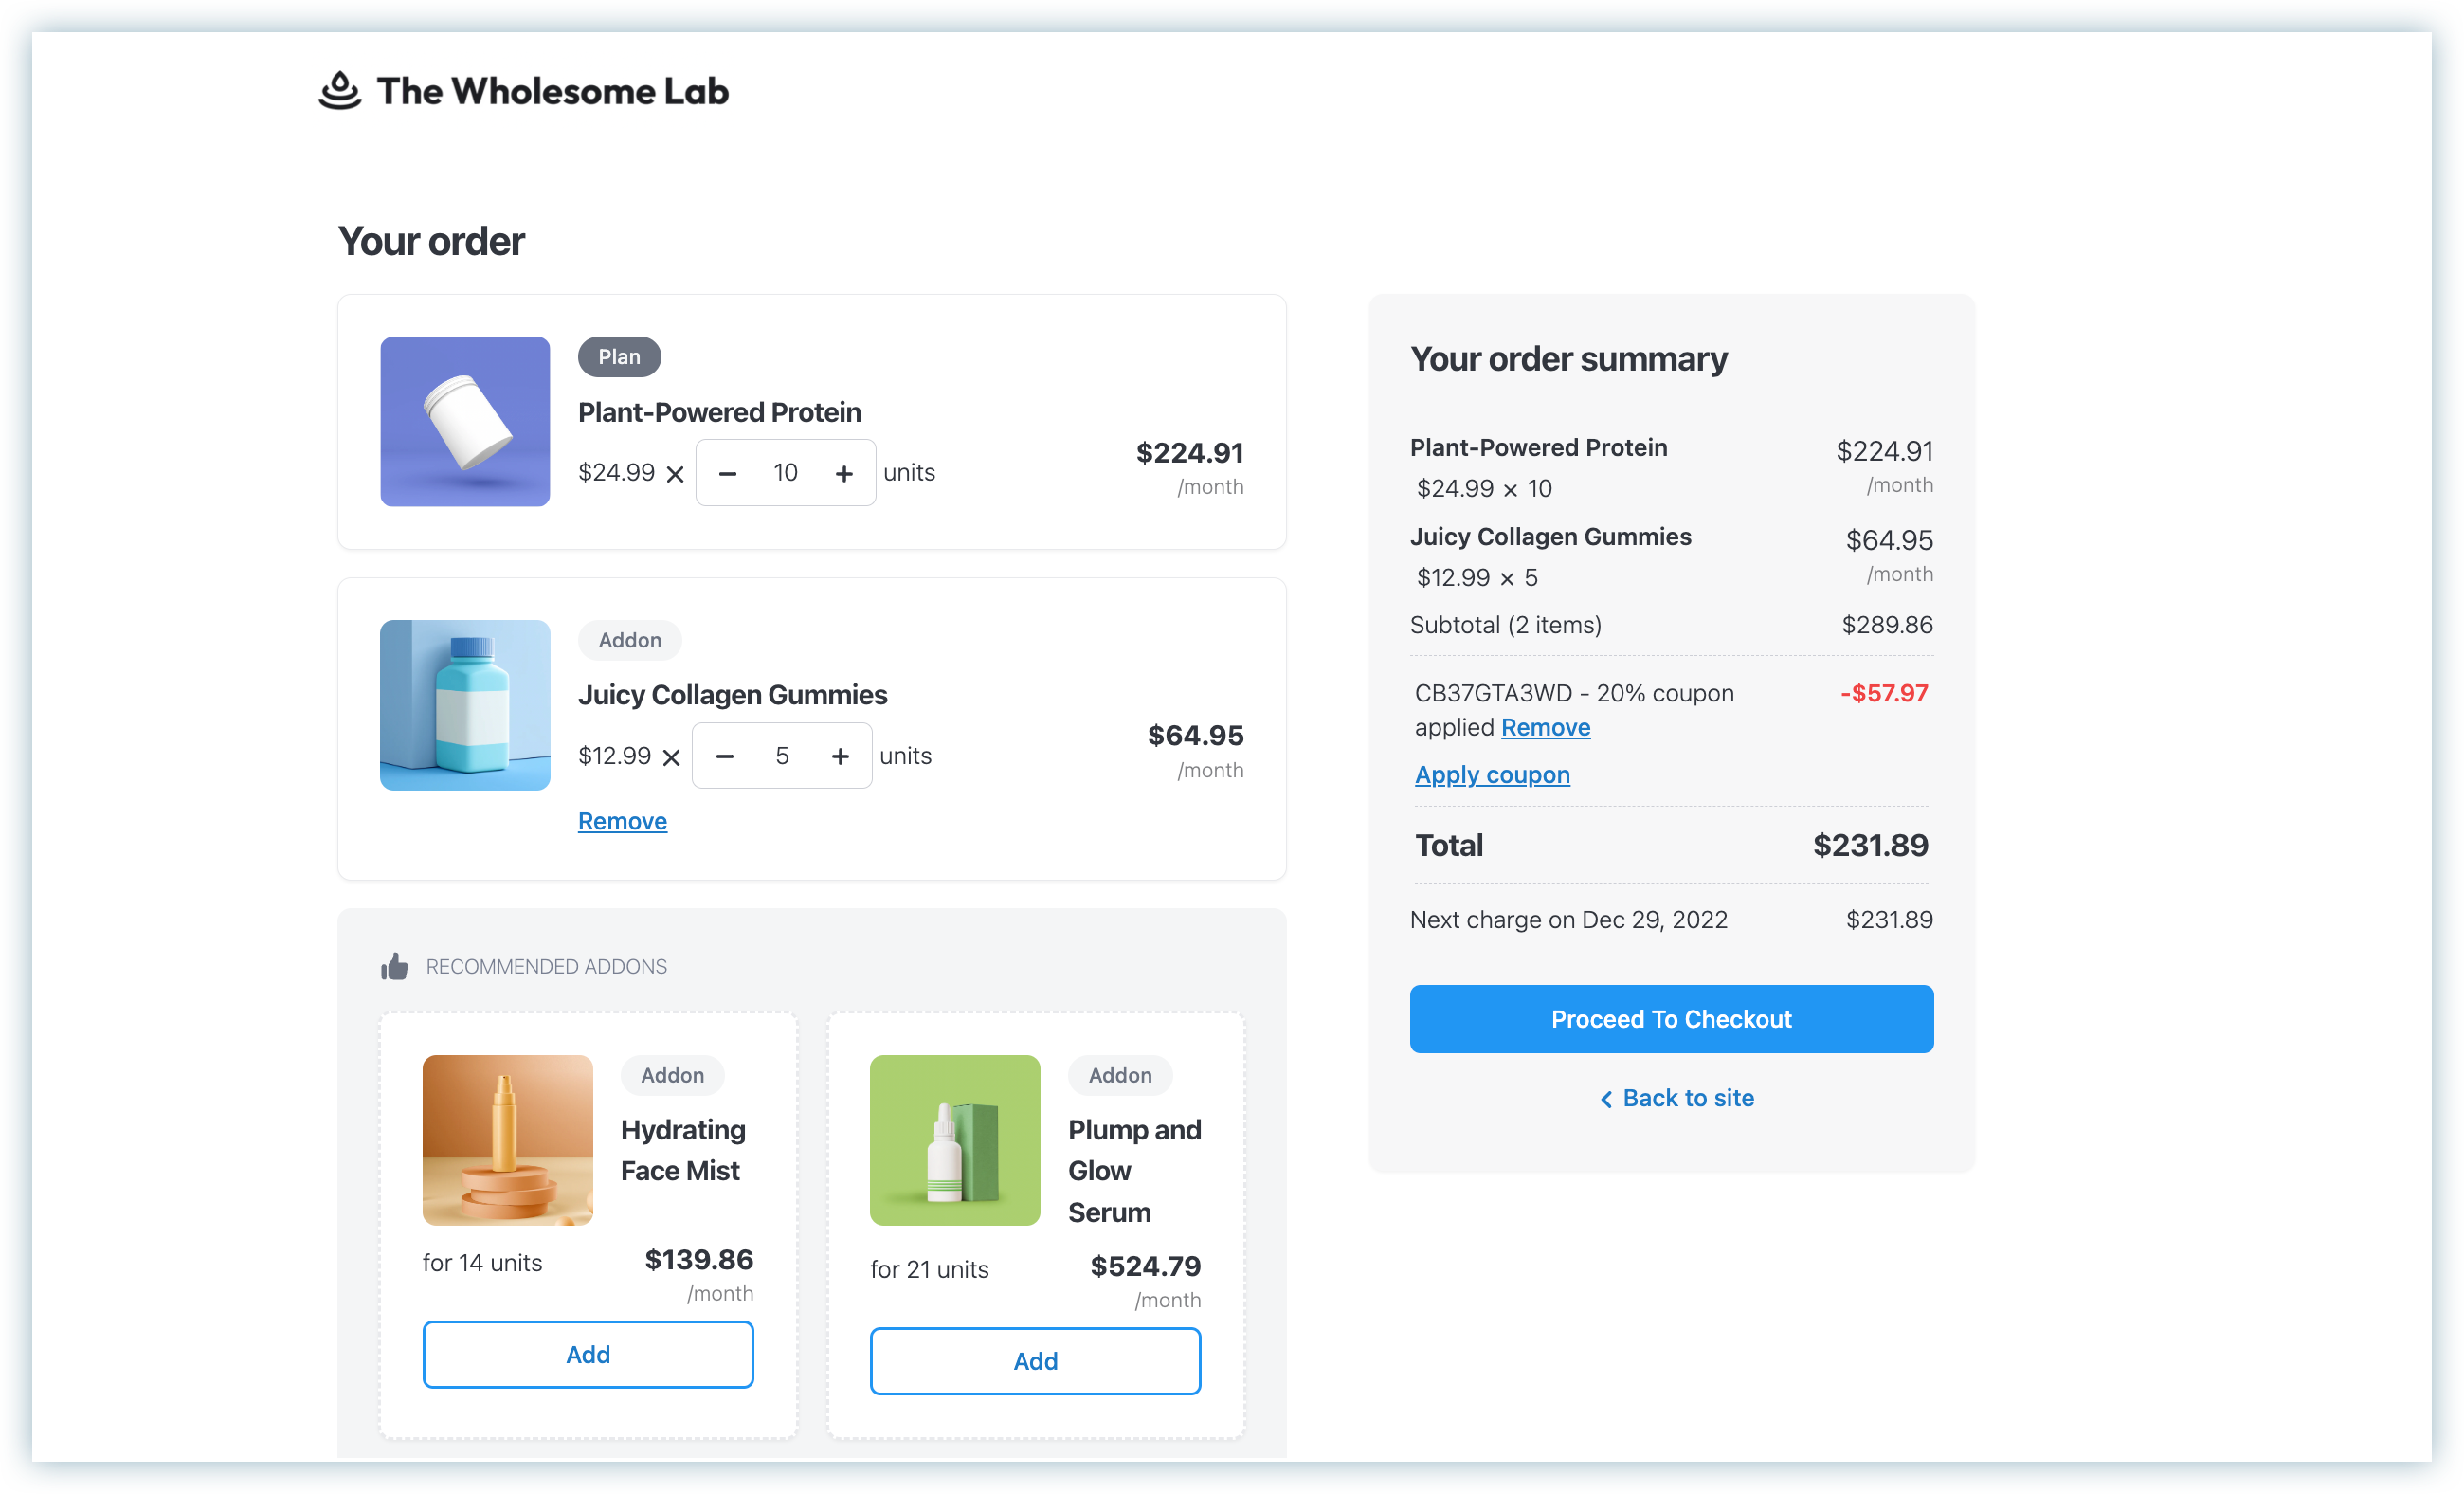
Example checkout page with product images:

Checkout page showing product images next to plan names

Disable product images to hide them. Chargebee keeps the stored images. Re-enable the feature to show them again without uploading them again.

Was this article helpful?