Configuring a Price Variant
Creating a Price Variant
Note
- You must provide at least one Attribute Label and Value pair to create a price variant.
- You can create up to 100 price variants in total.
- Each price variant can have up to 10 attributes.
To create a price variant, follow these steps:
-
Login to the Chargebee application.
-
Click Product Catalog > Price Variants > + Create Price Variant.
-
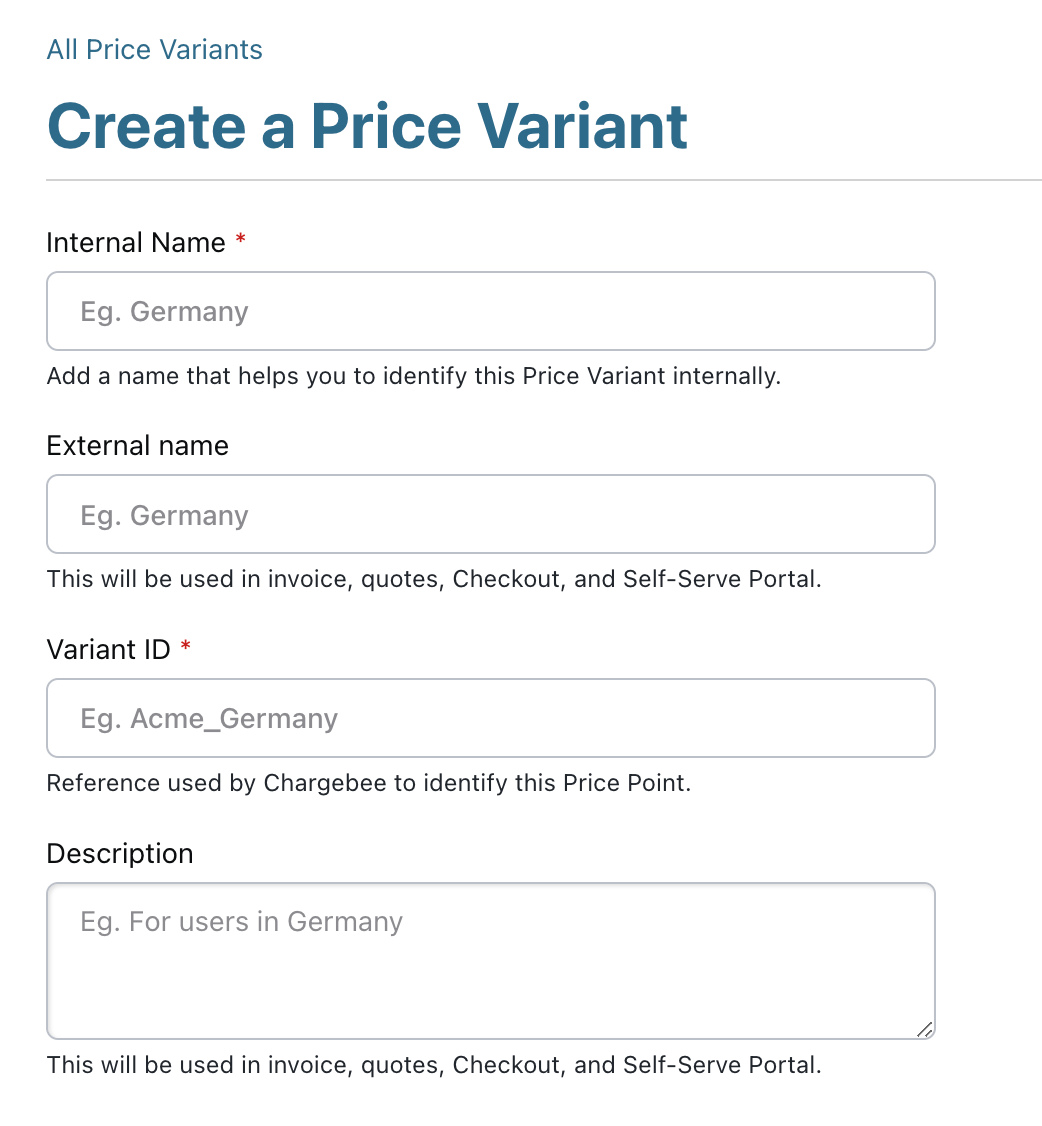
On the Create a Price Variant page, enter the following details:
- Internal Name: The internal name for identifying the price variant.
- External Name: The name displayed on customer-facing essentials.
- Variant ID: The unique identifier for the price variant.
- Description: A detailed description of the price variant.
-
In the Attributes section, enter the Attribute Label and Attribute Value that define the price variant. Make sure the attributes reflect different customer segments to create targeted price variants. We recommend keeping these customer segments exclusive to prevent overlap. For example, if you offer a plan with price variants based on the country and city of purchase, you can set:
- Attribute Labels: "Country", "City"
- Attribute Values:
- Variant 1: "Germany", "Berlin"
- Variant 2: "Germany", "Munich"
-
Click +Add Attributes to add multiple Attribute Labels and Values for a price variant.
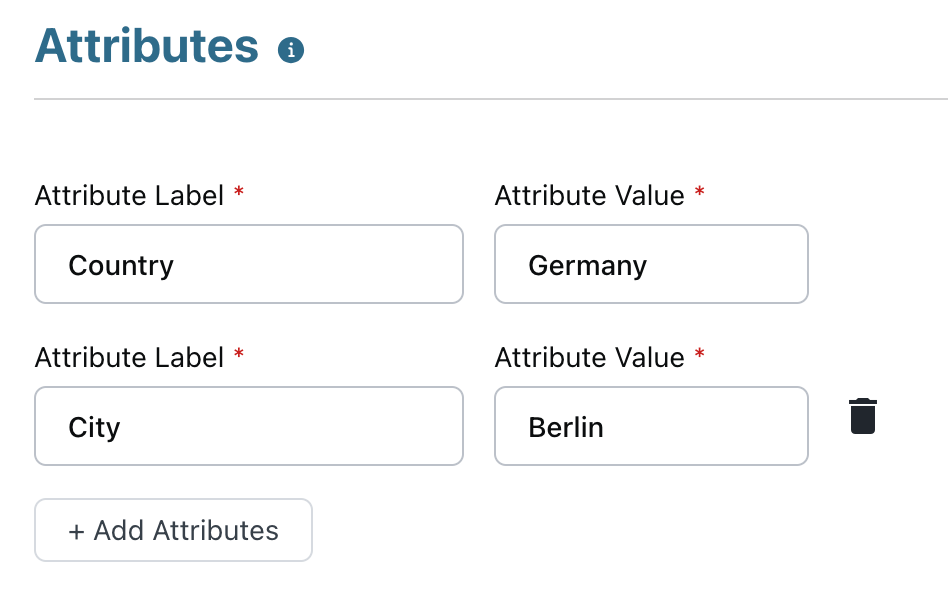
Attributes for the first price variant
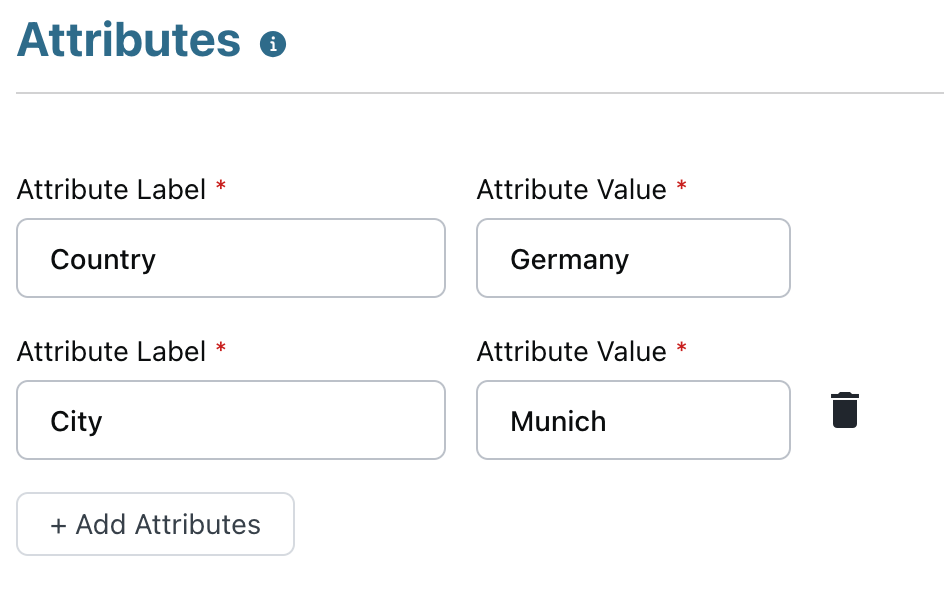
Attributes for the second price variant
-
Click Create to create the price variant.
Updating a Price Variant
To edit a price variant, follow these steps:
- Login to the Chargebee application.
- Navigate to Product Catalog > Price Variants > Price Variants Index Page. Click the Price Variant Name you want to update.
- On the Edit Price Variant page, you can update all fields except Price Variant ID.
- In the Attributes section, you can add new or update/remove existing Attribute Labels and Values.
- Click Update.
Deleting a Price Variant
To delete a price variant, follow these steps:
-
Login to the Chargebee application.
-
Navigate to Product Catalog > Price Variants > Price Variants Index Page. Click the Price Variant Name you want to delete. If the price variant is attached to any Price Point, it cannot be deleted.
-
Click Delete.

Attaching a Price Variant to a Plan/Addon/Charge's Price Point
To attach a price variant to a Plan, Addon, or Charge's price point, follow these steps:
-
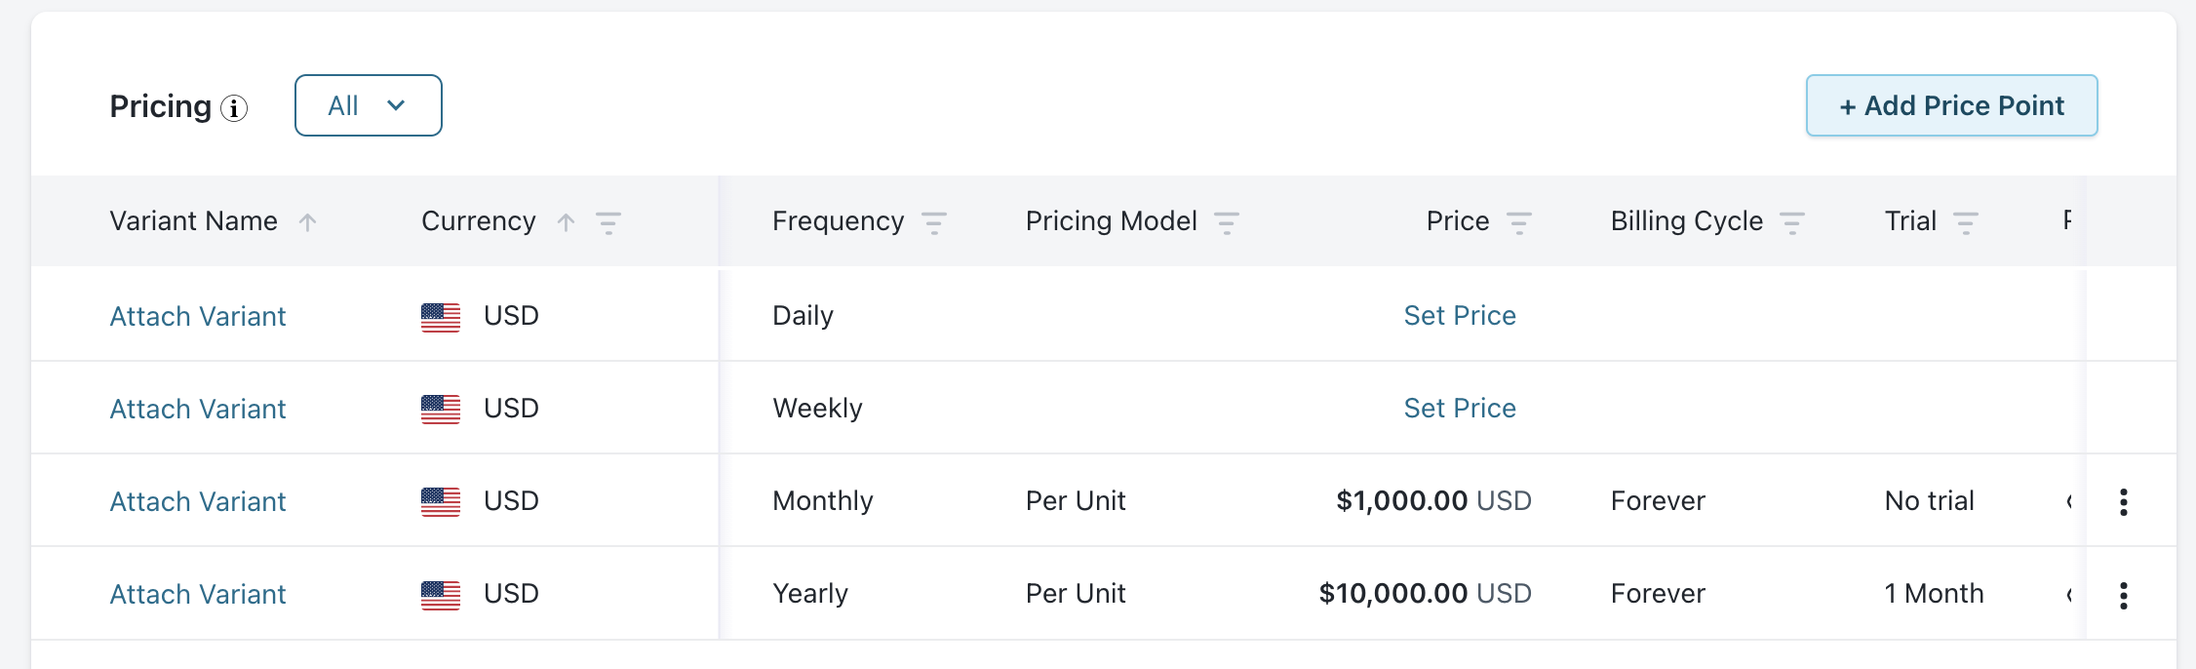
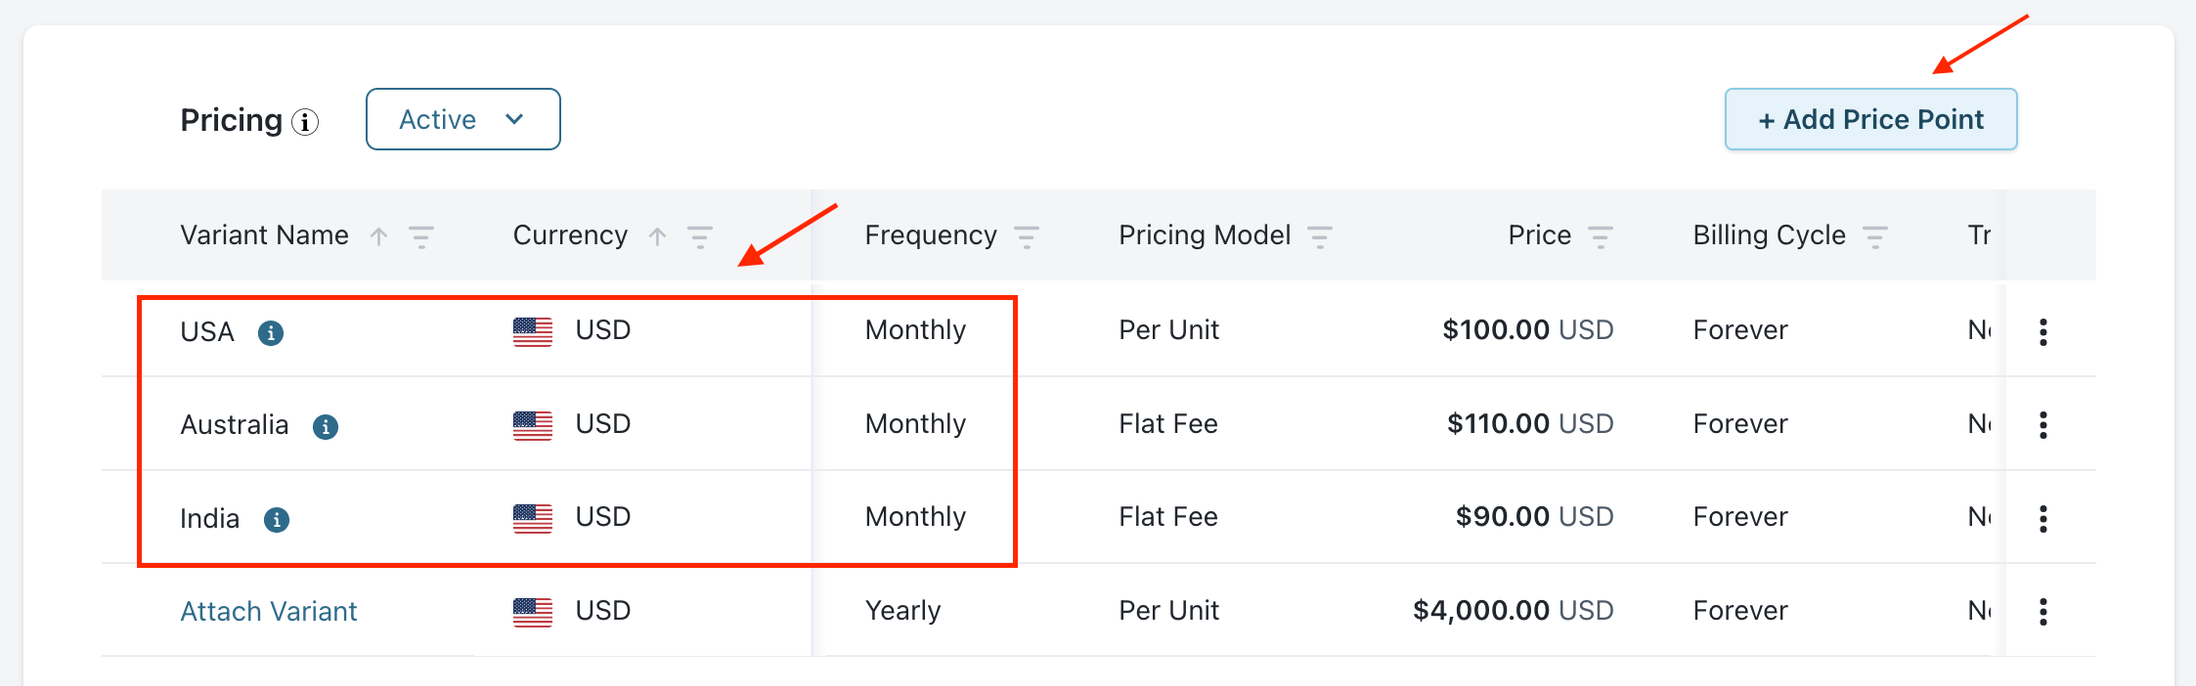
In the Pricing Details page, the Pricing section will display an additional column Variant Name.
-
Click Attach Variant or Set Price.
-
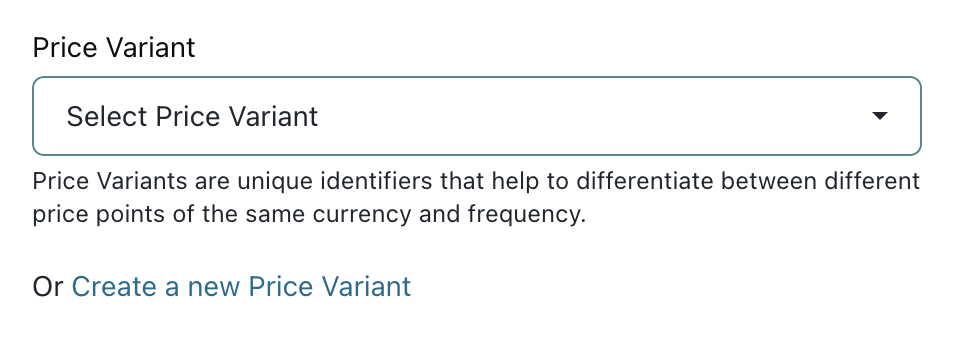
Fill in the basic price point attributes for the Plan, Addon or Charge and use the Price Variant drop-down to select an existing price variant that you want to attach to the Plan, Addon or Charge. If you want to create a new price variant on the fly, click Create a new Price Variant.
-
Click Create.
Removing a Price Variant from a Plan/Addon/Charge's Price Point
To remove a price variant from a Plan, Addon, or Charge, follow these steps:
-
Login to the Chargebee application.
-
In the Pricing Details page, select the Plan, Addon, or Charge's price point from where you want to remove the attached variant.
-
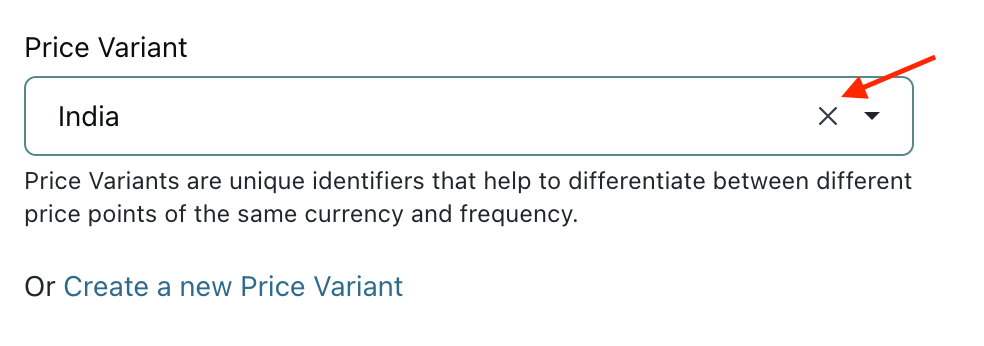
Click the X icon.
-
Click Update.
Note
The attached price variant will be removed from the price point only if another price point with the same currency and frequency combination does not exist.
Adding a New Plan/Addon/Charge Price Point
The +Add Price Point action can be used to create multiple price points with the same currency and frequency combination.
To add a new price point, follow these steps:
- Create a Plan, Addon or Charge.
- Click +Add Price Point to create a new price point.
- In the Create a Price Point Page, in addition to the existing basic attributes, you will be able to select the currency, billing frequency and price variant using the dropdown.
Note
- A single price variant can be added to multiple price points of the same plan, addon, or charge where a combination of the currency, frequency, and price variant per price point is unique.
- A single price variant can be added to price points across multiple plans, addons, or charges.
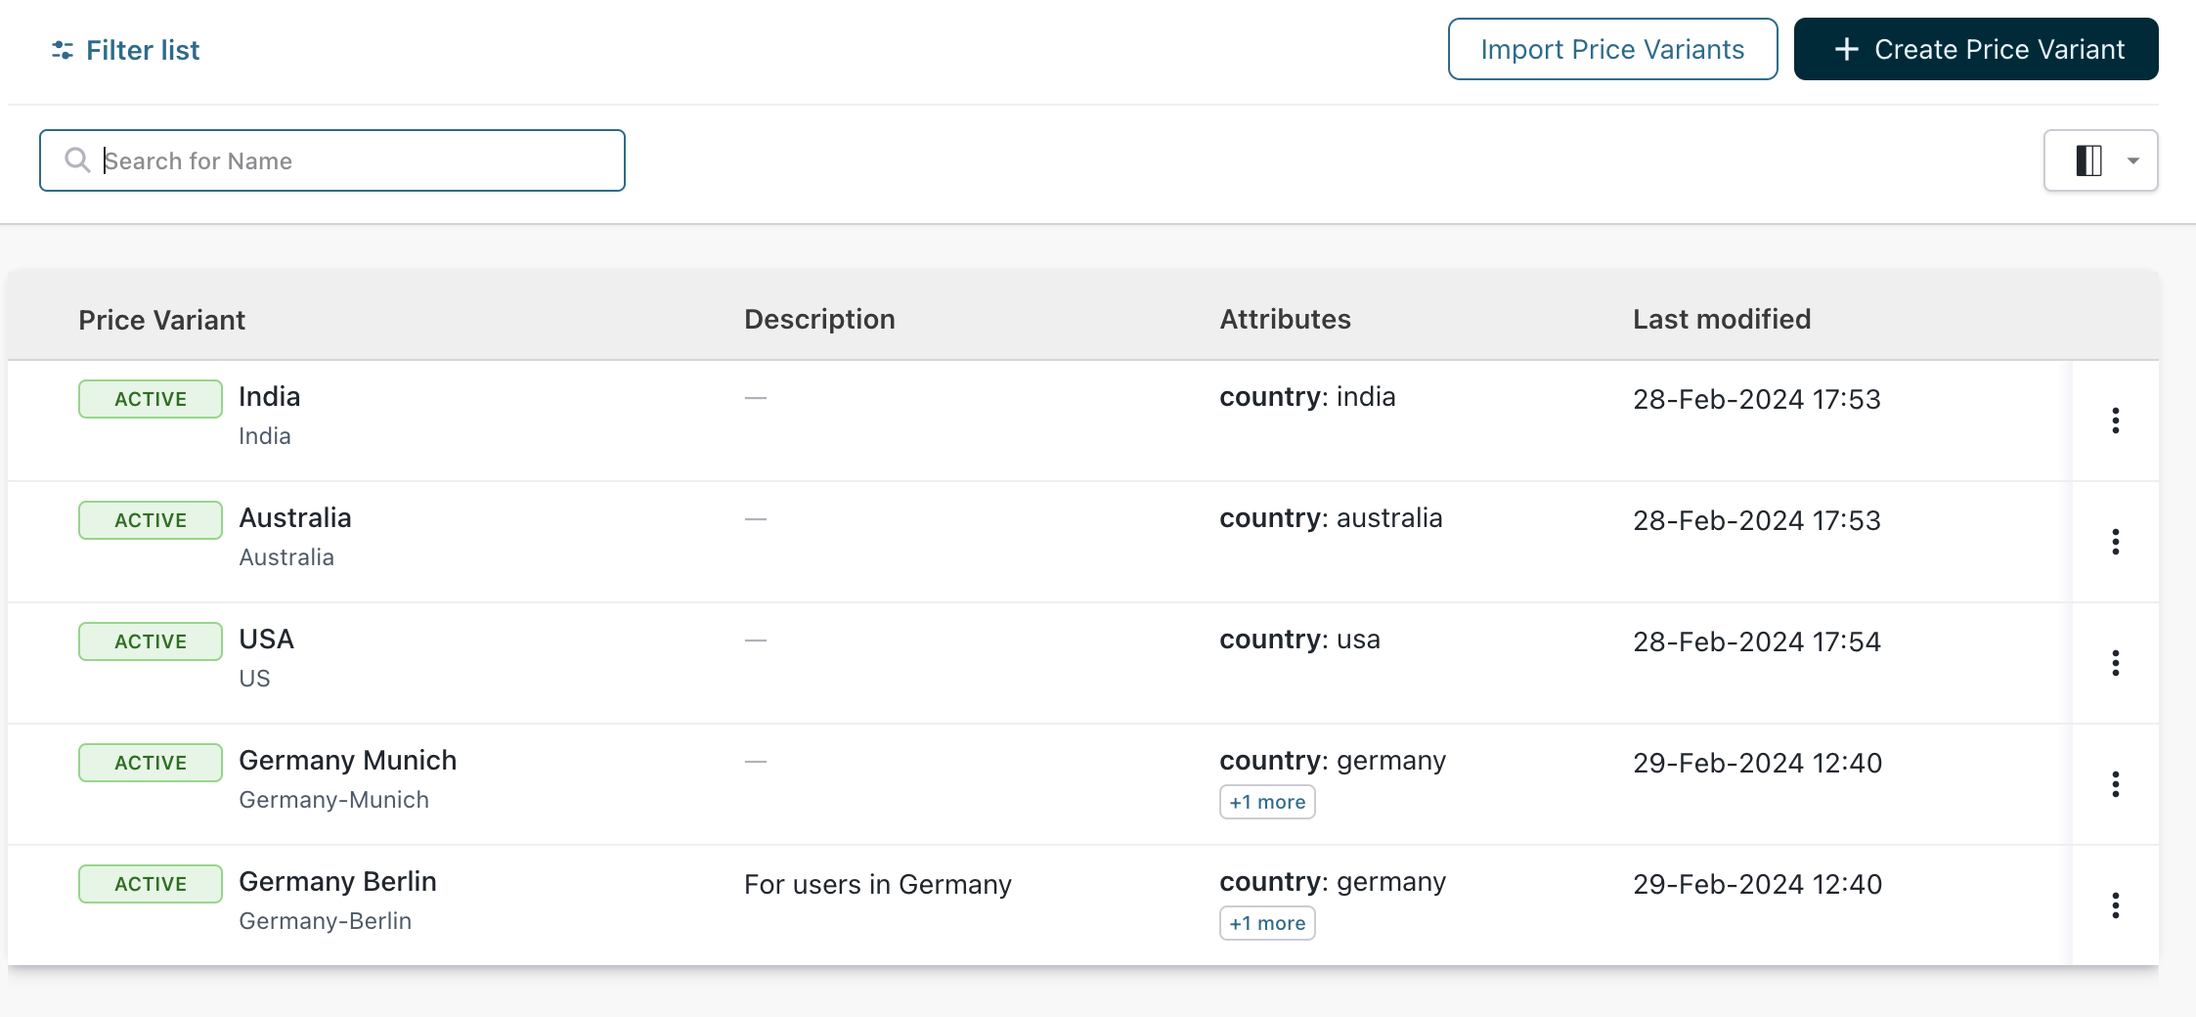
Viewing Price Variants Index Page
This page contains the price variants list on your Chargebee site. You can create, update, or delete any price variant from this page. To view the price variant index page, navigate to Product Catalog > Price Variants > Price Variants Index Page.
Was this article helpful?