Self Migration
Self Migration, simply put, is a bulk data import into Chargebee using our Bulk Operations feature and Import APIs. It allows you to configure your data and complete the migration to Chargebee on your own.
You can migrate your data to Chargebee in two ways:
- Use Bulk Operations to migrate through the Chargebee application.
- Use Import APIs to migrate through APIs.
Note
- Contact our migration engineers if you have bulk data to import or export.
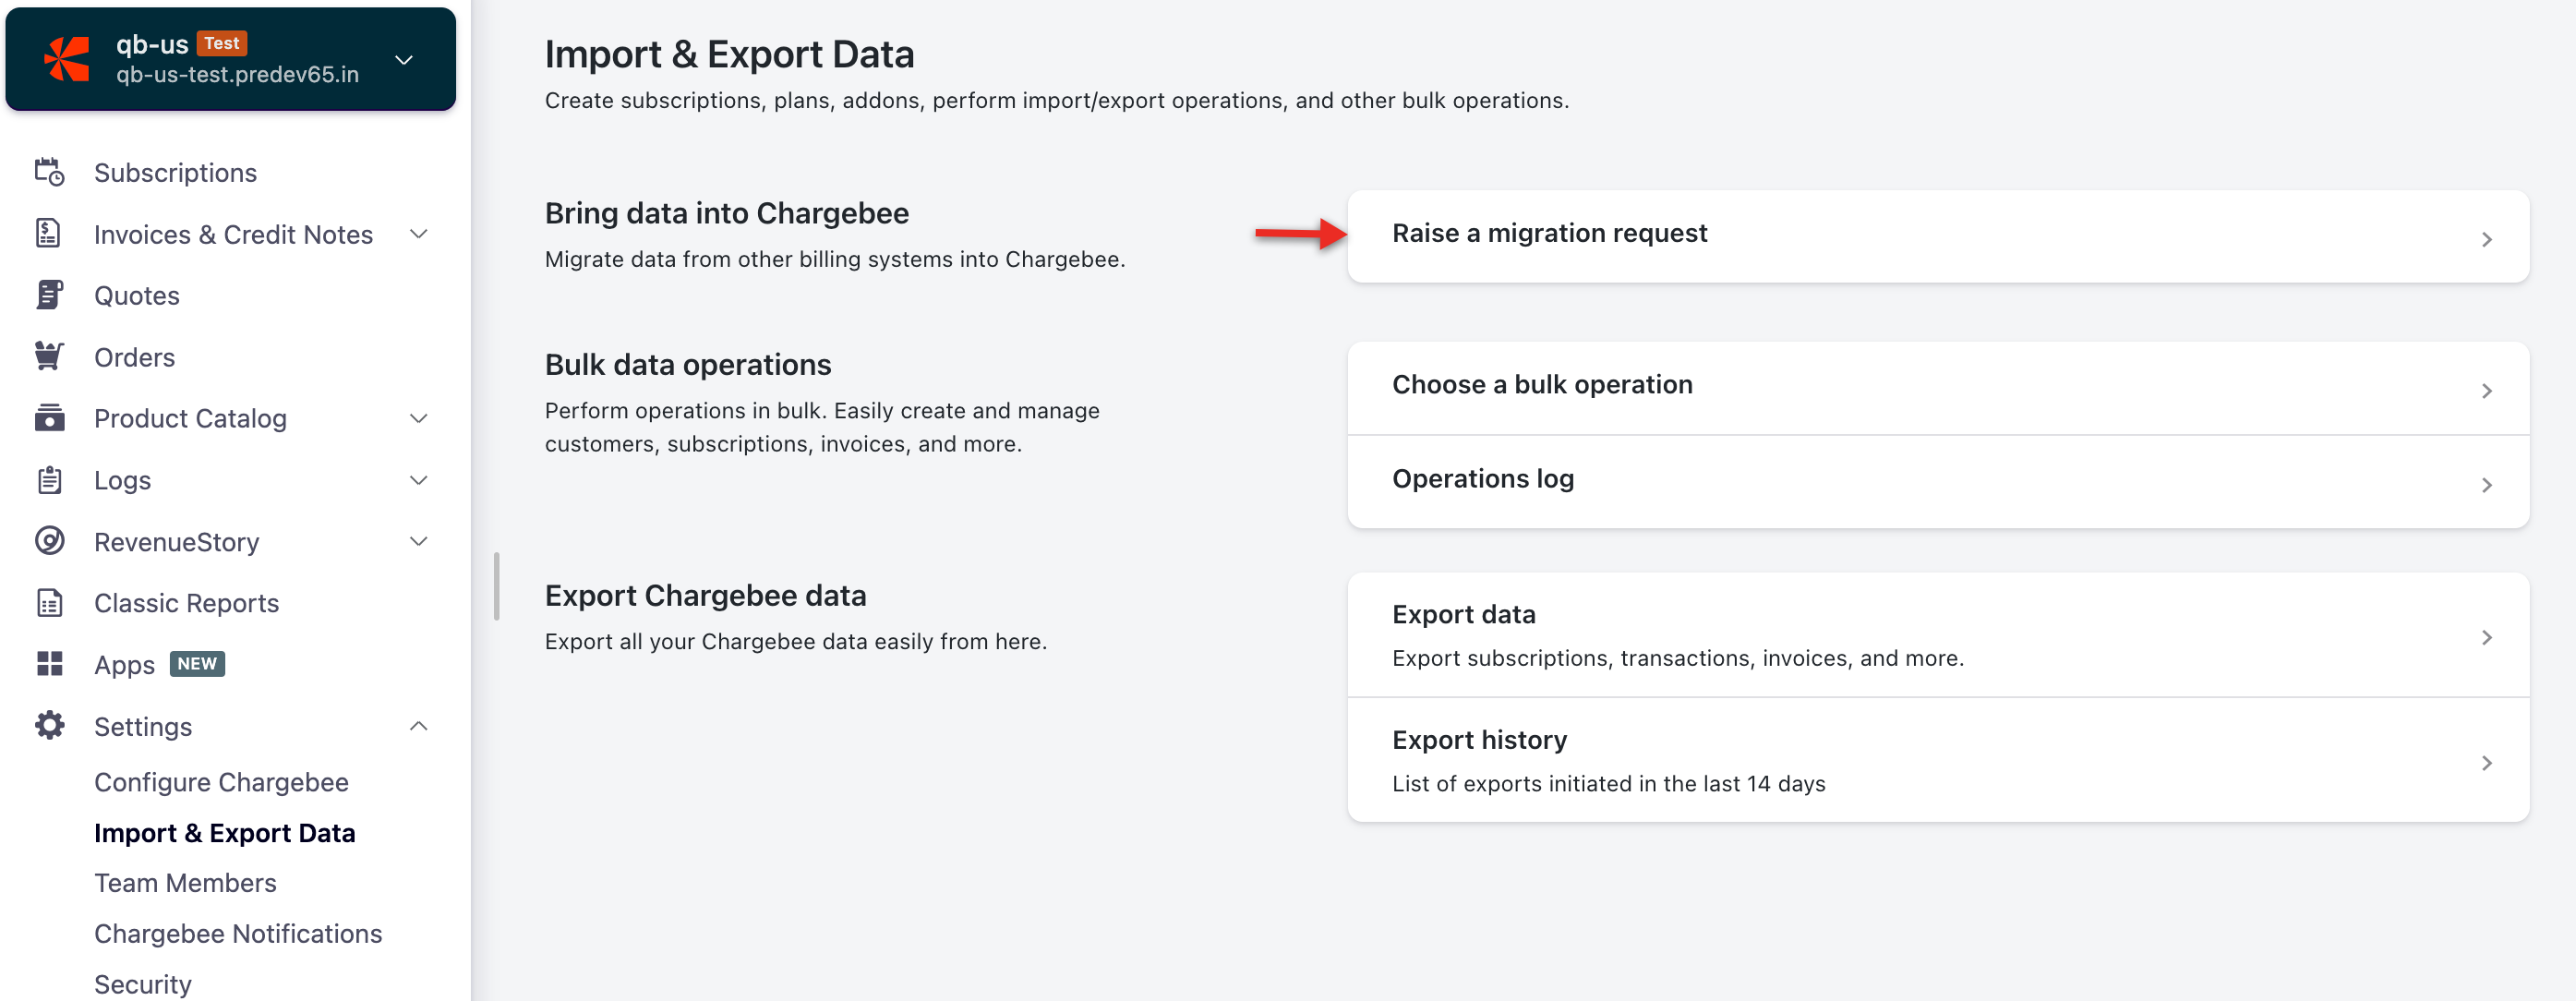
- If you want help migrating your data to Chargebee, submit a request in the Chargebee application by clicking Settings > Import and Export Data > Bring Data into Chargebee.
Prerequisites
Prerequisites for Self Migration:
- Complete your Chargebee site setup. Try a few mock transactions to ensure the flow works as expected.
- Make sure integration with Chargebee works as intended in your environment and with all connected systems.
Recommendation:
Stop taking new sign-ups through your existing billing platform. Accept new sign-ups through the Chargebee Live Site.
Important:
Test the import by importing the data to your Chargebee Test Site using the following steps.
Log in to your Test Site and check if the data is imported as expected. You can then clear your Test Site and perform the Live Site import.
Setting up the Self Migration
-
In your Chargebee application, click Settings > Import & Export Data > Choose a bulk operation.

-
Select the bulk operation you need to perform from the drop-down. Based on the selection, relevant options are displayed.
-
Download the sample CSV file, which has pre-filled Chargebee fields.
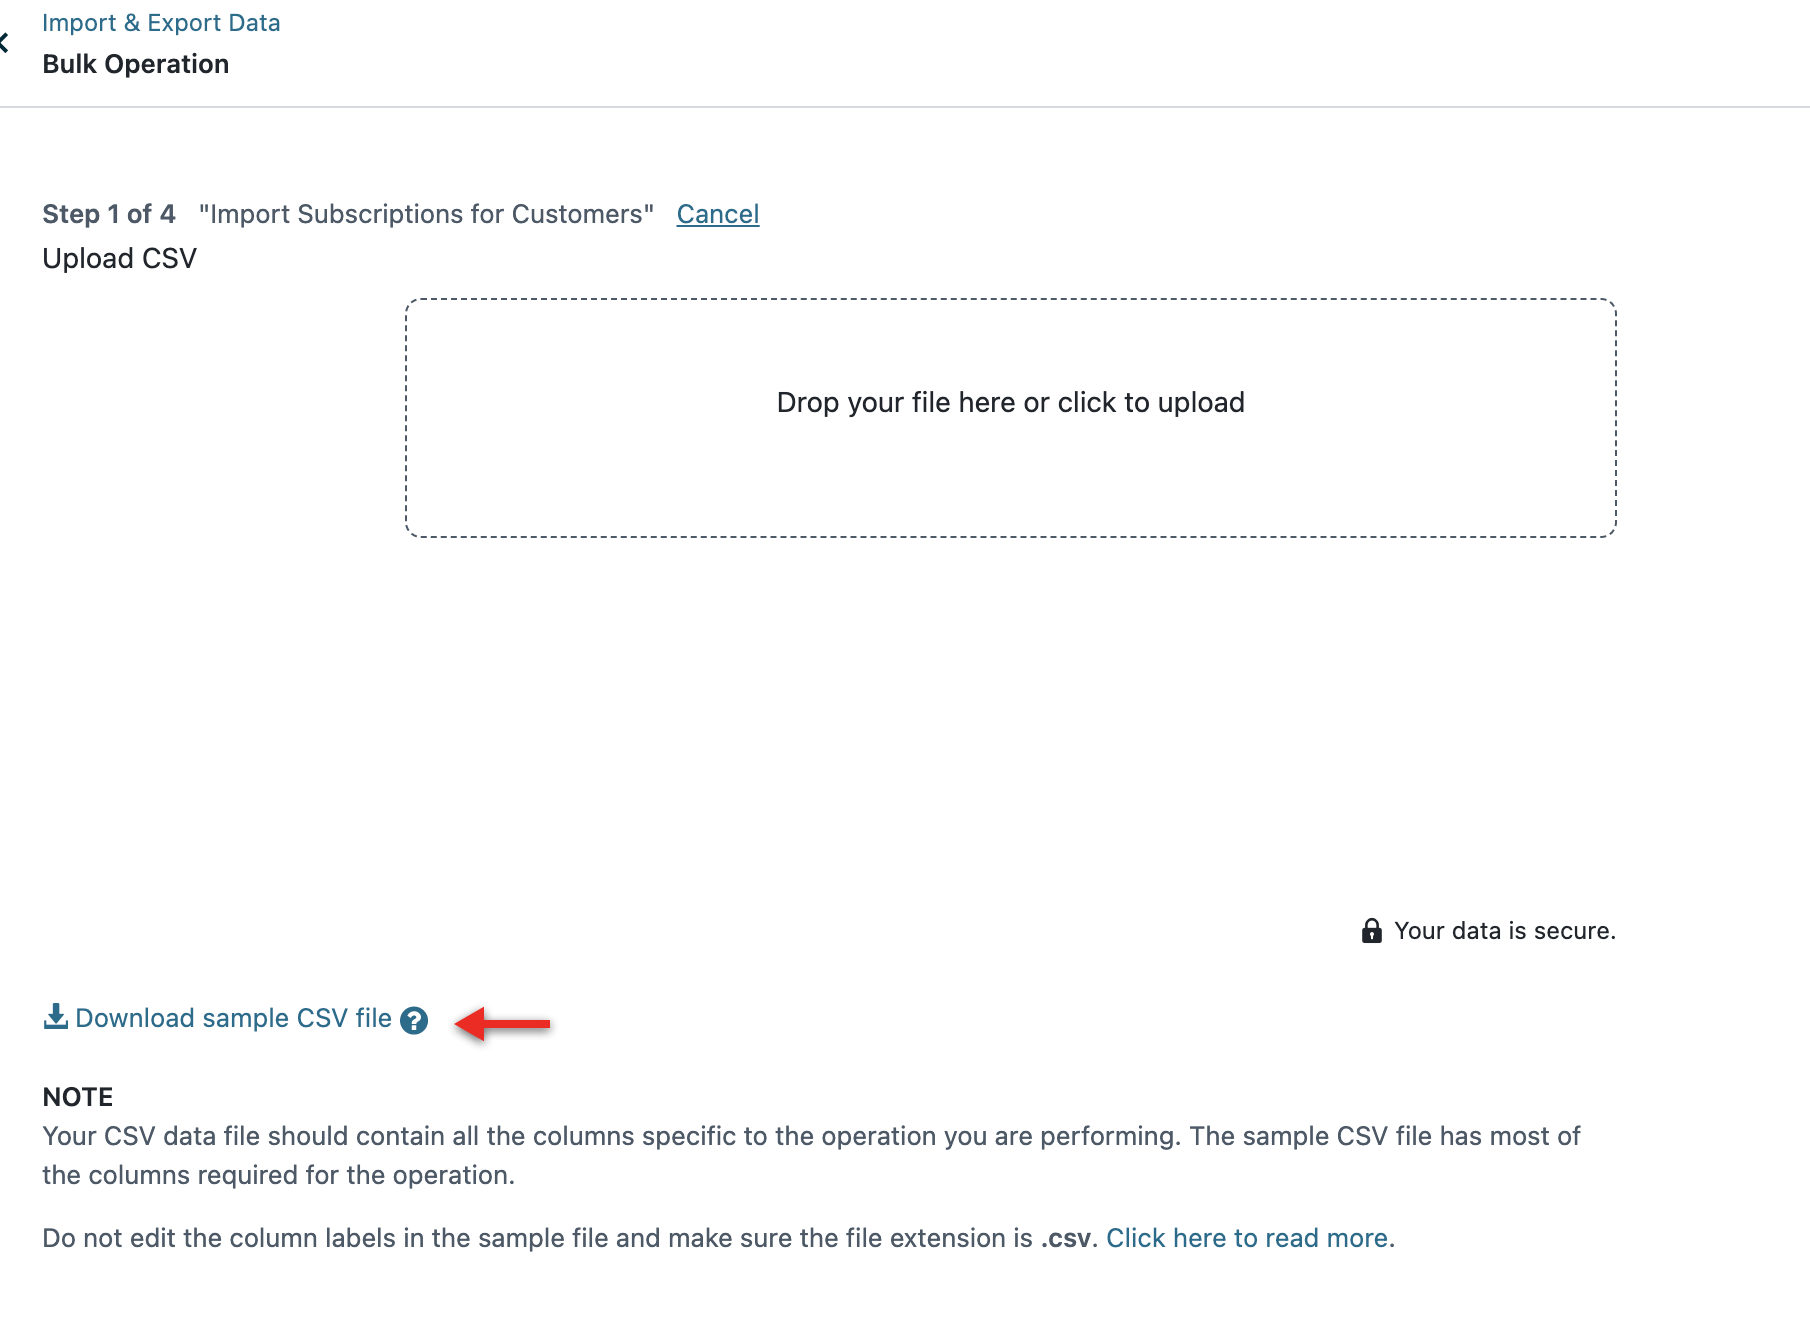
-
Enter the data into the CSV file and upload it.
- Before you fill in the data for upload, read our API documentation to understand the input value for each field.
- We prefer data to be in the same format as the sample CSV.
- Columns color-coded in green are required fields.
-
Validation is performed for the uploaded file.
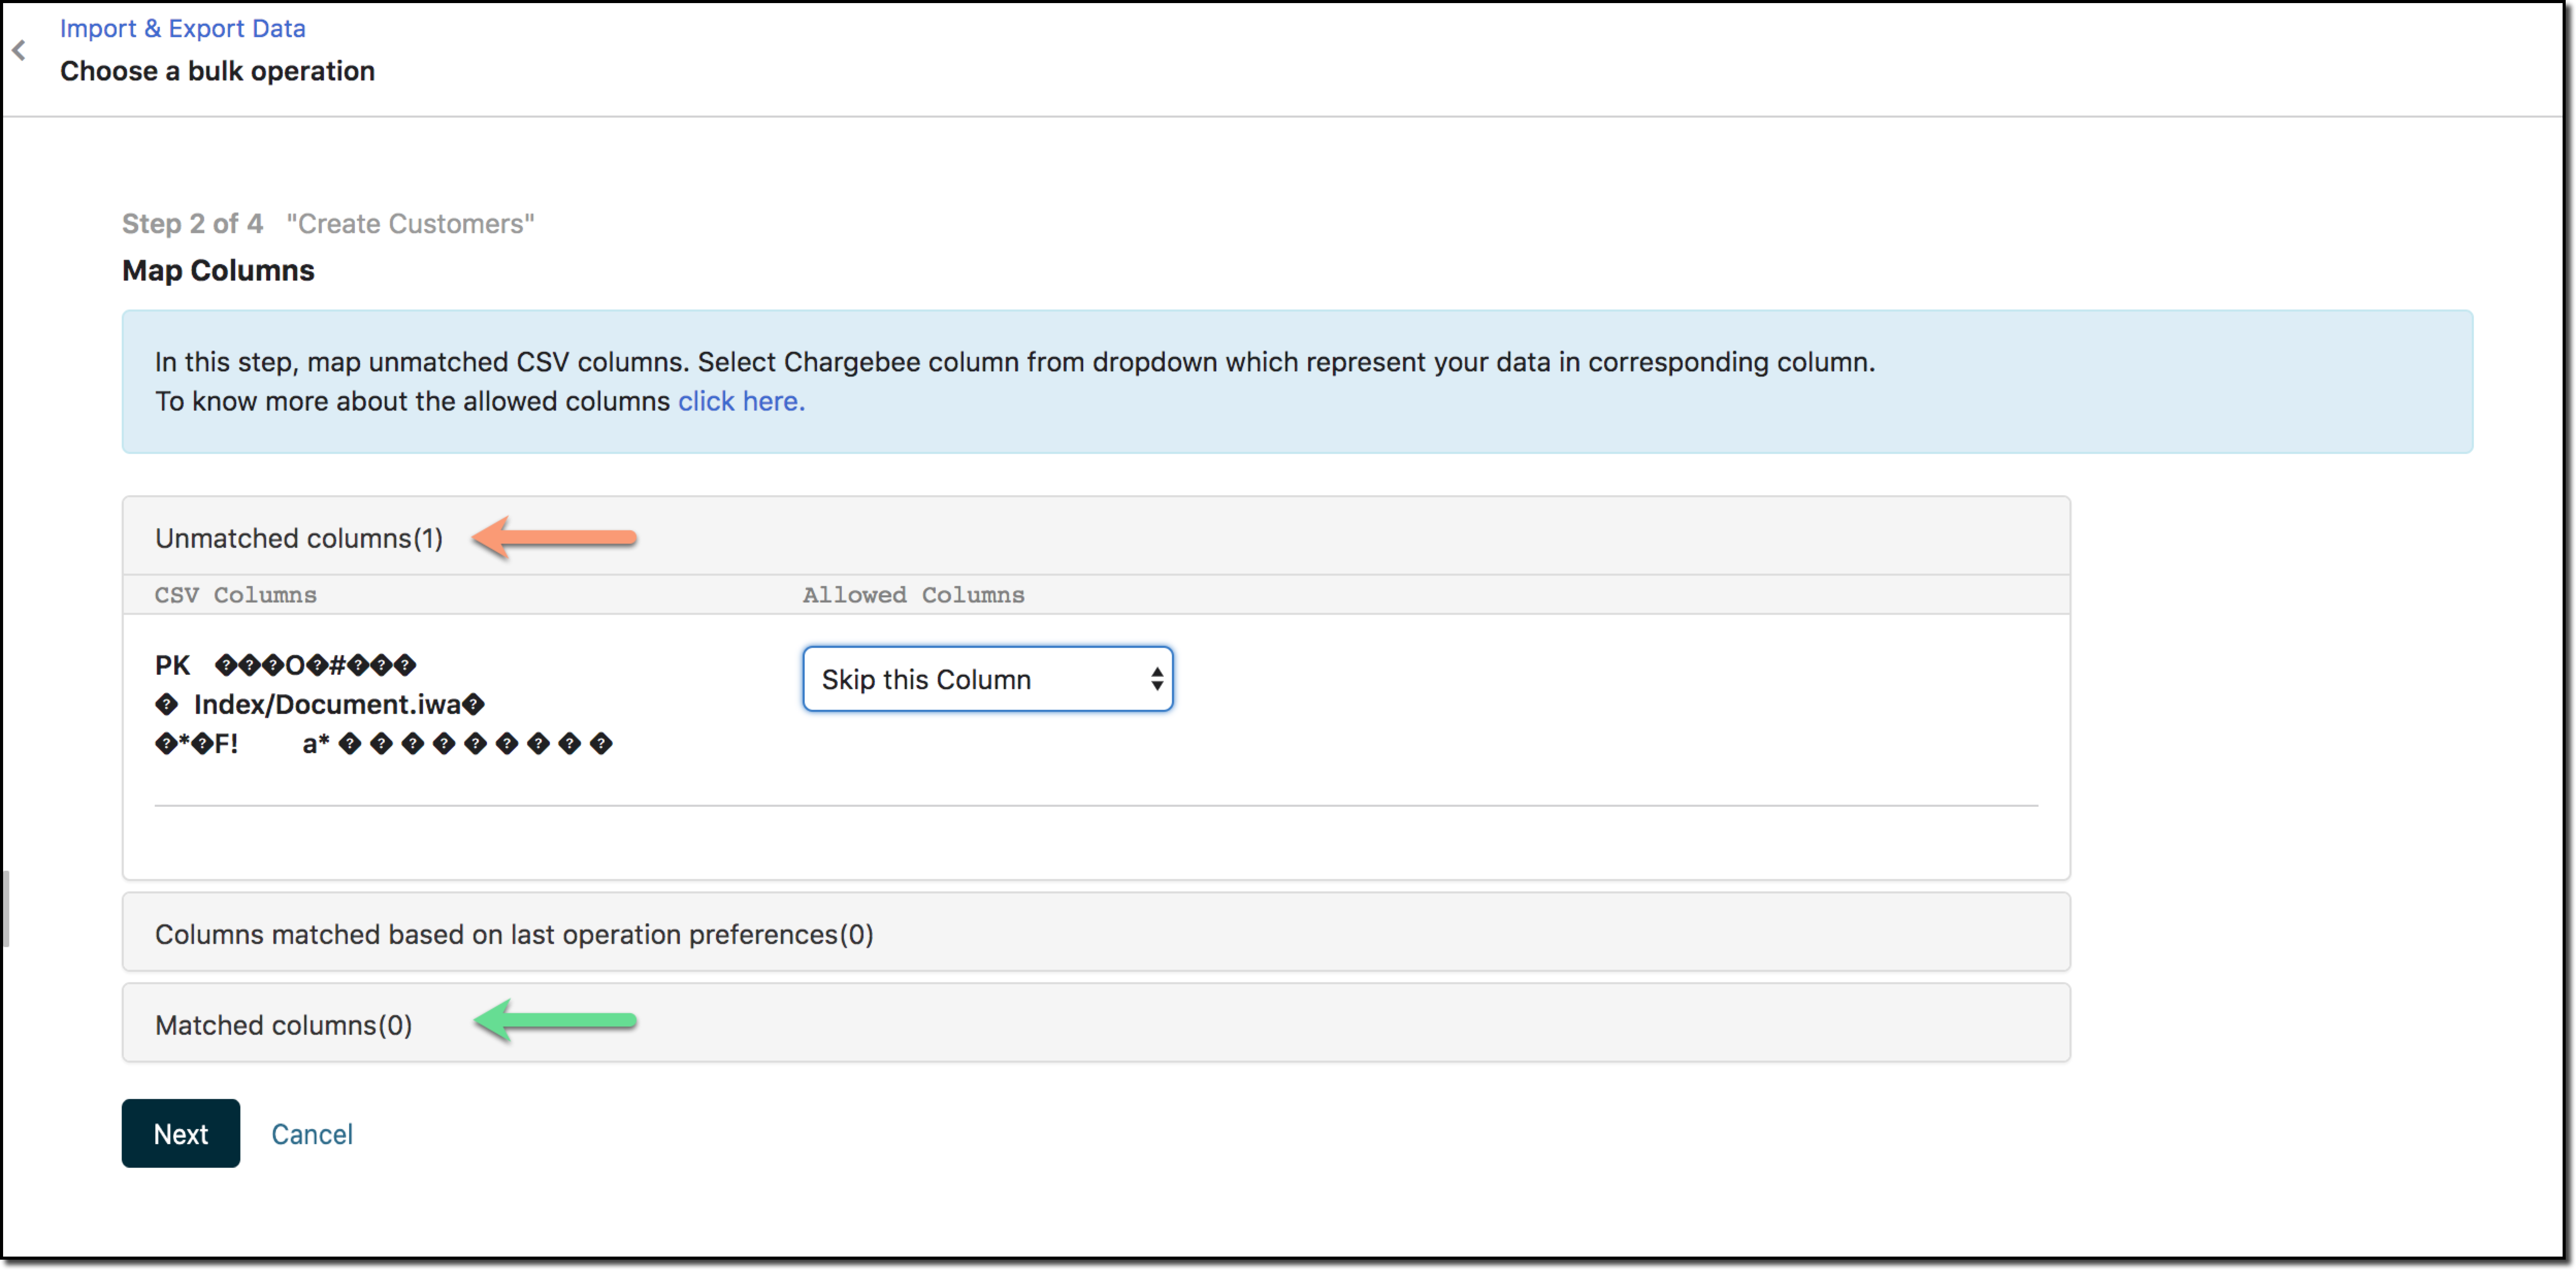
- Positive validation shows all the fields in Matched columns.
- If there are unmatched columns in the CSV that were not mapped automatically to the exact Chargebee fields, they are displayed in the Unmatched columns section (as shown in the screenshot below).
You can choose to skip the column or pick the right field. - After selecting the action, click Next.
-
By default, emails and webhooks are disabled to ensure no notification is triggered during the import.
You can enable them if needed. Click Continue to proceed.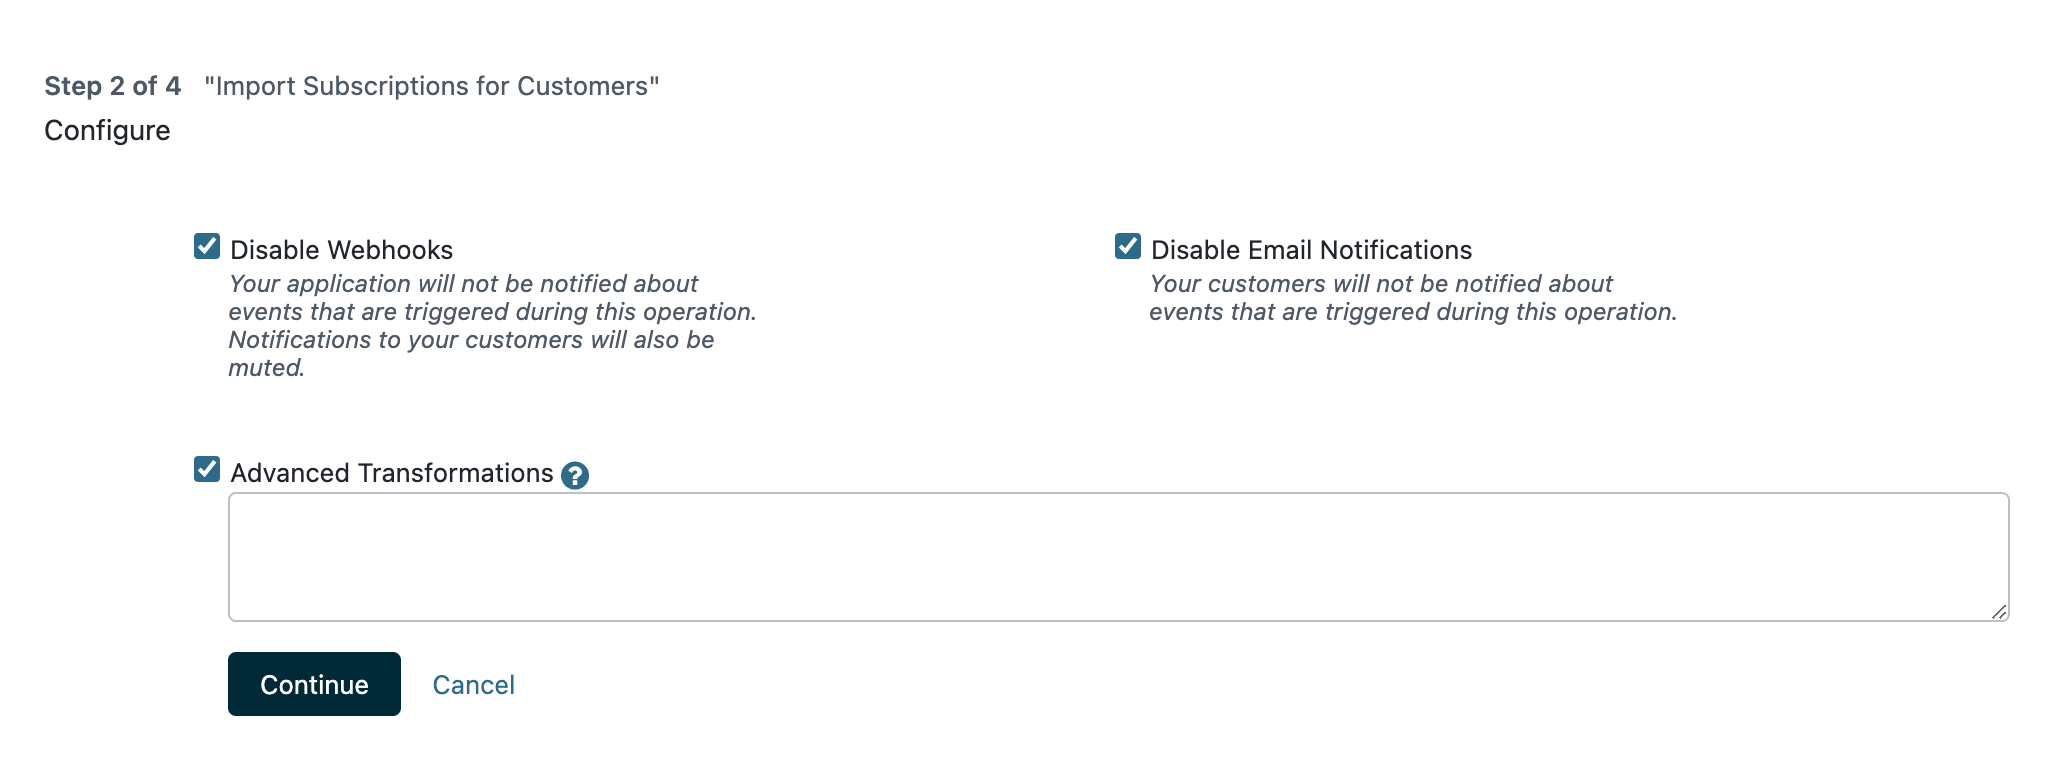
-
After a successful import, you can view the imported data.
- Check Delete all data under the Subscription section in the TEST site if you want to clear all subscription data on your Chargebee Test Site during the tryout.

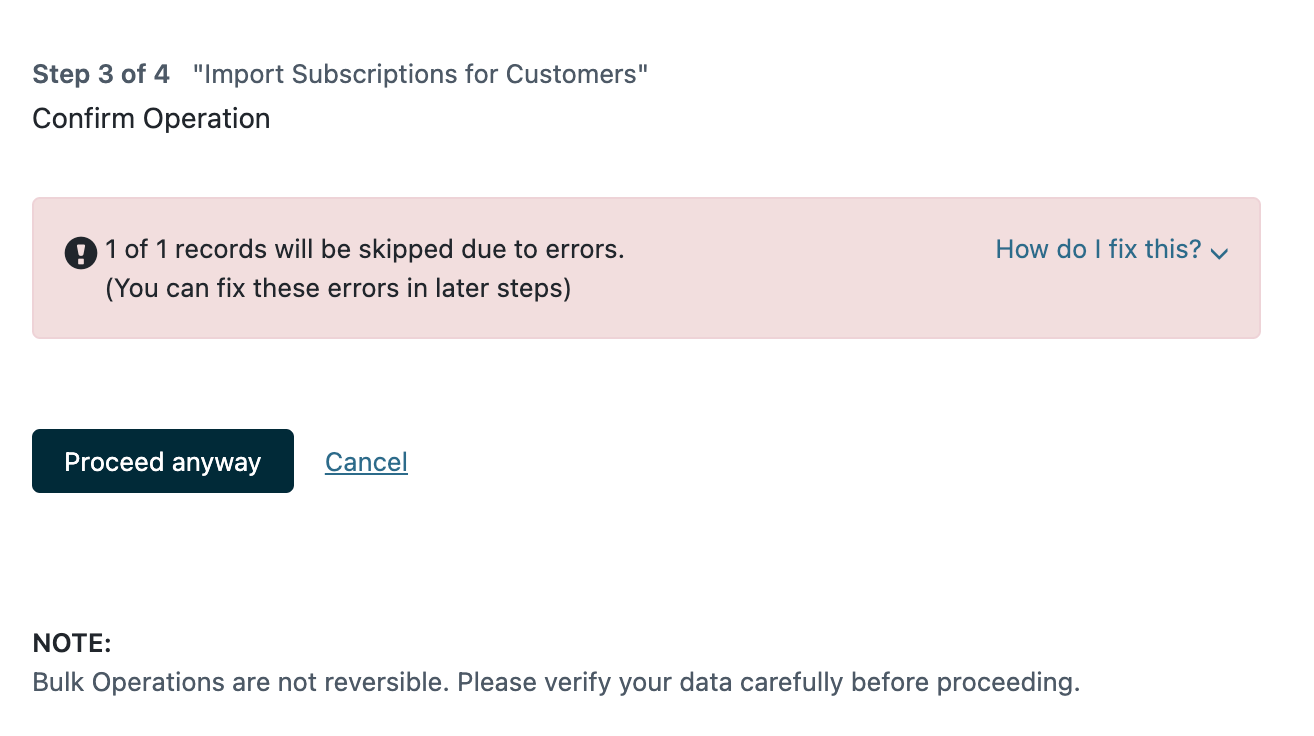
- If there is an error during import, you can fix the error in later steps, proceed further, or cancel the import.

- You can either fix the error or skip the record.
-
Validate the imported data manually in your Chargebee Live Site.
-
After validation, cancel all subscriptions in your previous billing system. This ensures your customers are not billed twice.
Note
Make sure you disable notifications in your previous billing system to ensure no cancellation email is sent.
See also
API References
Was this article helpful?