PayPal Commerce
The PayPal Commerce platform (formerly known as PayPal for Partners) is a comprehensive payments solution that enables buyers to purchase goods and services from multiple providers under a single umbrella. Integrating PayPal Commerce with Chargebee allows merchants to accept payments in up to 25 currencies across the globe via card payments.
Note
- PayPal Commerce supports Cards (Advanced Credit and Debit Card payments - ACDC), Venmo, and PayPal Wallet on the same gateway connection. Cards and Venmo use PayPal's Vault ID token format. Vault ID is PayPal's current token format; the legacy Billing Agreement ID (BAID) is deprecated by PayPal. When migrating Card or Venmo payment methods to Chargebee, pass the Vault ID as the reference ID. See the payment parameters API docs for details.
- Chargebee supports other PayPal payment services as well.
- If multicurrency is enabled, ensure that the currencies configured in your Chargebee site are also configured in your PayPal merchant account. Chargebee will mark the invoice as void if the customer makes a payment using a currency that is not configured in your Chargebee site.
Prerequisites for PayPal Commerce
Complete the following requirements before you accept payments via PayPal Commerce with Chargebee.
- PayPal Business Account: Use a PayPal Business Account. A Personal Account cannot be used. Find more on the types of PayPal accounts here.
- Reference Transactions: Enable reference transactions on your PayPal Business Account. This is required for Chargebee live sites. Contact PayPal Customer Support to enable it. Reference Transactions are not supported in PayPal sandbox accounts.
- Advanced Card Processing: Enable Advanced Card Processing in PayPal. After it is enabled, you can connect your PayPal account to Chargebee and use Advanced Cards.
- Supported currencies: Configure the same list of currencies in both your PayPal Business Account and your Chargebee live site.
Supported payment methods for PayPal Commerce
This integration supports the following payment methods:
- Cards (Advanced Credit and Debit Card payments - ACDC)
- Venmo via PayPal
- PayPal wallet
Integration options for PayPal Commerce
Chargebee offers the following options to integrate with PayPal:
- Chargebee hosted pages
- Chargebee JS
- Gateway JS
| Integration Method | Description | PCI Requirements |
|---|---|---|
In this method, customers' card information is collected by Chargebee's checkout and directly passed on to PayPal. | Low (Your PCI compliance requirements are greatly reduced due to the usage of Chargebee's checkout) | |
| Chargebee JS | You will collect raw card details via your custom checkout and pass them to Chargebee.js. 3DS Helper to conduct the 3DS flow. However, this will need you to ensure PCI compliance. | High (Card information will be collected by you directly; you will have to take care of PCI Compliance requirements) |
| Chargebee JS (Chargebee Components and Fields) | In this method, Chargebee's components and fields collect customers' card information and tokenise it with PayPal. | Low (Your PCI compliance requirements are greatly reduced due to the usage of Chargebee's components and fields) |
| Gateway JS + Chargebee API | The payment method is collected in the Gateway’s JS and converted into a permanent token. This permanent token will be used to process payments associated with the respective customer. | Low |
Configuring PayPal Commerce
To configure PayPal Commerce, follow the steps below:
- Log in to your Chargebee Billing site.
- Go to Settings > Configure Chargebee > Payment Gateways.
- Click +Add Gateway.
- Select PayPal.
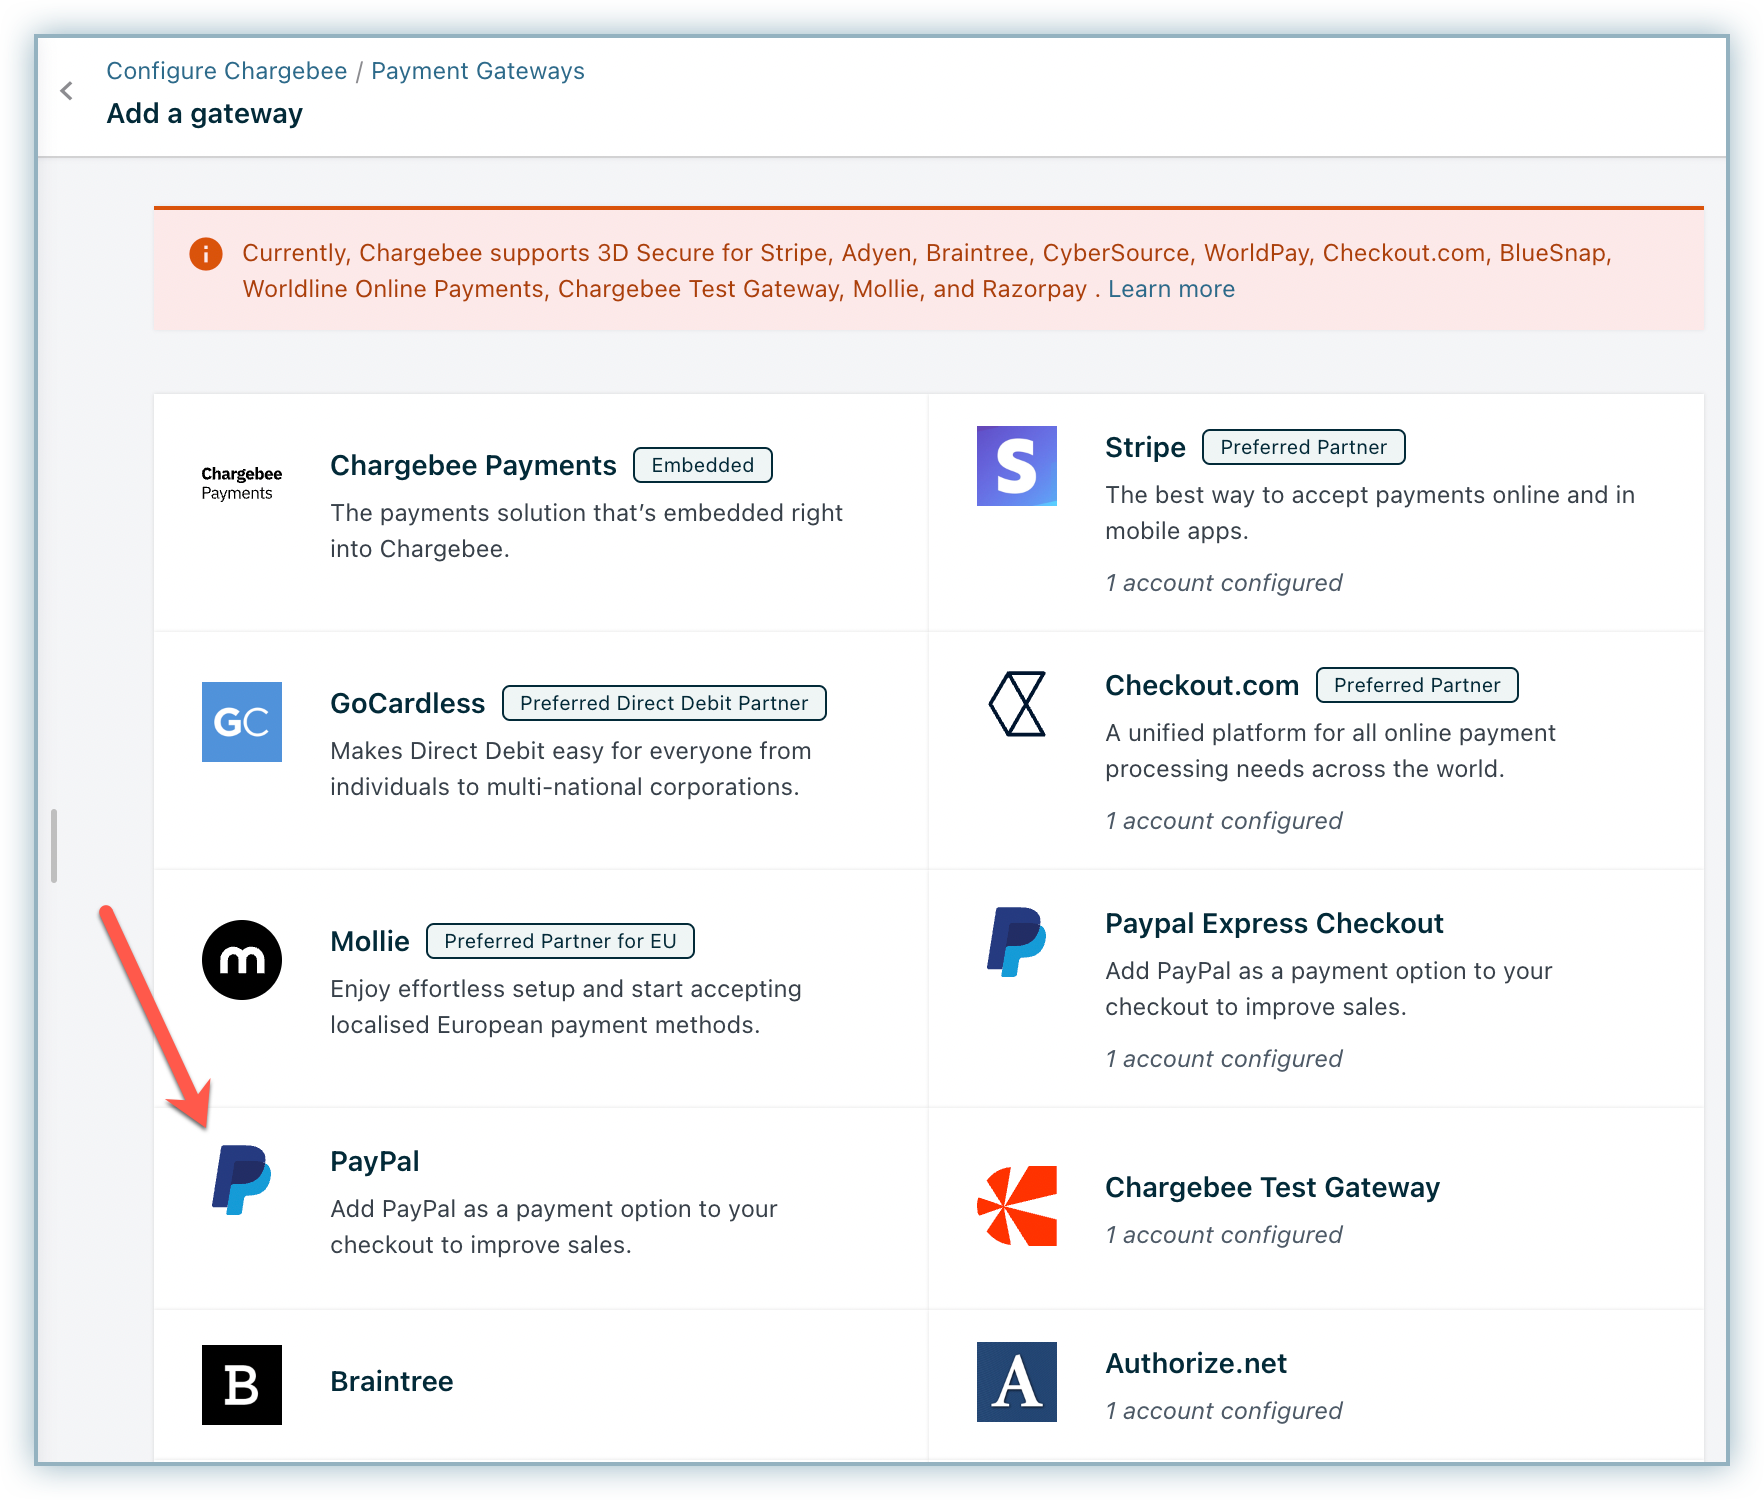
- Connect to an existing account or create a new one.
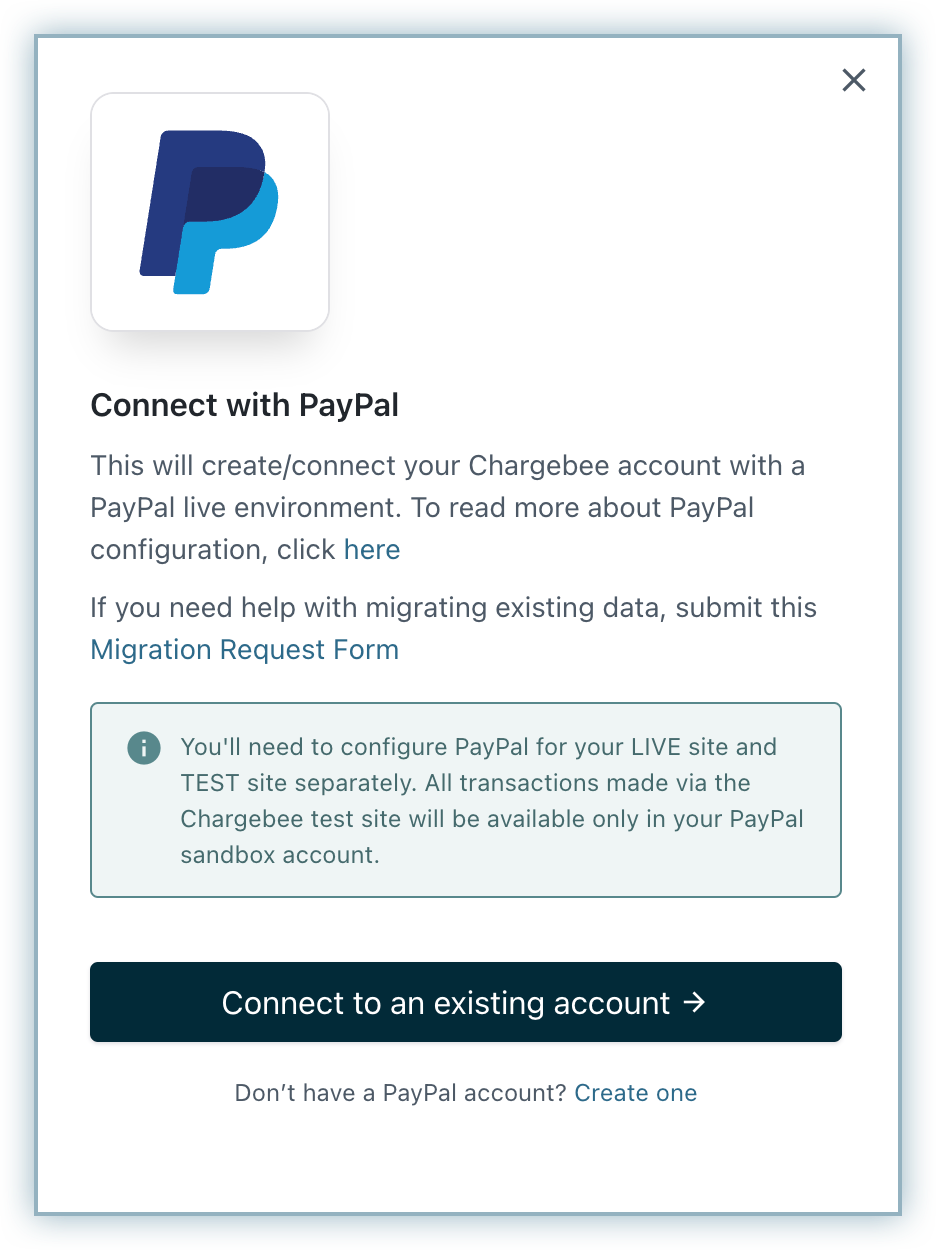
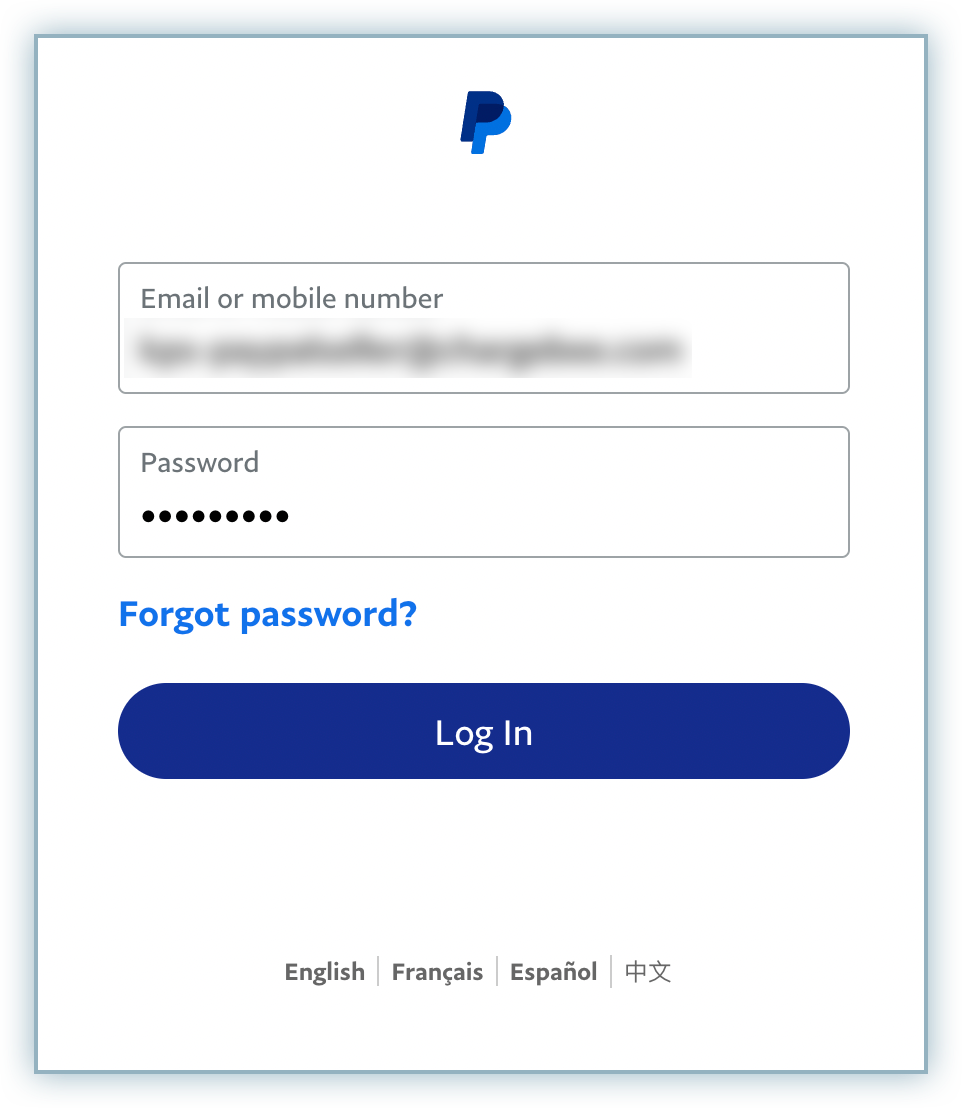
- Connect to your PayPal account using your username and password.
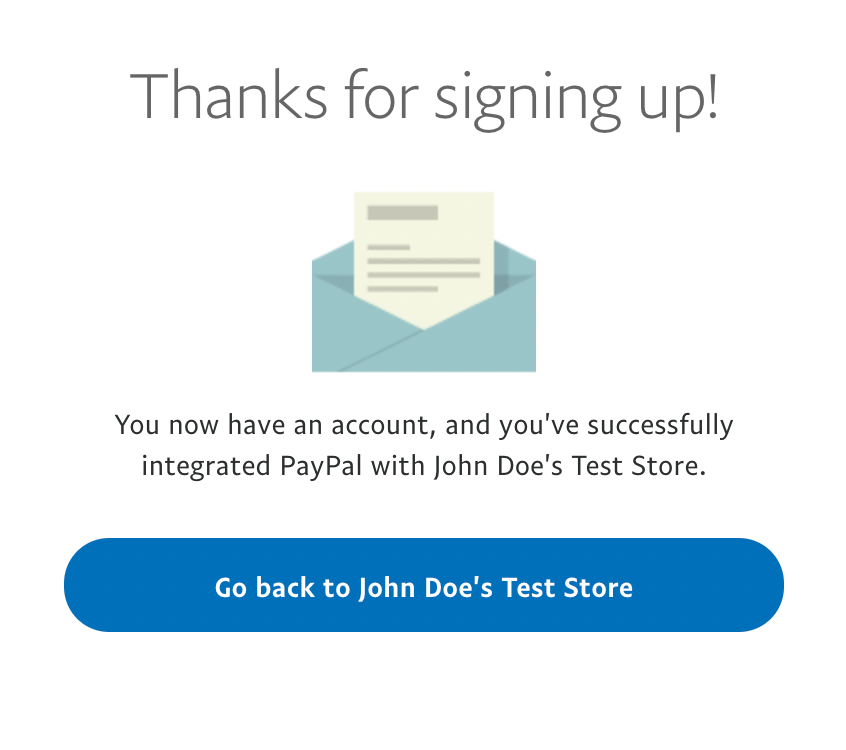
- Click Go back to Test Store.
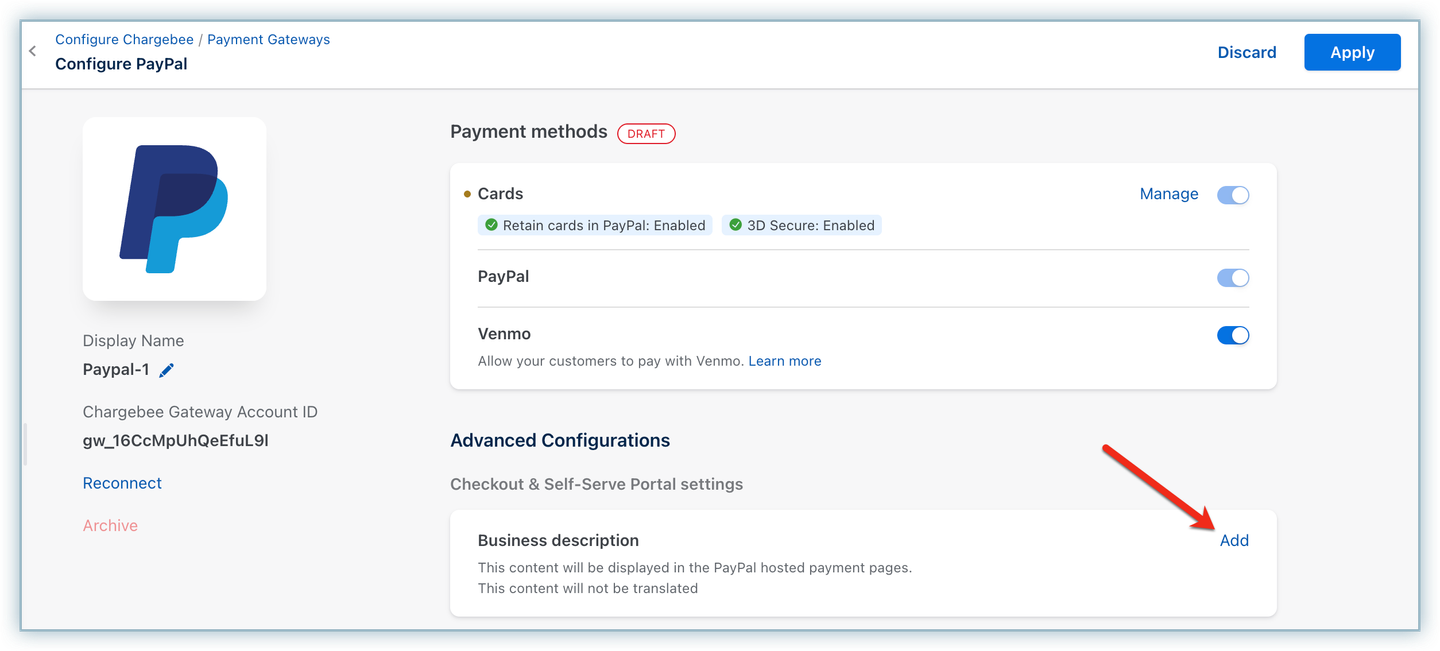
- The configuration page appears as shown below. Click Add to add a Business description. The description you add here is displayed in the Checkout screen.
Note
All transactions made via the Chargebee test site will be available in your PayPal sandbox environment.
Enable Cards and Venmo for PayPal Commerce
You can enable Cards and Venmo from the same PayPal Commerce gateway configuration page. Enabling a payment method fails if the connected PayPal account does not have the required scopes for Advanced Cards or Venmo.
Existing PayPal Commerce merchants
- Open the existing PayPal gateway configuration in Chargebee.
- Enable Cards, Venmo, or both from the gateway configuration page.
- If prompted, or if enablement fails due to missing scopes, reconnect your PayPal account from the gateway configuration page.
New PayPal Commerce merchants
- Connect your PayPal account to Chargebee.
- Enable Cards or Venmo only if your PayPal account has the necessary scopes.
Capture settings for PayPal Commerce
Capture Settings is a PayPal Commerce gateway-level option under Advanced Configurations. You configure it once for the gateway, not per payment method.
Charging a customer involves two steps:
- Authorization: PayPal verifies the payment method and reserves the funds. The money is not yet moved out of the customer's account.
- Capture: The reserved funds are transferred to your account, and the customer is charged.
By default, Chargebee captures the funds immediately after a successful authorization. With delayed capture, Chargebee authorizes the payment at checkout and captures it after a delay that you configure. This gives you a window to confirm stock availability, complete order fulfillment, or run fraud checks before the customer is charged.
Note
Delayed capture is enabled for your site by Chargebee. If the Capture Settings section is not visible on your Configure PayPal page, contact Chargebee Support.
What happens when the delay ends for PayPal Commerce
When the delay period ends, Chargebee checks the invoices linked to the authorization and does one of the following:
- Captures the payment, if a linked invoice still has an amount due. Chargebee captures the lower of the authorized amount and the total amount due across the linked invoices.
- Voids the authorization, if none of the linked invoices has an amount due. For example, the invoice was already paid another way, or it was voided because you cancelled the subscription during the delay period. Chargebee voids the authorization when the delay period ends, not at the moment the invoice is voided.
If you void the authorization before the delay ends, either from the transaction in Chargebee or with the Void an authorization transaction API, Chargebee does not capture it when the delay period ends.
Increasing an invoice amount after the payment is authorized does not increase the amount that Chargebee captures. The capture is always limited to the amount that PayPal authorized.
Configure delayed capture for PayPal Commerce
Follow these steps to configure delayed capture for PayPal Commerce:
-
Log in to your Chargebee Billing site.
-
Go to Settings > Configure Chargebee > Payment Gateways and select PayPal.
-
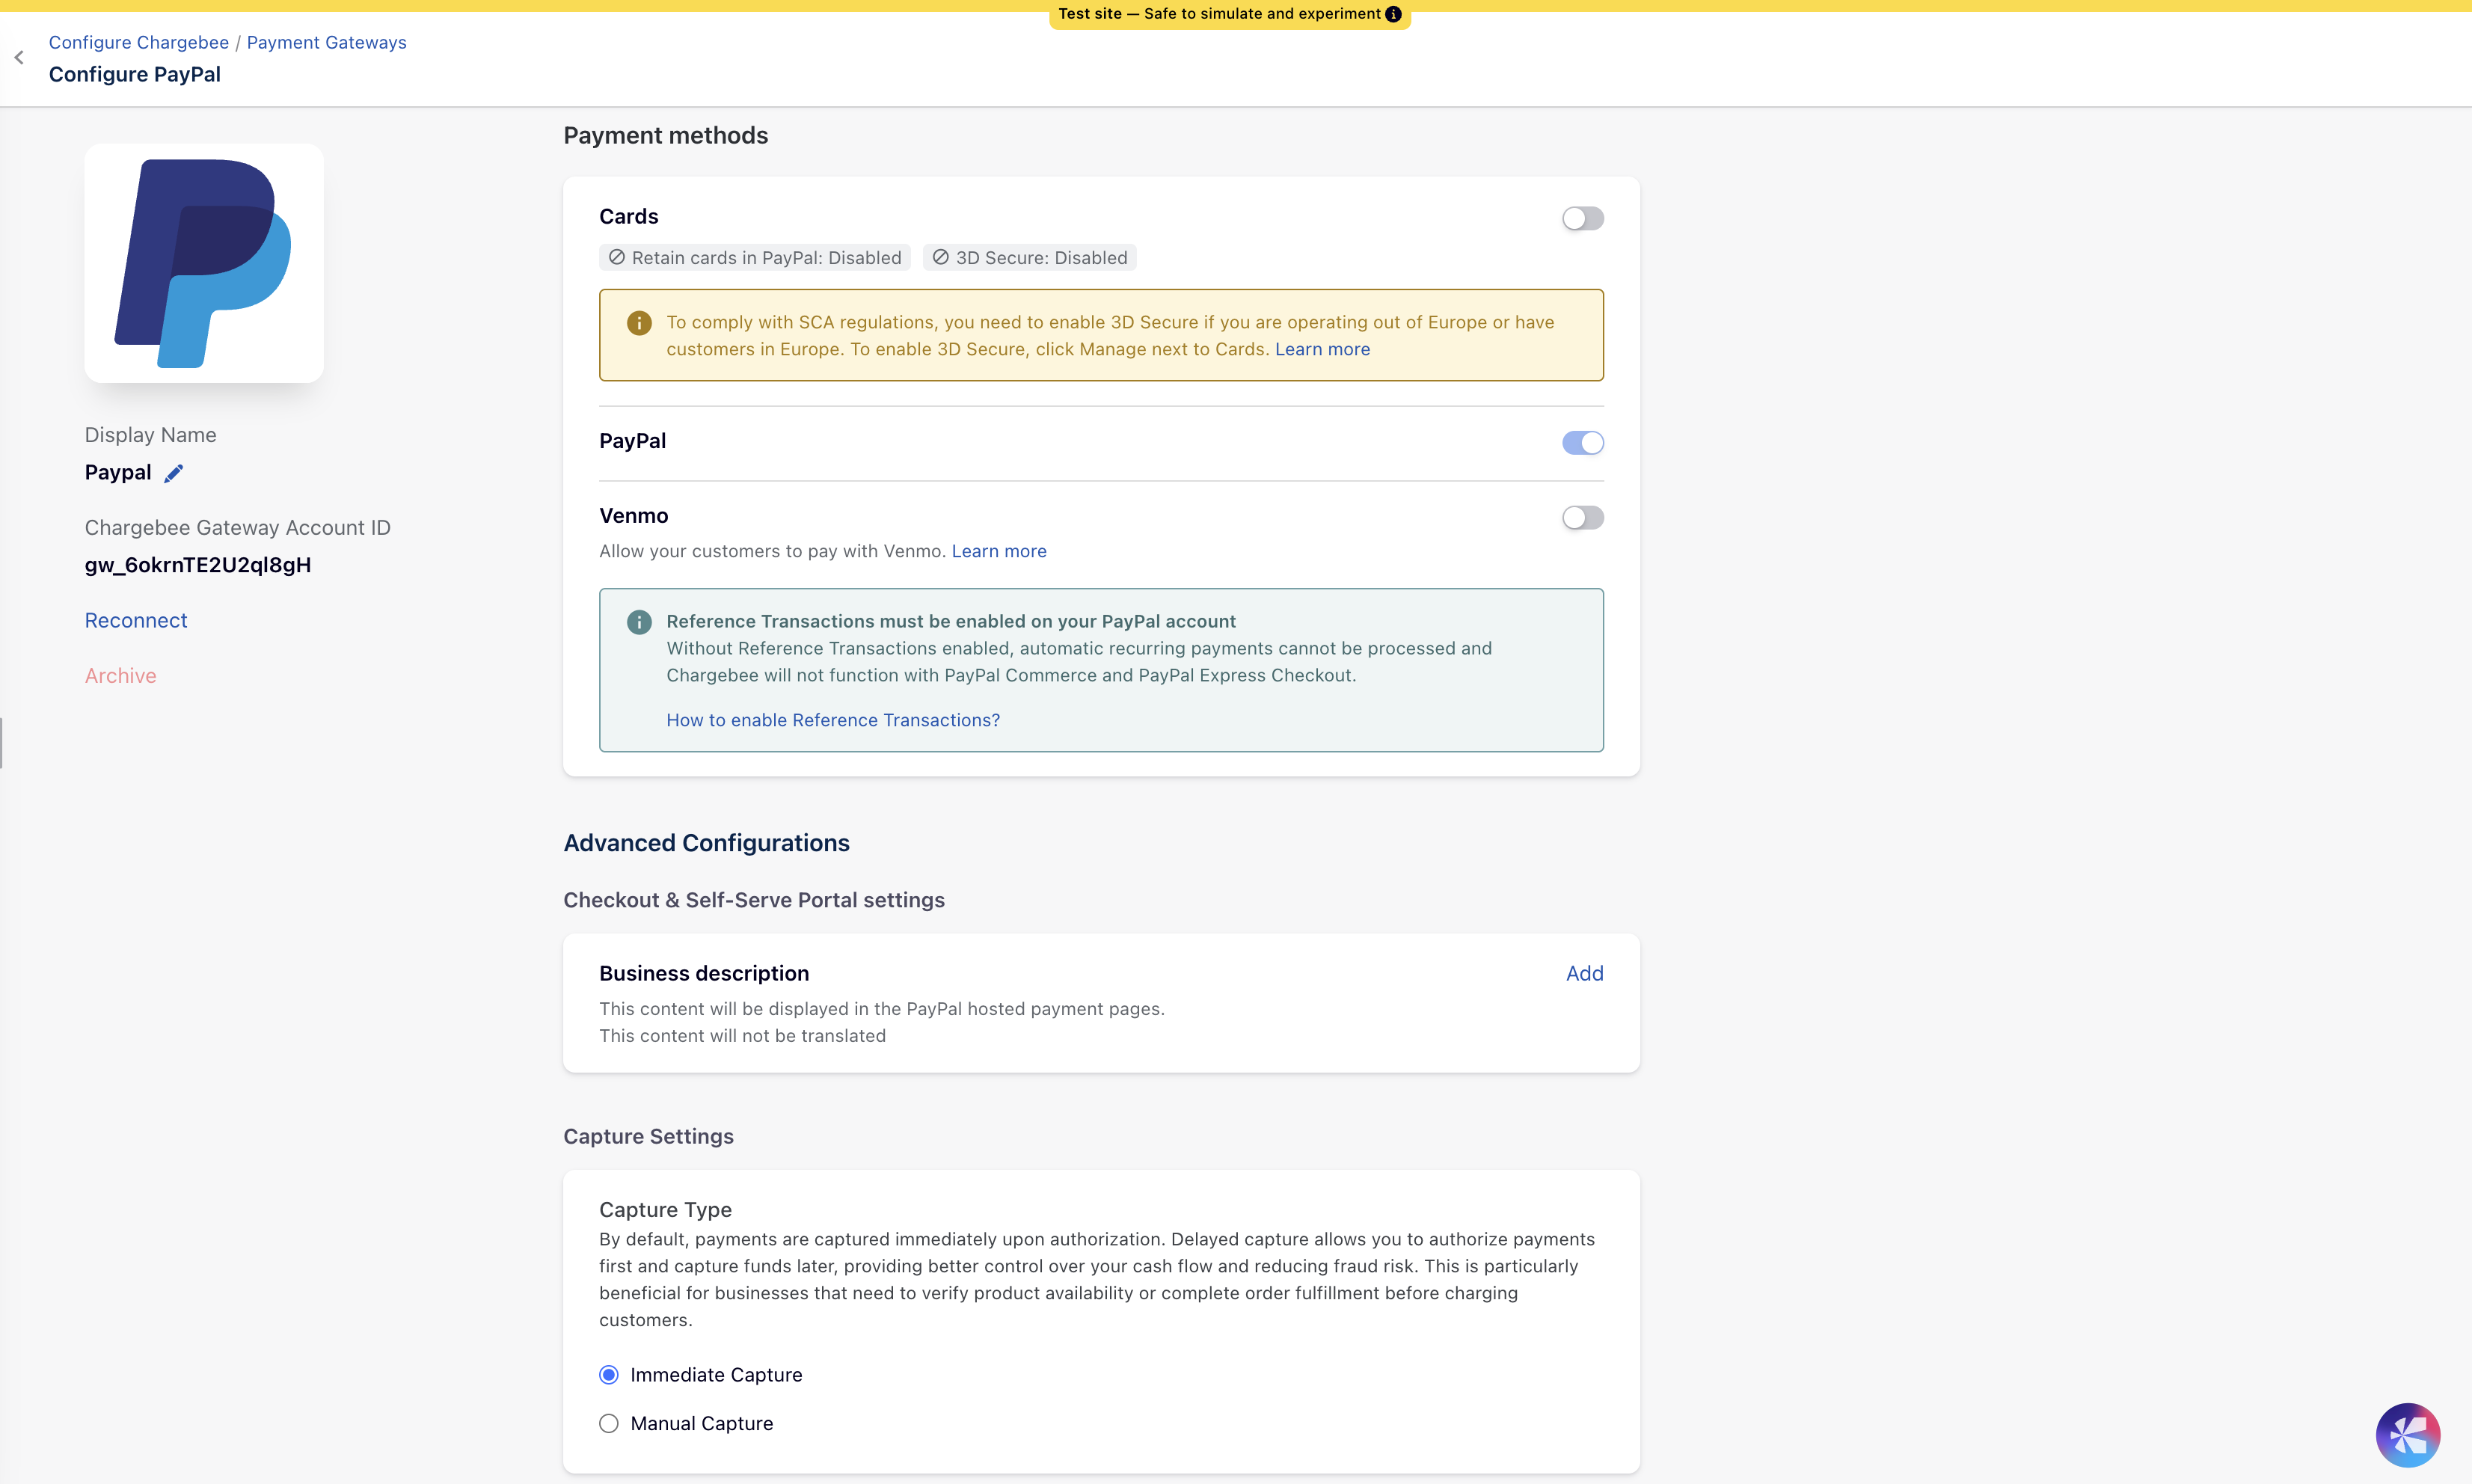
Scroll to Capture Settings under Advanced Configurations.
-
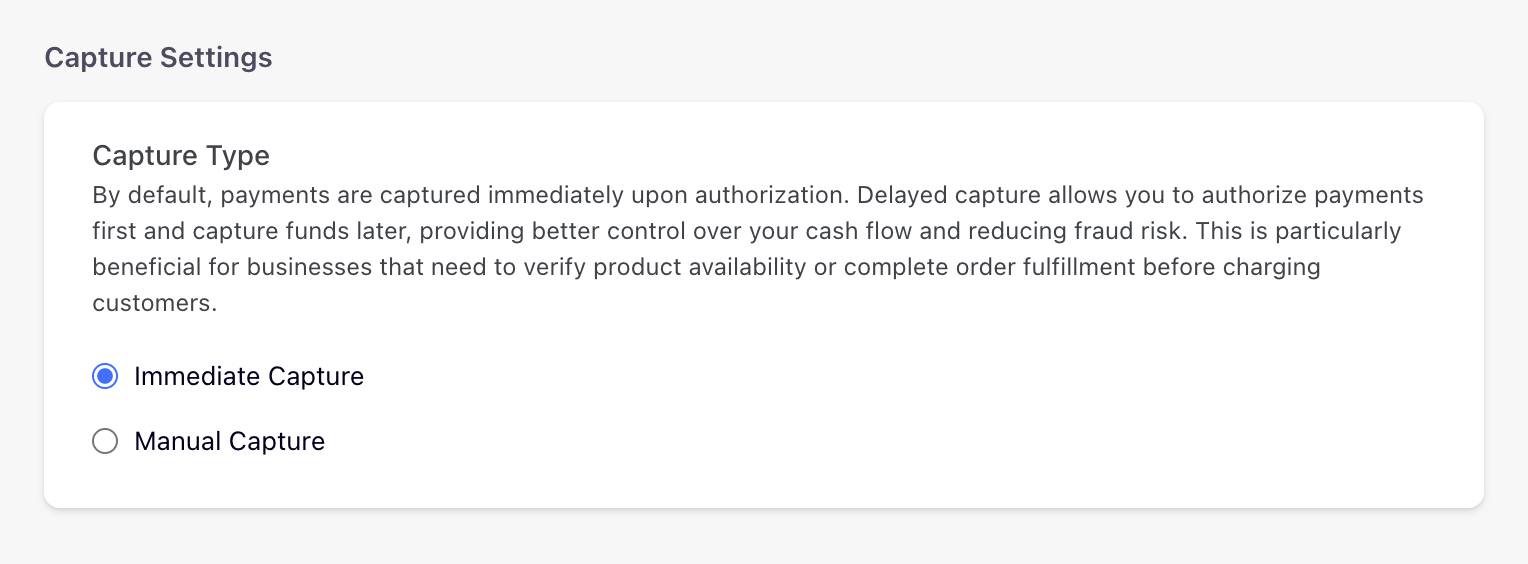
Under Capture Type, select one of the following. Immediate Capture is selected by default.
- Immediate Capture: Chargebee captures the funds as soon as the payment is authorized.
- Manual Capture: Chargebee authorizes the payment and captures it after the delay you set.
-
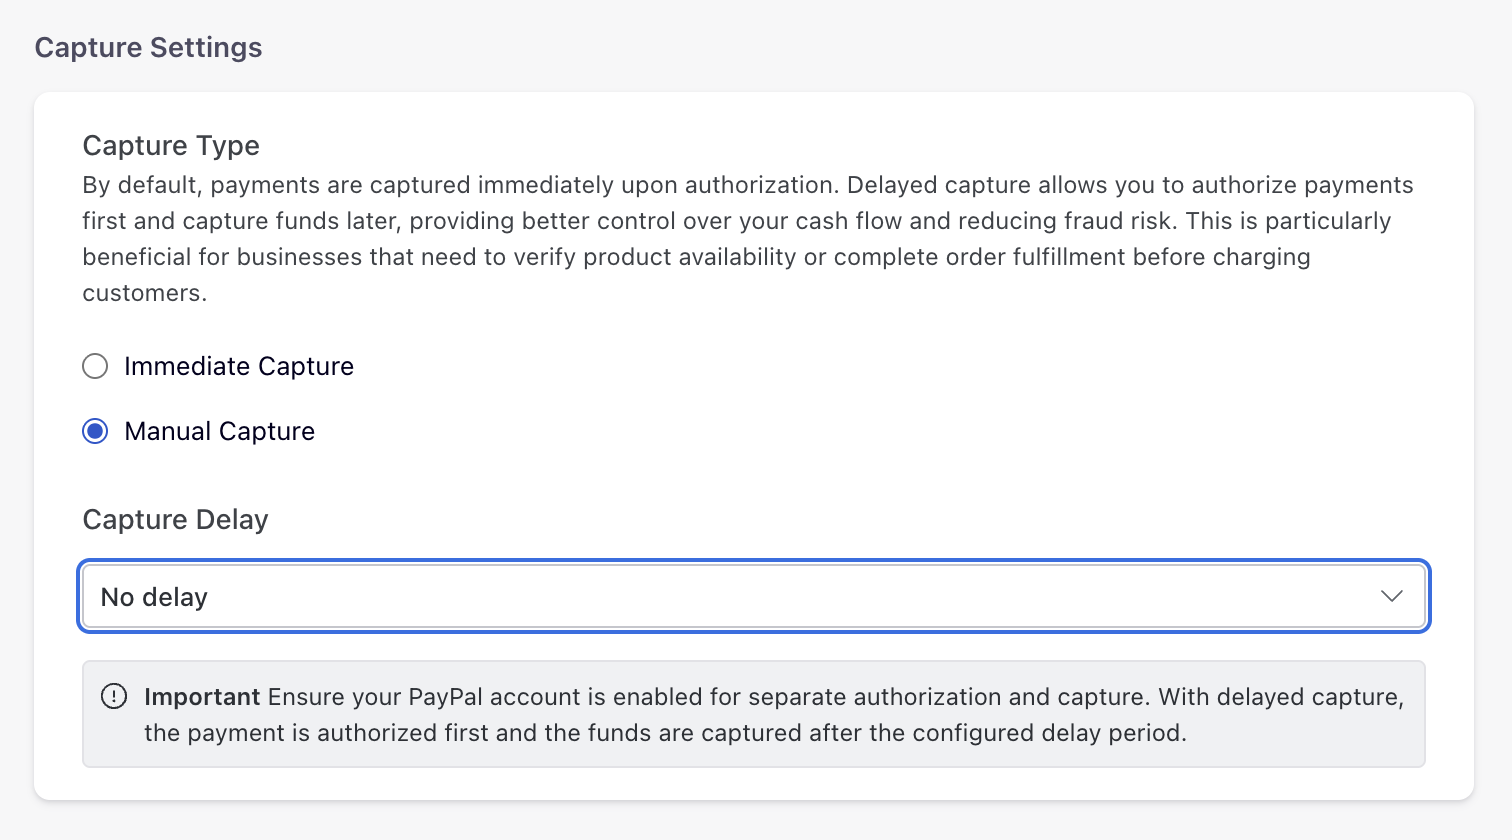
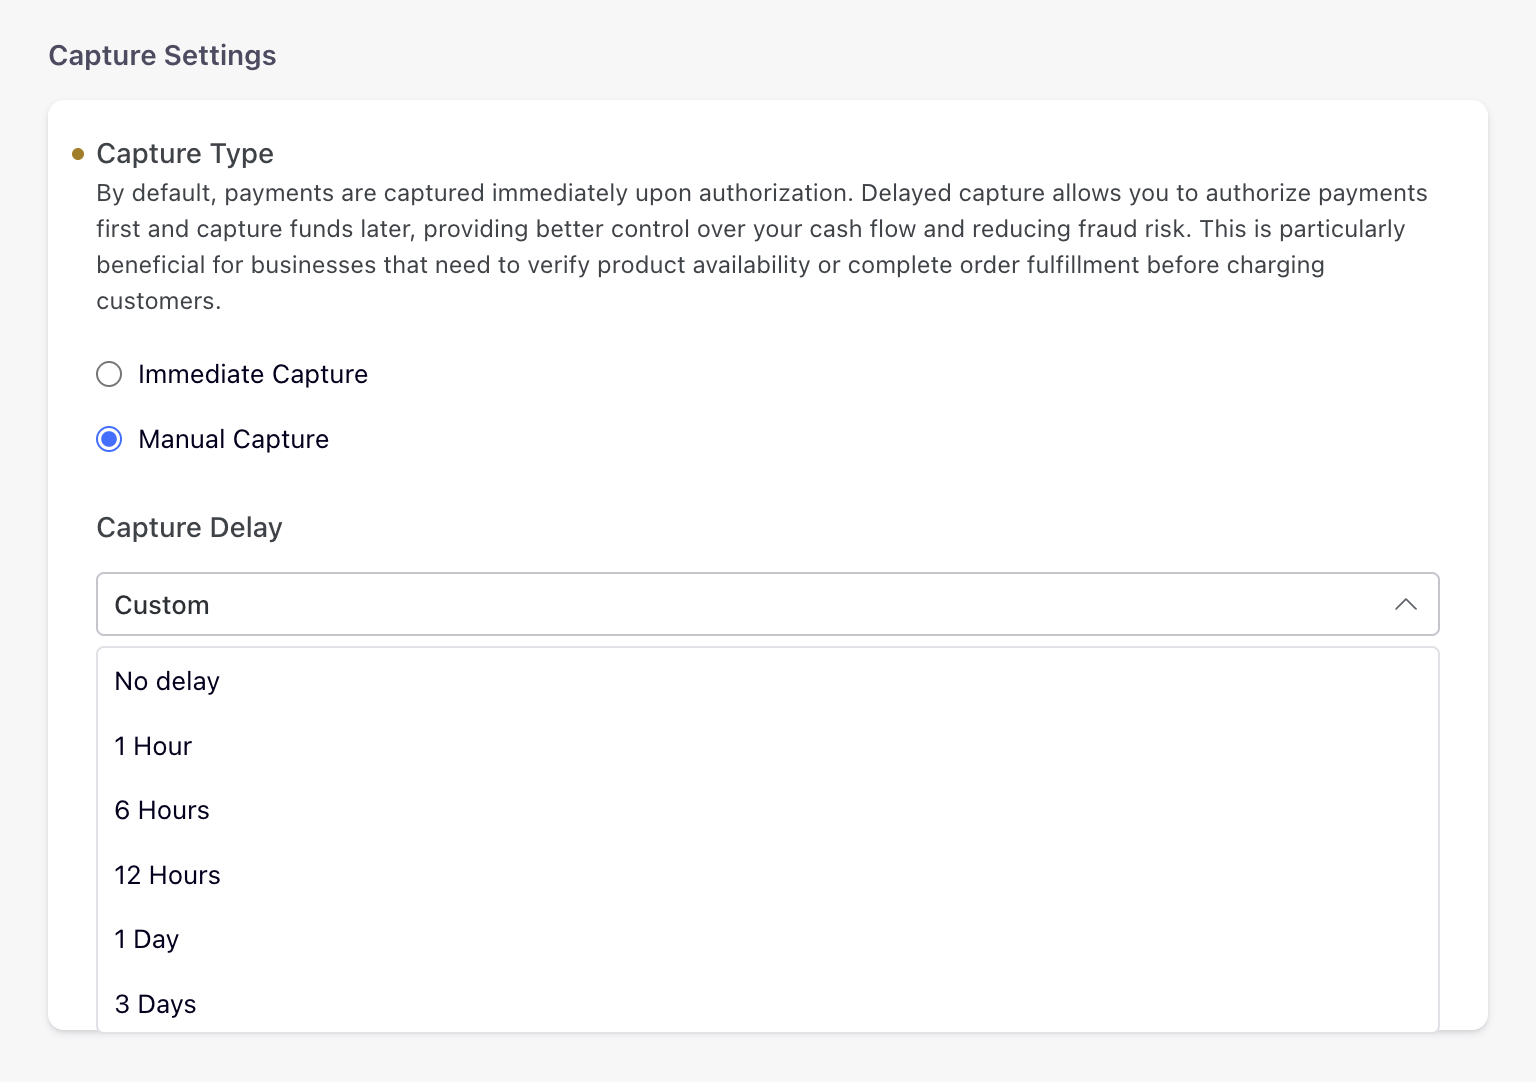
Select Manual Capture. The Capture Delay list appears.
-
Select a delay period from the Capture Delay list. You can select No delay, 1 Hour, 6 Hours, 12 Hours, 1 Day, 3 Days, 5 Days, 7 Days, or Custom. Selecting Manual Capture with No delay is the same as immediate capture. To delay the capture, you must select a delay period.
-
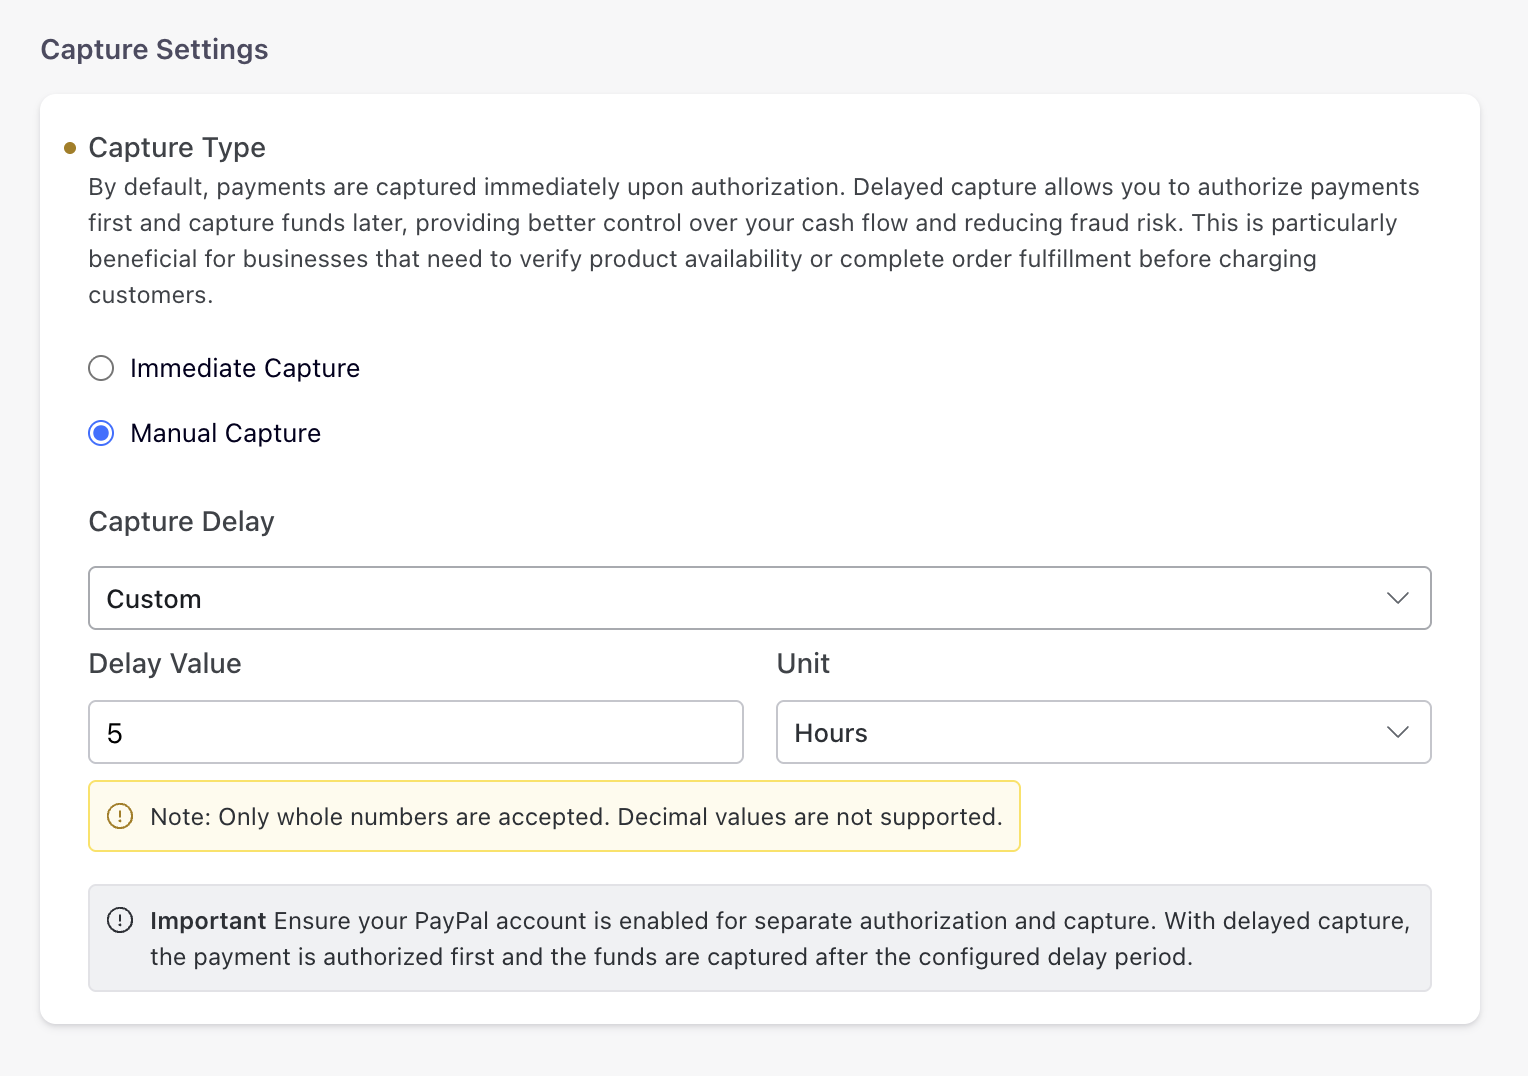
If you select Custom, enter a whole number in Delay Value and select Minutes, Hours, or Days as the Unit. Decimal values are not supported, and the delay cannot exceed 7 days.
-
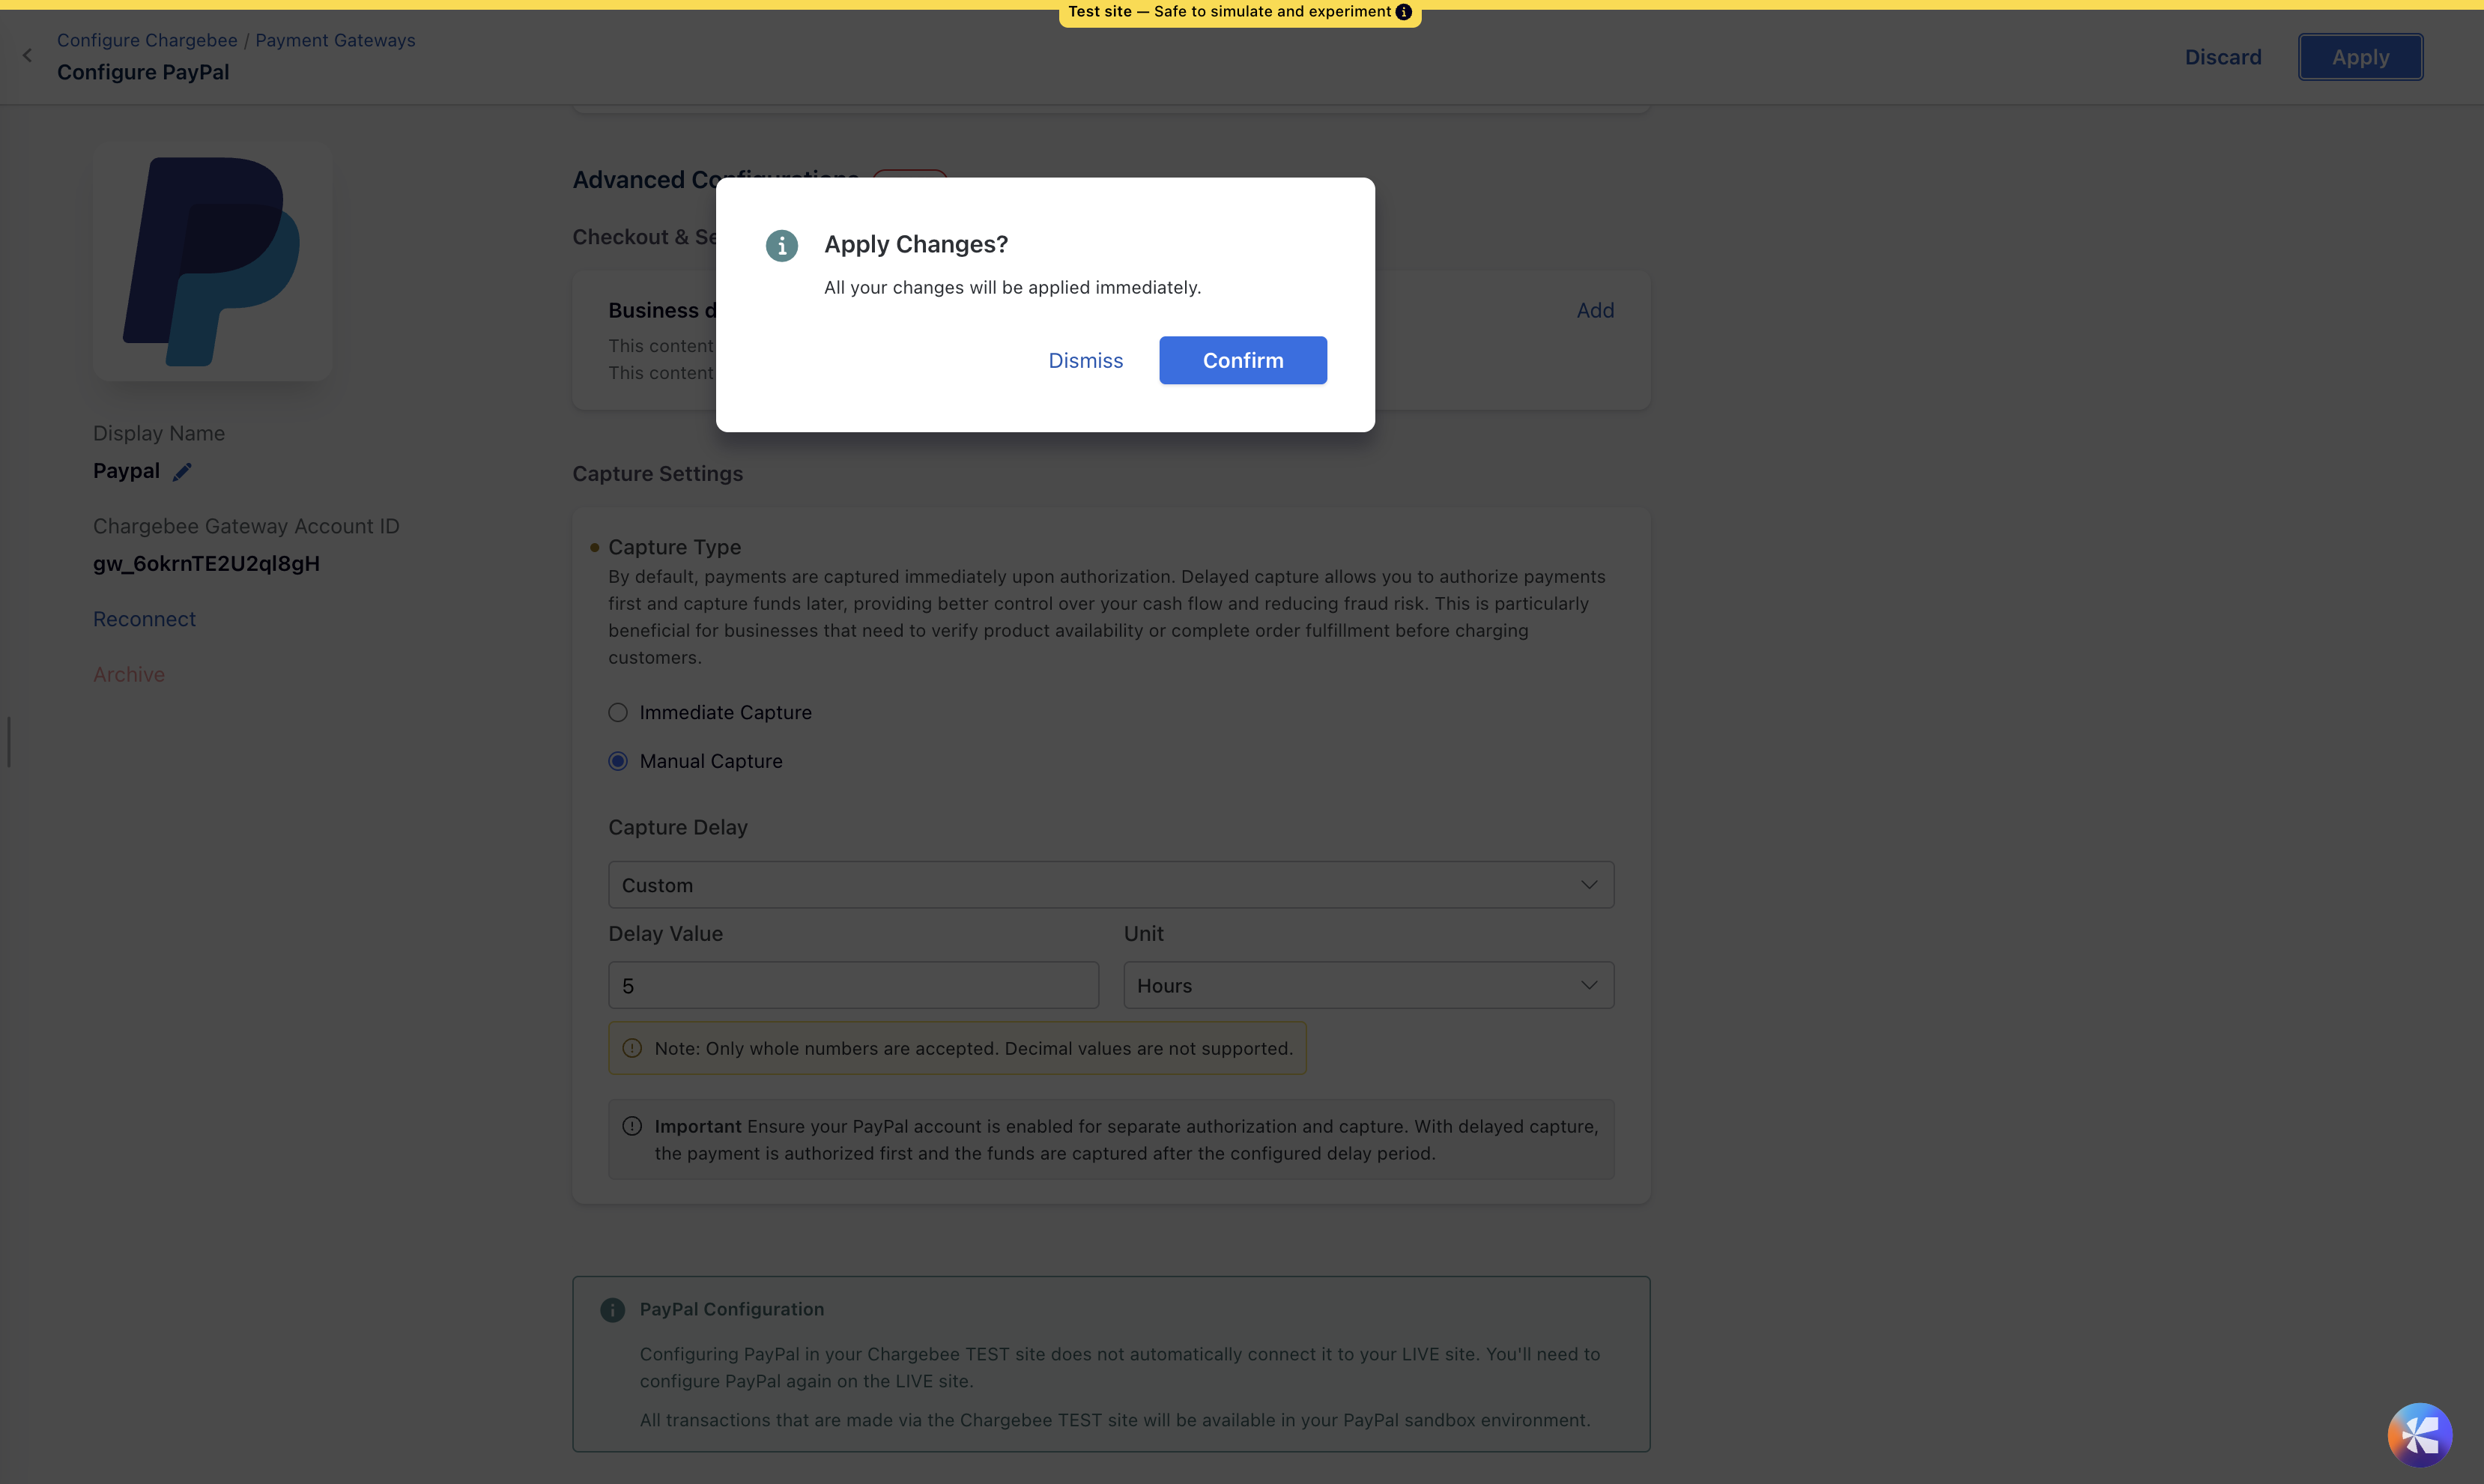
Click Apply and then click Confirm. The change takes effect immediately.
Note
Ensure your PayPal account is enabled for separate authorization and capture. With delayed capture, the payment is authorized first and the funds are captured after the configured delay period.
Limitations of delayed capture for PayPal Commerce
Review the following before you turn on delayed capture:
- Delayed capture applies to card payments (Advanced Credit and Debit Card) that your customer initiates at checkout. It is not supported for the PayPal wallet or Venmo.
- Payments that Chargebee initiates on a stored payment method, such as automatic renewals, payment retries, and dunning attempts, are always captured immediately.
- The maximum delay is 7 days. PayPal authorizations expire after a period set by PayPal, so a longer delay increases the risk that the authorization can no longer be captured.
- Your PayPal account must be enabled for separate authorization and capture.
Configuring Cards (Advanced Credit and Debit Card payments - ACDC)
Follow the steps below to configure the settings for cards:
- On the Configure PayPal page, click Manage under Cards.
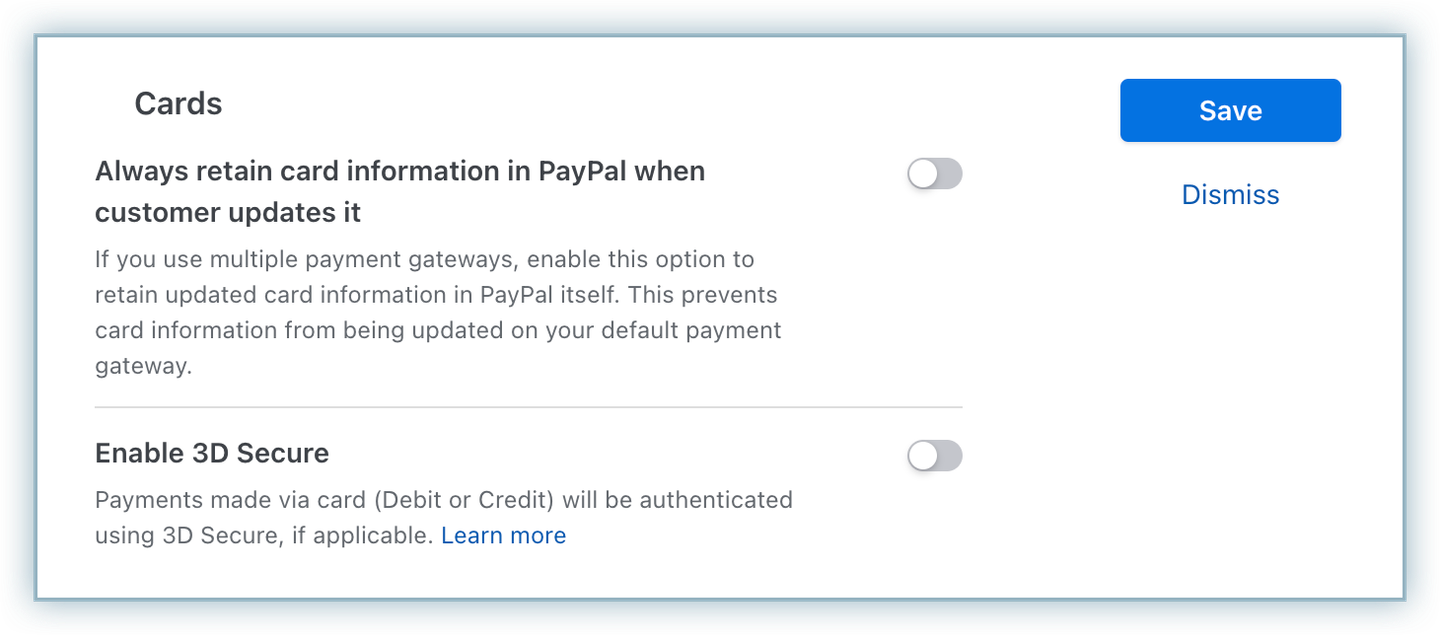
- Enable the following:
- Always retain card information in PayPal when customer updates it: Enabling this option stores the updated card information in PayPal rather than the default gateway.
- Enable 3D Secure: When enabled, payments made via card (debit or credit) are authenticated using 3D Secure, if applicable.
Supported tokens for PayPal Commerce
This integration supports the following tokens:
| Token | Description | Format & Sample |
|---|---|---|
| Permanent Token (PayPal JS) | Payment method ID generated at the gateway. | Format: |
| Chargebee Payment Intent ID (Chargebee JS) | This is the Payment Intent ID returned after a successful authorization process. | Format - |
| Vault ID | PayPal's current token format. Used for Cards, Venmo, and PayPal Wallet. Required when migrating Card or Venmo tokens to Chargebee. | Format: PayPal Vault ID |
| Billing Agreement ID (BAID) | PayPal's legacy token format. Deprecated by PayPal. Not supported for Cards or Venmo. Supported only for the existing PayPal Wallet integration, along with Vault ID. | Format: Billing Agreement ID |
Note
Vault ID is PayPal's current token format. Billing Agreement ID (BAID) is the legacy token format and is deprecated by PayPal. For Cards and Venmo, use Vault ID only. For PayPal Wallet, both Vault ID and BAID are supported.
Migrate PayPal Card and Venmo tokens to Chargebee
When you migrate PayPal Card or Venmo tokens to Chargebee:
- Chargebee supports migration using only the PayPal Vault ID.
- Chargebee does not support the legacy Billing Agreement ID (BAID) for Cards and Venmo.
- For the existing PayPal Wallet integration, both Vault ID and BAID are supported.
Vault ID is PayPal's current token format. Billing Agreement ID is the legacy token format and is deprecated by PayPal.
Checkout flow for PayPal Commerce cards
When a customer subscribes to a product or service from your website for the first time and chooses to pay using PayPal, a PayPal Vault ID is created, and Chargebee associates this Vault ID with that customer. The Vault ID allows Chargebee to charge your customers automatically without them having to perform any action (such as logging into PayPal and approving the transaction) during each renewal. In addition, it can be used to pay one-time charges as well. The Vault ID does not expire unless the customer cancels it.
The checkout flow for Advanced Credit and Debit Card payments (ACDC) via PayPal is as follows.
Prerequisite: Configure the First and Last Name as Mandatory fields for card payments.
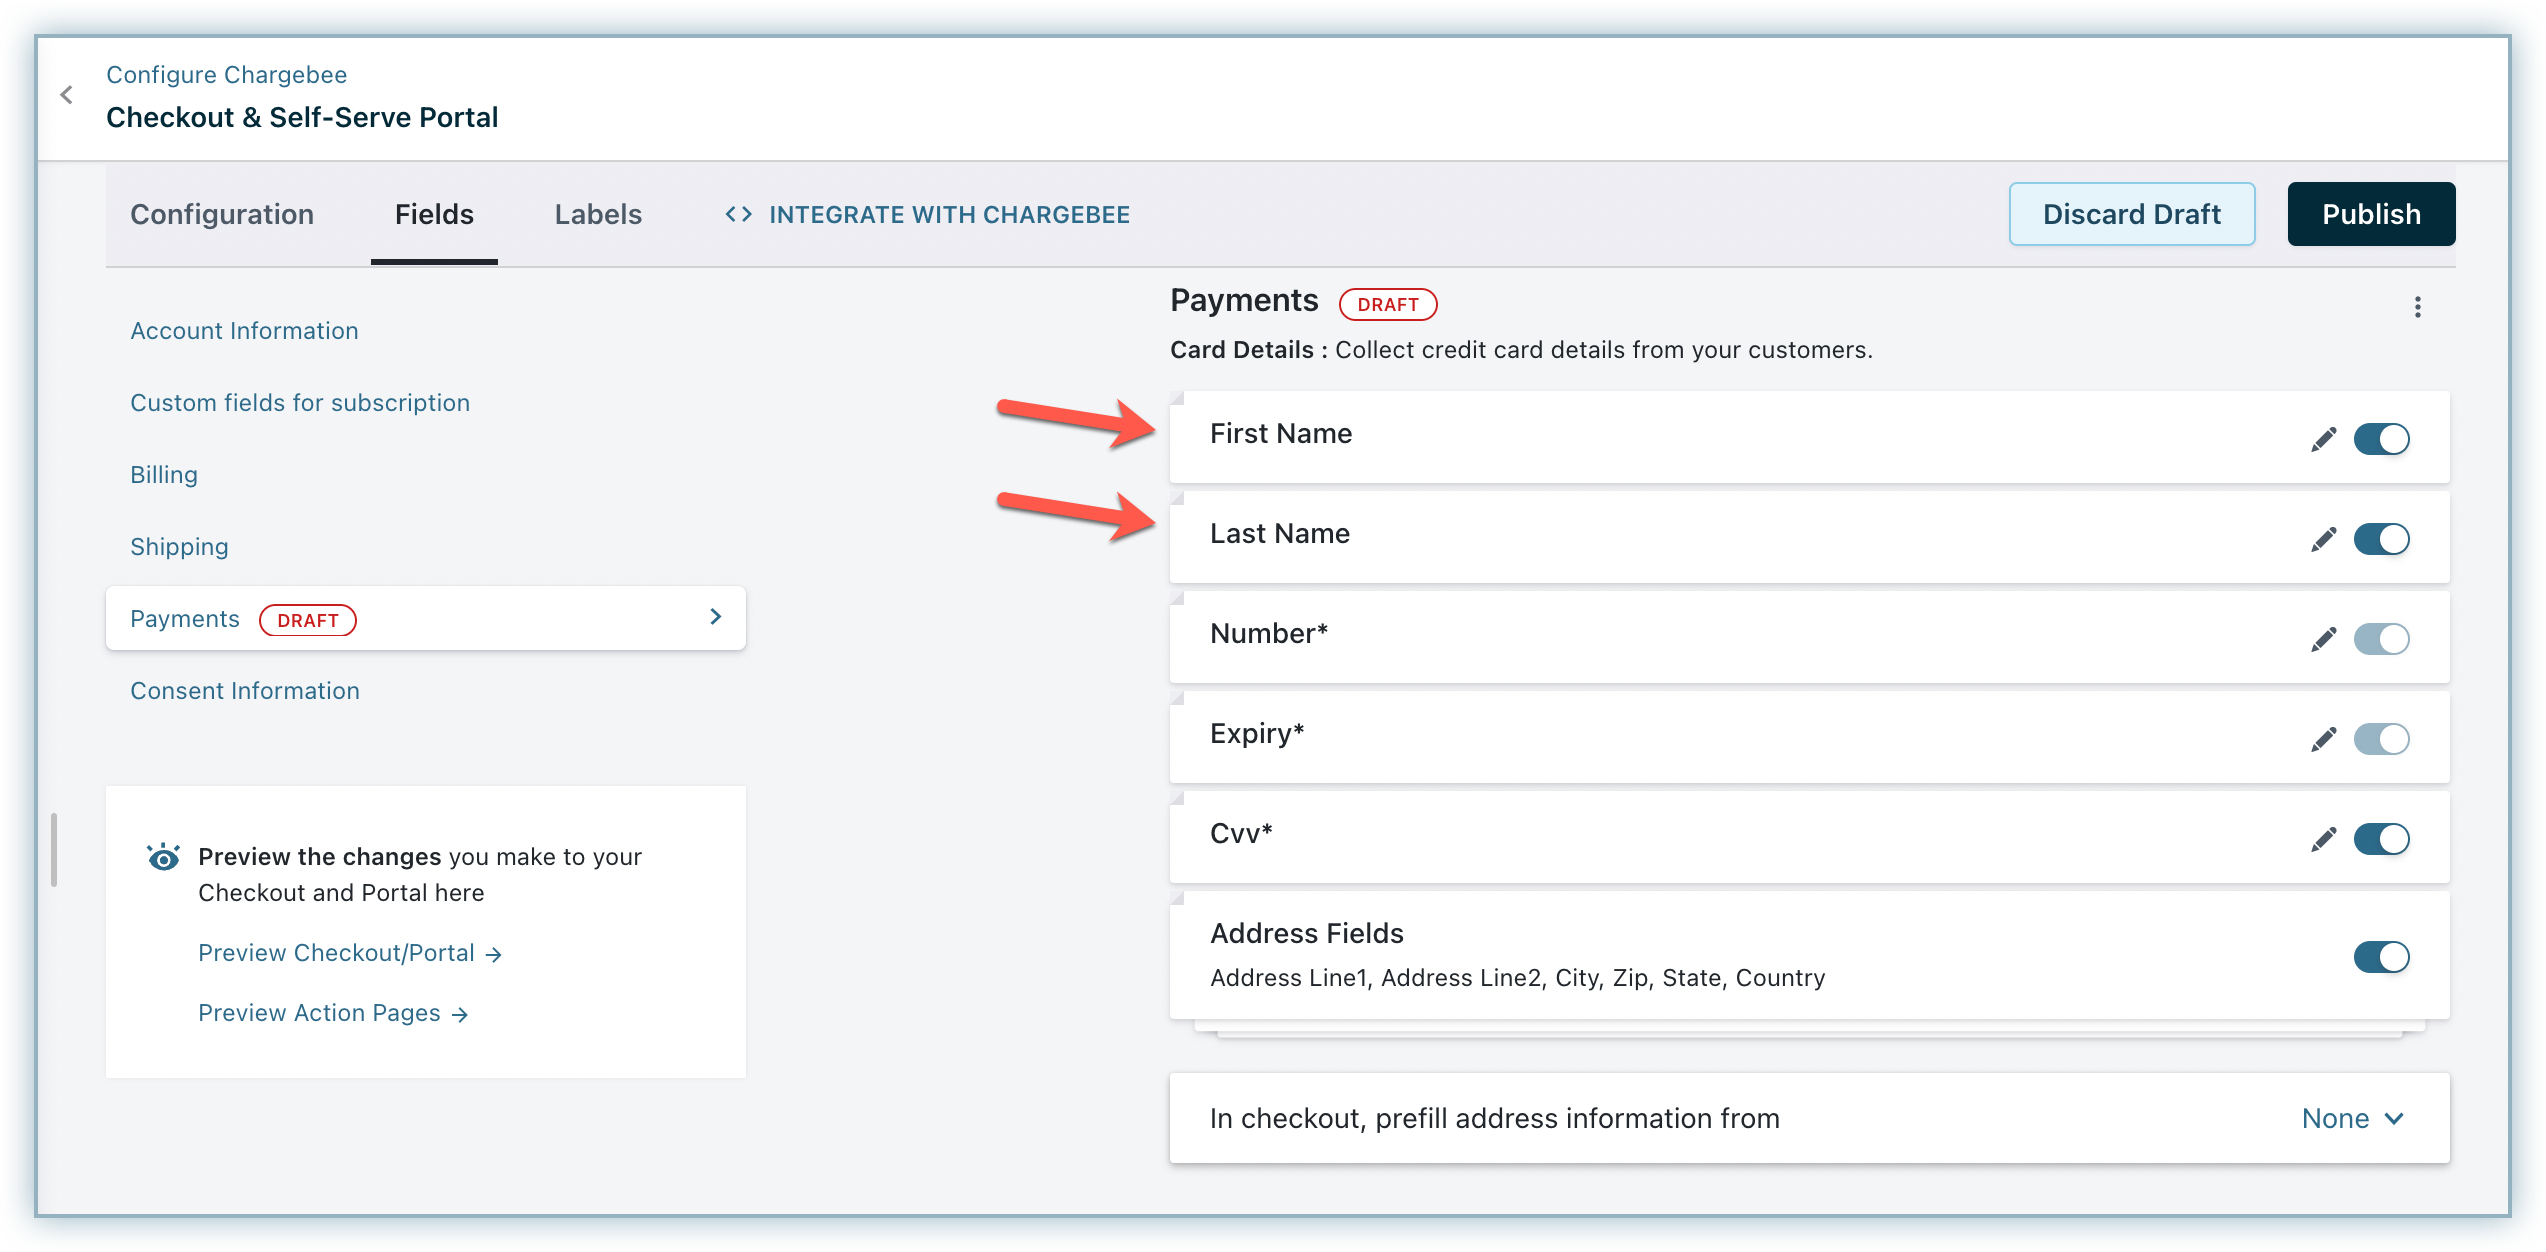
- To initiate a purchase, click Proceed to Checkout from the Your Order page.
- Enter your Account Details, such as your First Name, Last Name, and Email Address, and click Next.
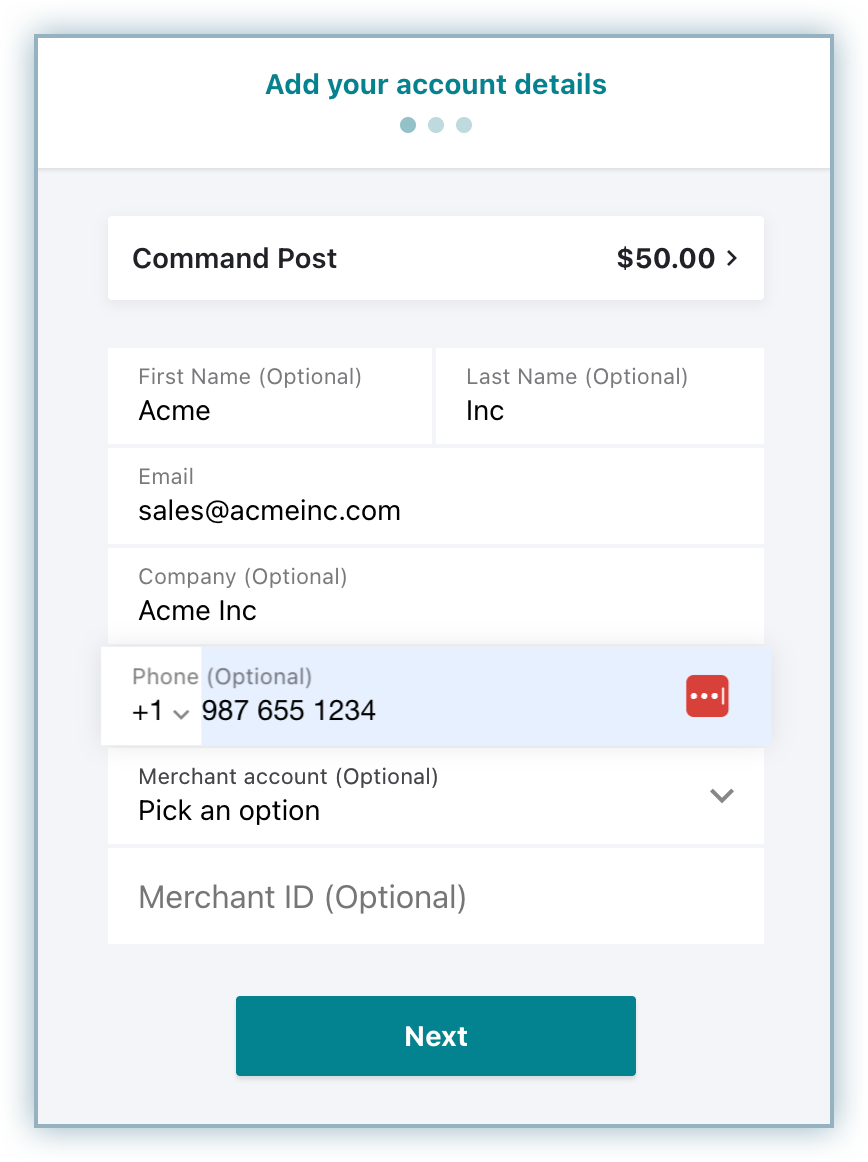
- Enter the Billing Address details and click Next.
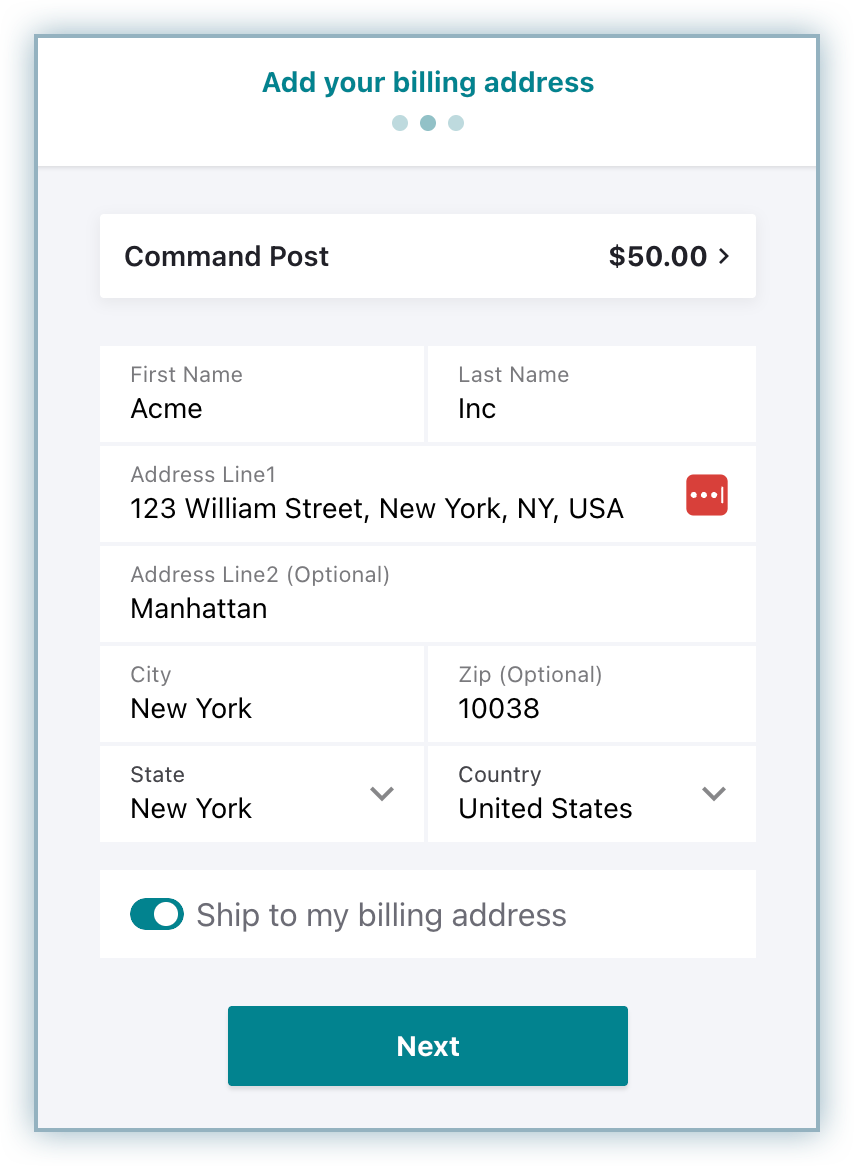
- Add your card details and click Next.
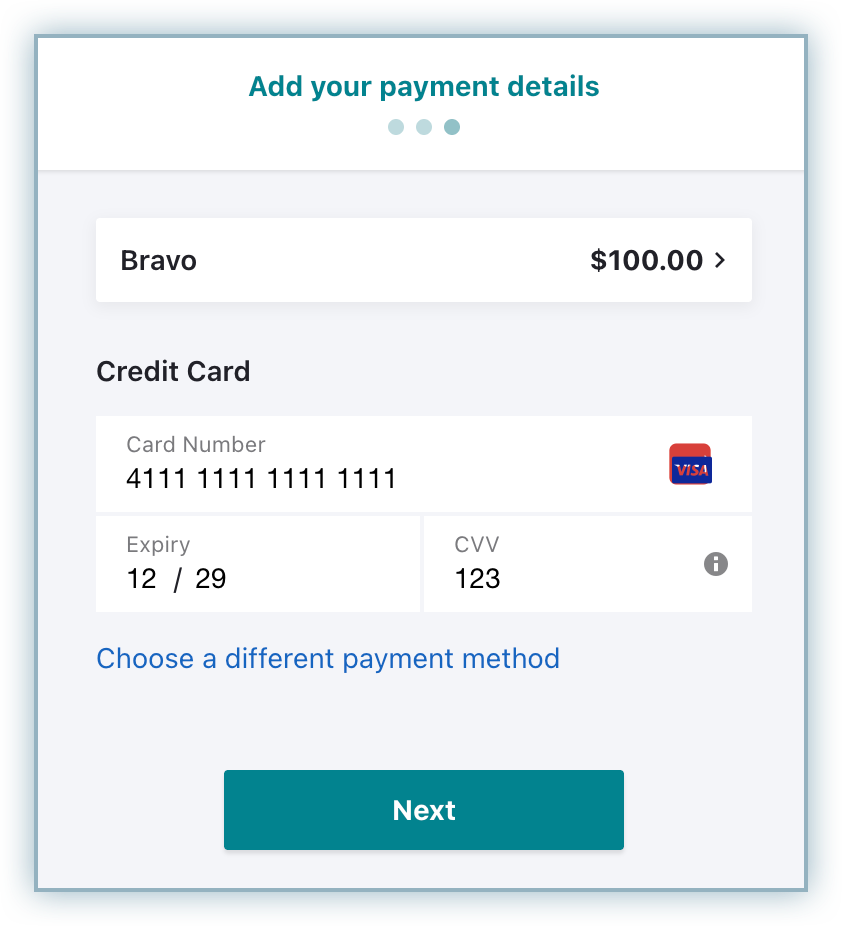
- Complete the 3DS authentication when redirected to the bank page.
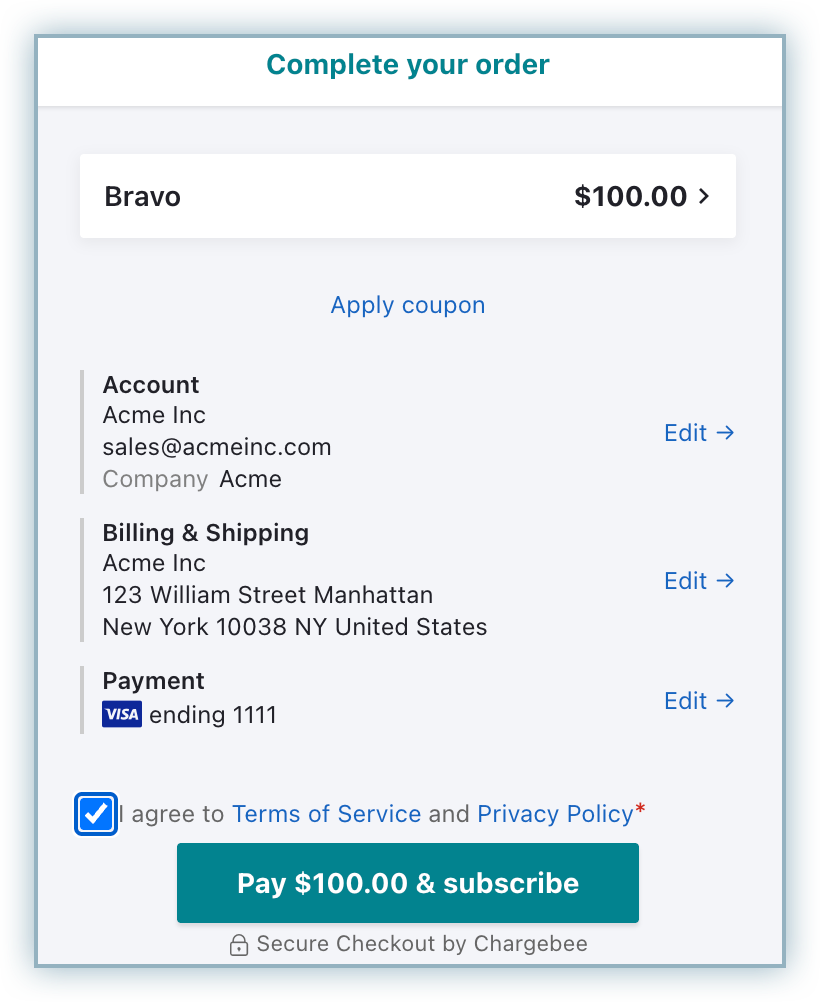
- Upon successful authentication, customers are redirected to the checkout to confirm the subscription purchase.
- Check the order information and click Pay & subscribe.
Was this article helpful?