Set up Automatic Exports to Amazon S3
To set up Automatic Export with Amazon S3, follow these steps:
Step 1: Create an S3 bucket
Step 2: Create a folder in your AWS S3 bucket
Step 3: Configure the inline policy with bucket access
Step 4: Create an IAM role
Step 1: Create an S3 bucket
Your Chargebee data will be copied to an Amazon S3 bucket.
We highly recommend creating a new S3 bucket for Chargebee Exports to maintain separation of concerns.
To create an S3 bucket, follow these steps:
-
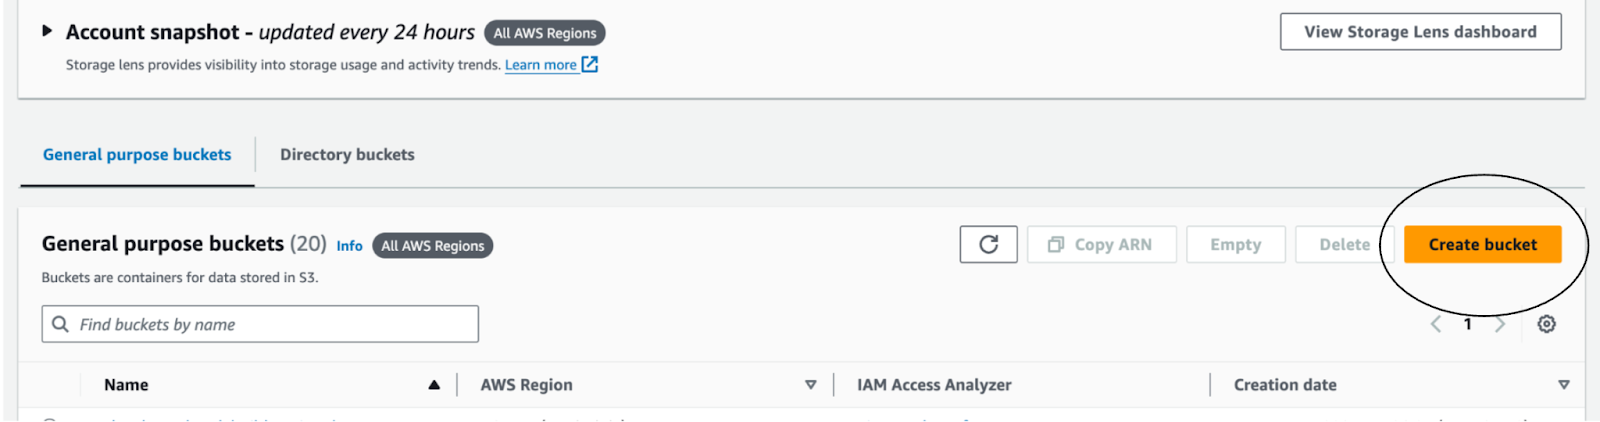
Log in to the AWS Management Console. Click Create bucket.
-
Enter a meaningful name for your S3 bucket.
-
Follow the workflow to set the appropriate settings for your S3 bucket.
-
Click Create bucket at the bottom of the form. You will be redirected to your S3 buckets page, where a banner appears at the top.
-
Click View details and navigate to the Properties tab.

-
Note the Amazon Resource Name (ARN) as
<BUCKET_ARN>for use in the role access steps below.
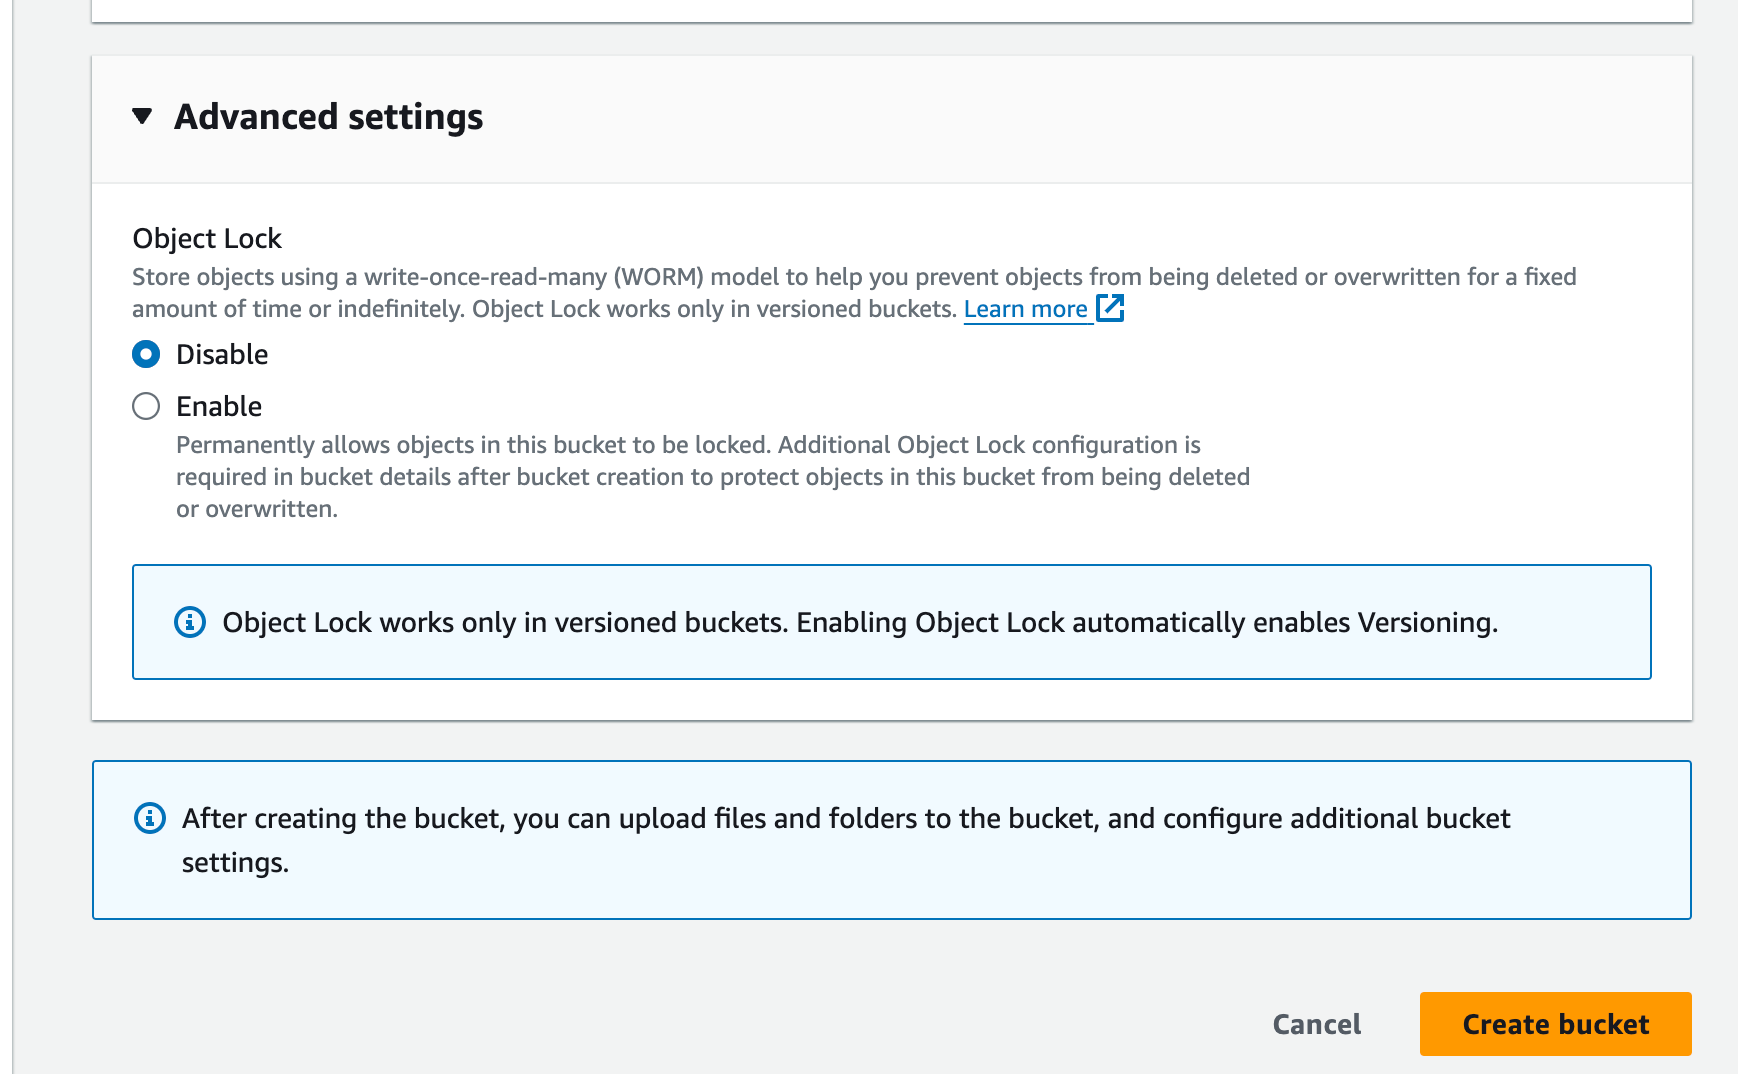
Ensure that Object Lock and Requester Pays are disabled.

Step 2: Create a folder in your AWS S3 bucket
To create a folder in your AWS S3 bucket, follow these steps:
-
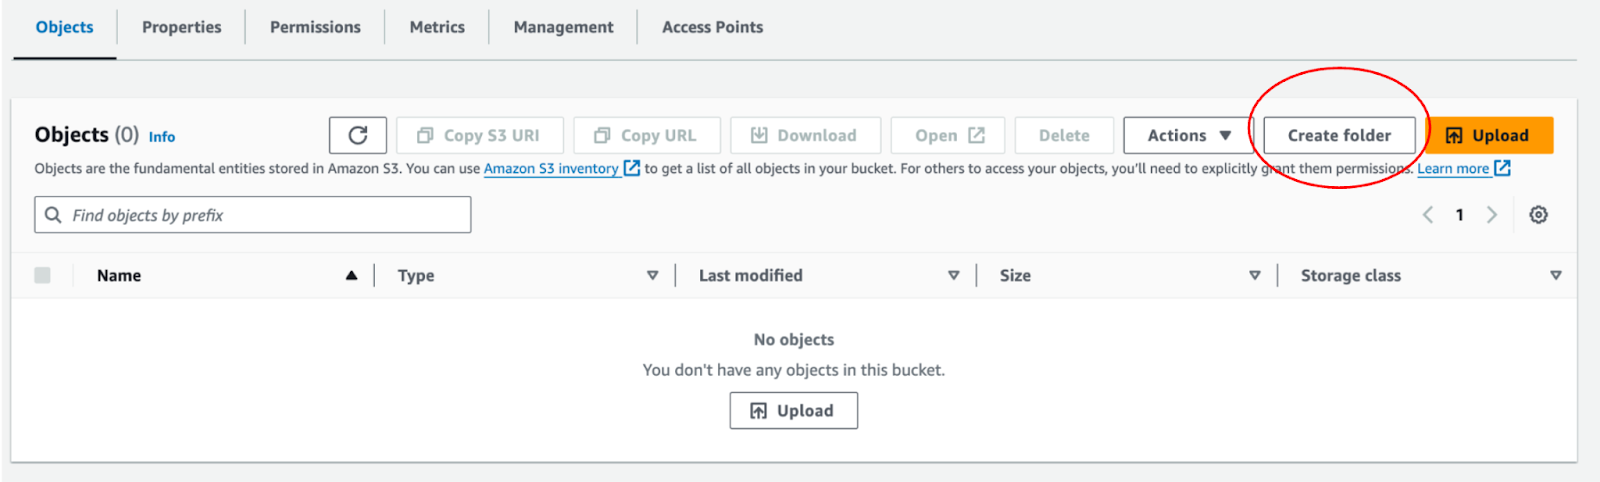
In the Objects tab, click Create folder.
-
Enter a meaningful name for your folder
<EXPORTS_FOLDER>. For example, in the following image, chargebee-exports is the folder name. -
Follow the workflow to set the appropriate settings for your AWS S3 folder as shown in the image below. Note: Ensure the configuration disables the encryption key as shown above for enabling Chargebee to write data.

-
Click Create folder to save the folder.
Step 3: Configure the inline policy with bucket access
Configure your bucket to allow PutObject permissions to anyone in the role you created. This grants write permissions on the bucket to the newly created IAM role.
To configure the inline policy with bucket access, follow these steps:
-
Log in to the AWS Management Console.
-
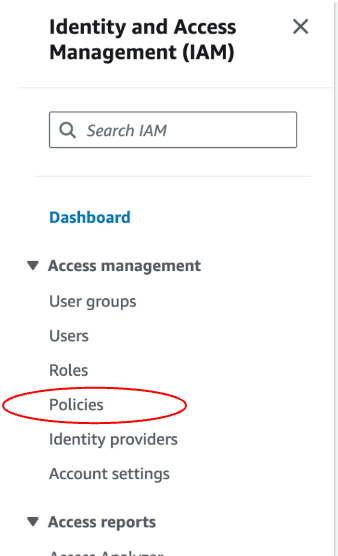
Navigate to Access management > Policies.
-
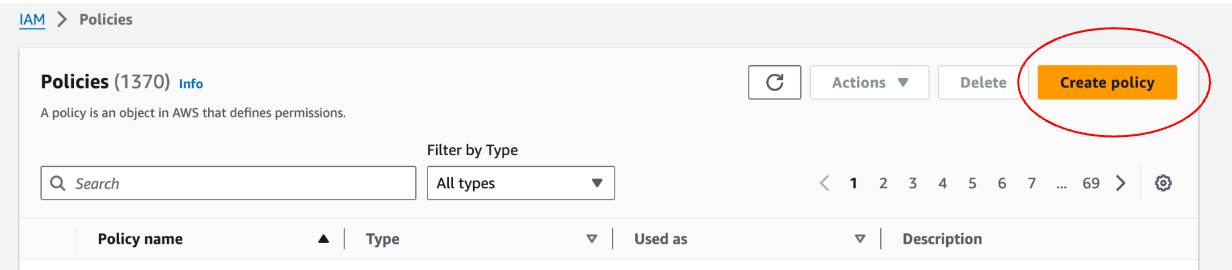
Click Create policy.
-
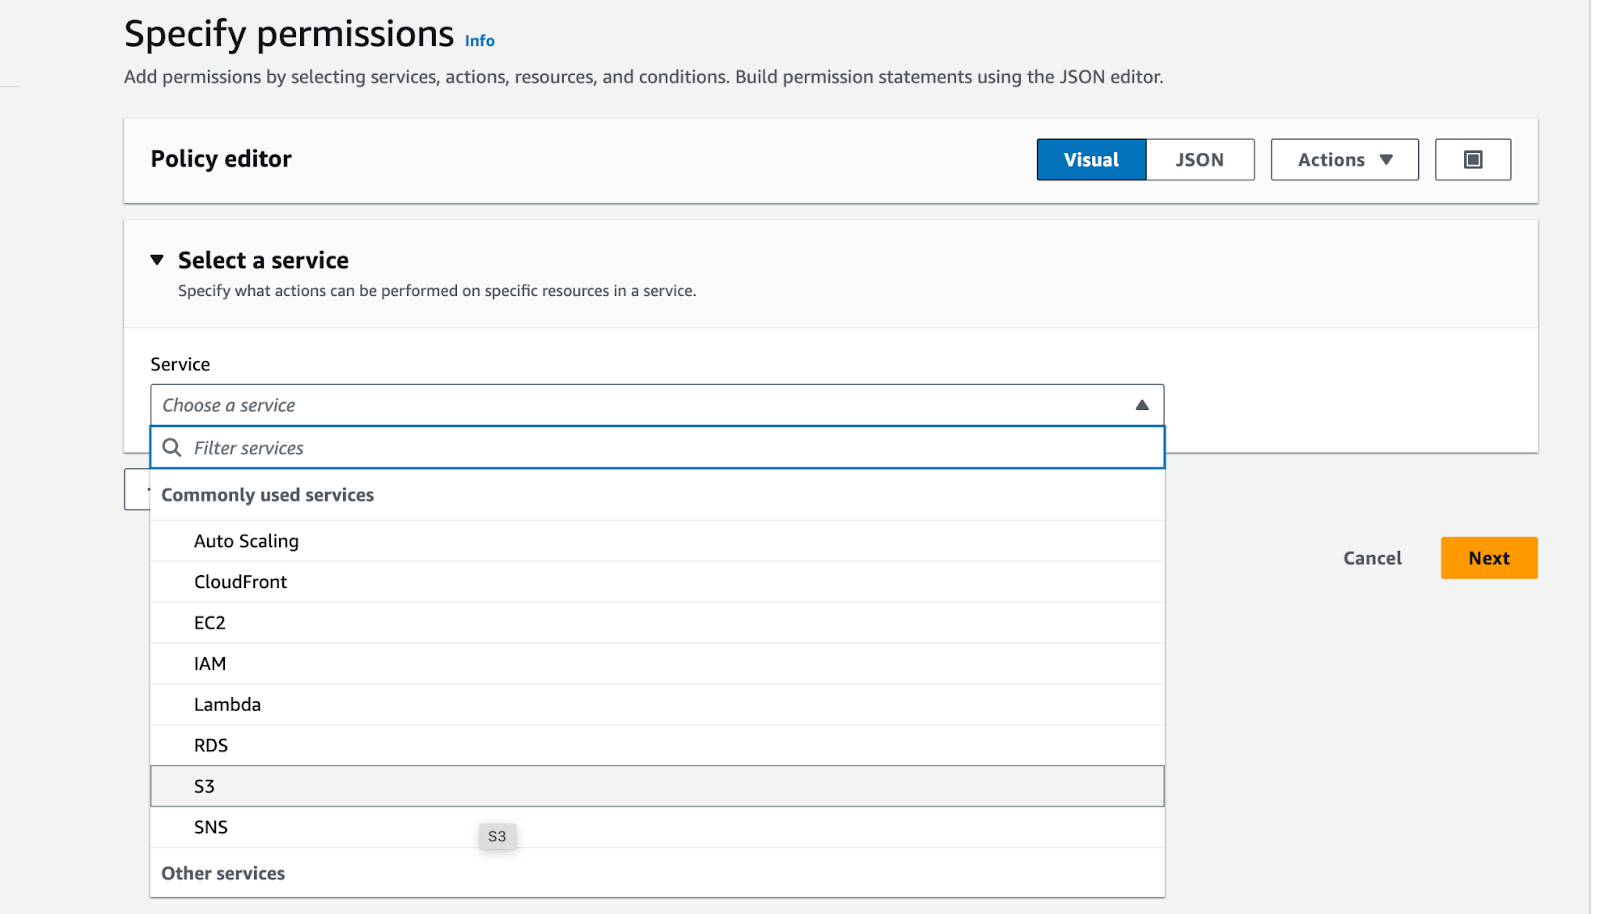
Select the S3 option using the Service drop-down to configure AWS S3 policies.
-
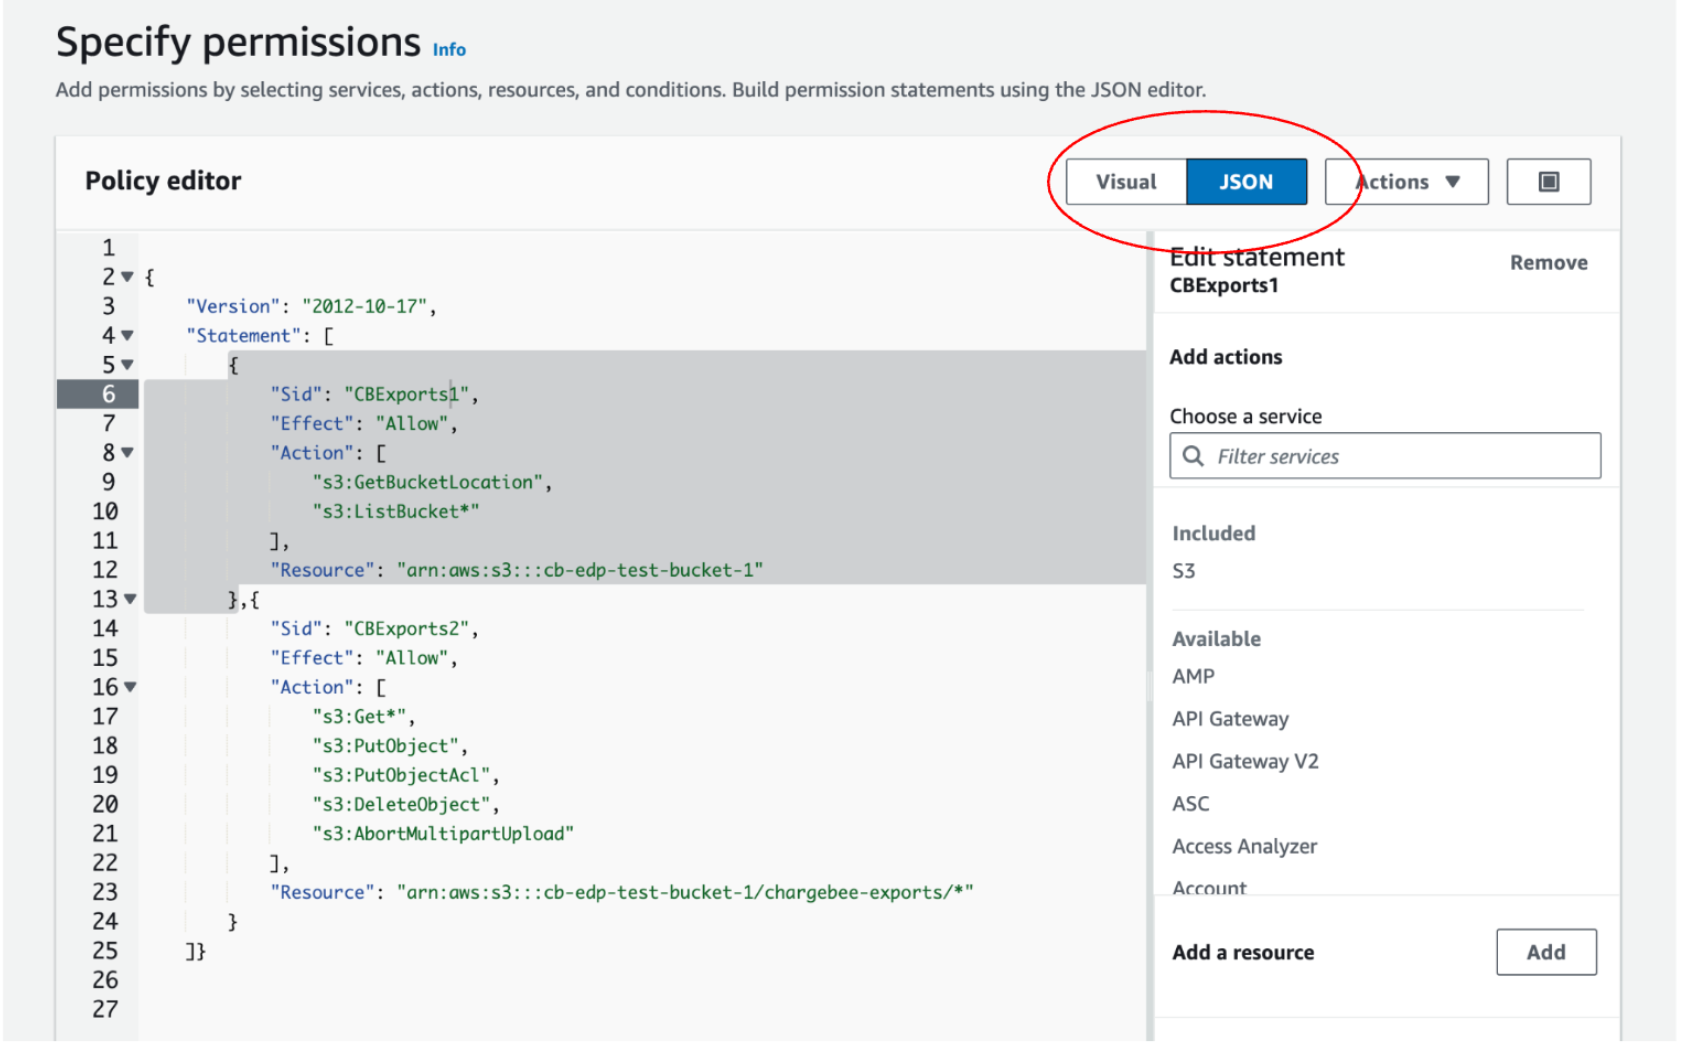
A message appears to provide permissions for your AWS S3 bucket. Click the JSON tab to provide a custom policy.
-
Under the editor, insert the following JSON and replace appropriate values for SID, BUCKET_ARN, and EXPORTS_FOLDER. Learn more about these values.
{ "Version": "2012-10-17", "Statement": [ { "Sid": "<UNIQUE_APPROPRIATE_SID", "Effect": "Allow", "Action": [ "s3:GetBucketLocation", "s3:ListBucket*" ], "Resource": "<BUCKET_ARN>" }, { "Sid": "<UNIQUE_APPROPRIATE_SID>", "Effect": "Allow", "Action": [ "s3:Get*", "s3:PutObject", "s3:PutObjectAcl", "s3:DeleteObject", "s3:AbortMultipartUpload" ], "Resource": "<BUCKET_ARN>/<EXPORTS_FOLDER>/*" } ] }Note: These are the minimum privileges required ONLY FOR Chargebee Data Exports. If you want to add any more privileges for any other folders, it is recommended that you create another inline policy for them and attach the same.
-
Click Next > Save Changes.
Step 4: Create an IAM role
This setup involves creating an IAM role for Chargebee. The role has the write permission to the S3 bucket that you have created for Chargebee data export.
-
Log in to the AWS Management Console.
-
Navigate to Access management > Roles.

-
Select Create role at the top right of the page.
-
Select Custom trust policy under the trusted entity type and in the JSON editor, paste the following policy to enable a cross-account trust relationship. You can also copy and paste the Custom trust policy in the JSON editor from this step during automatic export configuration in Chargebee. Learn more about CB ROLE ARN, Unique and Appropriate SID, and EXTERNAL ID values.
{ "Version": "2012-10-17", "Statement": [ { "Sid": "<UNIQUE_APPROPRIATE_SID>", "Effect": "Allow", "Principal": { "AWS": "<CB_ROLE_ARN>" }, "Action": "sts:AssumeRole", "Condition": \{"StringEquals": \{"sts:ExternalId": <EXTERNAL_ID>}} } ] } -
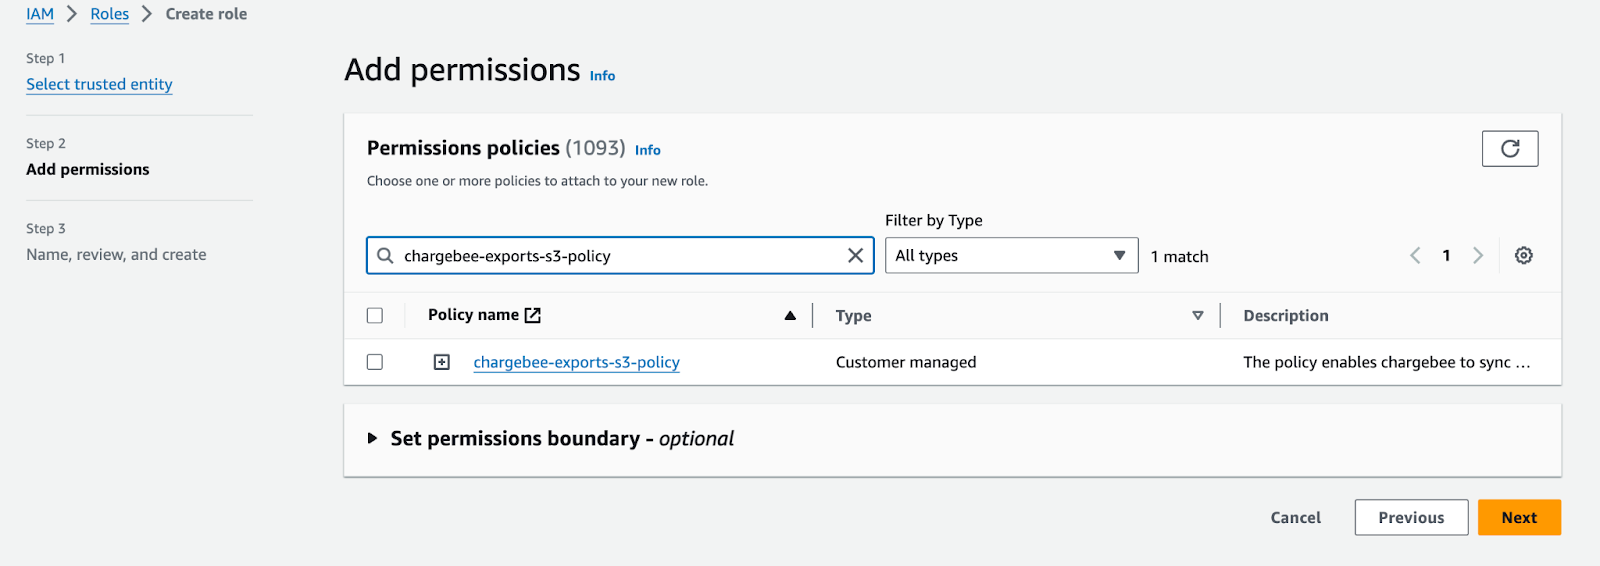
Add the above-created inline policy to grant S3 privileges to this role.
-
Select the policy using the drop-down, and click Next.
-
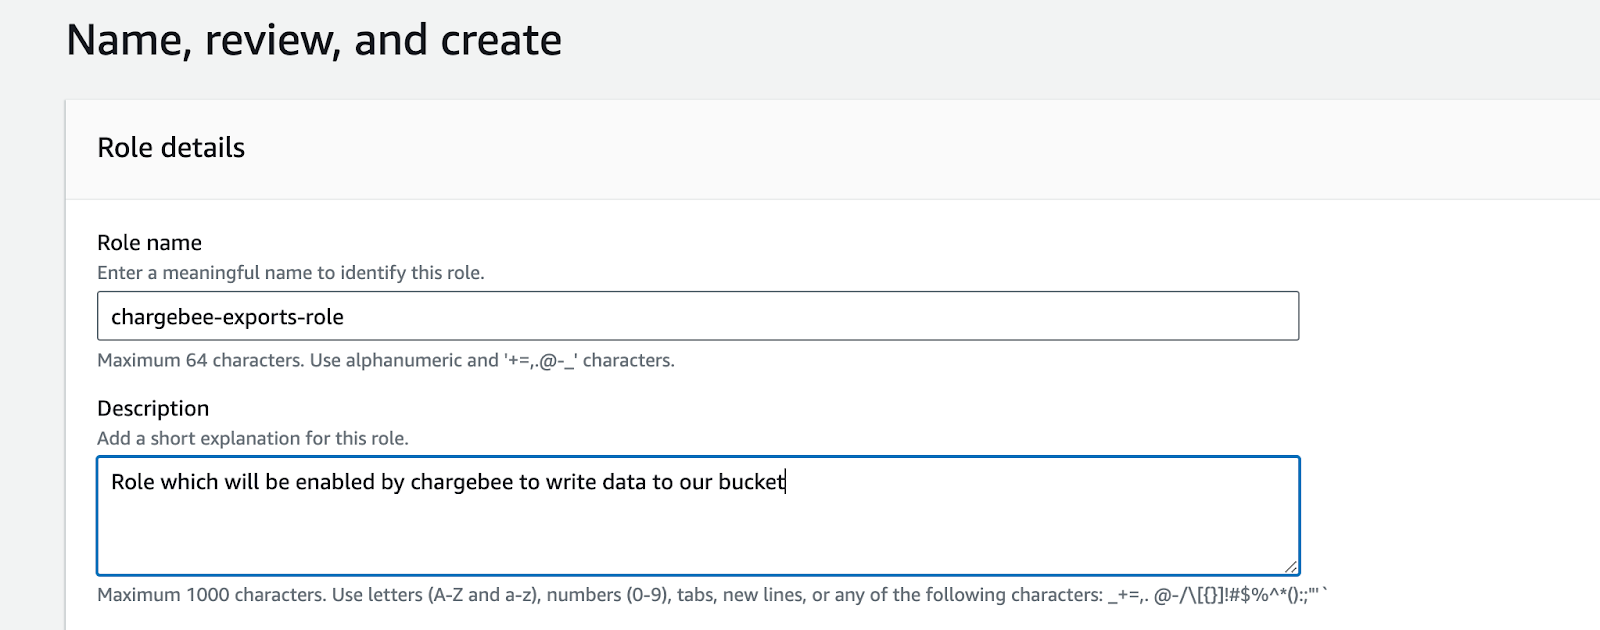
Create the role with a name. Ensure that the role name includes the mandatory prefix chargebee-exports- for allowlisting access from the Chargebee account. The role name can follow any format that begins with this prefix, such as chargebee-exports-role or chargebee-exports-prod-role, as shown in the following image.
-
Click Create role.
JSON field details
| Name | Description |
|---|---|
<BUCKET_ARN> | Bucket ARN refers to the Amazon Resource Names generated by AWS. You can find your ARN here. |
<EXPORTS_FOLDER> | This refers to the folder you created inside your buckets for Chargebee to write the data. |
<CB_ROLE_ARN> | This refers to the ARN that you will get here. For example: arn:aws:iam::84XXXXXXXX93:role/service-role/cb-edpprod-us-e1-edp-emr-ec2-exporter-role |
<UNIQUE_APPROPRIATE_SID> | Sid (statement ID) as an optional identifier for the policy statement. Please set an appropriate Statement ID for your use case which helps you identify and segregate them |
<EXTERNAL_ID> | An external ID is a unique key passed to the AssumeRole API of AWS's Security Token Service (STS). |
Next Step Once you have completed all the above steps, follow the instructions to set up Automatic Export in Chargebee.
Was this article helpful?