Set up Automatic Exports to Google
To set up Automatic Export with Google Cloud, follow these steps:
-
Step 1: Setting up your Google Cloud Platform service account
-
Step 4: Grant your service account access to manage the Google Cloud Storage Bucket
Step 1: Setting up your Google Cloud Platform service account
To create a Google Cloud Platform (GCP) service account, follow these steps:
-
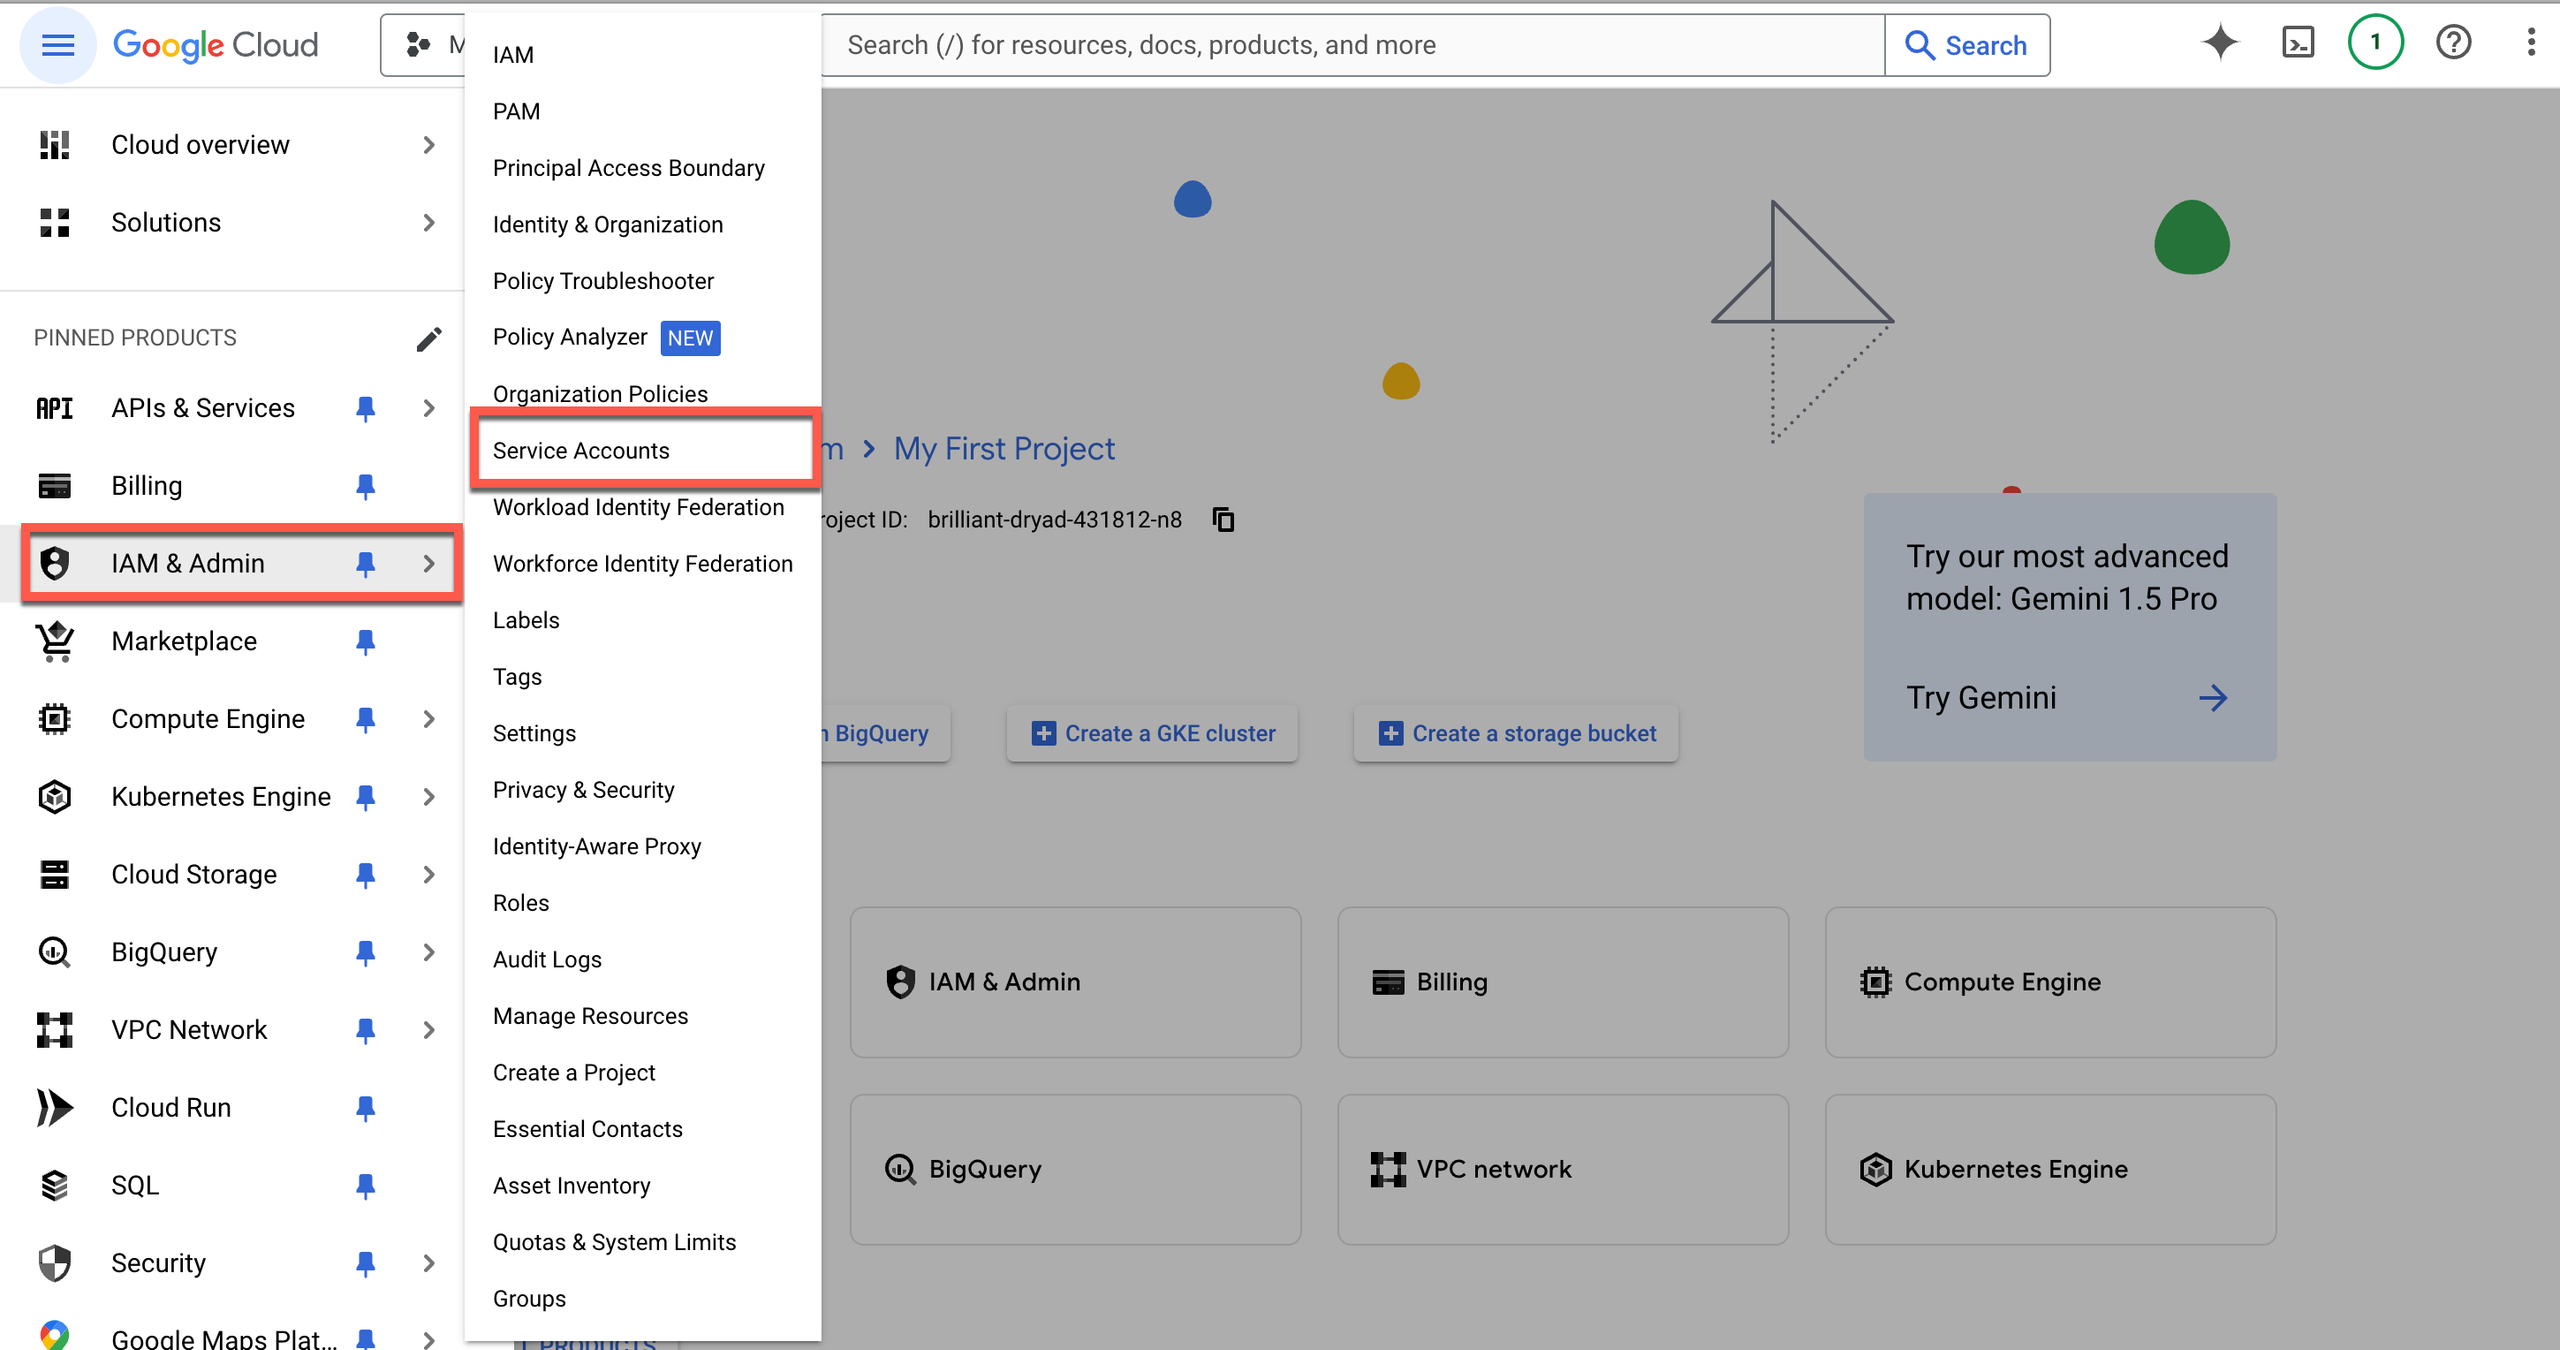
Log in to the Google Cloud Console and navigate to IAM & Admin > Service Accounts.
-
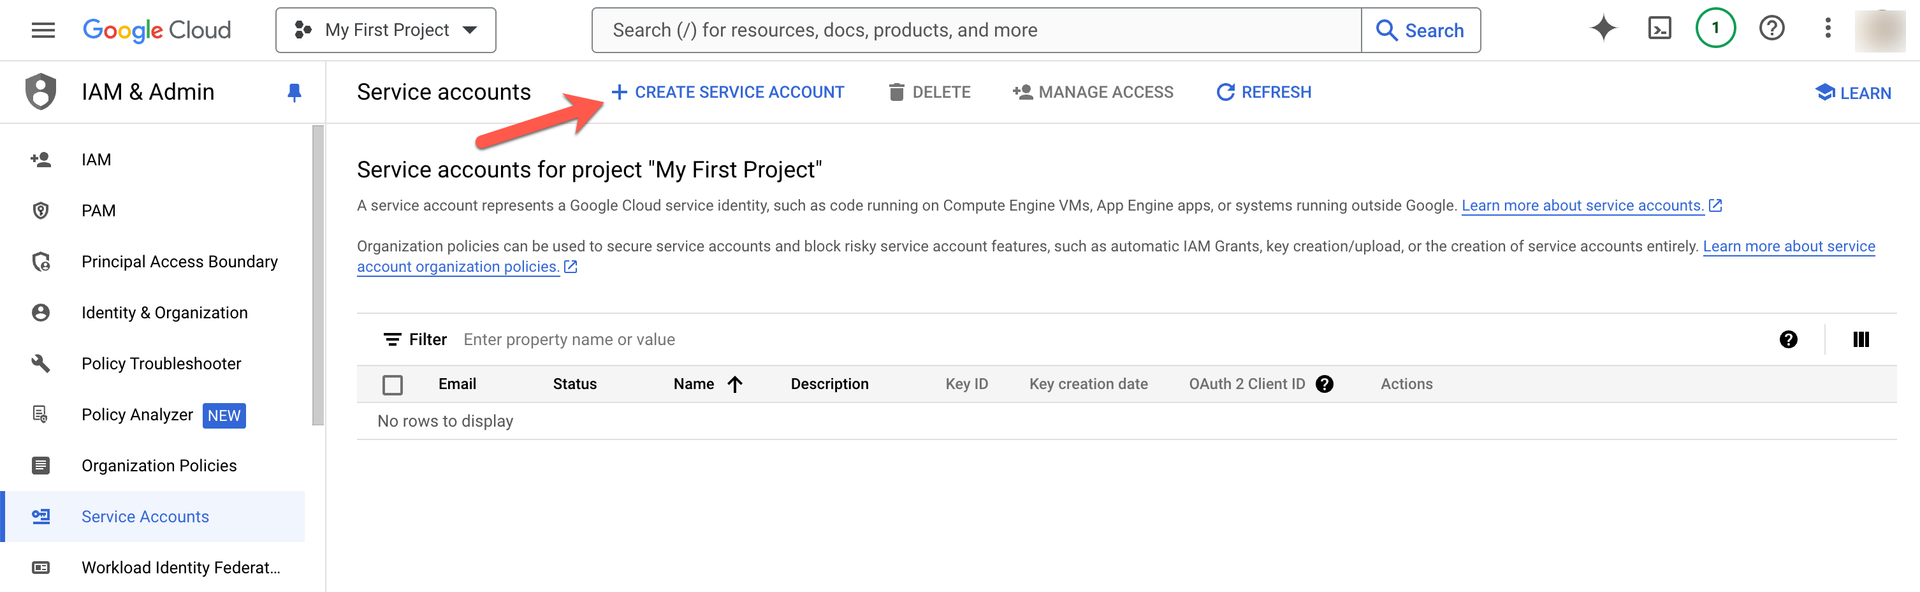
Click + CREATE SERVICE ACCOUNT.
-
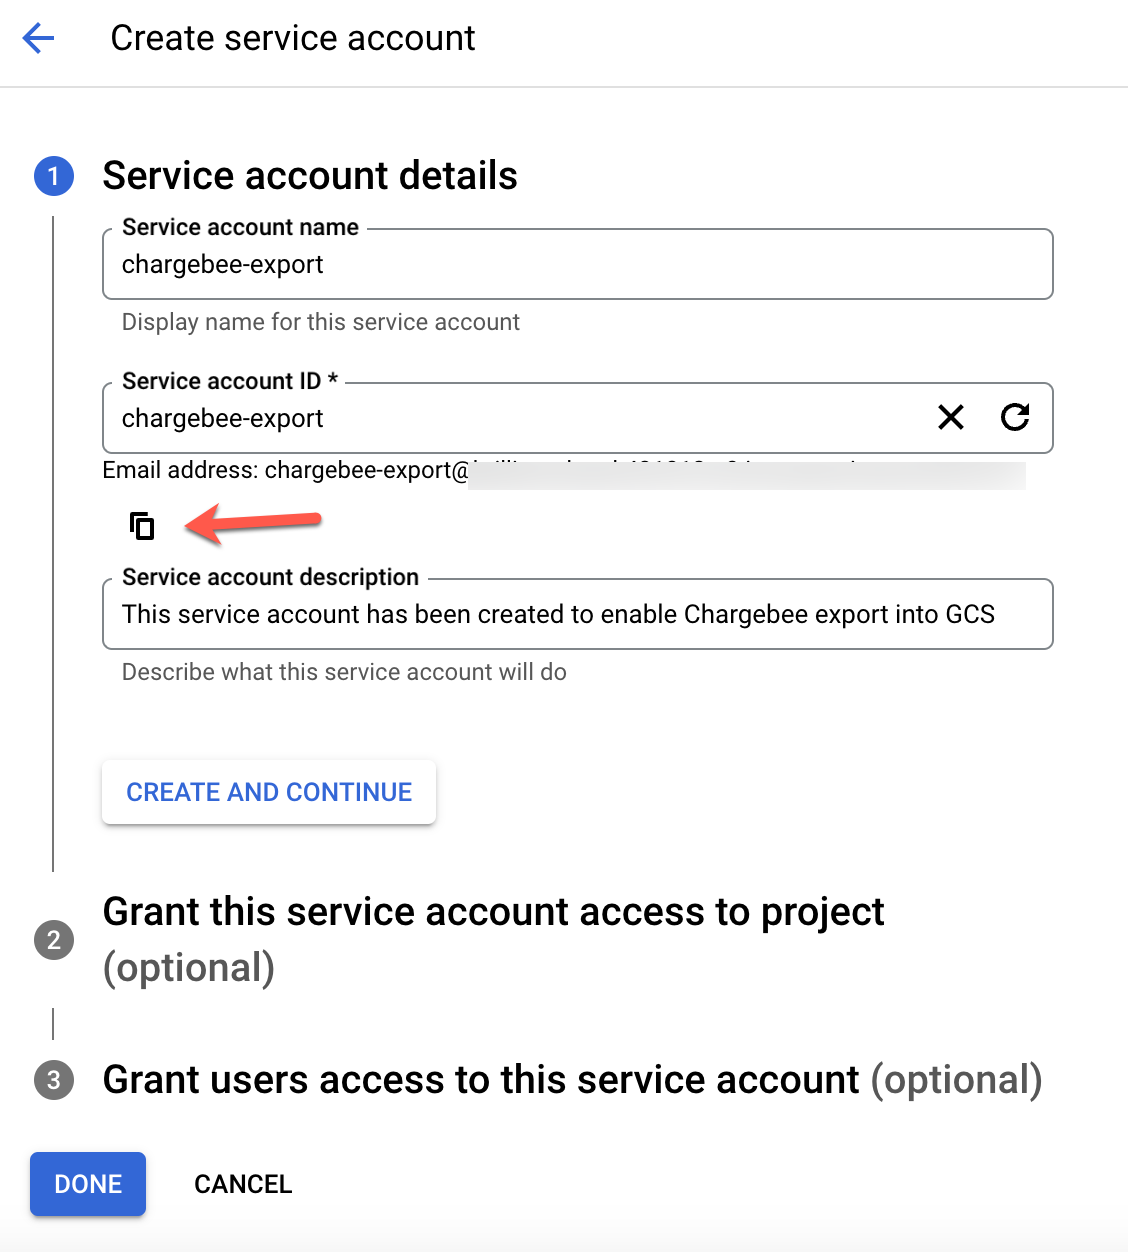
Enter the information of your service account, such as the Service account name and Service account description. Click CREATE AND CONTINUE. Note: Ensure to copy the service account email address for the upcoming requirement.
-
Optional: Grant a specific access level to the service account.
-
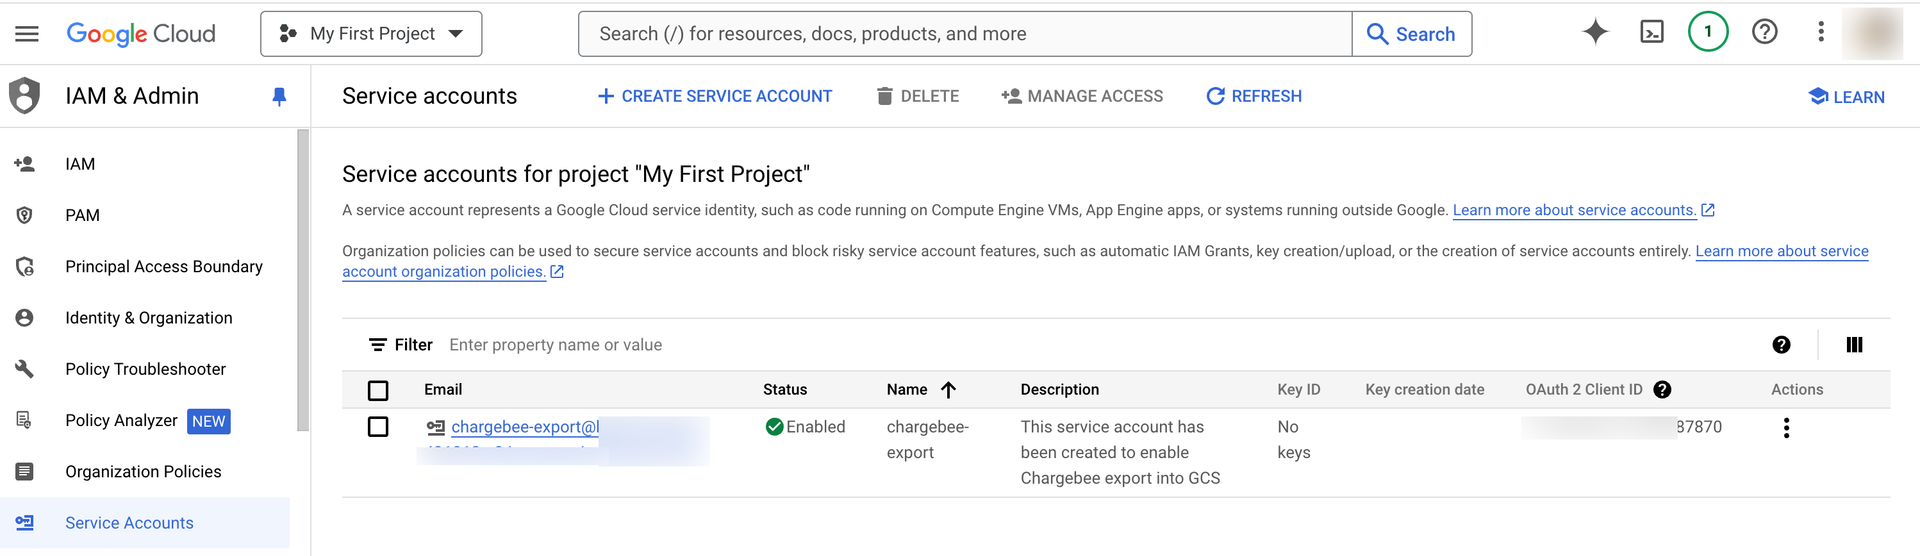
Click DONE to complete the setup. This action creates the service account and assigns a role, you can view on the IAM Service Accounts page.
Learn more about creating and managing service account keys.
Step 2: Generate a JSON key file for your service account
Whether you are setting up a new service account or using an existing one, you need to generate a JSON key file for configuration in Chargebee. To generate a JSON key file, follow these steps:
-
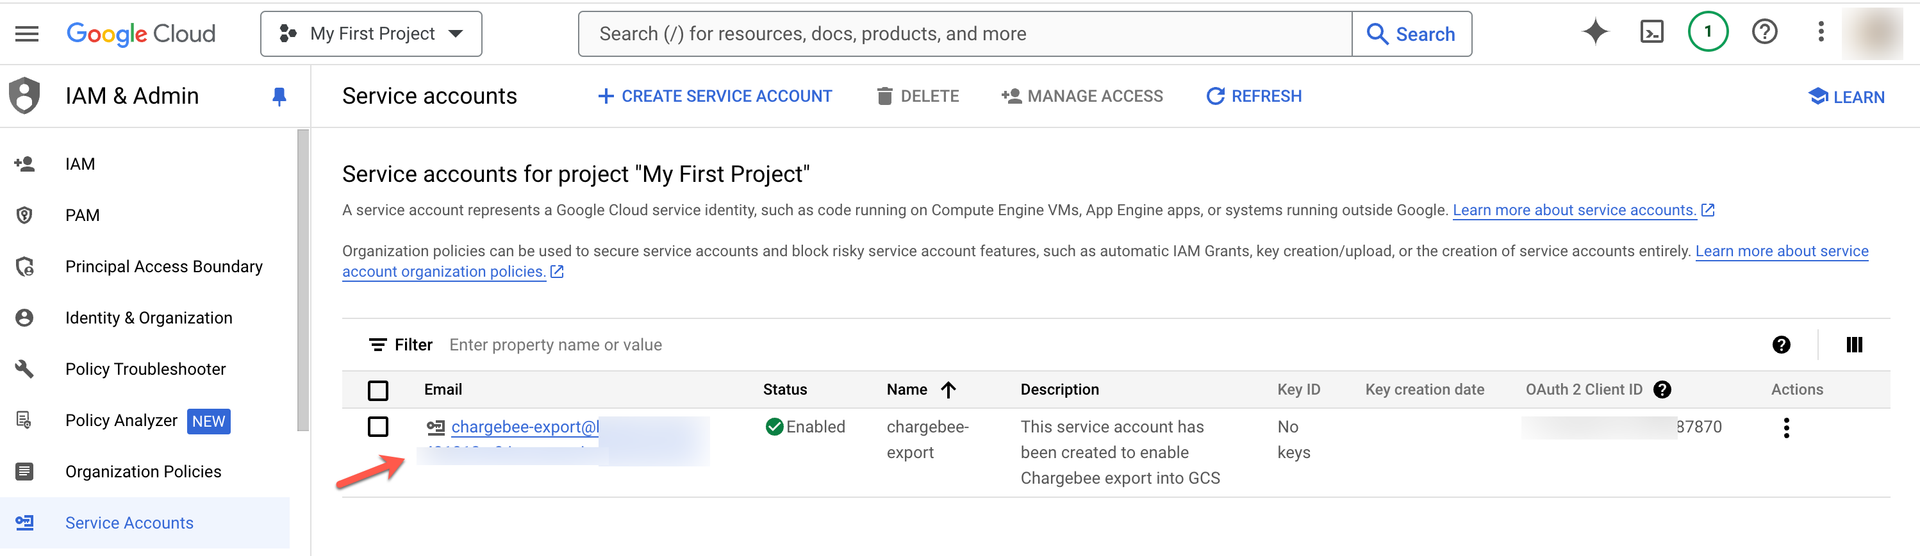
In the Google Cloud Console, navigate to the IAM & Admin > Service Accounts page and locate the service account you intend to use for Data Sync.
-
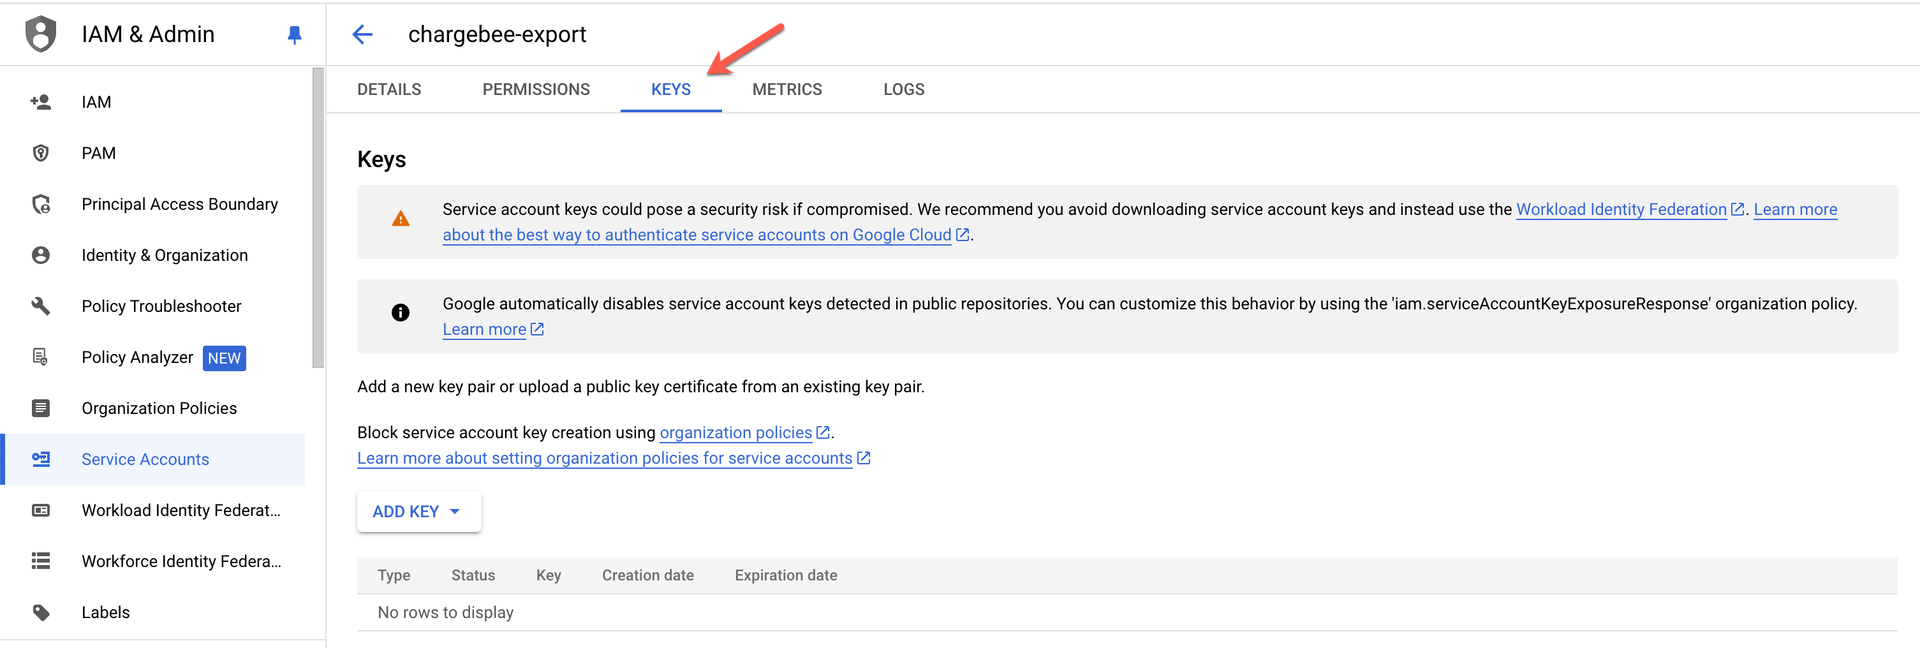
Click on the KEYS tab.
-
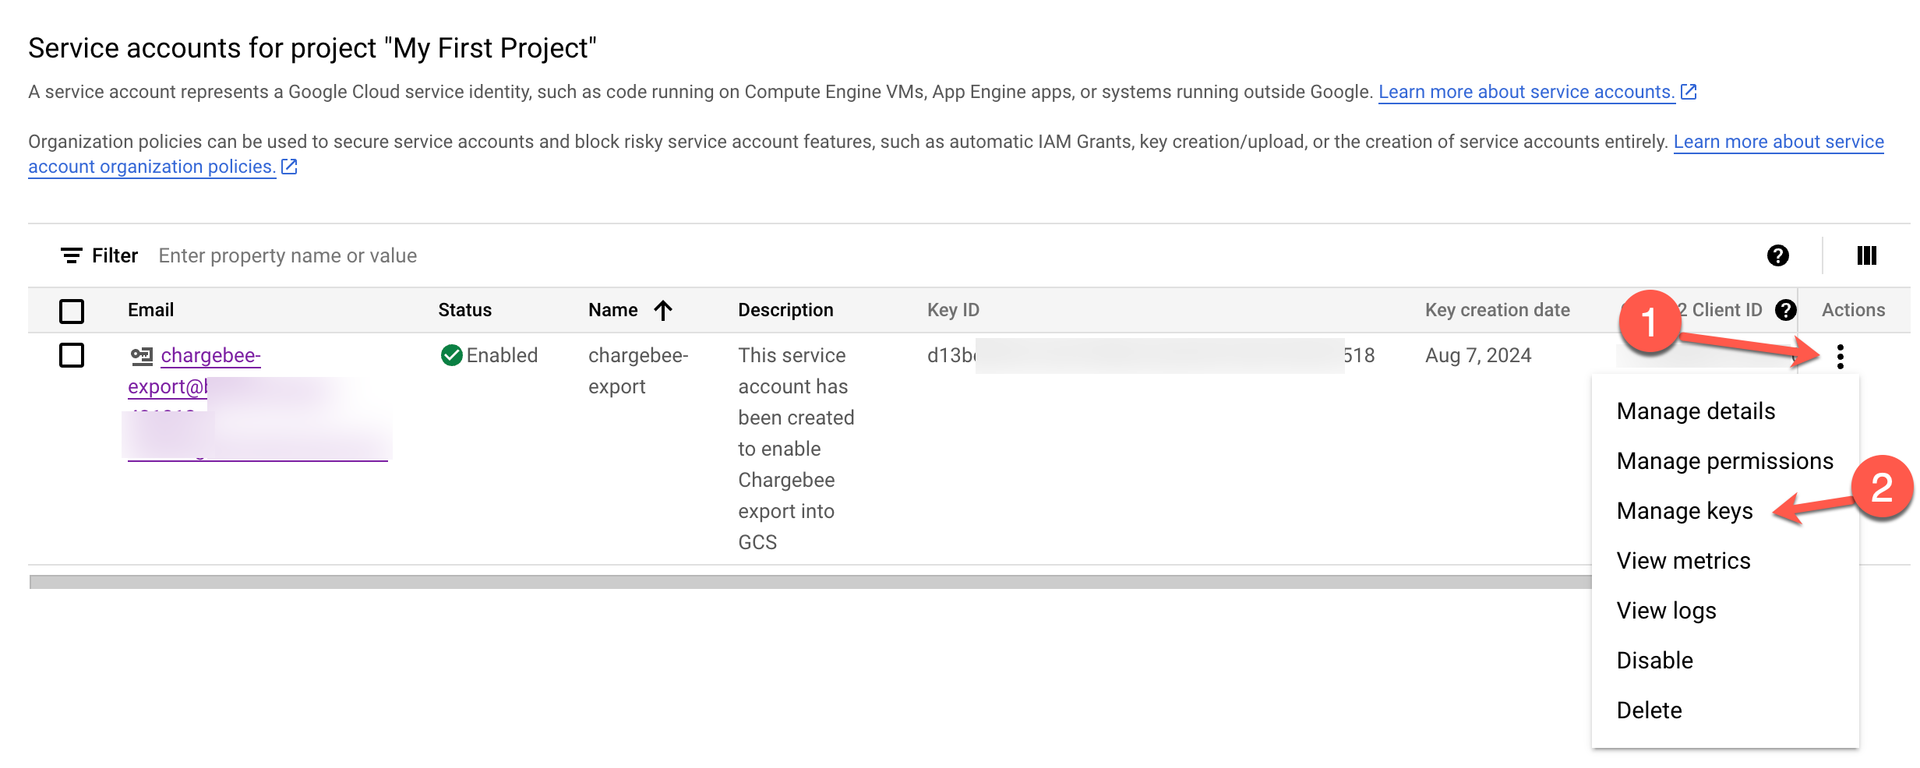
Under the Actions column, click the vertical dots next to your service account and select Manage keys.
-
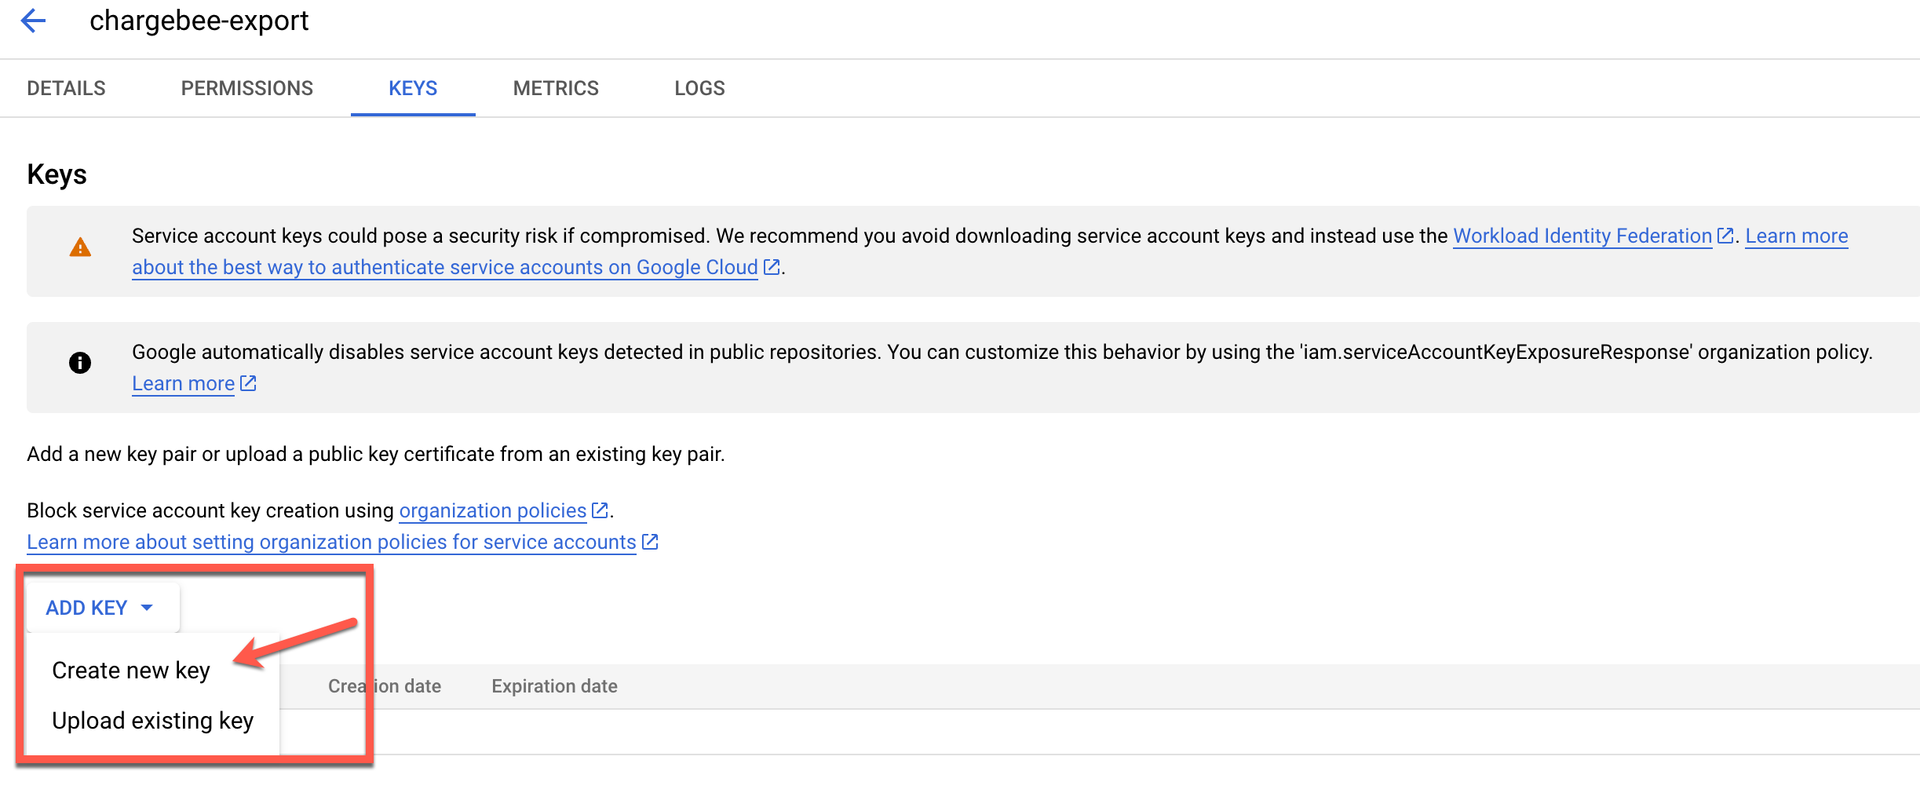
Using the ADD KEY dropdown, select Create new key.
-
Choose the JSON key type and click CREATE.
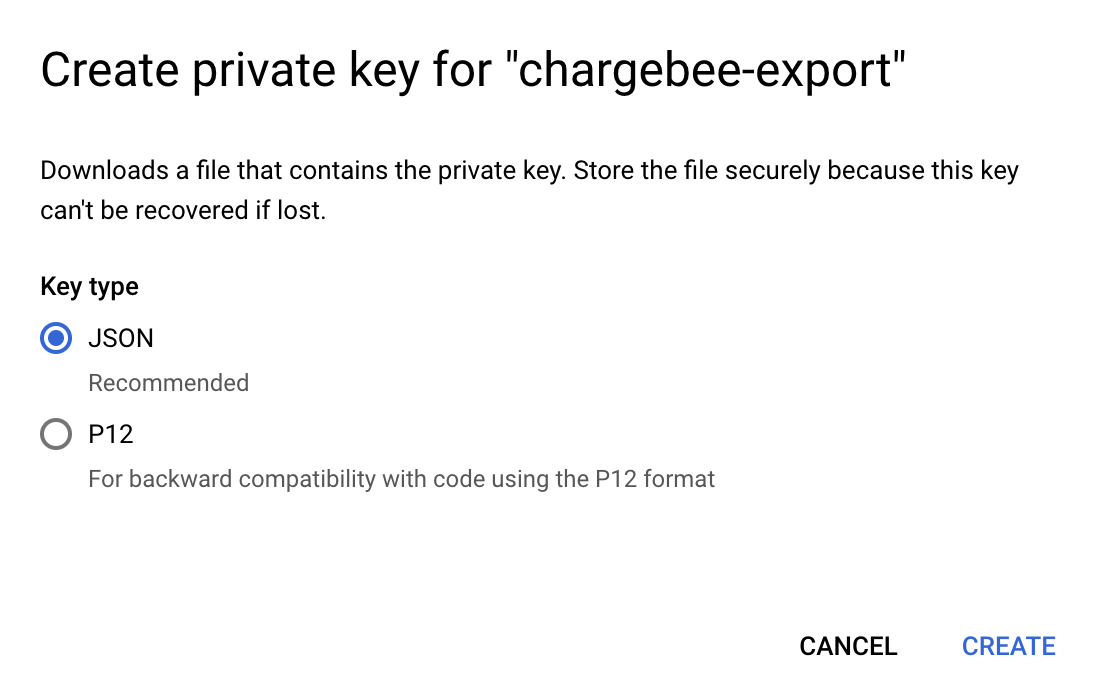
-
A message appears confirming the private key saved to your computer.
Keep the JSON key file to set up Automatic Export in Chargebee.
Step 3: Create a Google Cloud Storage Bucket
Chargebee exports data to a Google Cloud Storage (GCS) bucket. To create a Google Cloud Storage (GCS) bucket, follow these steps:
-
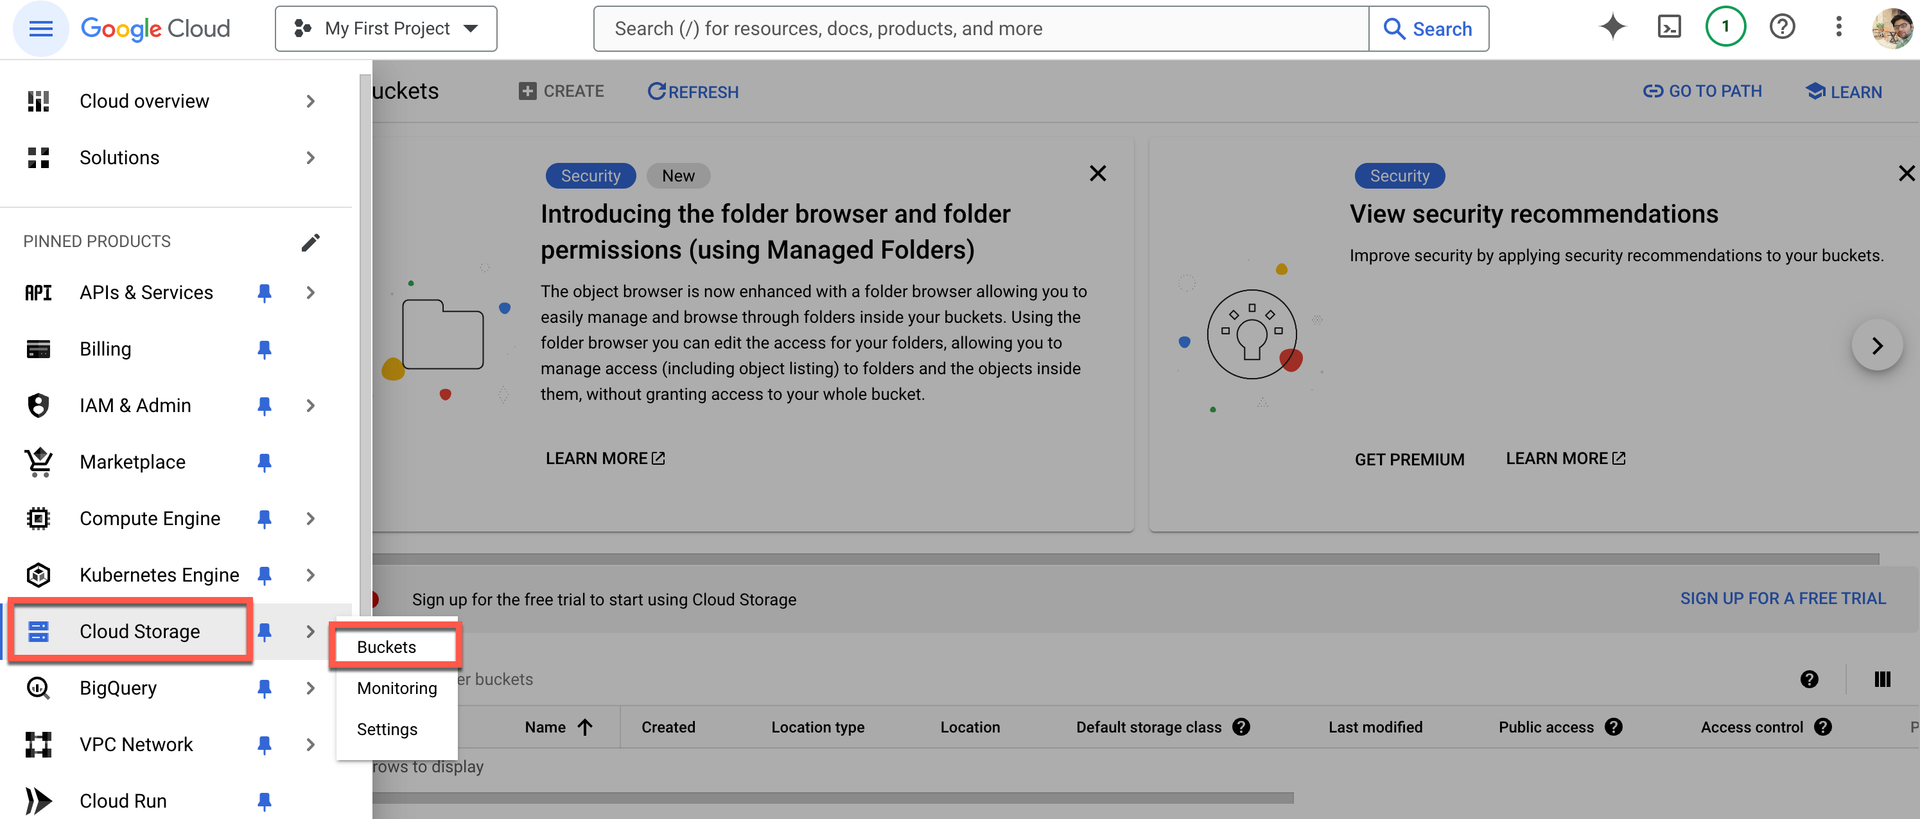
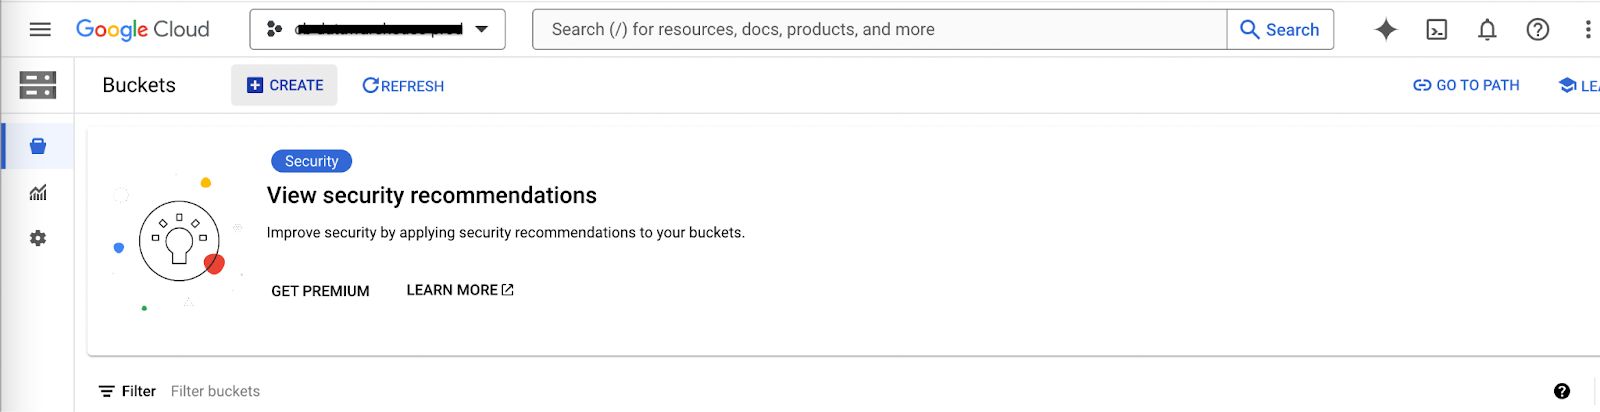
In the Google Cloud Console, navigate to the Cloud Storage > Buckets.
-
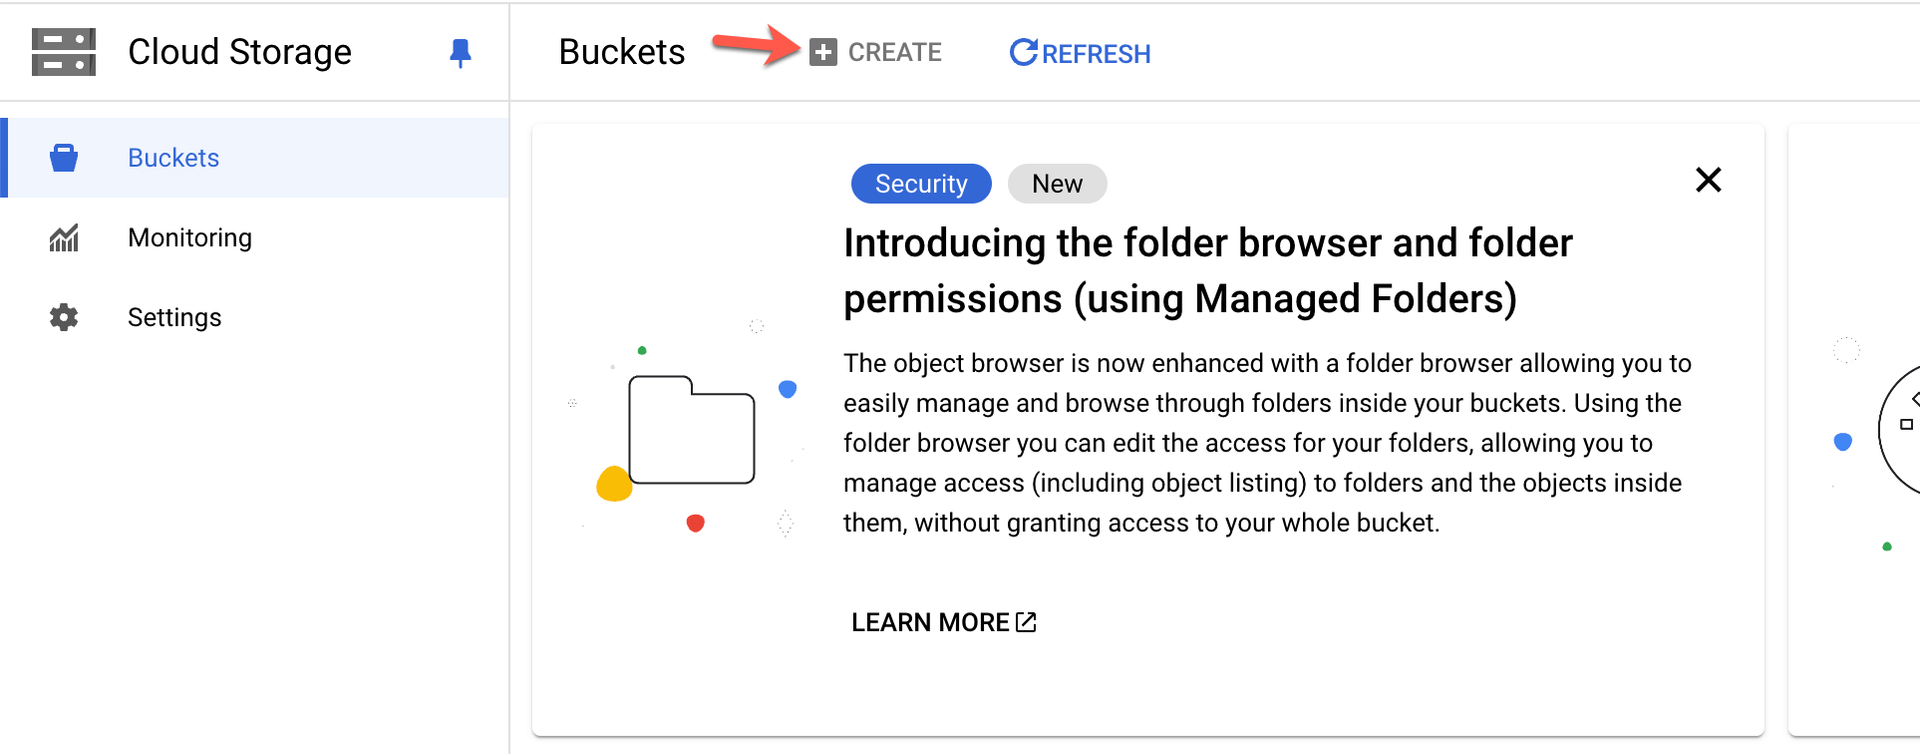
Click + CREATE.
-
Enter a descriptive name for your bucket.
-
Follow the Google workflow to configure the bucket settings, including choosing a location, storage class, access controls, and data protection options.
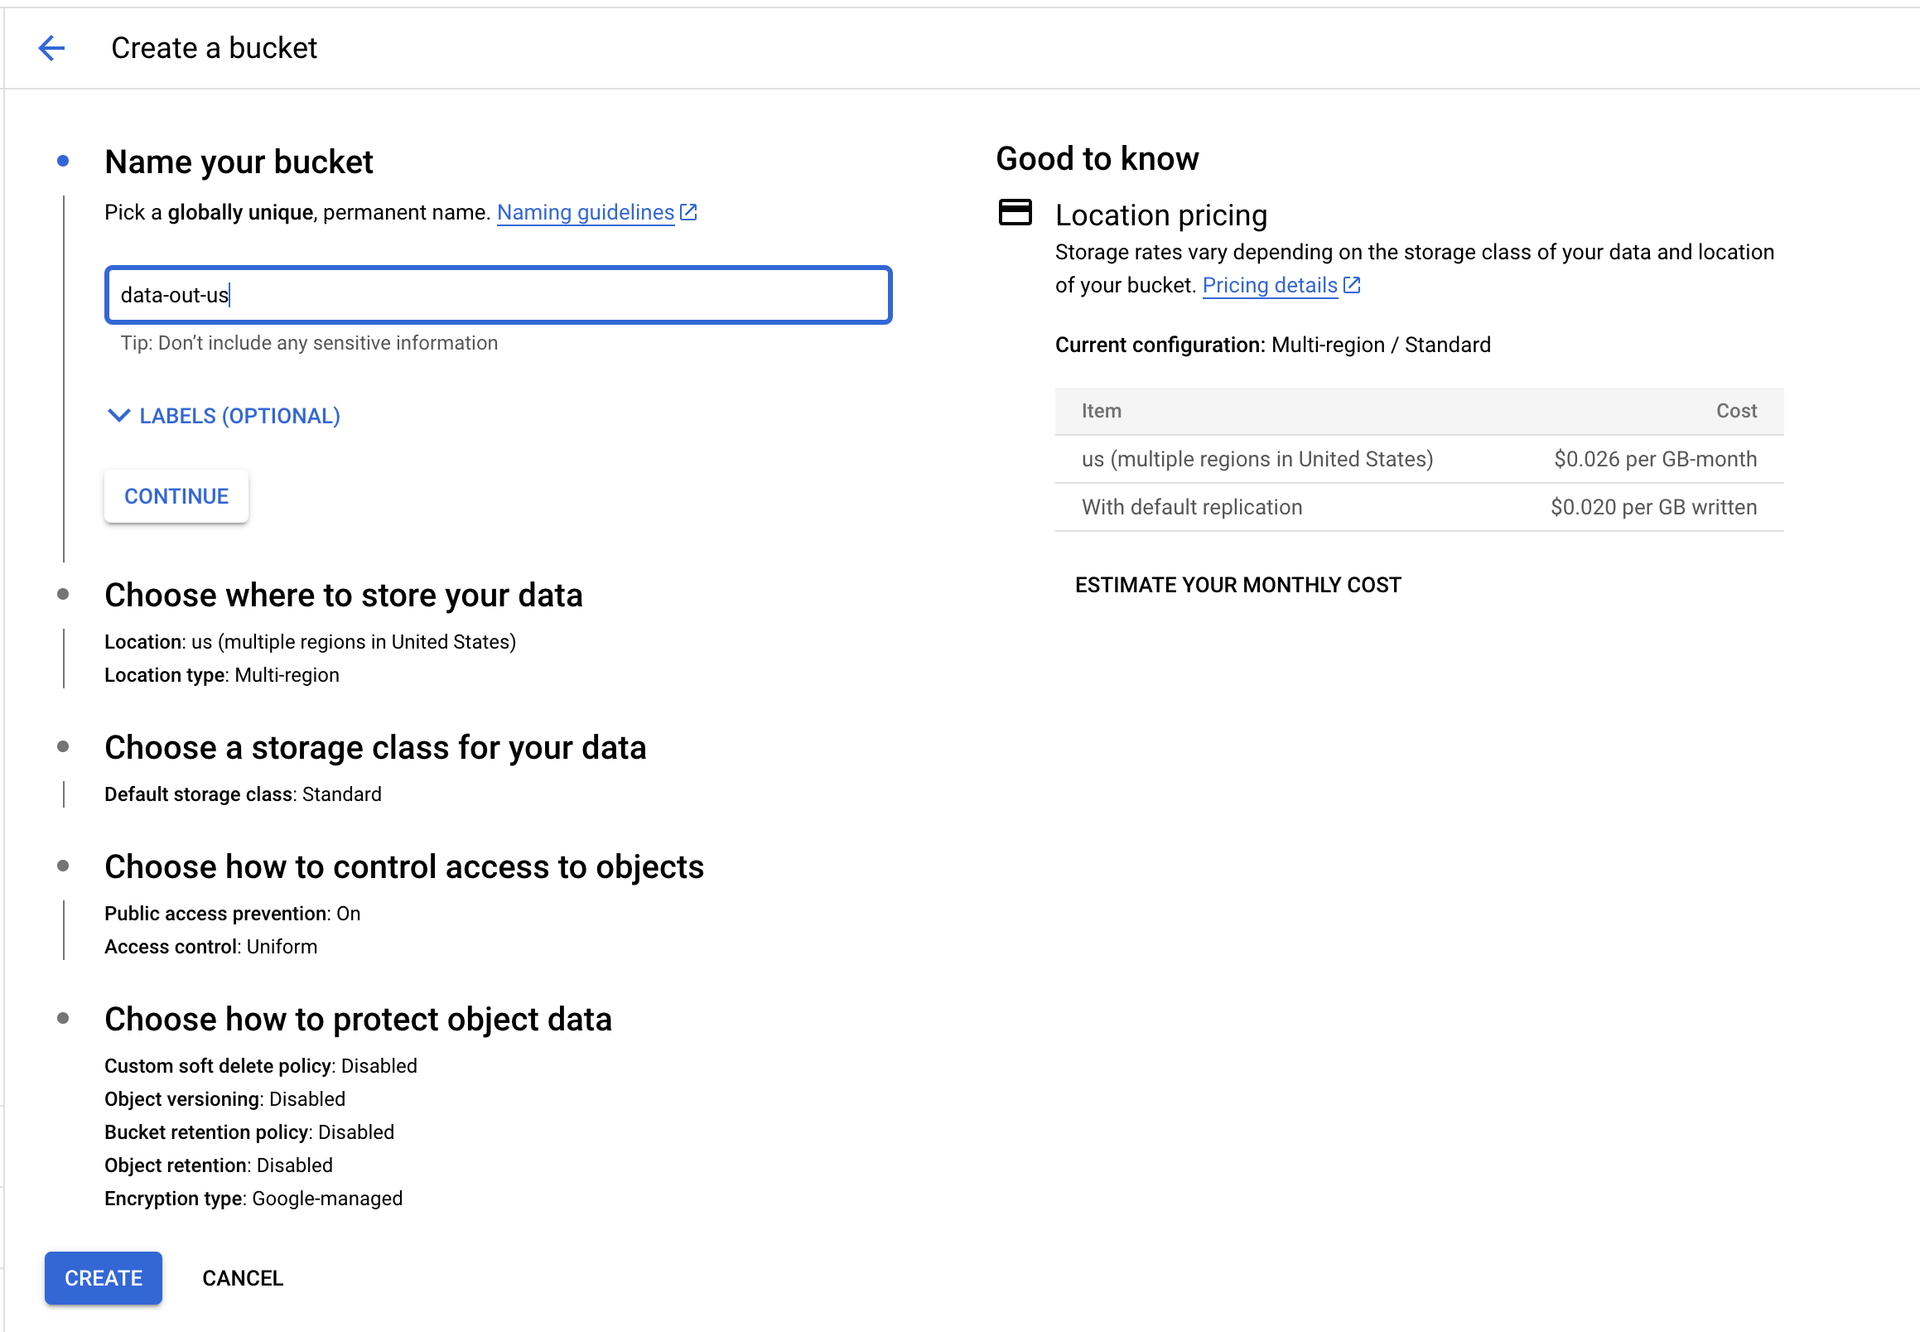
-
Click CREATE > CONFIRM. It redirects to your newly created, empty bucket in Google Cloud.
Step 4: Grant your service account access to manage the GCS Bucket
To allow your GCP service account to manage your GCS bucket, you need to grant it the appropriate permissions by following these steps:
-
In the Google Cloud Console, navigate to Cloud Storage > Buckets and find your Data Sync bucket.
-
Use the following options to edit permissions:
- Open your Data Sync bucket, select the PERMISSIONS tab, and click GRANT ACCESS.
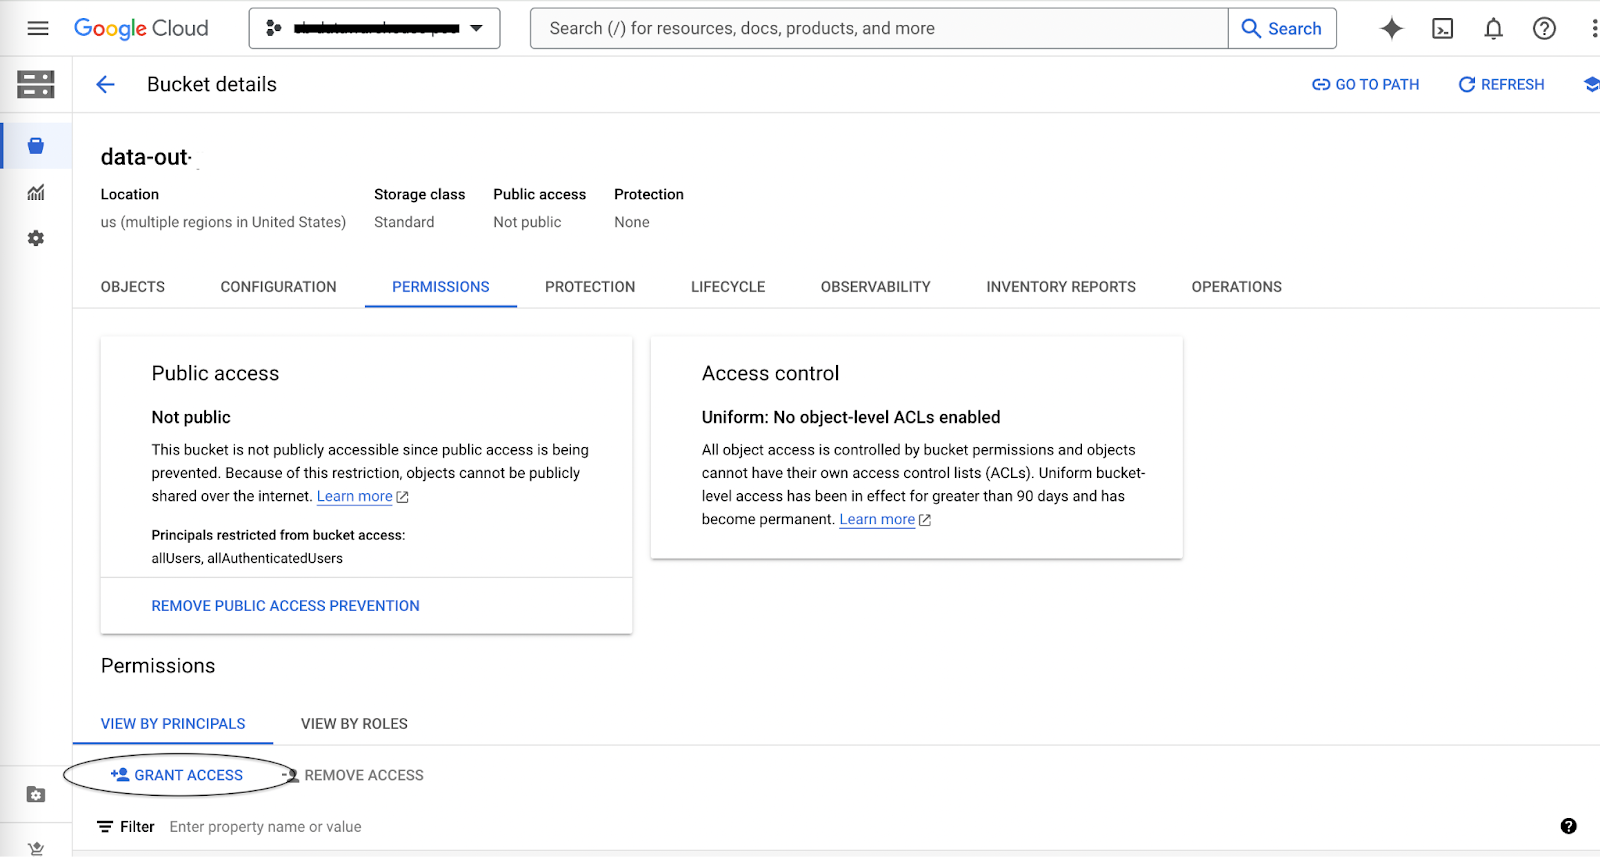
- Alternatively, on the Buckets page, click the vertical dots next to your Data Sync bucket and select Edit access.
- Open your Data Sync bucket, select the PERMISSIONS tab, and click GRANT ACCESS.
-
Click Add principal to grant access and paste the service account email address you copied earlier.
-
Under Select a role, choose Cloud Storage > Storage Admin. This role gives all the required control over the GCS bucket . If you prefer a custom role, ensure it includes at least the following minimum permissions. Without these, exports will not run:
   storage.buckets.get
   storage.buckets.list
   storage.objects.create
   storage.objects.delete
   storage.objects.get
   storage.objects.list
-
Click SAVE to apply the changes and verify that your service account has Storage Admin access to your Data Sync bucket.
Next Step Once you have completed all the above steps, follow the instructions to set up Automatic Export in Chargebee.
Was this article helpful?