Launching a Pricing Table
Overview
Whether you're updating plans or configuring dynamic pricing, Chargebee pricing table puts you in control of your pricing strategy, getting your page live and ready in just a few clicks. Launching your pricing page using Chargebee pricing table is simple and straightforward. You do not need any developer assistance to create and go live with your pricing page.
Prerequisites
Sign up with Chargebee Billing
You need to first sign up with Chargebee Billing and set up your site.
Chargebee Billing - full-access API key
A full-access API key from your Chargebee Billing site is required to connect your site with Chargebee pricing table.
To retrieve a full-access API key, follow these steps:
- Log in to your Chargebee Billing site.
- Navigate to Settings > Configure Chargebee > API Keys > Add API Key.
- On the Create API Key pop-up, select Full-access Key, select a type of access control, and enter a name for the API key under Name the API Key.
- Click Create Key.
Your full-access API key is successfully created. Click the Copy icon to copy the key, and save it for use while connecting your Chargebee Billing site with Chargebee pricing table.
Launching a pricing table
Launching your pricing table for the first time involves four key steps as follows:
- Build your product catalog in Chargebee Billing site.
- Connect your Chargebee Billing site with Chargebee pricing table.
- Personalize your pricing table.
- Share/embed your pricing table.
The following sections cover each of these steps in detail.
1. Build your product catalog in Chargebee Billing site
As a first step, enter your product details and pricing information in Chargebee's product catalog. The product catalog in Chargebee helps you define your product and service offerings and package them for your customers via subscriptions. You can set up your product catalog in Chargebee by defining product families, plans, add-ons, charges, coupons, and coupon sets.
2. Connect your Chargebee Billing site with Chargebee pricing table
Link your Chargebee site to Chargebee pricing table using the full-access API key that you retrieve from your Billing site. This step ensures that your products and prices seamlessly transfer to Chargebee pricing table.
To connect your Chargebee Billing site with Chargebee pricing table, follow these steps:
-
Visit https://www.atomicpricing.com/ and click Sign In. You can sign in using your Chargebee Billing credentials.
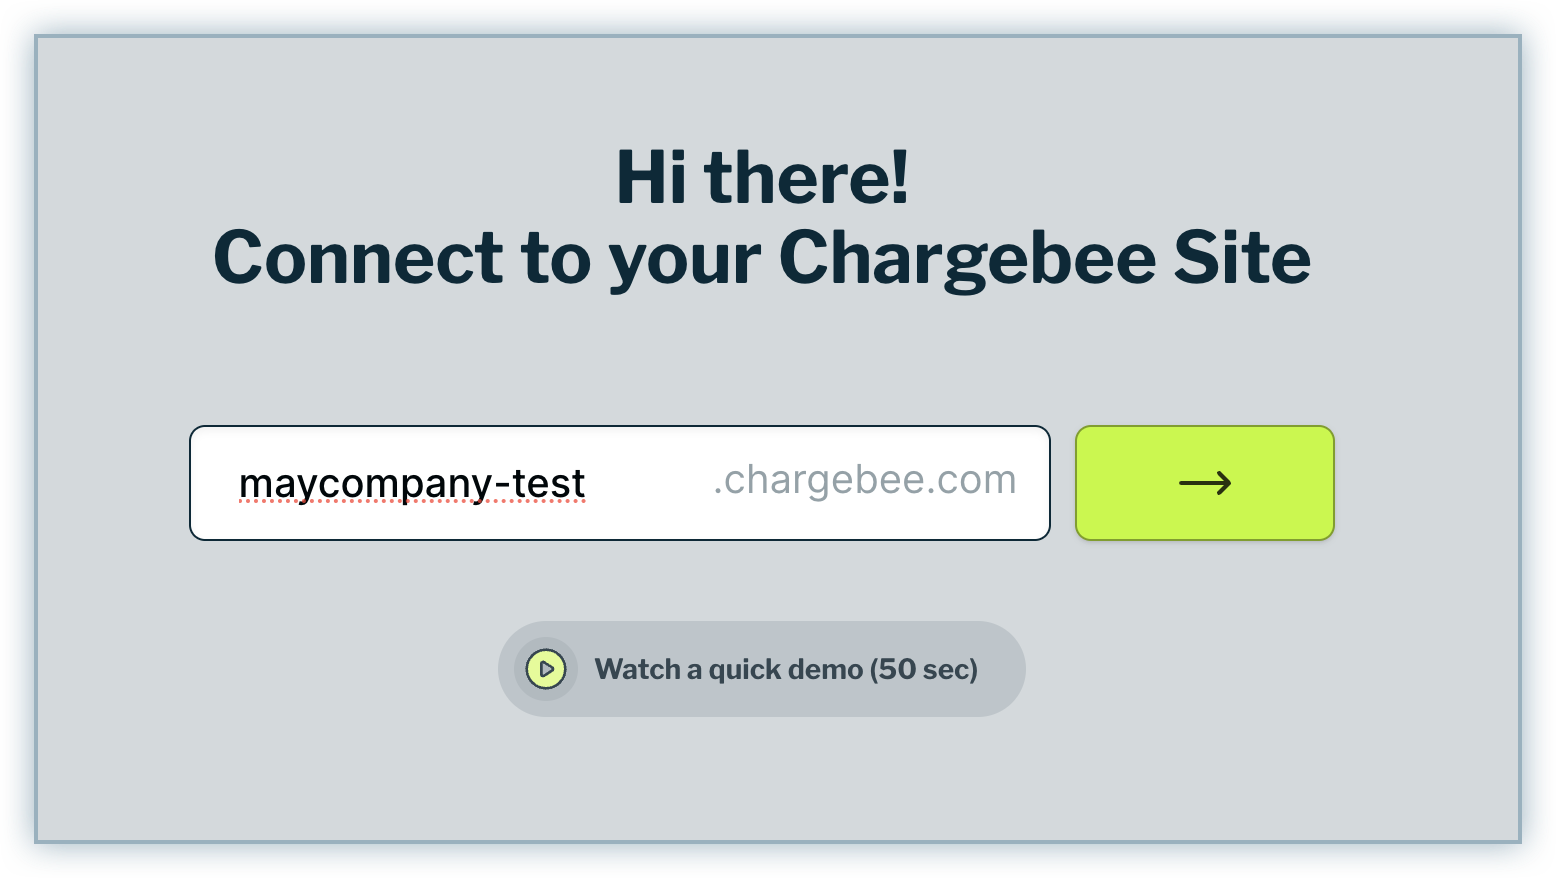
-
On the Connect to your Chargebee Site page that appears, specify a Domain name and proceed.
-
Paste the Full access API key that you retrieved from your Chargebee Billing site.
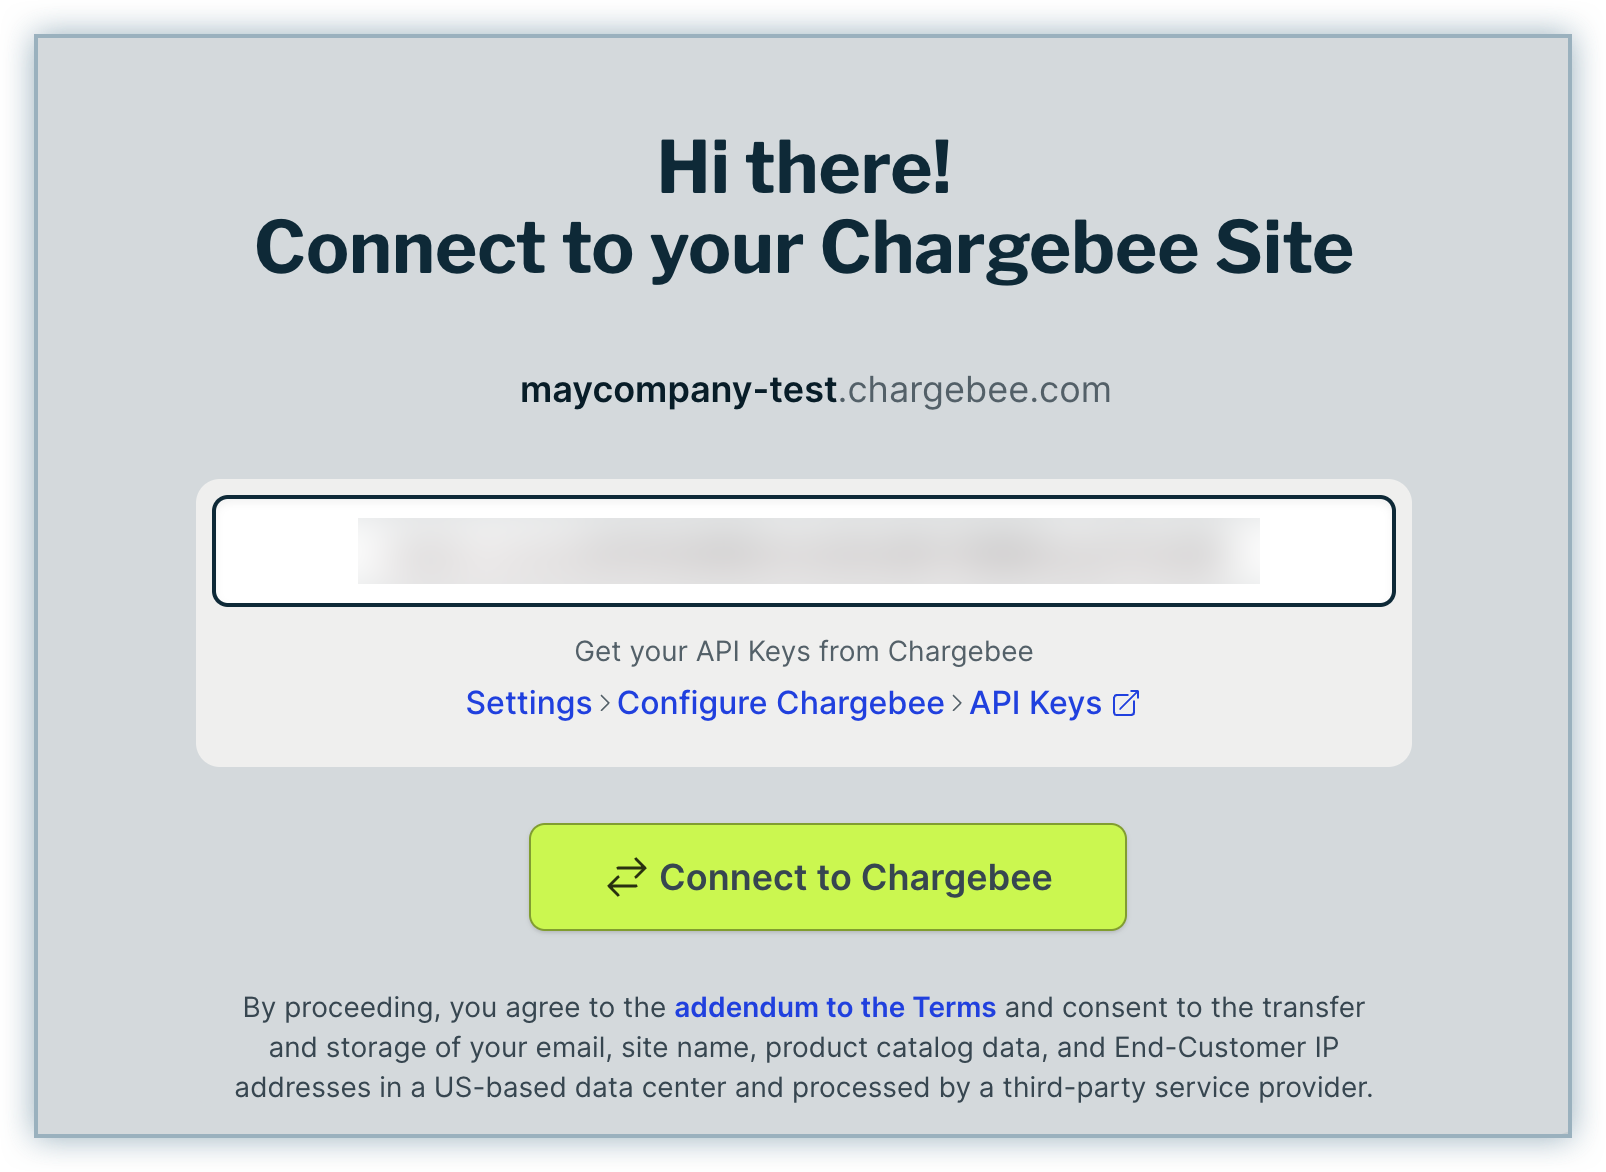
-
Click Connect to Chargebee.
You have successfully connected your site with Chargebee pricing table. Your plan details are seamlessly fetched and displayed as a pricing table. You can continue to personalize this page further before and after going live with it.
Furthermore, you can follow the same steps as mentioned above to connect more Chargebee Billing sites and even create multiple pricing pages as required.
3. Personalize your pricing table
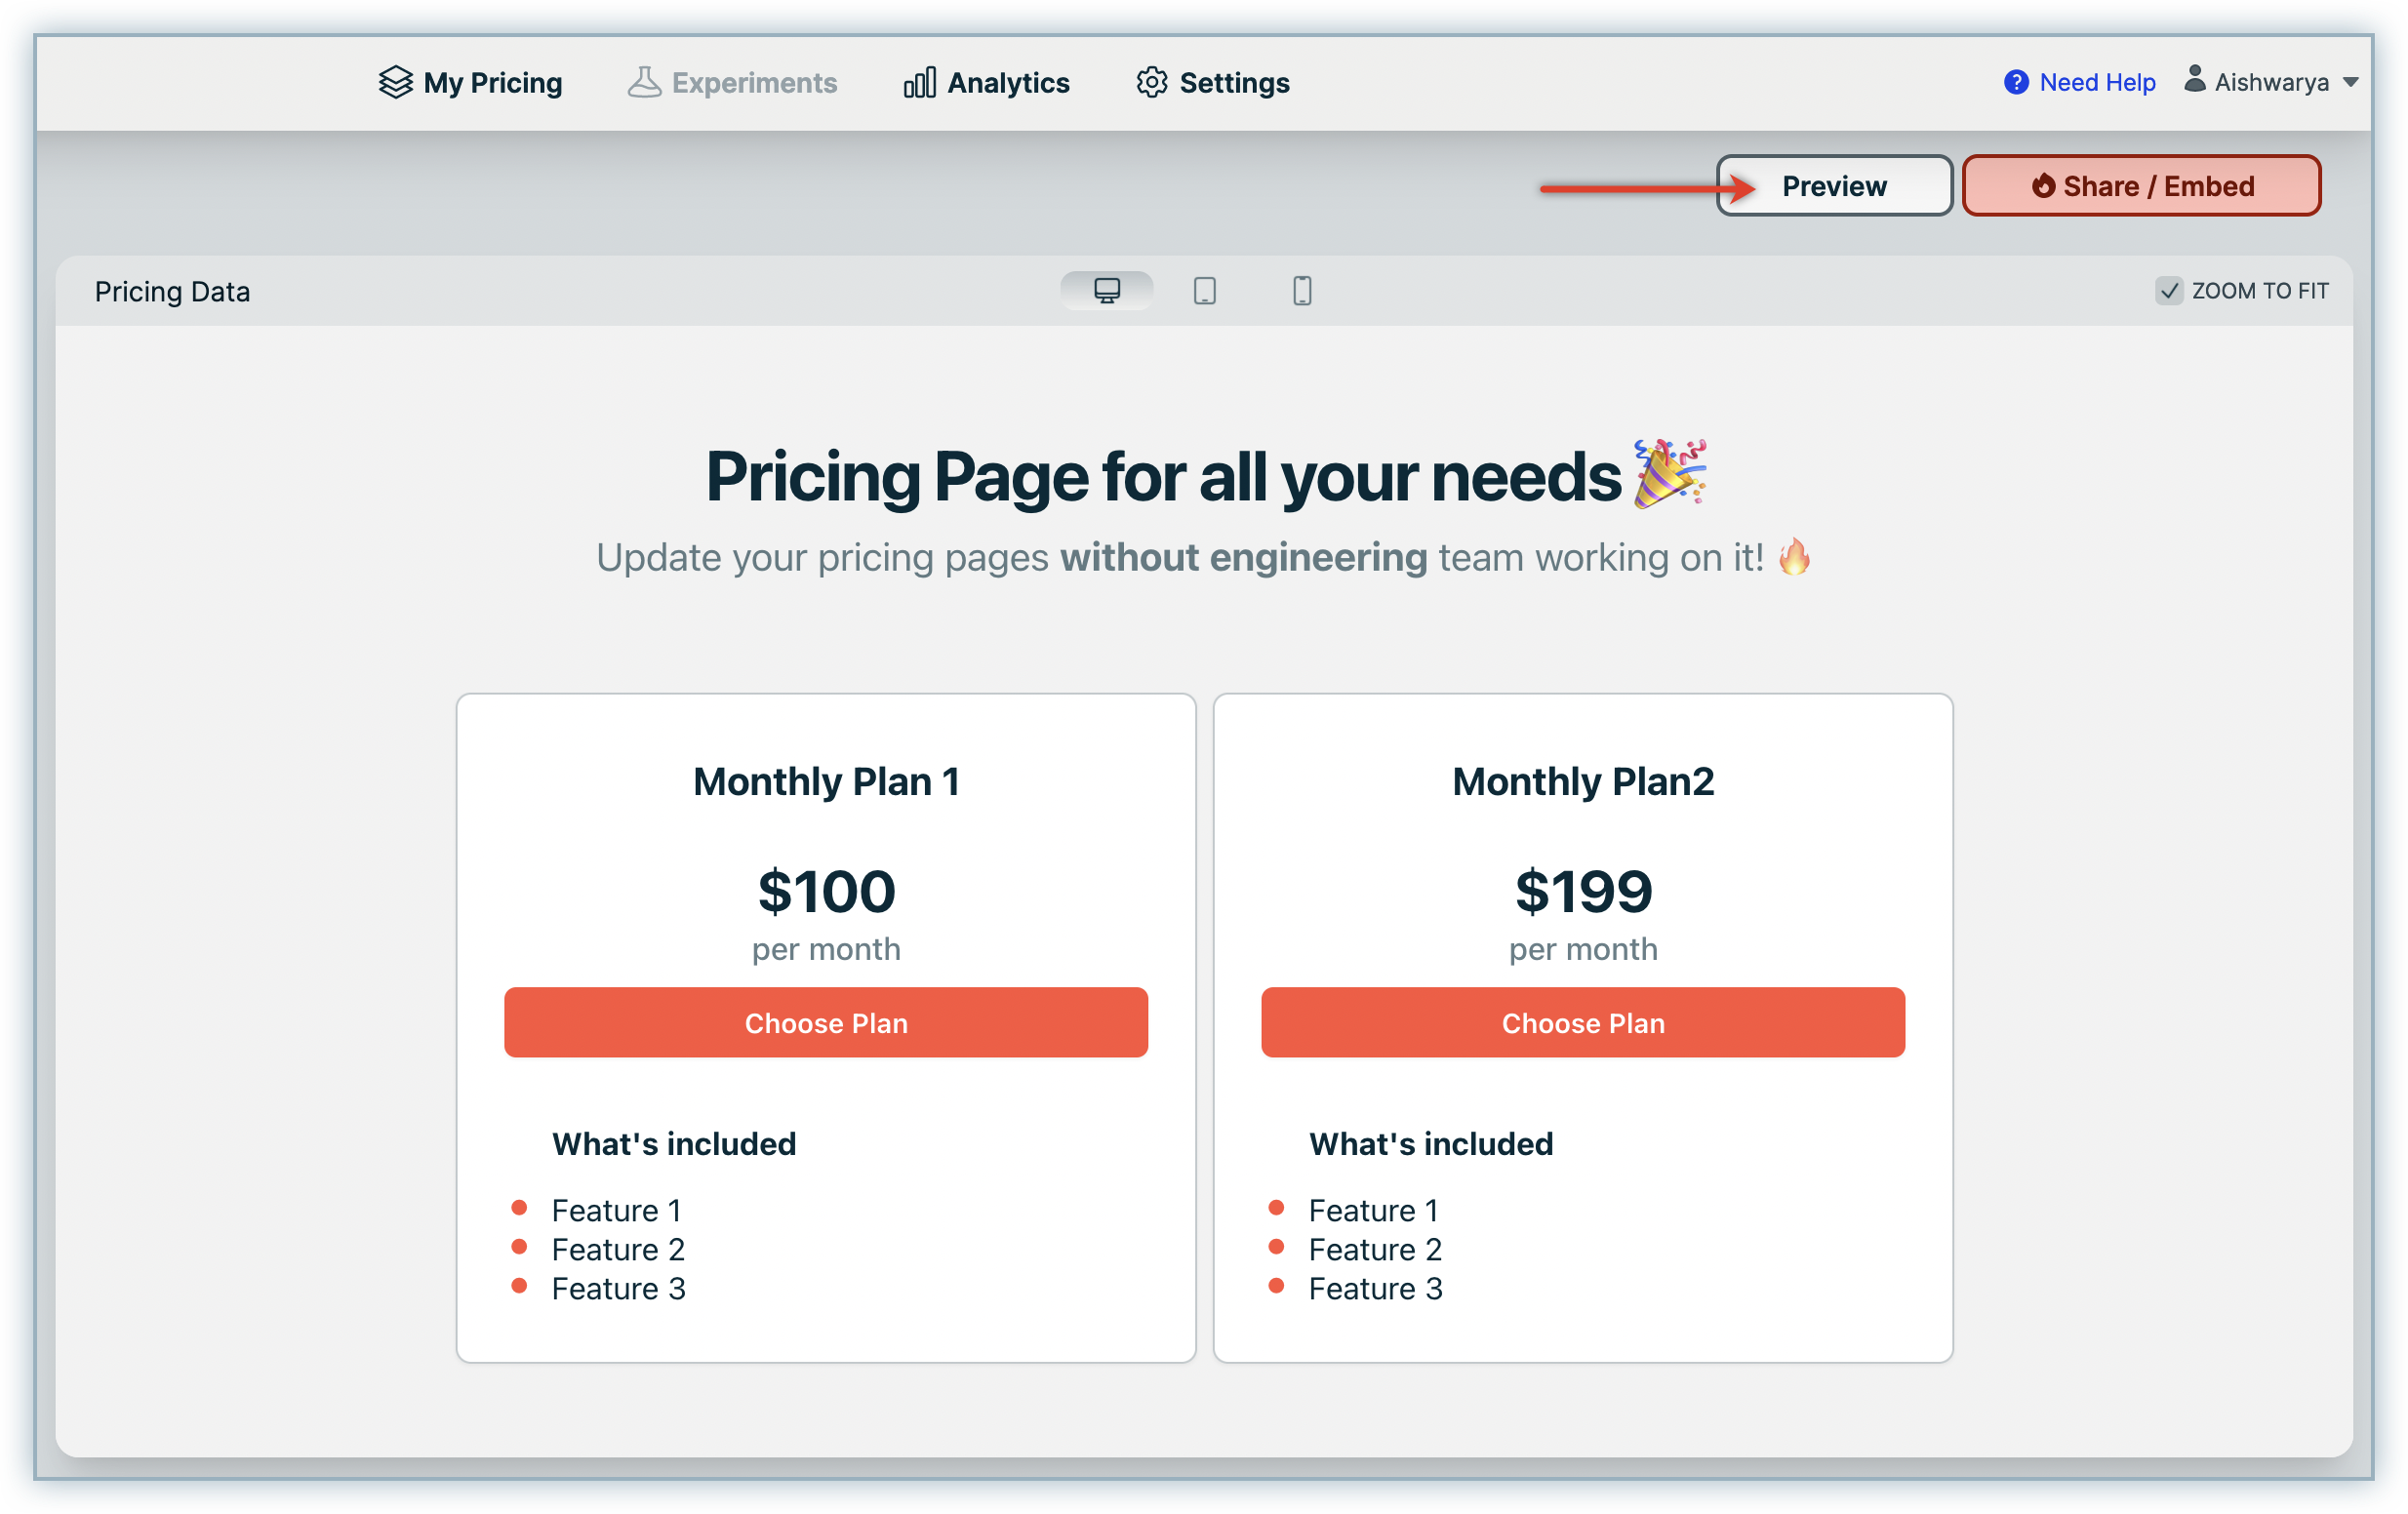
You can customize several aspects of your pricing table, such as colors, font, and text, to match your brand's look and feel. Chargebee pricing table provides multiple customization capabilities that you can apply and visualize the changes instantly. As you make these changes, you can click Preview to preview the pricing page on a separate tab.
Learn more about the customization capabilities here.
4. Share/embed your pricing table
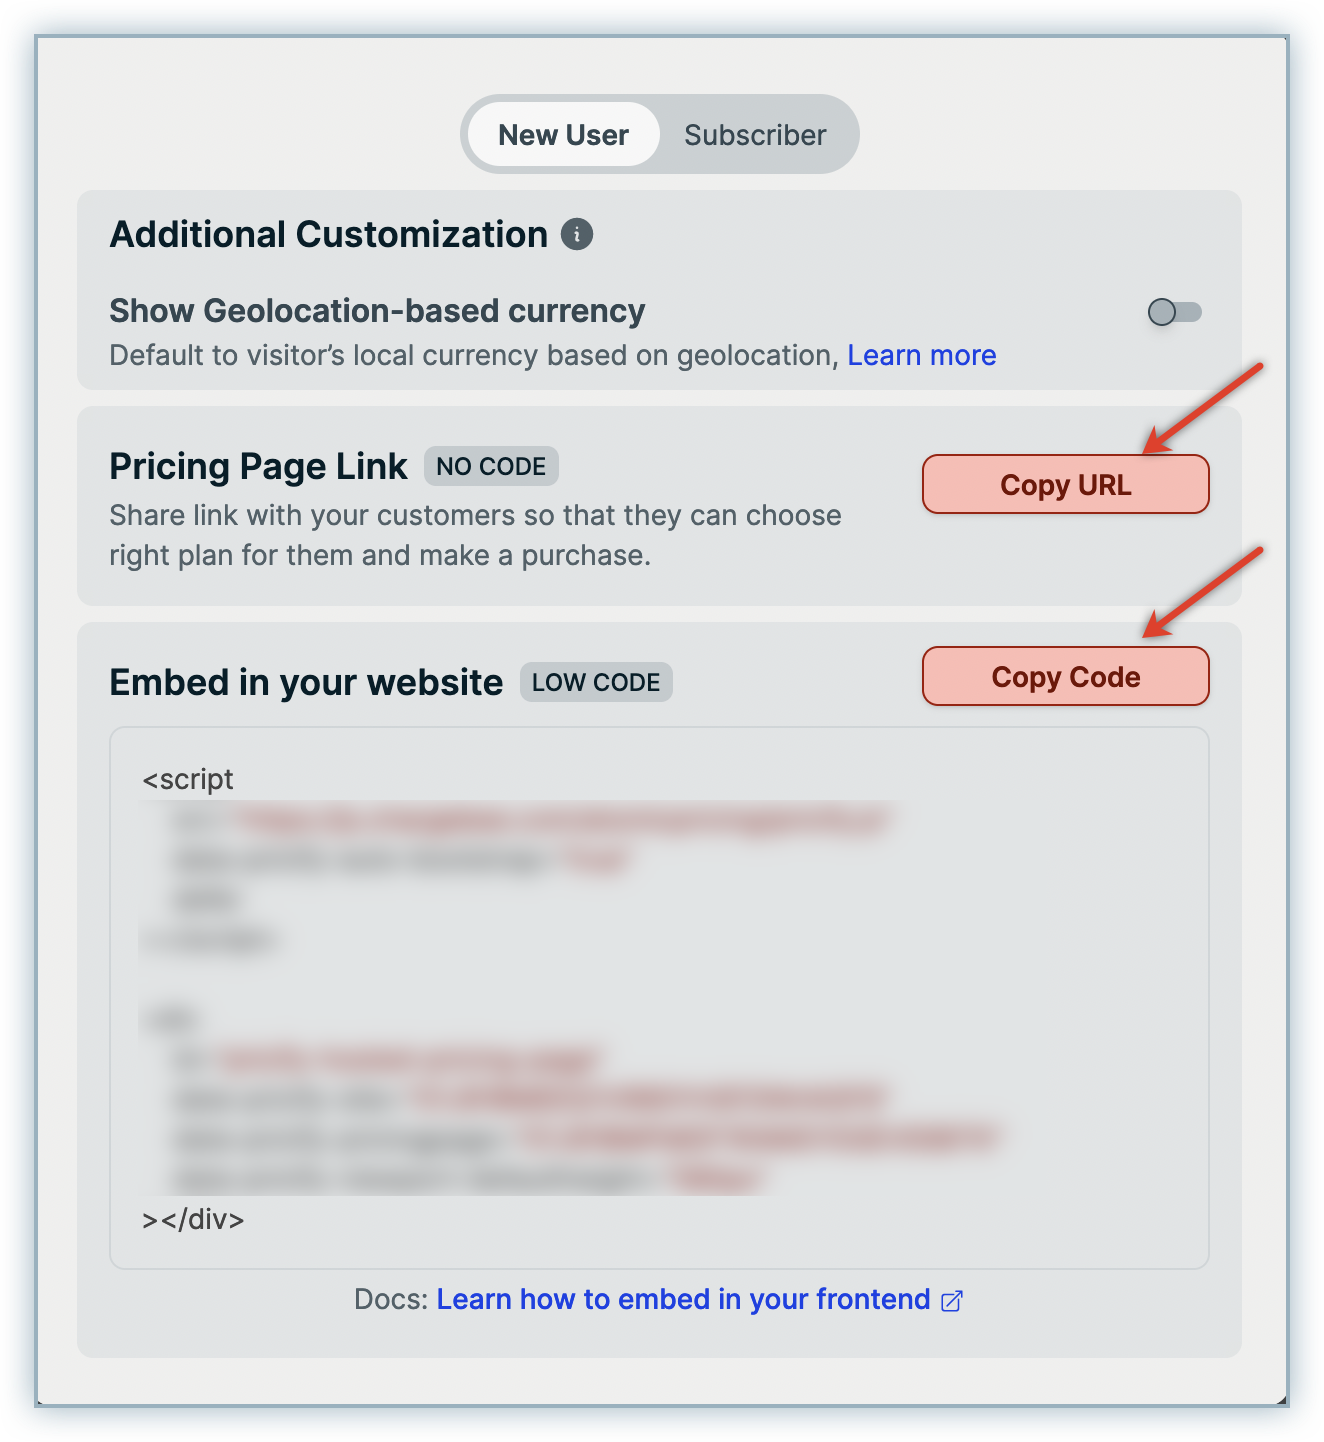
Once your pricing page is ready, you can share the URL with your customers or embed it into your existing website or application using a simple script. Chargebee pricing table provides both no-code and low-code options to share your pricing page as follows:
- To share the URL with your customers, click Share/Embed > Copy URL option.
- To avail the script to be embedded on your website, click Share/Embed > Copy Code option.
Use cases
Enable self-serve sales for your business
Follow these steps to enable self-serve sales for your business while using the Chargebee pricing table:
- Create a pricing page: Begin by setting up a comprehensive pricing page with your Chargebee products and corresponding prices.
- Chargebee checkout: Select Chargebee checkout for each of the primary buttons on your plan cards.
- Share with prospects: Share the generated pricing page directly with your prospects. This empowers them to make direct purchases, fostering a self-serve sales model.
- Effortless checkout process: As customers complete the checkout process via the Chargebee checkout widget, their information integrates within Chargebee, and their subscriptions kick off automatically.
Test new prices for your products
Follow the steps below to test new pricing models using Chargebee pricing table, without affecting your existing setup:
- Create a pricing page: Begin by setting up a comprehensive pricing page with your Chargebee products and corresponding prices.
- Utilize the price overrides feature: Experiment with your pricing strategy by enabling the price overrides feature on Chargebee pricing table. (Learn how).
- Initiate checkout with new prices: Once you have entered new price points using the price overrides feature, the checkout process will create new subscriptions at the overridden price points.
- Share with subset audience: Save these updates as a new pricing page. Test the waters by sharing this updated pricing page with a subset of your website visitors. Observe if the newly set price points influence your checkout conversions and monthly recurring revenue (MRR) positively or negatively.
- Conduct controlled experiments: Leverage this feature for controlled experiments, launch limited-time promotions, or create custom pricing for a specific set of visitors. This hands-on approach allows you to fine-tune your pricing strategy based on real-time feedback.
Generate leads and prospects
Follow the steps below to generate leads and prospects for your business while using Chargebee pricing table:
- Create a pricing page: Begin by setting up a comprehensive pricing page with your Chargebee products and corresponding prices.
- Use custom URL: Select custom URL for each of the primary buttons of your plan cards. Link this button with the URL for your contact sales or a lead generation form.
- Share with prospects: Distribute the customized pricing page directly to your prospects. This streamlined approach enables prospects to seamlessly navigate to your lead generation form using the pricing page.
Automatically show your visitor's local currency
Follow the steps below to display your visitors' local currency on your pricing page while using Chargebee pricing table:
- Create a pricing page: Begin by setting up a comprehensive pricing page with your Chargebee products and corresponding prices.
- Enable geolocation currency while generating the URL/script for the pricing page (Learn more).
- This setting will ensure that your pricing page automatically displays the price points in the visitor's local currency (or default currency if the visitor's local currency is not configured in the Chargebee product catalog).
Follow the steps below to generate leads and prospects for your business while using Chargebee Pricing Table:
-
Create a Pricing Page: Begin by setting up a comprehensive pricing page with your Chargebee products and corresponding prices.
-
Use Custom URL: Select Custom URL for each of the primary buttons of your plan cards. Link this button with the URL for your contact sales or a lead generation form.
-
Share with Prospects: Distribute the customized pricing page directly to your prospects. This streamlined approach enables prospects to seamlessly navigate to your lead generation form using the pricing page.
Automatically show your visitor's local currency
Follow the steps below to display your visitors' local currency on your pricing page while using Chargebee Pricing Table:
-
Create a Pricing Page: Begin by setting up a comprehensive pricing page with your Chargebee products and corresponding prices.
-
Enable Geolocation Currency while generating URL/Script for the pricing page (Learn more).
-
This setting will ensure that your pricing page automatically displays the price points in visitor's local currency (or default currency if visitor's local currency is not configured in Chargebee product catalog).
Was this article helpful?