Enable and Configure Approval Rules
Enabling approval and creating the first rule for price point
You have to create at least one rule to enable approval. To enable approval and create your first rule, follow these steps:
-
Log in to your Chargebee account.
-
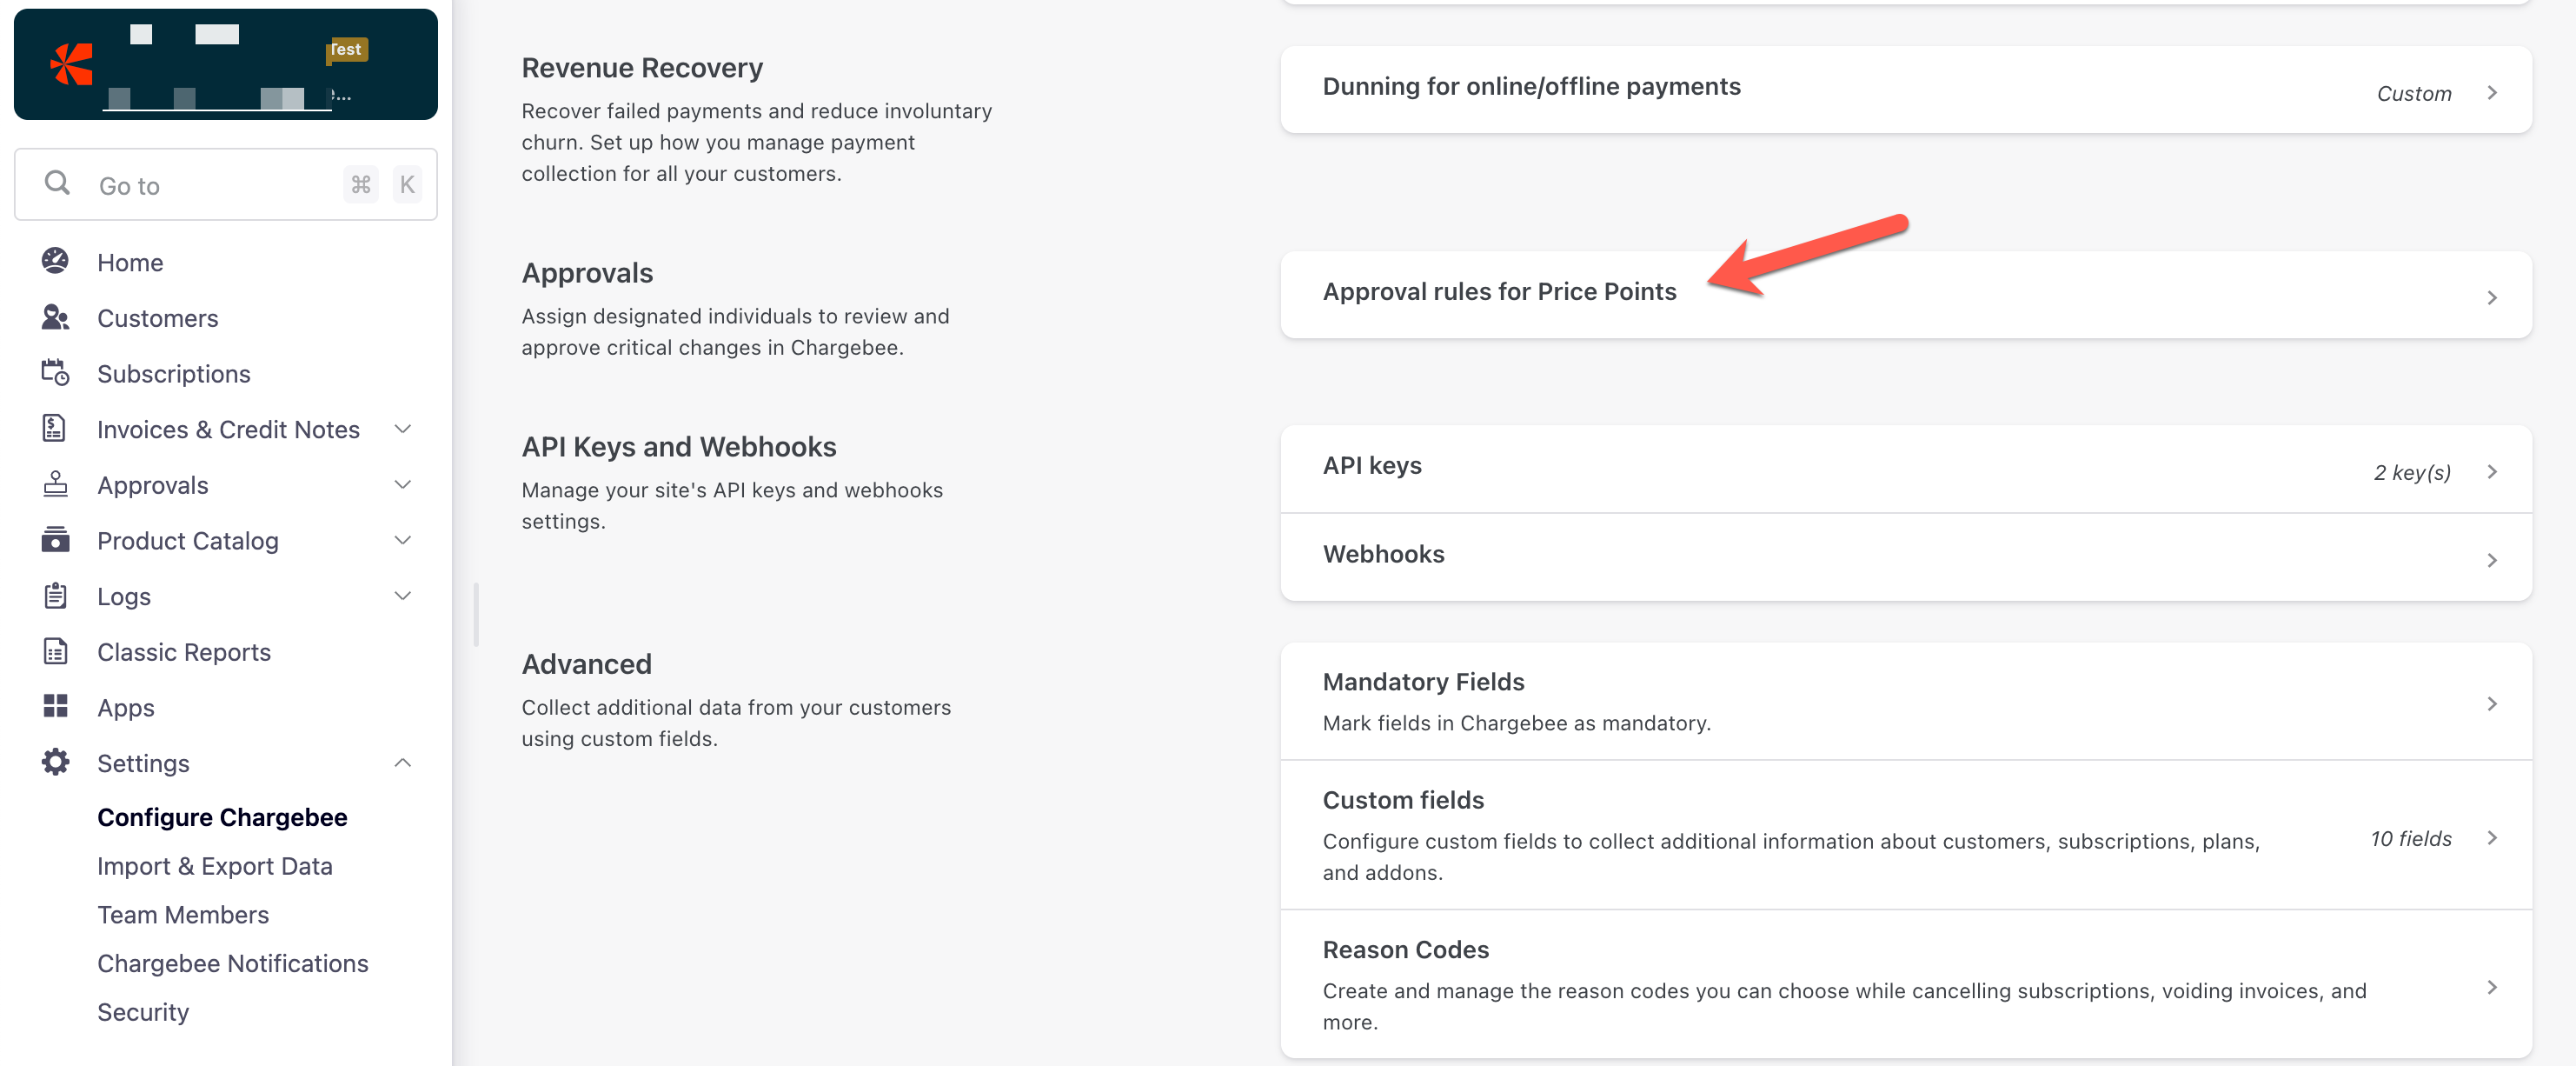
Navigate to Configure Chargebee > Approvals > Approval rules for Price Points.
-
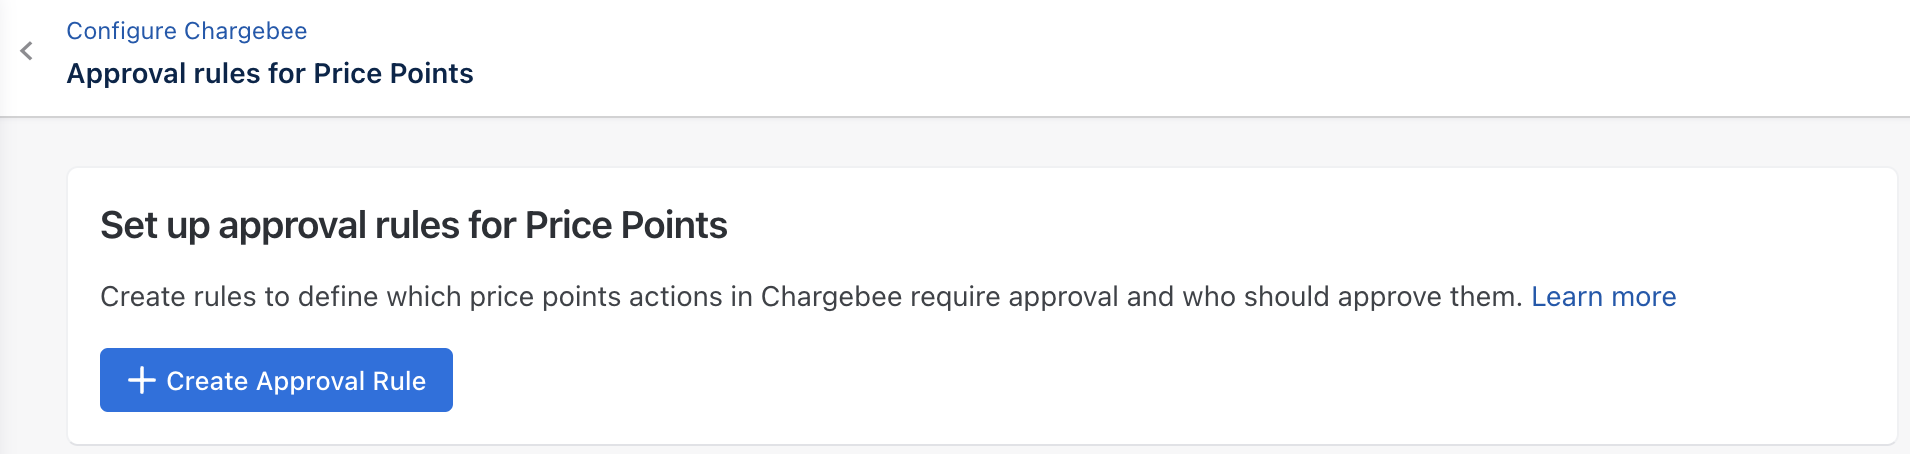
Click Create Approval Rule to create your first rule. This screen will only appear for the first approval rule creation for a price point. If you have already created a rule, then Approval on Price Point is enabled for your site.
-
Follow these steps to configure the first rule.
-
Click Create.
Add an approval for price point
To add a new approval for the price point, follow these steps:
-
Log in to your Chargebee account.
-
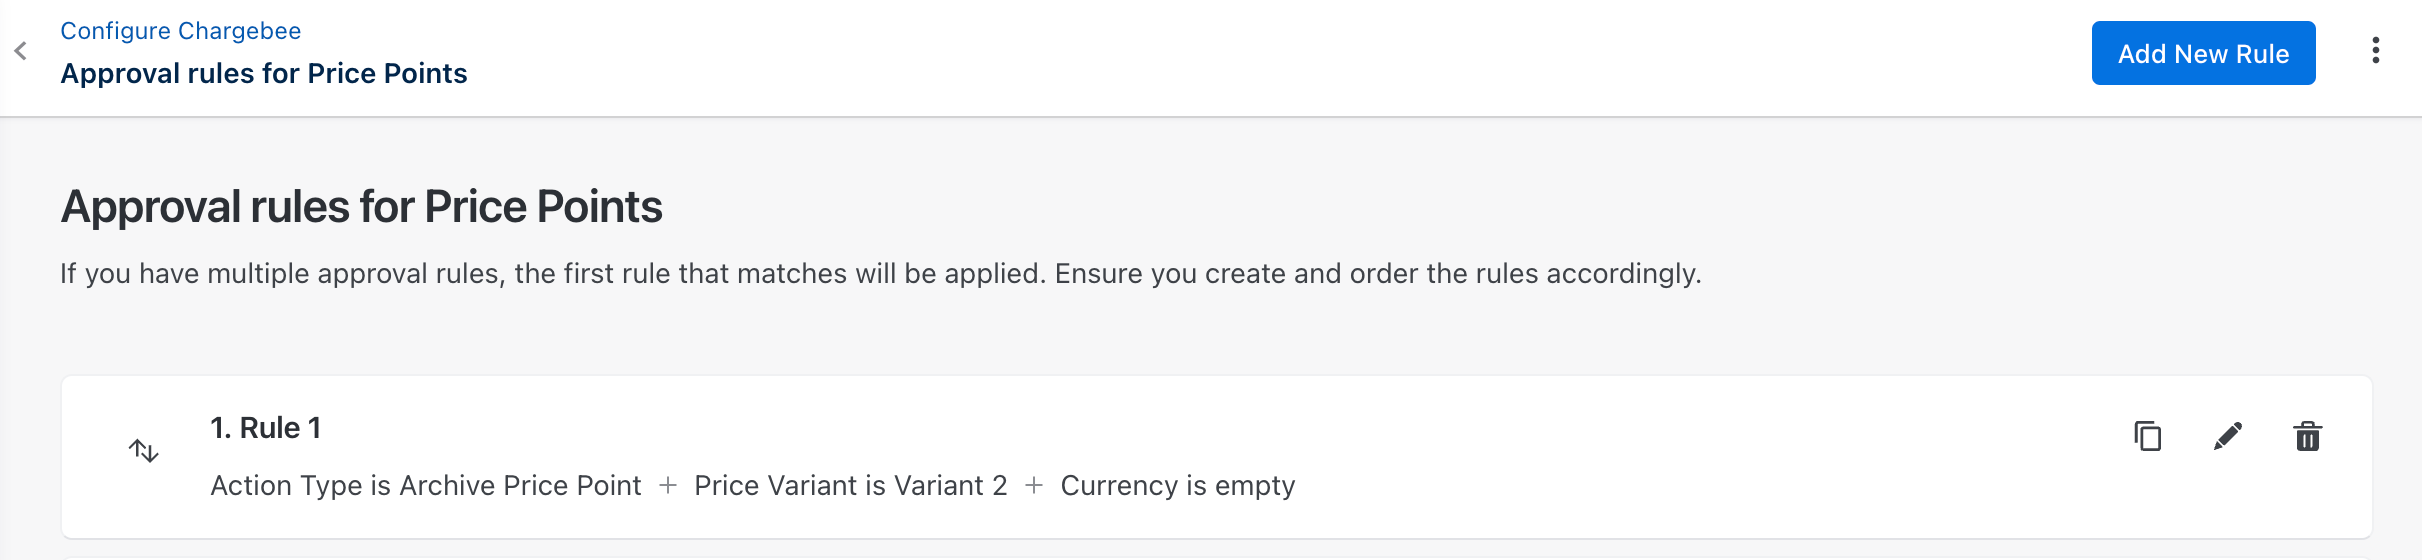
Navigate to Configure Chargebee > Approvals > Approval rules for Price Points > Add New Rule.
-
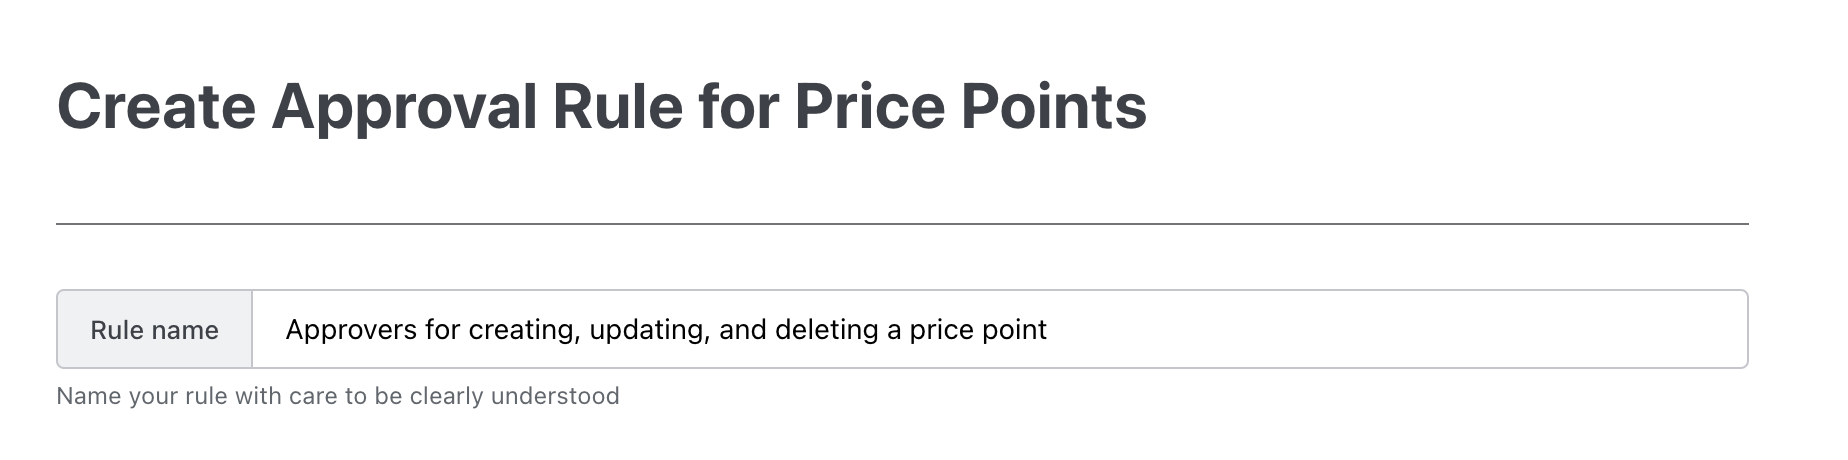
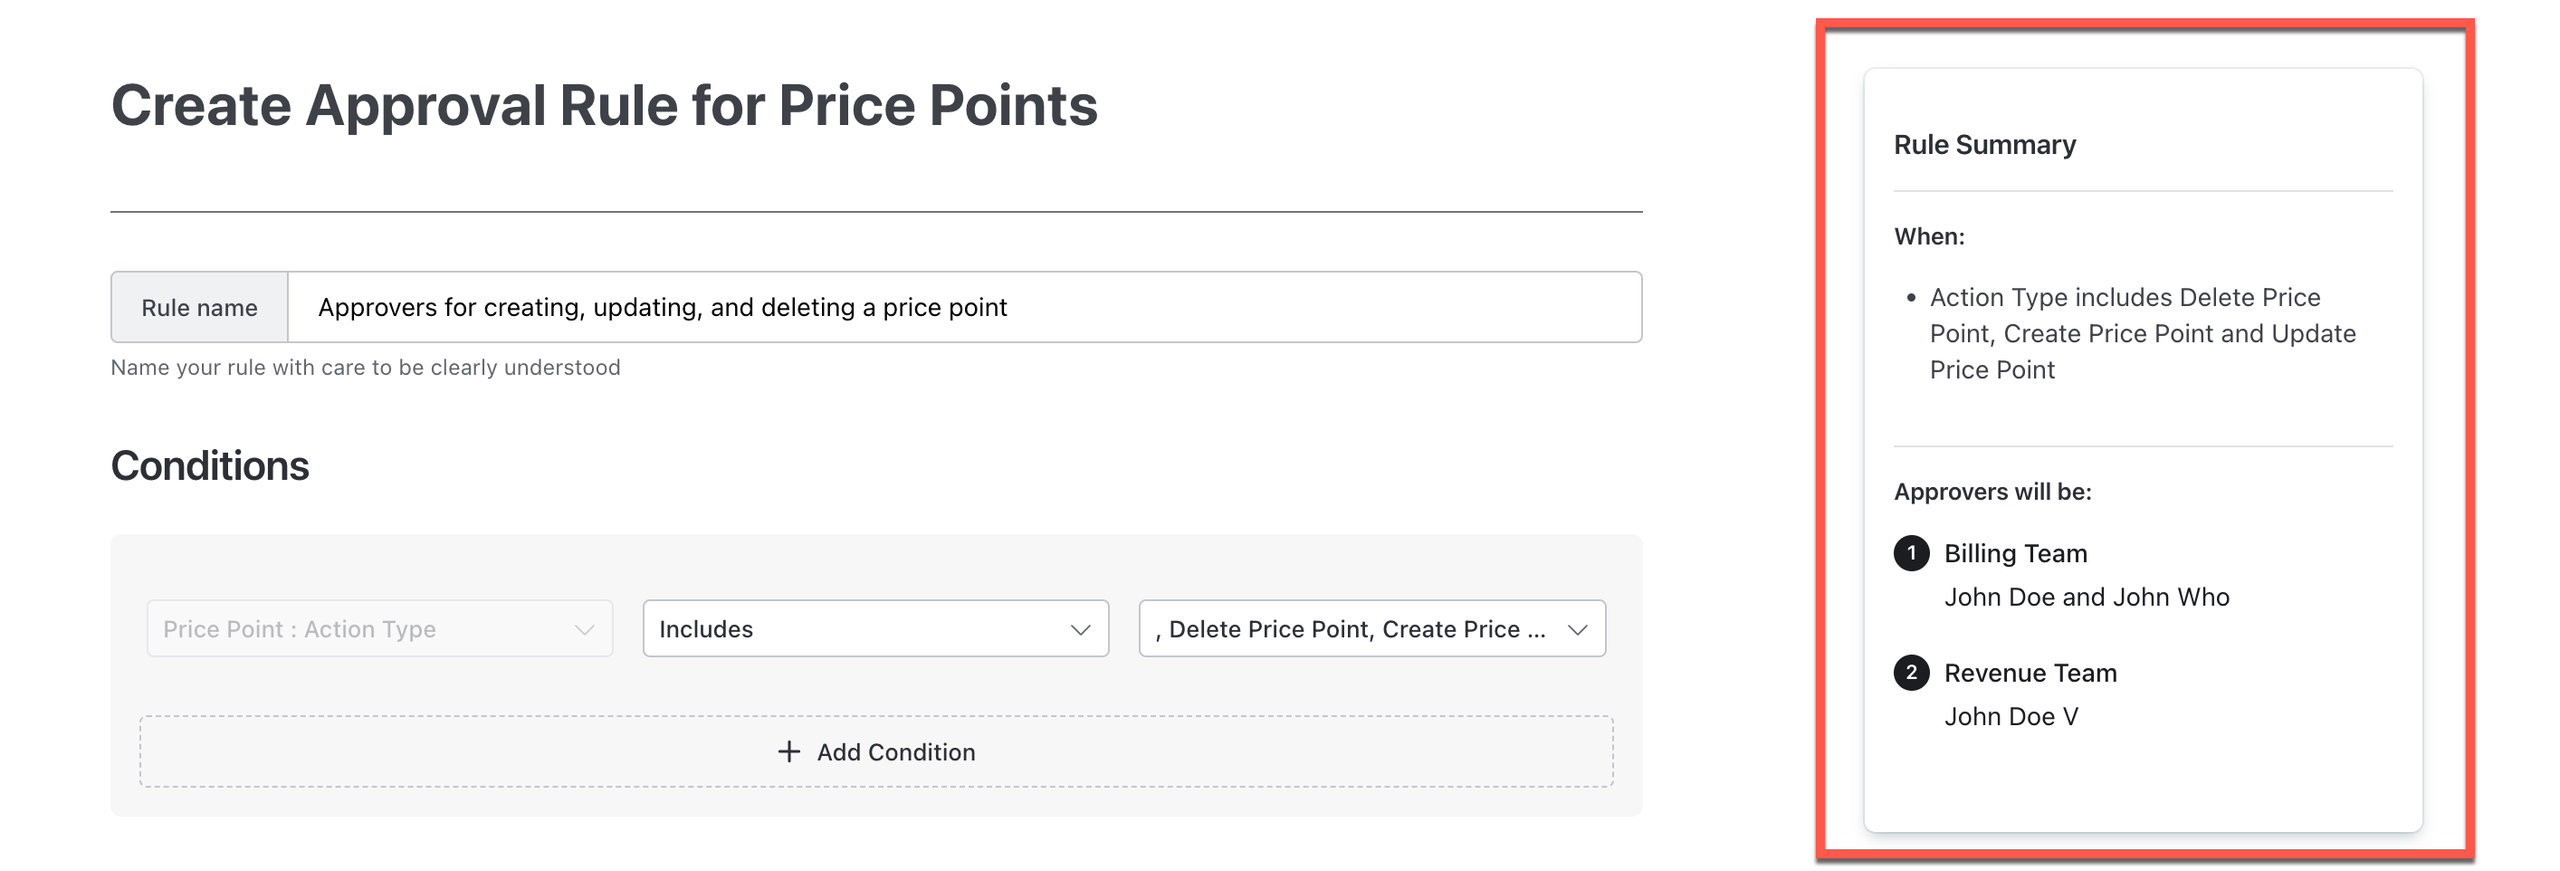
Enter the Rule Name. Be sure to add a meaningful name so your rule approvers can easily understand it.
-
Set up Conditions for your approvals. You can add one or more conditions for your approval rule. This section consists of three fields:
- Property: Use the drop-down list to select the condition property, such as currency, billing frequency, or more.
- Operator: Use the drop-down list to select the condition operator. For example, Includes, Not Includes, Is, and Is Not. These operators vary based on the selected condition Property.
- Value: Select the condition value. This value varies based on the selected condition property.
-
Assign Approvers for your approval. You can add one or more Approvers for different stages of your approval rule. You can add one or more approval stages as required. This section consists of three fields:
- Stage name: Enter the stage name.
- Approvers: Use the drop-down list to select the approvers.
- Approval type: Use the radio button to select the type of approver:
- All approver(s) must approve
- First responder can approve/reject
- Just notify - no action needed
- When you have multiple stages of approvals, use Move Up and Move Down to change approval stages.

- Stage name: Enter the stage name.
-
Preview the Rule Summary.
-
Click Create to save the approval rule for a price point.
View and set up an approval chain for price point
To view and set up an approval chain for the price point, follow these steps:
- Log in to your Chargebee account.
- Navigate to Configure Chargebee > Approvals > Approval rules for Price Points.
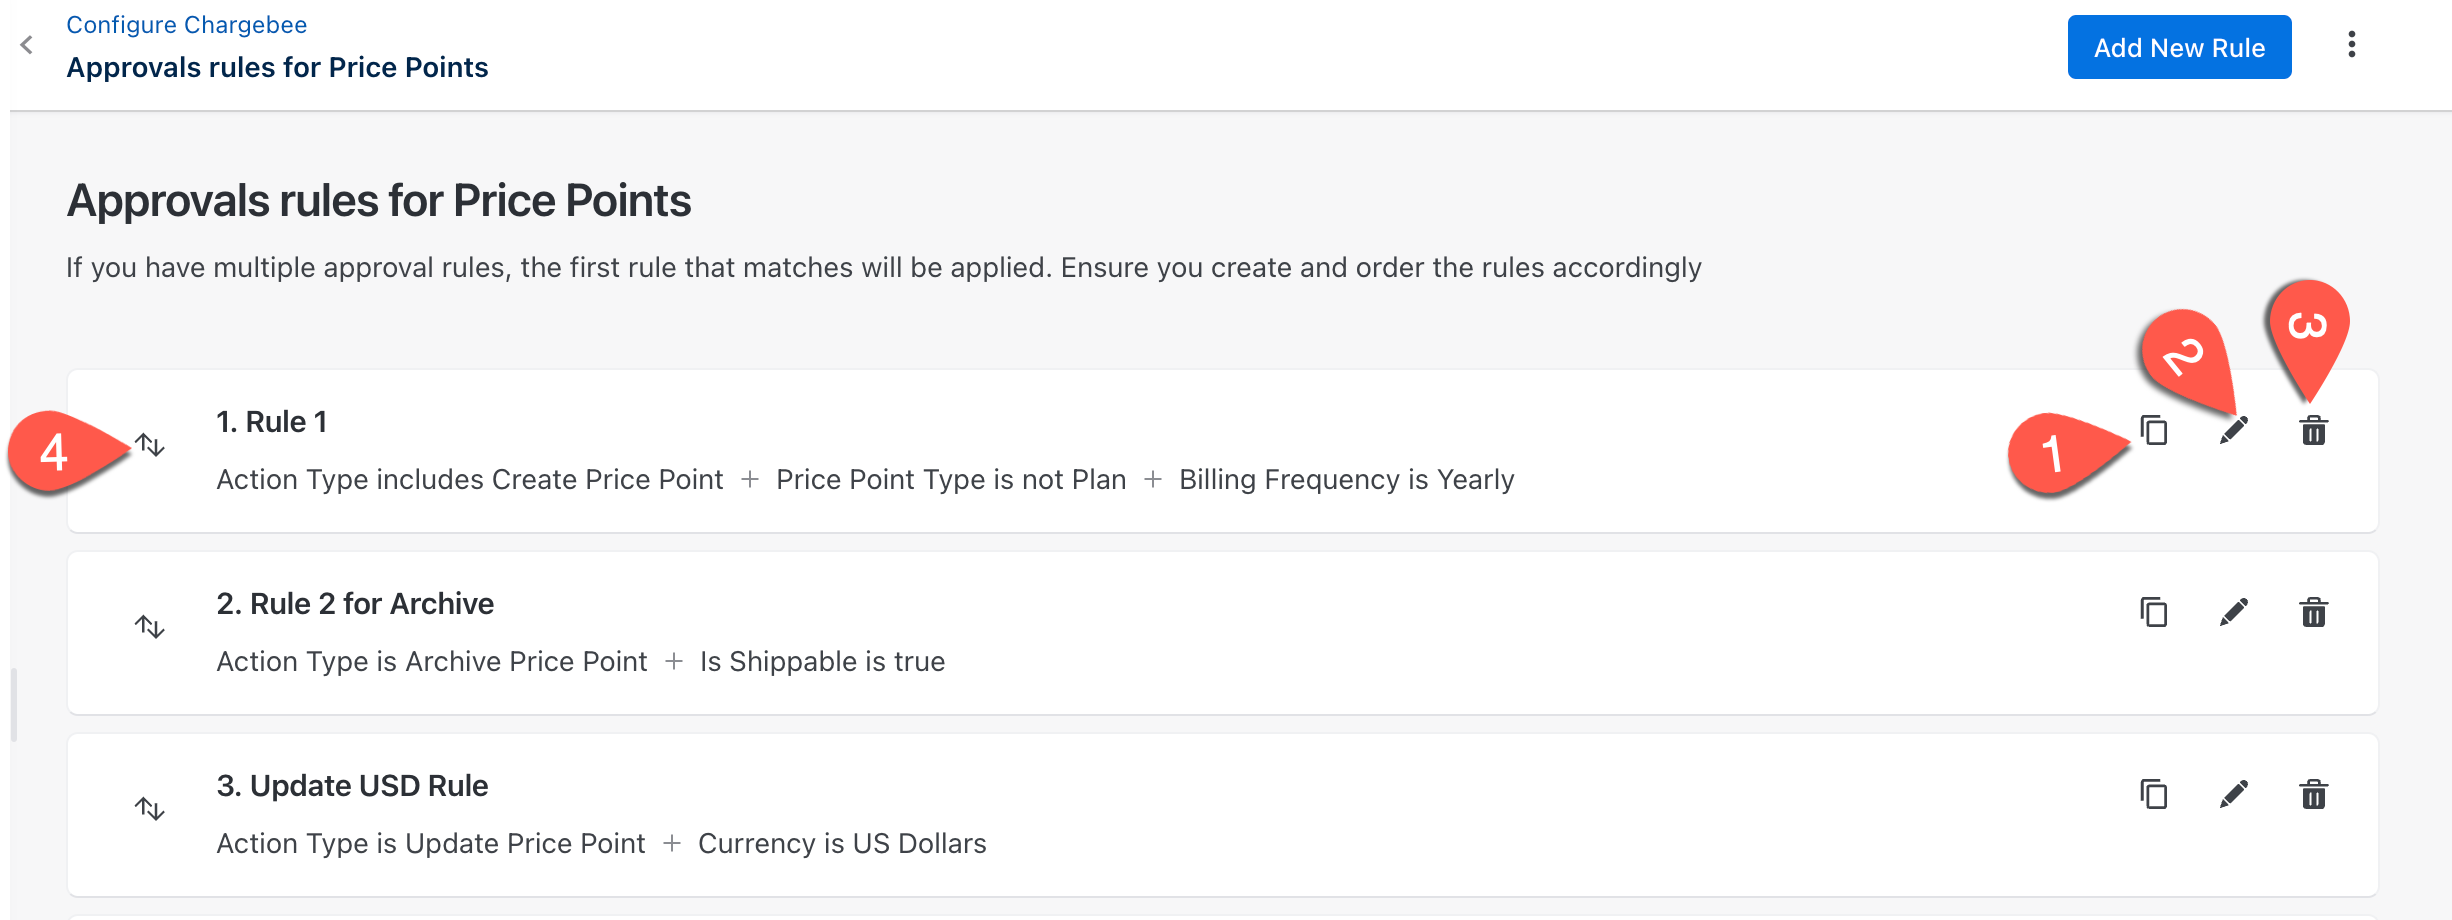
- A list of actions to be performed on these approvals:
- Copy: Click the copy icon to clone an approval rule and update it accordingly.
- Edit: Click the edit icon to update an approval rule.
- Delete: Click the delete icon to remove an approval rule from the sequence.
- Drag and Drop: Drag and drop an approval rule to change the sequence of the approval chain.
Disable approvals for price points
To disable approvals for price points on your site level, follow these steps:
-
Log in to your Chargebee account.
-
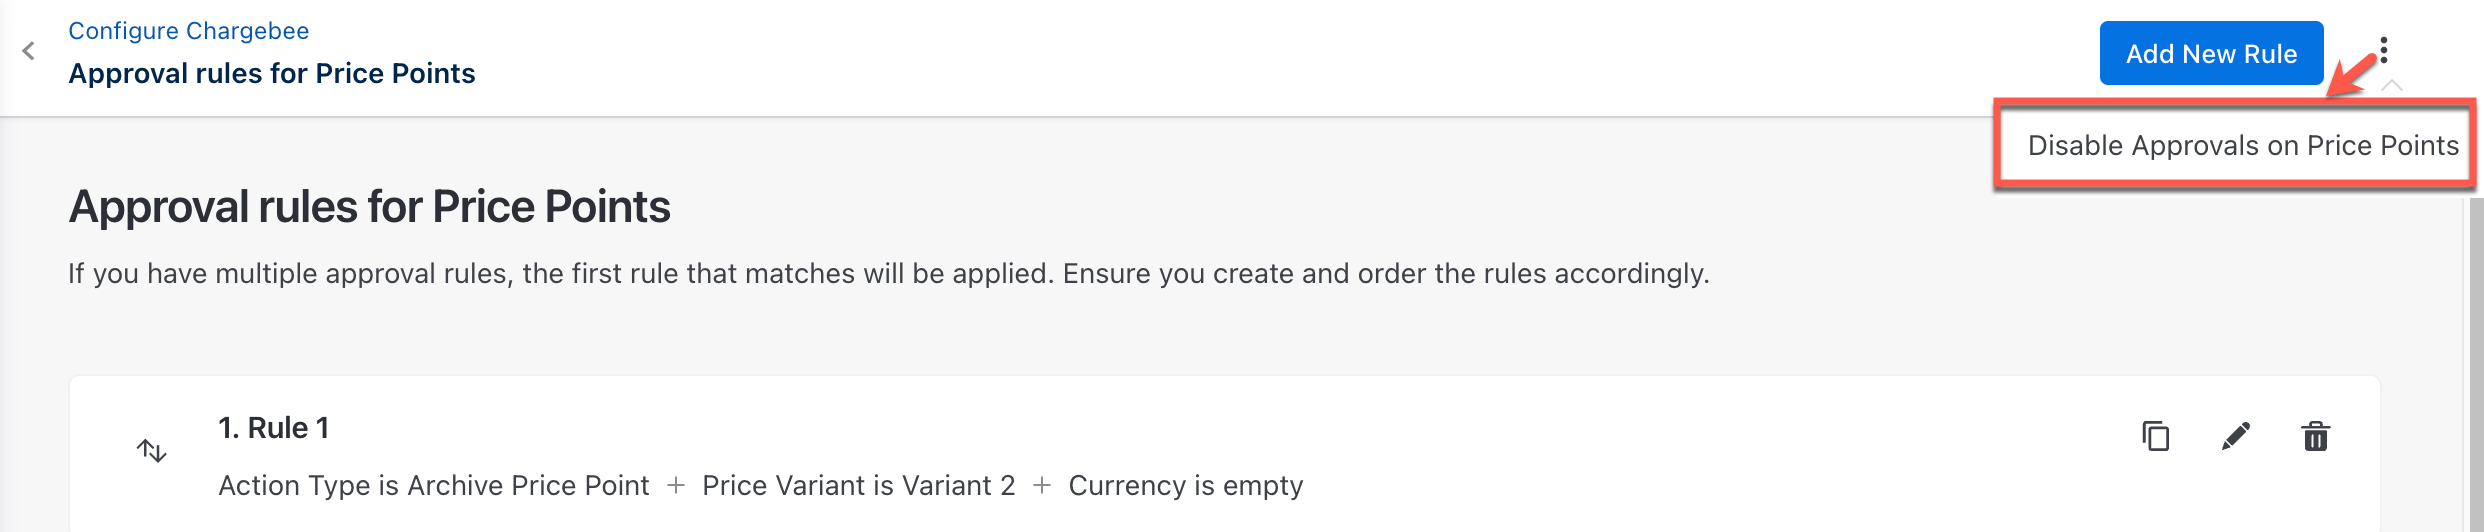
Navigate to Configure Chargebee > Approvals > Approval rules for Price Points.
-
Click Disable Approvals on Price Points.
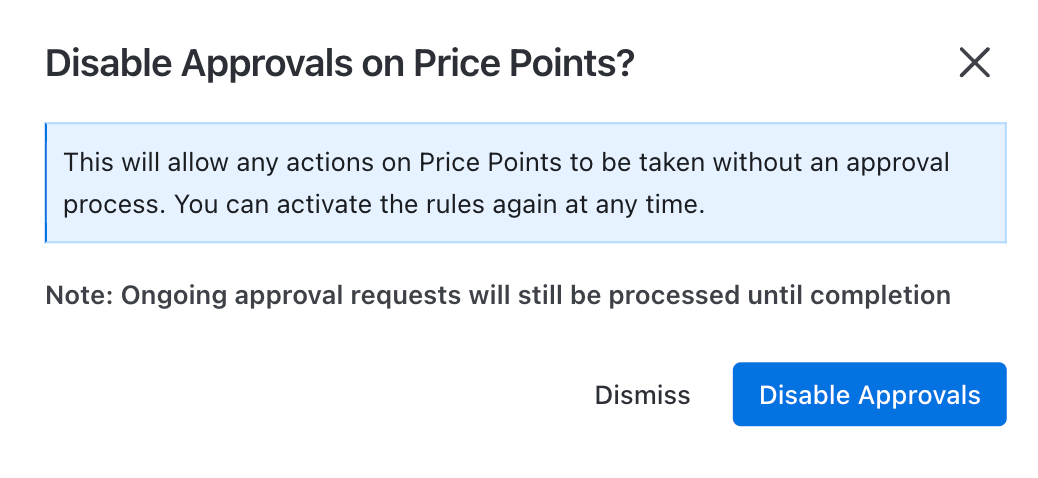
-
Click Disable Approvals.
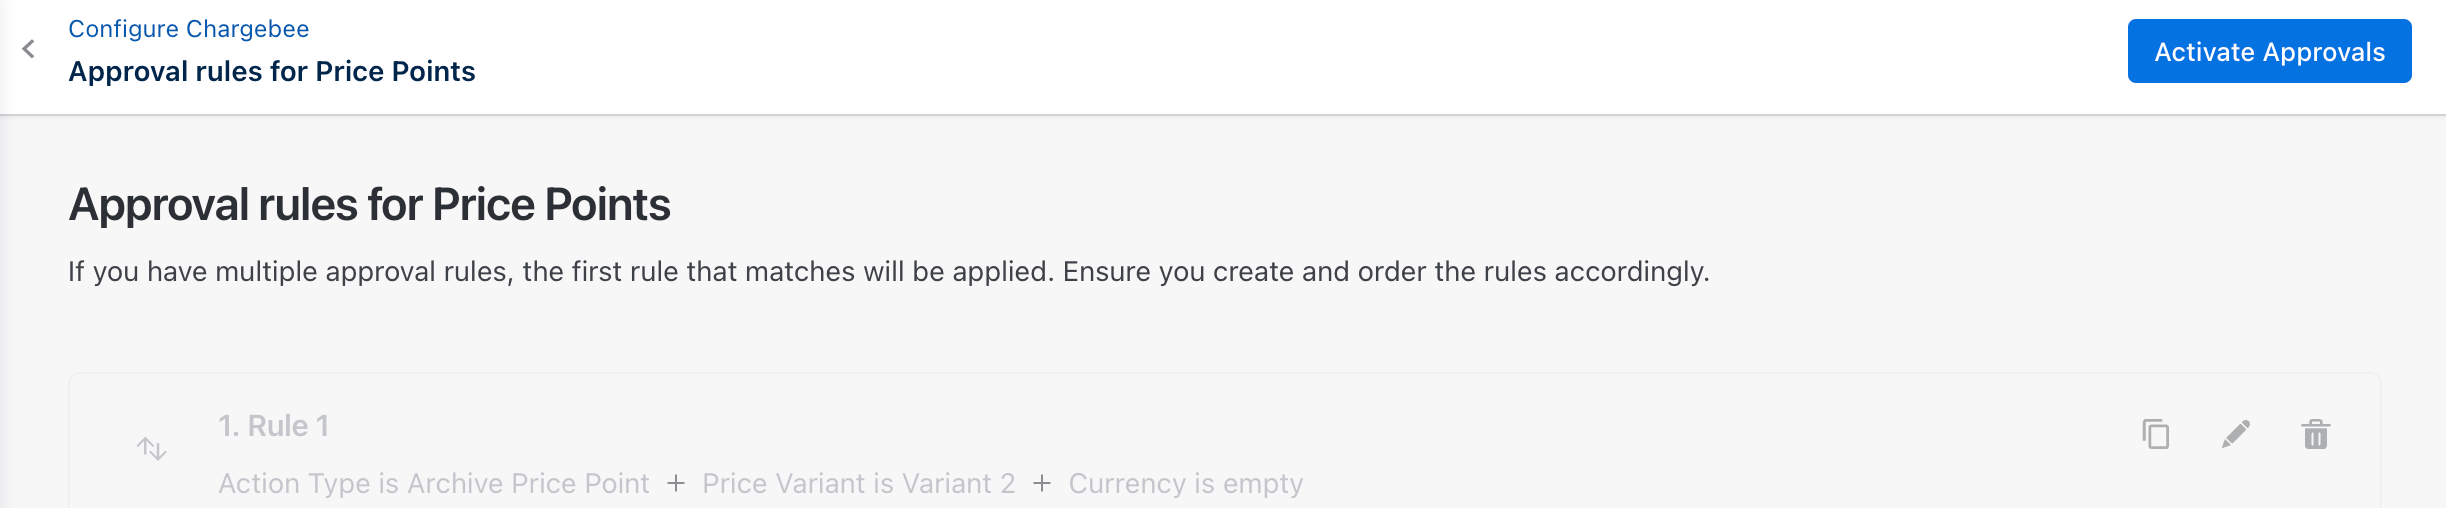
Once you Disable Approvals on Price Points, click Activate Approvals to enable it again.
Creating the first rule for Chargebee CPQ Quotes
Chargebee CPQ approval workflows empower your organisation to systematically enforce pricing policies and discount controls. By configuring approval workflows, you ensure that all quotes adhere to predefined business rules before reaching your customers.
When your sales agents create a quote in your Chargebee Billing site for a new or existing customer, if the quote matches the approval workflow rules configured, the quote is automatically sent to a specific user(s) for approval. Only when the quote gets all the necessary approvals as per the configuration can the sales agent send it to the customer.
Setting up an approval process for Chargebee CPQ Quotes
To set up an approval for your quote, follow these steps:
-
Log in to your Chargebee Billing site.
-
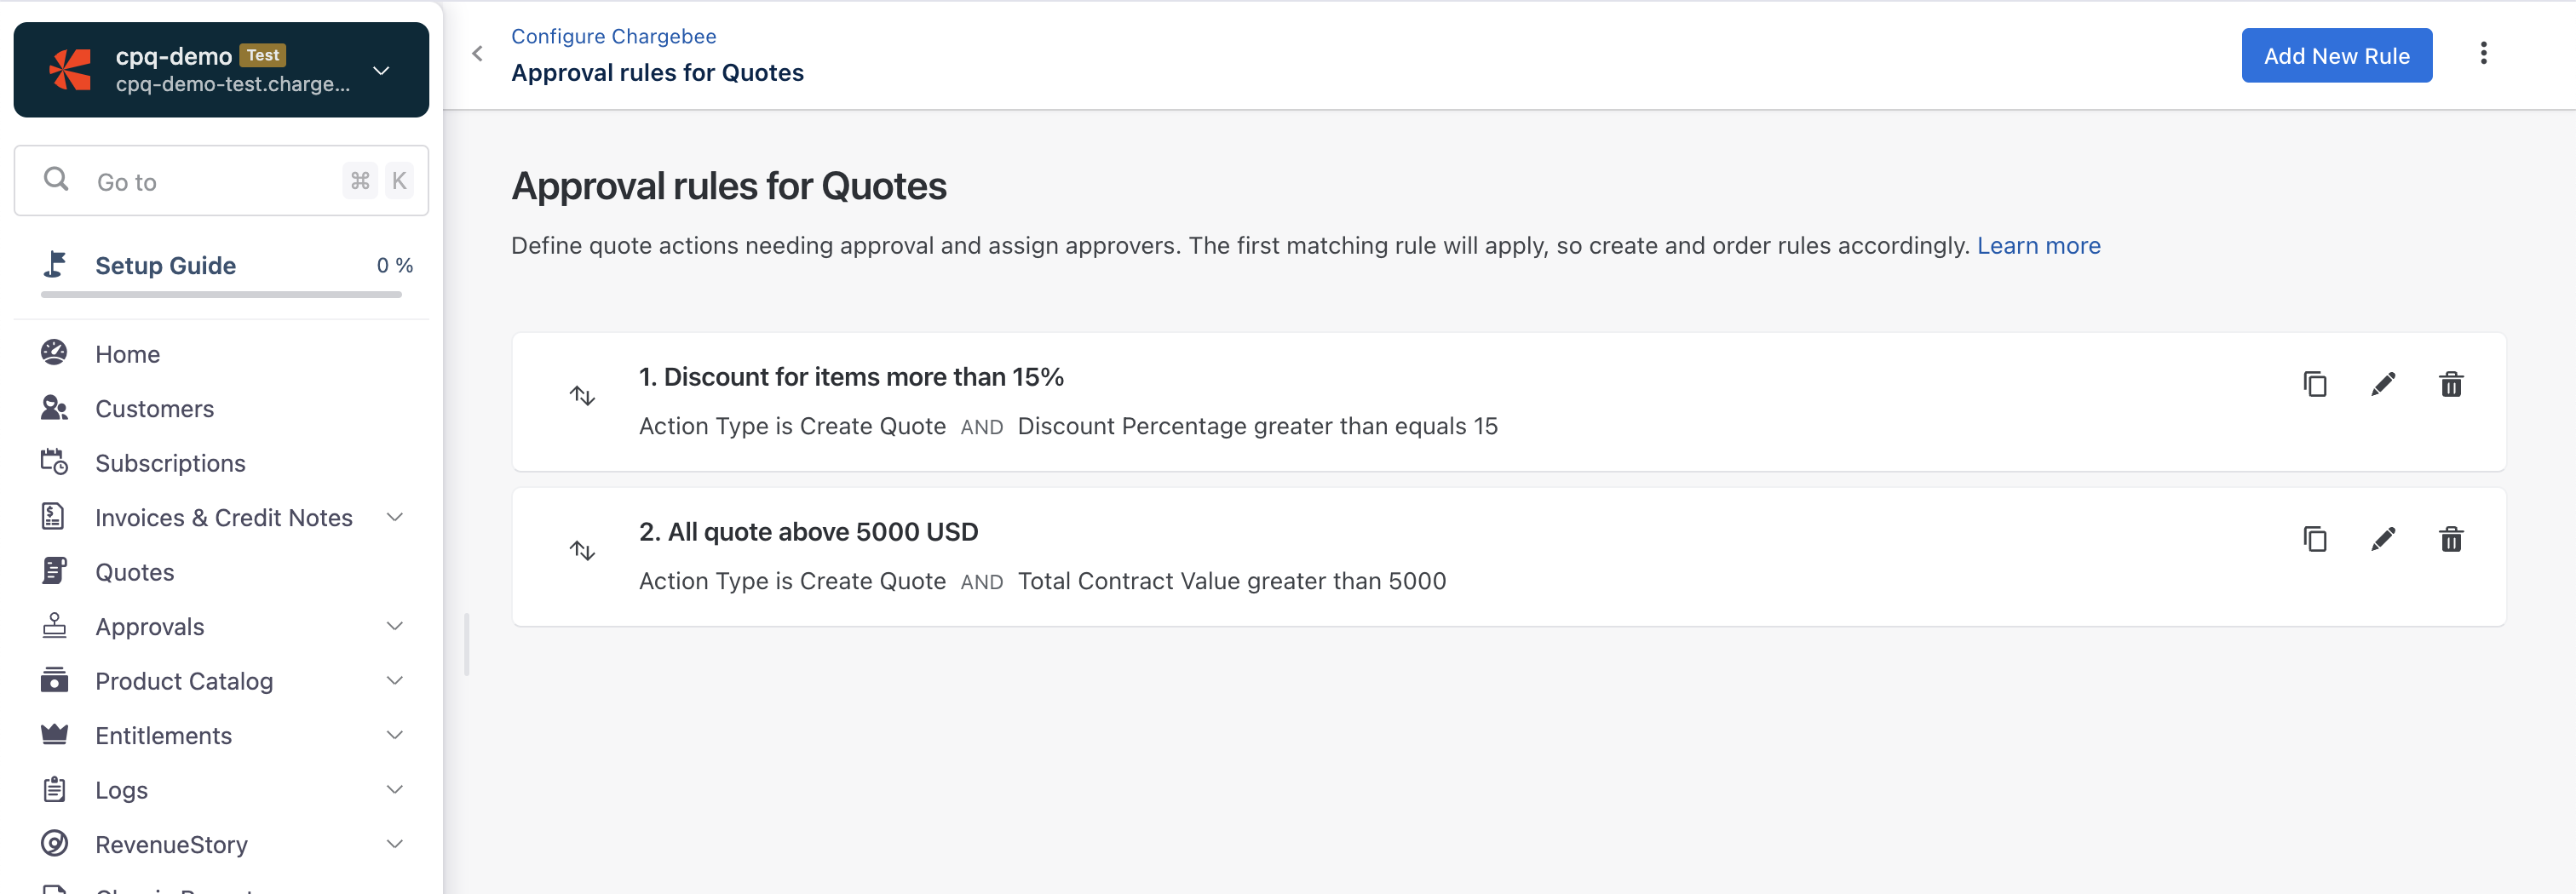
Navigate to Settings > Configure Chargebee > Approvals > Approval rule for Quotes.

-
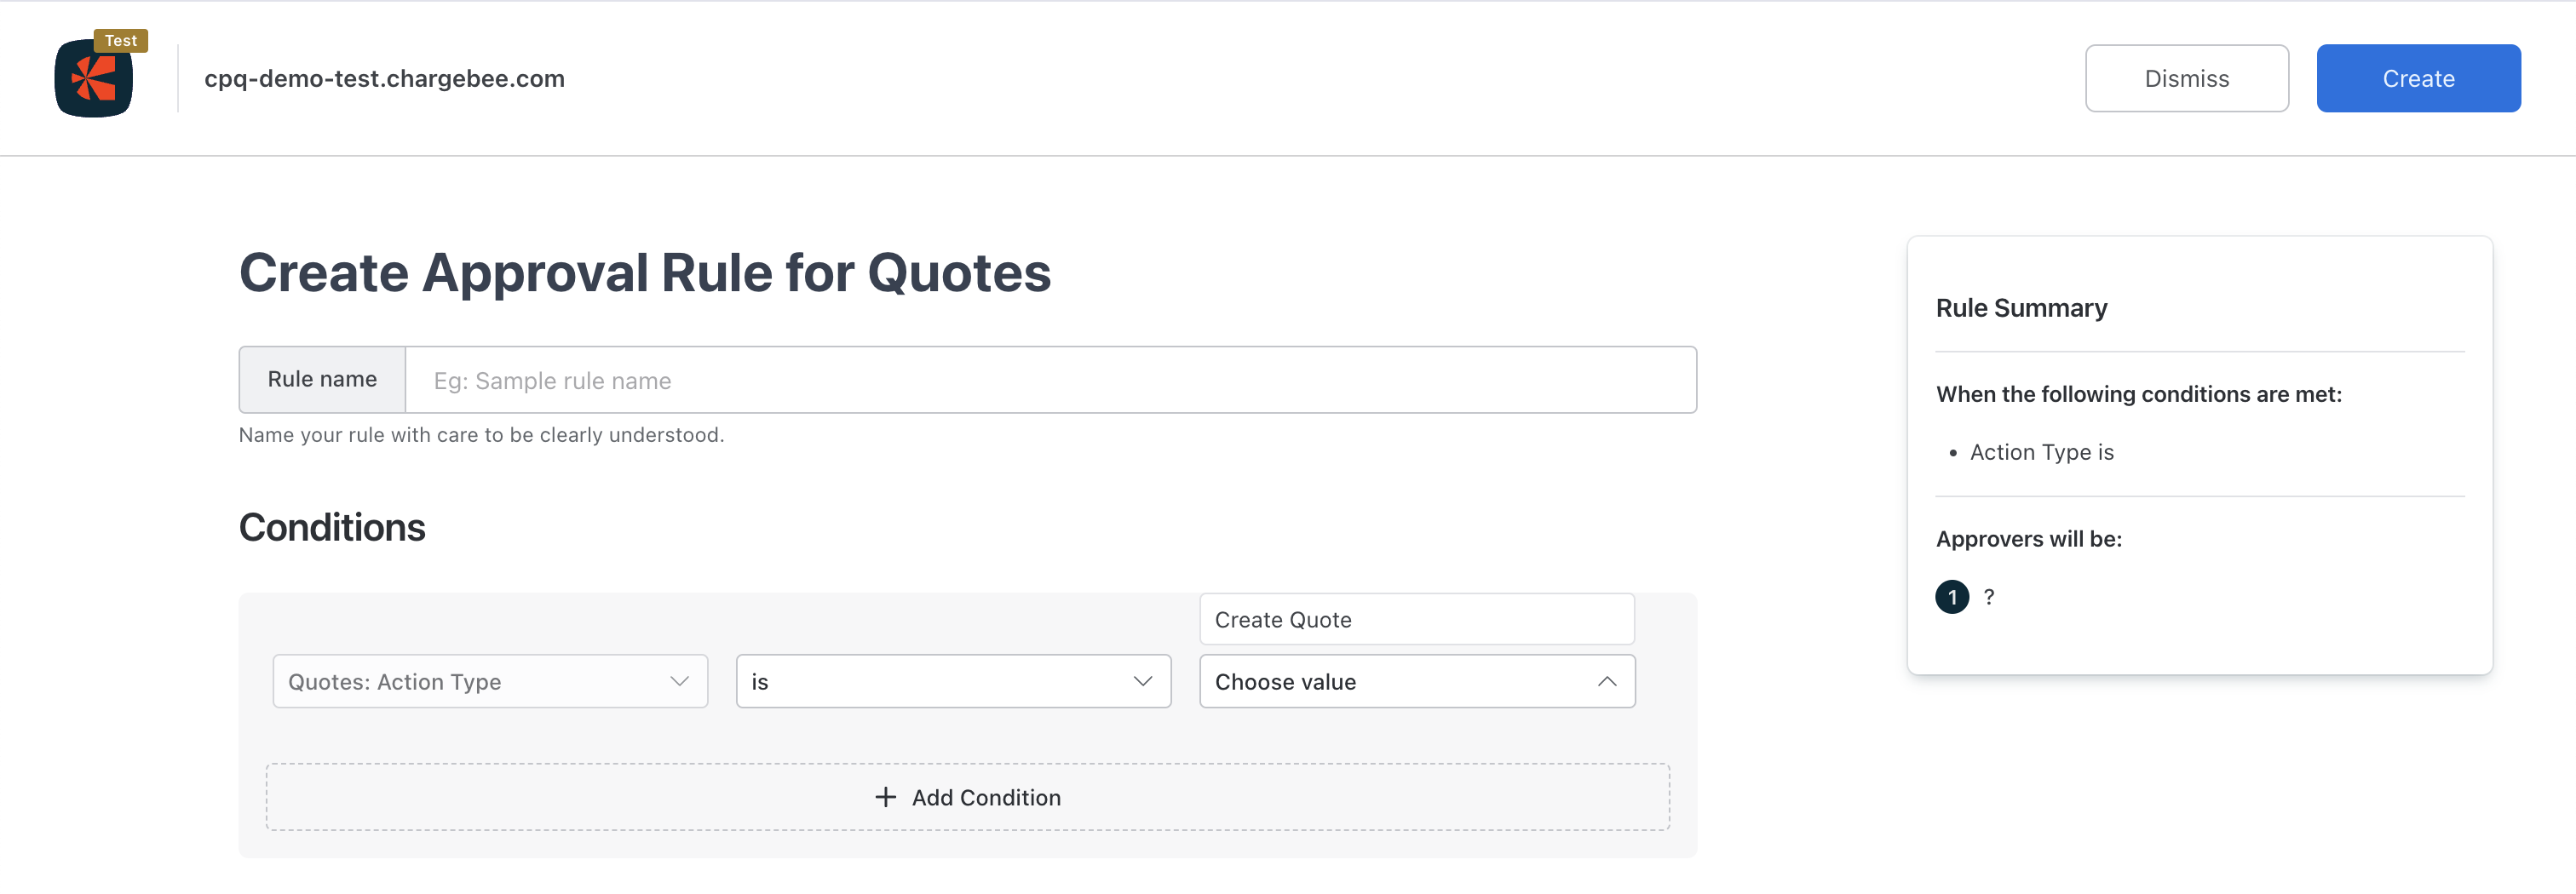
Click Create New Rule. If you have existing rules, click Add New Rule. Learn more about approval rules.
-
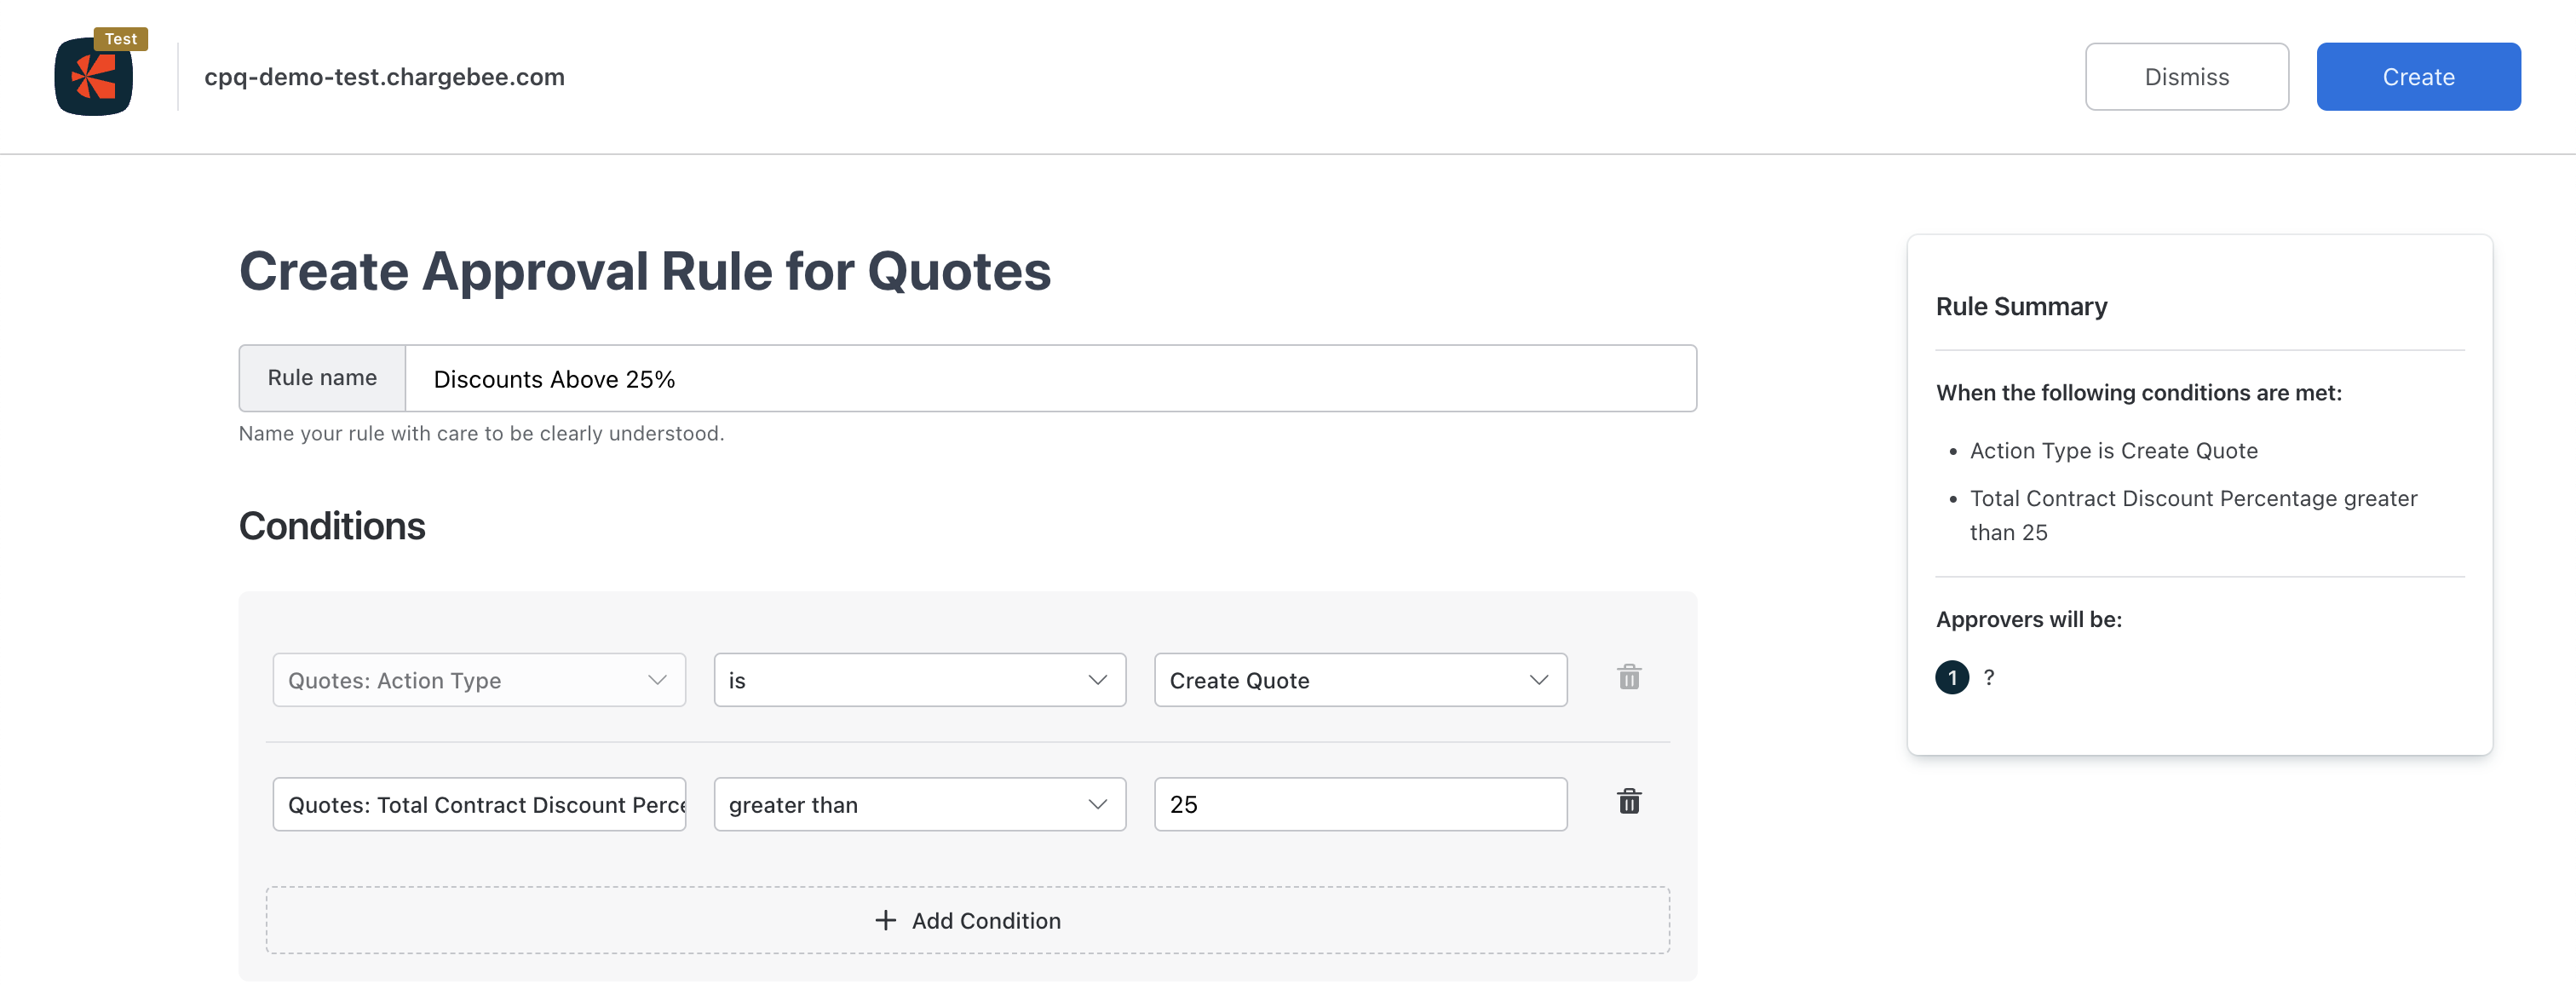
Enter the name of your new rule. For example, Discounts Above 25%, to control discounts offered by your sales representative.
-
Under Conditions, select your Quote Action Type that will trigger the approval process. Click Add Condition to add more conditions based on the following fields and respective options.
-
Add a Condition for which the Approval Process will be triggered. Fields available for conditions are:
- Quotes
- Total Contract Discount Percentage
- Total Contract Discount Amount
- Quote Type
- Contract Period
- Ramp Applied
- Currency
- Billing
- Total Invoice Discount Amount
- Total Invoice Discount Percentage
- Payment Terms
- Invoice Billing Frequency
- Items
- Item Type
- Family
- Discount Amount
- Discount Percentage
- List Unit Price
- Updated Line Item Price
- Updated Tier Price
- Item Billing Frequency
- Quotes
-
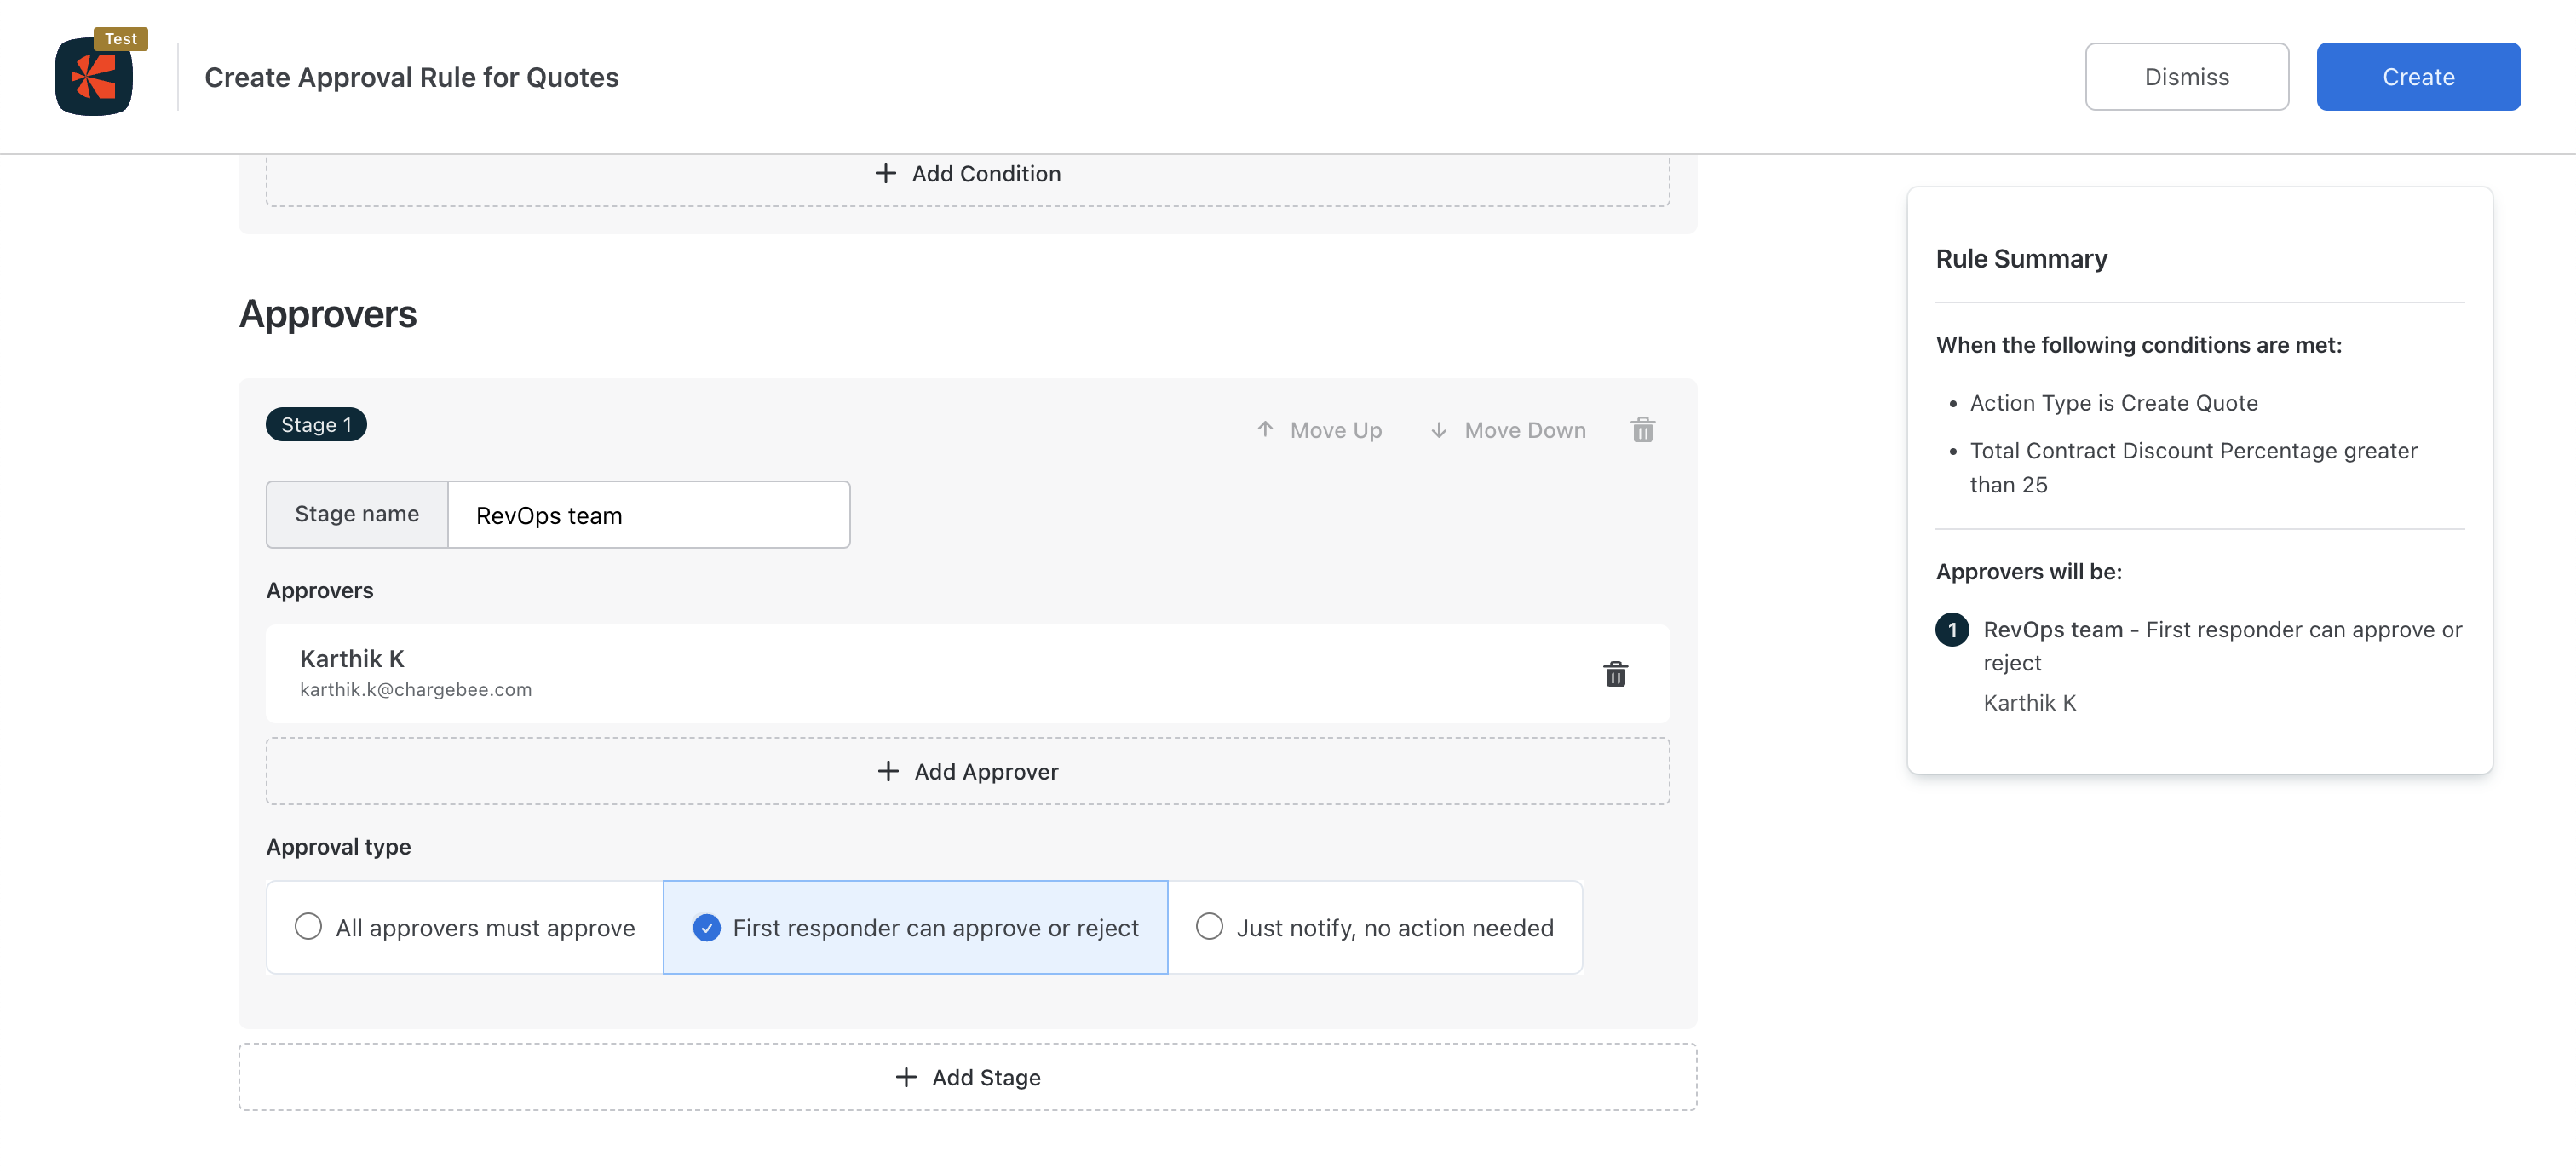
Scroll down to the Approver Section and configure the first approval stage. Once created, stages can be moved up or down.
- Enter the Stage name.
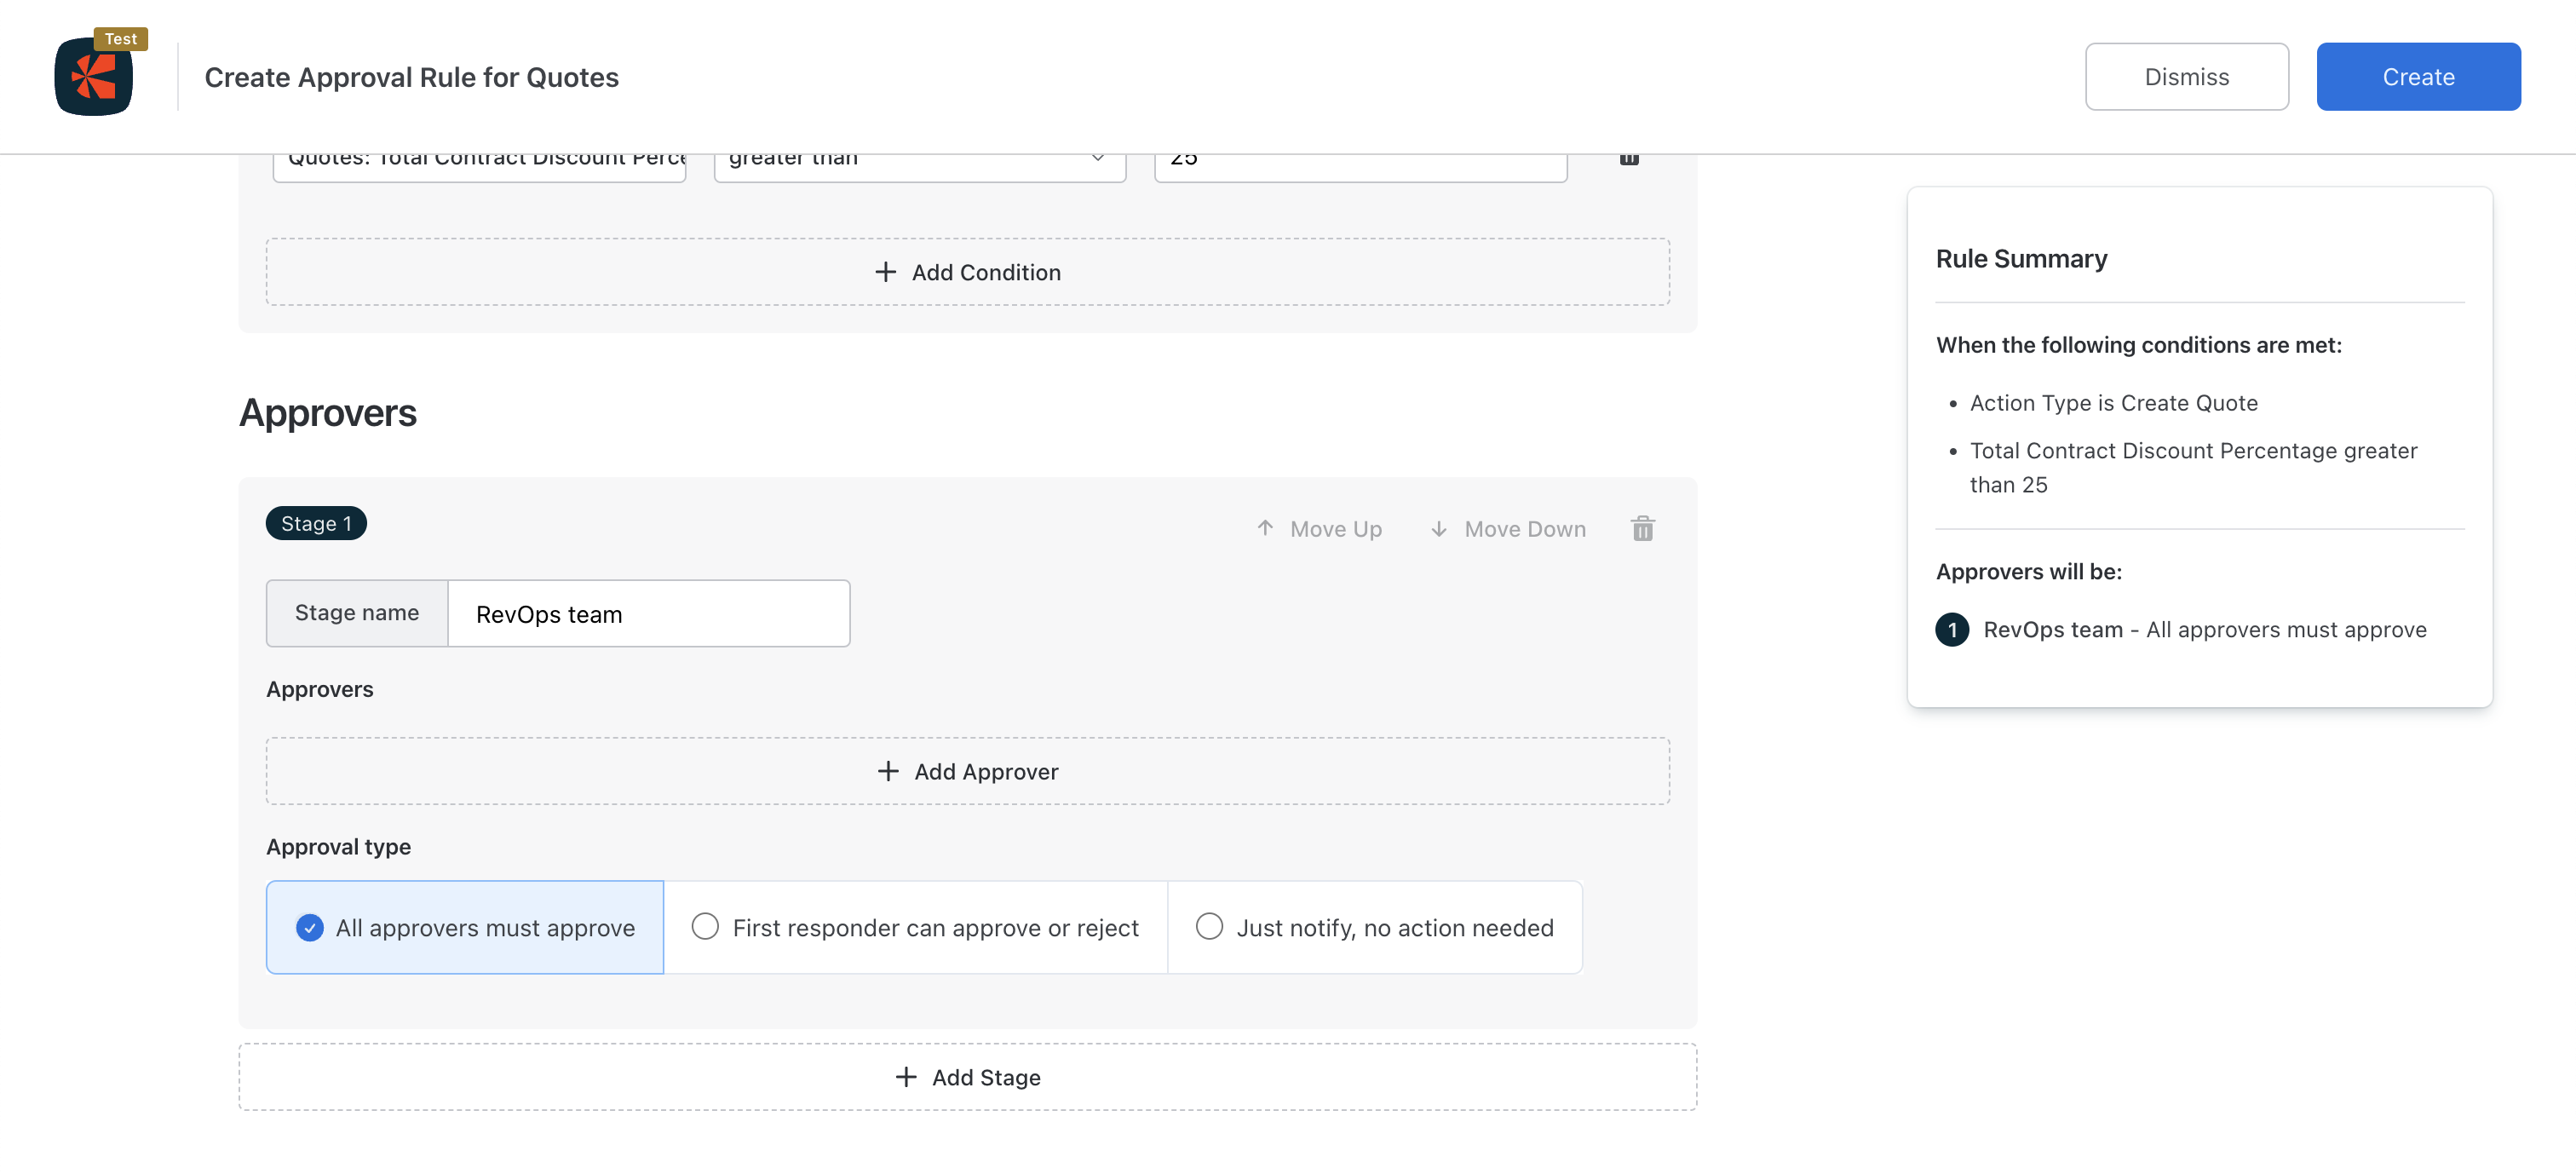
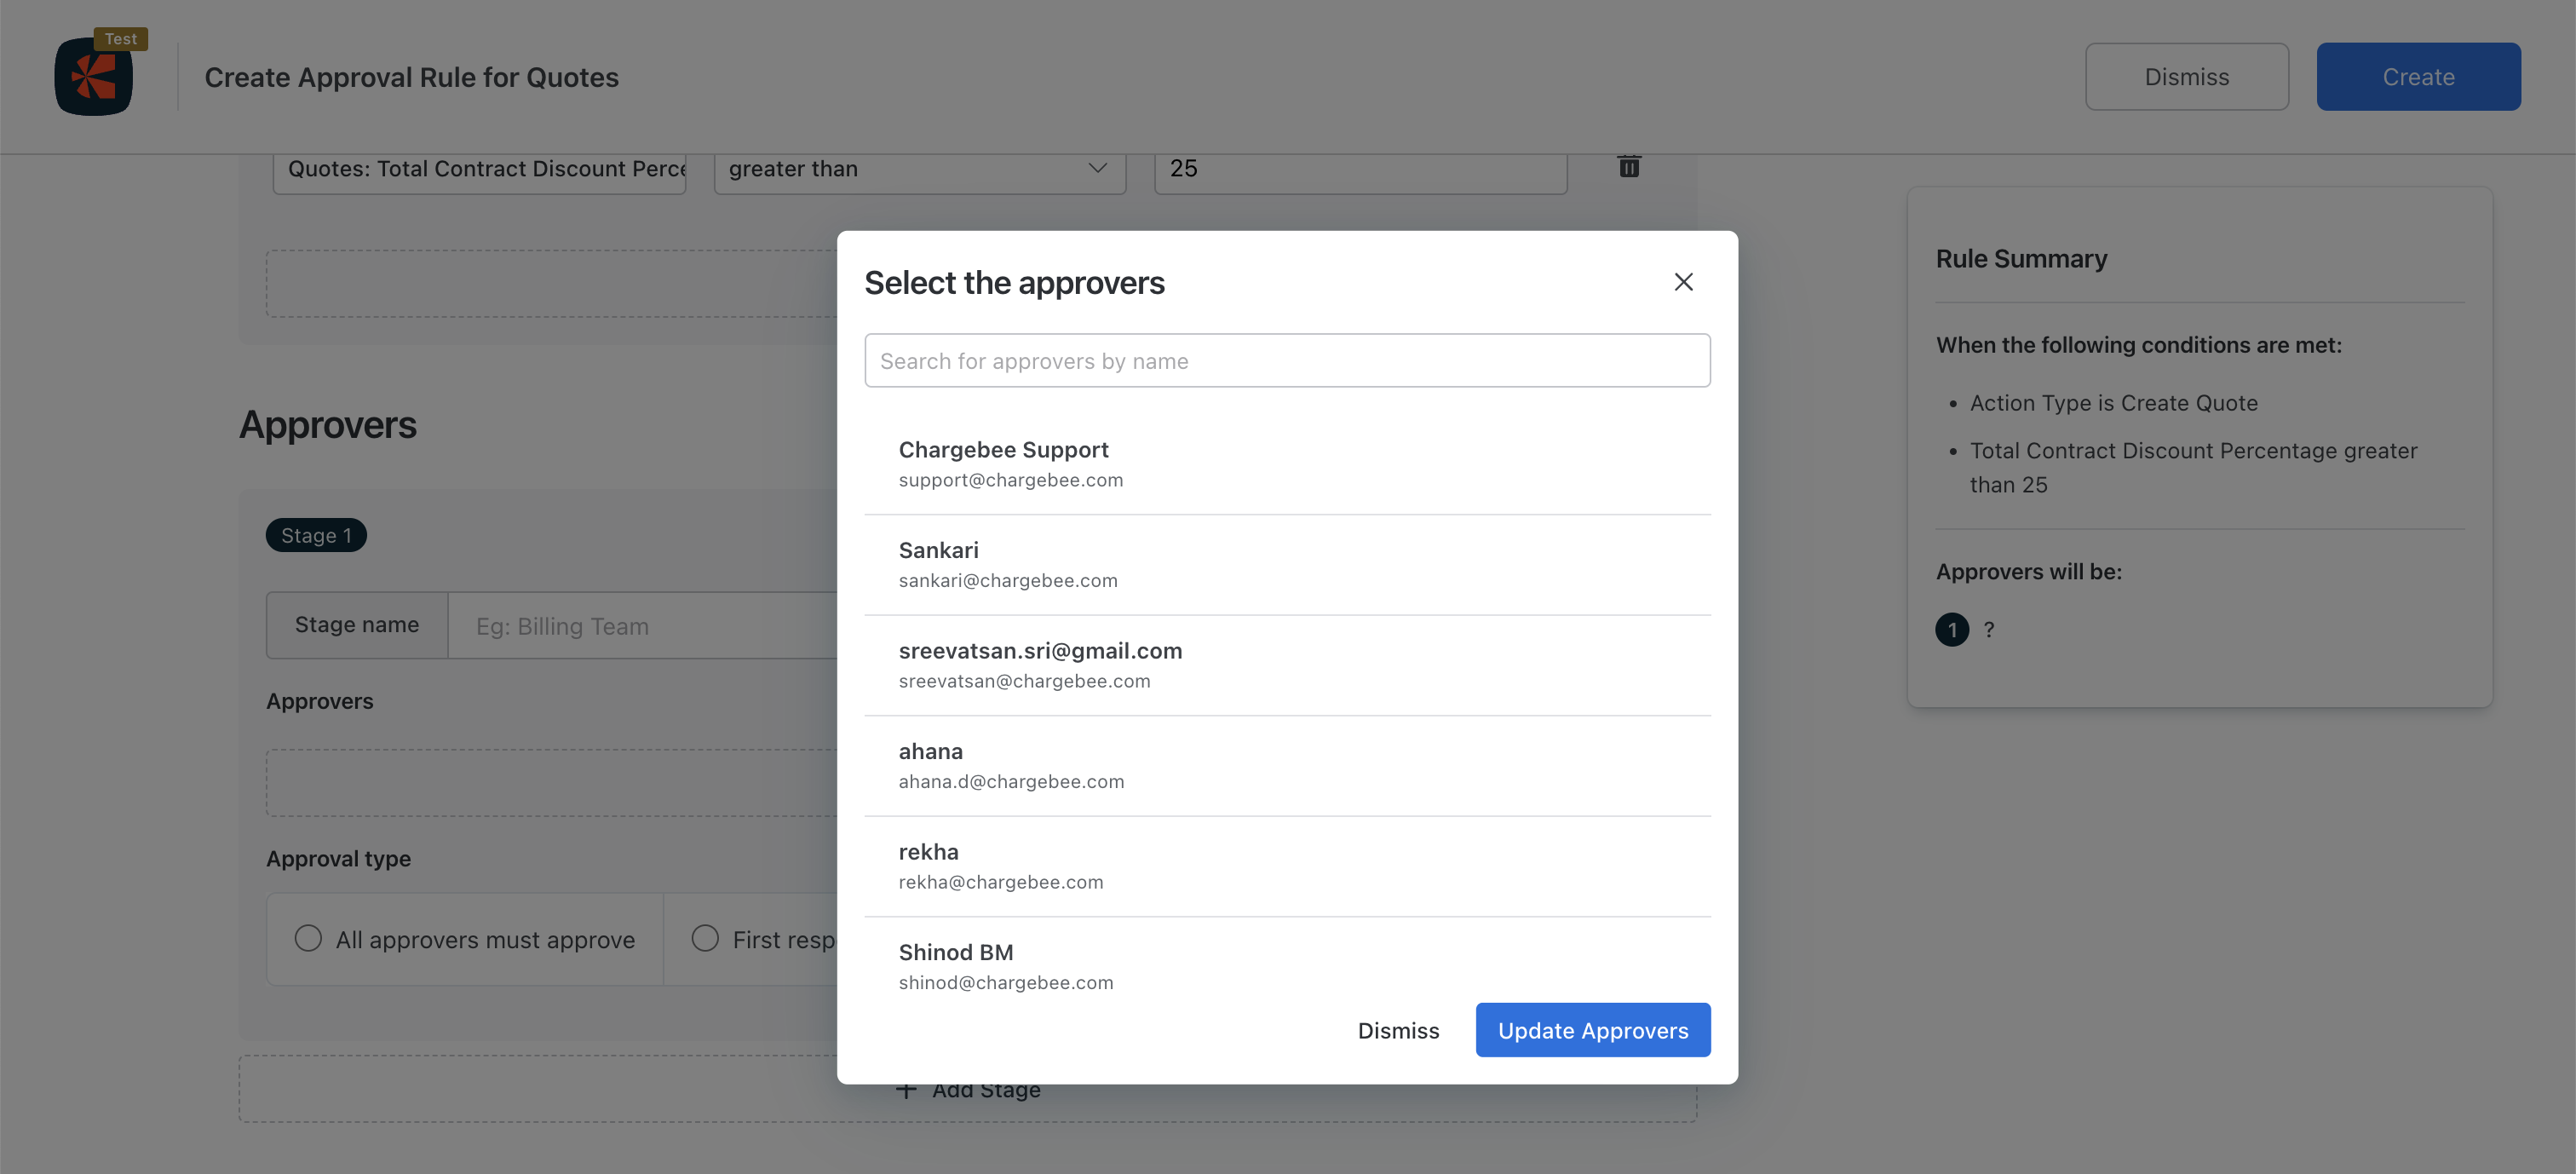
- Select the approvers who will be approving this stage.
- Set the Approver Type. Select from the following options:
- All Approvers Must Approve: All assigned Approvers must approve the quote before it can be converted to a Subscription.
- First responder can approve or reject: Only the first Approver who responds is required to approve or reject the submitted quote.
- Just notify, no action needed: Approvers in the stage won't approve quotes, but will receive a notification with a link to the Chargebee quote.
- Enter the Stage name.
-
Review the Rule Summary on the right-hand side for a quick overview of what has been configured.
-
Click Create. Review the Approval workflow on the confirmation screen.
-
Click Create Rule.
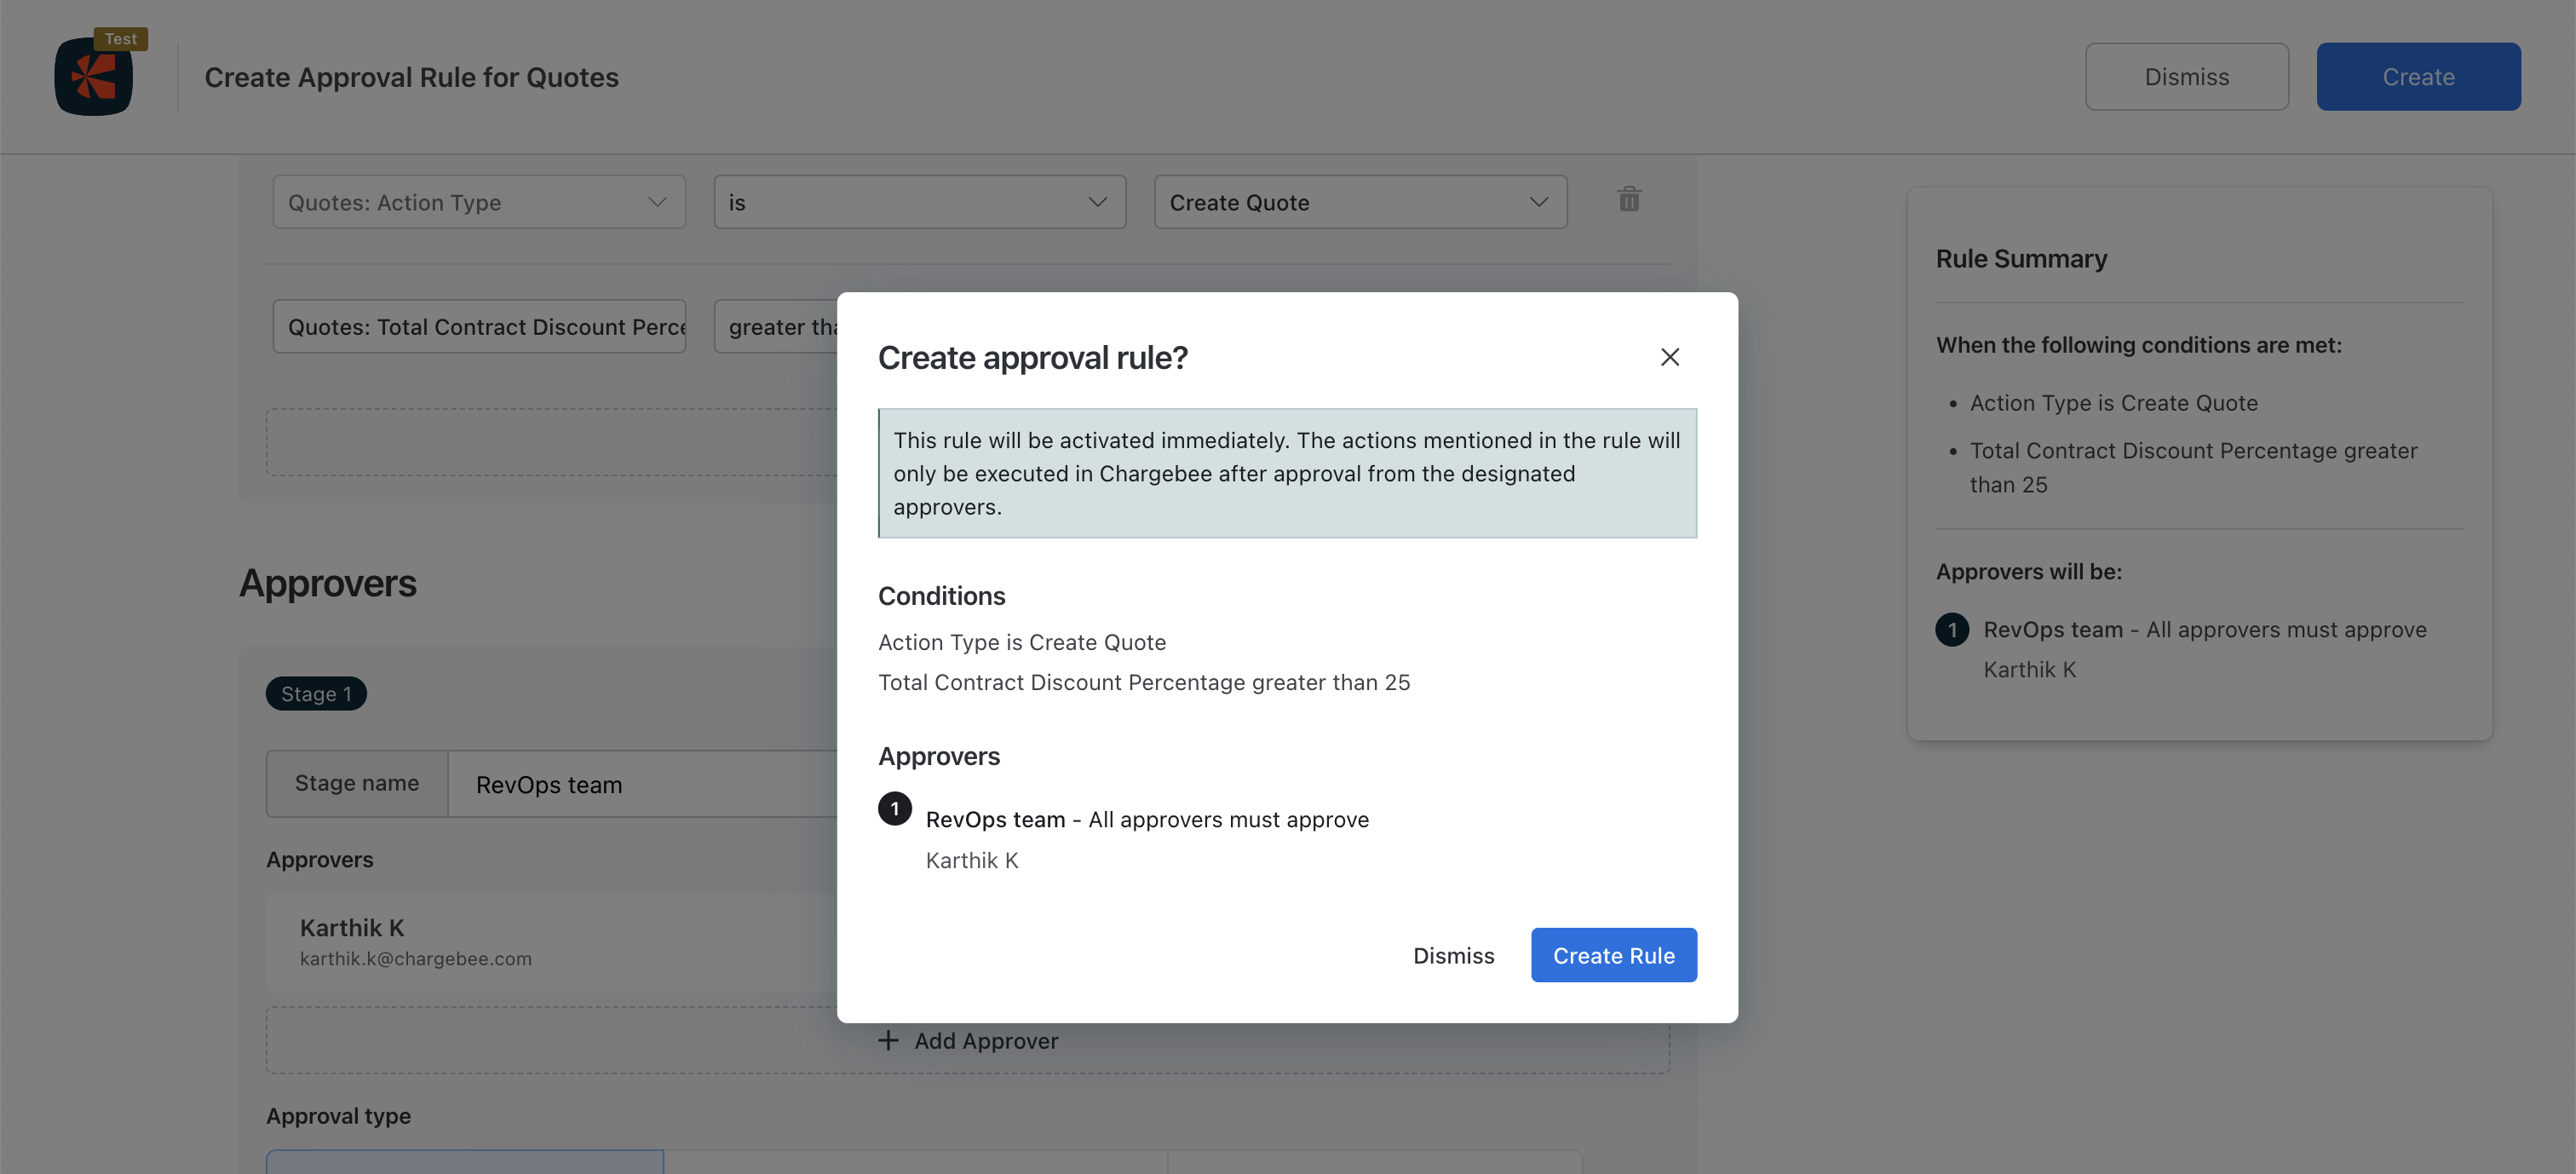
You have successfully created an Approval Rule for Quotes. You can add more rules as required.
Related articles
Was this article helpful?