Chargebee Actions in HubSpot
Out of the box, the integration only syncs information from Chargebee to HubSpot. However, if two-way sync is enabled, then some actions in Chargebee can be performed directly from within HubSpot.
Prerequisites
- This feature is enabled on request. Contact support to enable it.
- Once this feature is enabled, a custom field called Integration Meta (
cf_integration_meta) is created for the subscription object in Chargebee. This field is used to map a subscription to its deal in HubSpot.
Authorization When you perform a Chargebee action via HubSpot, the action is authorized using the privileges of the admin user who configured the integration between Chargebee and HubSpot.
Create Subscription
Available Under: Deals
If you have a business model which is primarily sales-driven, instead of prospects directly purchasing plans without assistance, the cycle starts in HubSpot. As you work through deals and close them, you can easily create Chargebee subscriptions from a deal in HubSpot.
Follow the steps below to create a subscription from HubSpot:
-
Navigate to the deal you are closing. The deal must be associated with a contact before the next steps can be performed.
-
On the right panel, locate the object section for Subscription and click Create Subscription. If you have multiple Chargebee sites connected to the HubSpot account, then instead of the Create Subscription button, you may see the Action dropdown. Click on the dropdown and select the Chargebee site for which you want to create the subscription.

-
Mapping the contact: If the contact has not been mapped to a customer in Chargebee then the following additional steps follow:
- As described in step 2, if you have multiple Chargebee sites connected to HubSpot, select the site in which this subscription is to be created. This step is skipped if you have filled in the Chargebee Site Name property of the contact with the subdomain name of the Chargebee site.
- Within the selected site, the Chargebee customer records matching the contact are listed.
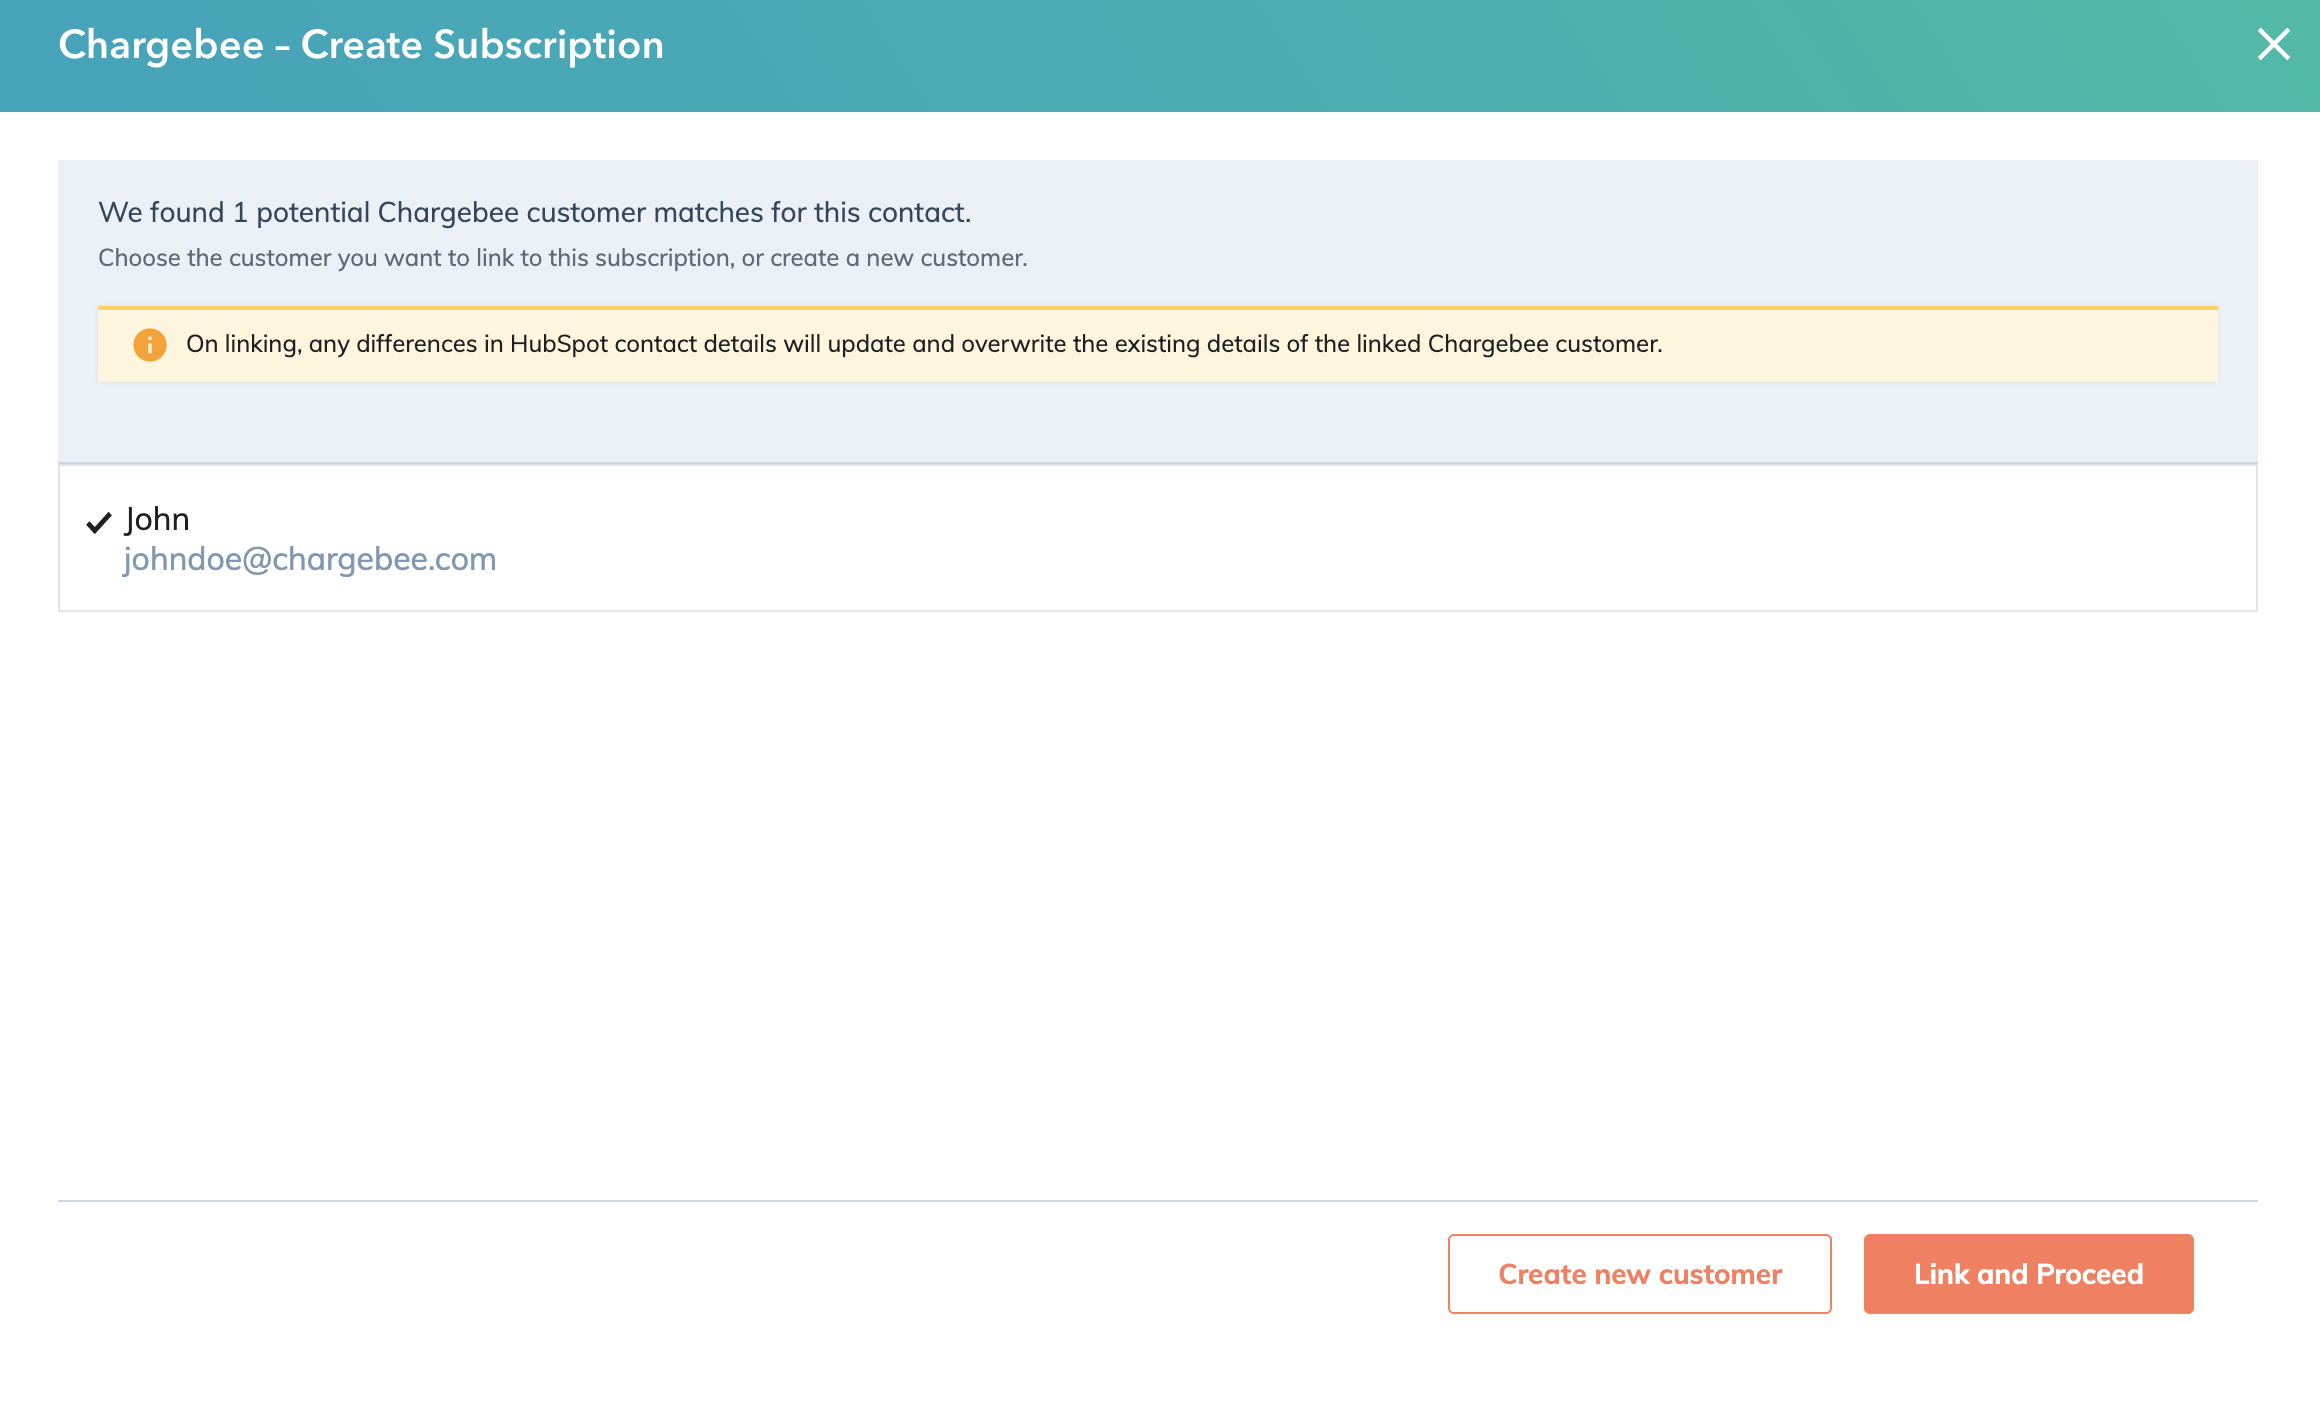
- Customer in Chargebee: Select the customer from the list and click Link and Proceed. Alternatively, click Create new customer to create a new customer record. Follow these additional steps to create a new customer (Once you are done with this step, you cannot go back to step a and change the Chargebee site for the contact yourself. Contact support to make such a correction.):
- Customer ID: Enter a unique ID for the customer. The value must be a string up to 50 characters long. If not provided, it is auto-generated.
- Select the Language used in customer-facing pages such as , , invoices, and emails.
- Select the Preferred currency for the customer from the list of currencies enabled in Chargebee.
- Do not auto-close invoices checkbox: This overrides for the customer, the site-level setting for auto-closing invoices. Only applicable when the "auto-closing invoices" feature has been enabled for the Chargebee site. The same checkbox is also available when creating the subscription, and takes precedence over this.
- Select if you want tax exemption for the customer and if auto-collection should be enabled.
- Enter the Billing Contact and Address.
- Click Create, and a customer is created in Chargebee.
- Select a Product Family from the dropdown.
- Click Add plan to select a plan for the subscription. Select the appropriate currency and billing frequency combination for the plan and click Add.
- Click Add Recurring Addon to select an addon for the subscription. Select the billing frequency for the addon and click Add. Repeat this step to add more addons.
- Click Add Charge to select a charge for the subscription. Under Charge customers on, select the event at the occurrence of which, the charge should be added to the subscription. Also, select the Number of days of service provided.
- Click the Add Coupon dropdown and apply any of the coupons available. Multiple coupons can be applied.
- Enter a unique id for the subscription in the Subscription ID text box. It can be a string up to 50 characters long. When not entered, it is auto-generated by Chargebee.
- Enter a Start Date for the subscription. The date/time at which the subscription is to start or has started. If not provided, the subscription starts immediately. If set to a value in the past then that date/time should not be more than the duration worth a plan billing period, into the past.
- Enter the number of Billing Cycles that the subscription should run before canceling automatically. When not provided, the number of billing cycles set for the plan price point is used.
- Set the Auto-Collection Status for the subscription.
- Invoicing Options: the options below govern how invoices are generated for the subscription.
- The following options are seen only when Metered Billing has been enabled for the Chargebee site:
- Select the Do not auto-close invoices checkbox to override for this subscription, the site-level setting for auto-closing invoices. This checkbox is only available when the "auto-closing invoices" feature has been enabled for the Chargebee site. This setting takes precedence over the similar setting available when creating the customer above.
- Generate all renewal invoices in pending state: This checkbox is automatically selected when a metered plan or addon is added to the subscription. When no metered items have been added to the subscription, you can select this checkbox to create all invoices (except the first one) for this subscription with a Pending status. This is useful in the following scenarios:
- If you track usages and calculate usage-based charges on your end. In such cases, you can then add them to the subscription as one-time charge(s) at the end of the billing term.
- When you need to inspect all charges before closing invoices for this subscription.
- Additionally, select the Also generate first invoice in pending state checkbox if you want to bill the usages from the previous billing cycle. This is useful if the subscription has moved from another system into Chargebee and you haven't closed the previous cycle's invoice yet. This creates a Pending invoice immediately on subscription creation, to which you can add usages for the previous cycle. If any non-metered items are present in the subscription for the current term, they're also added to this first Pending invoice.
- Under When should the invoice be generated? select one of the following options:
- Immediately: the charges are immediately invoiced.
- Add to unbilled charges: the charges are added to unbilled charges.
- The following options are seen only when Metered Billing has been enabled for the Chargebee site:
- Shipping address: Clear the Same as billing address checkbox to enter a shipping address that's different from the billing address.
- Subscription Preview: this section shows a live preview of the subscription that will be created based on the options selected on the form. The immediate and upcoming charges are also indicated.
- Click Create to immediately create the subscription.
- Alternatively, click Get Checkout link to generate a checkout URL that can be sent to your customers.
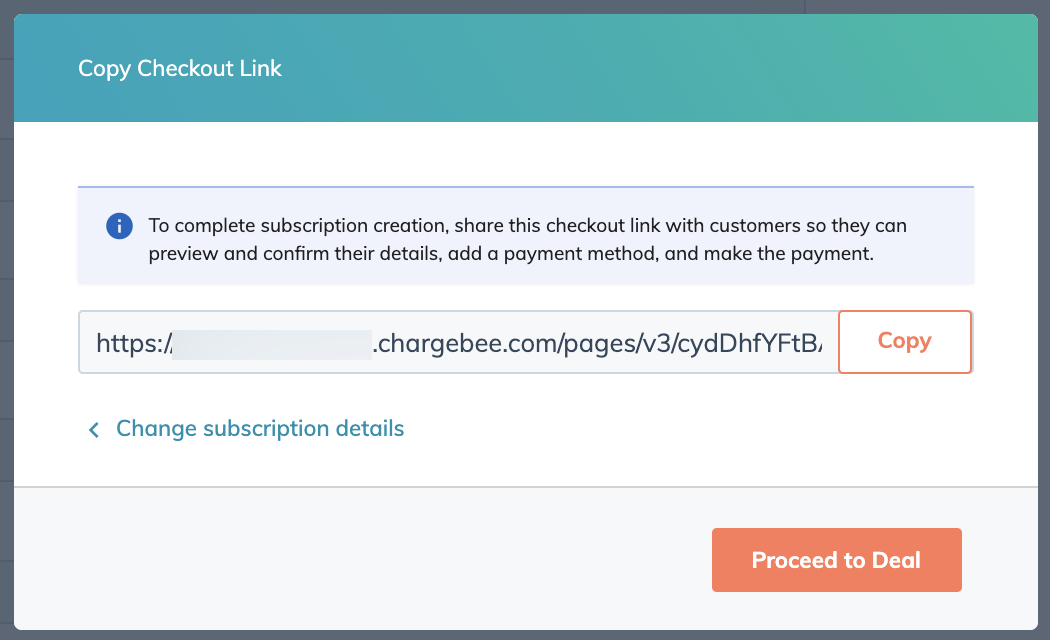
- Copy the URL and send it to the customer. They can now click on the checkout link and pay for the subscription. The shipping address specified earlier is prefilled for the customer on the checkout page.
Note:
Once the subscription is created, then on the next integration sync, the property group Chargebee subscription information is updated with information from the subscription. Also, when you open the deal, the right pane shows the Subscription and Invoice sections populated with the subscription and invoice details.
Was this article helpful?