Google Play Store Sandbox Configuration
Introduction
It is essential that you configure your play store sandbox environment and add testers for accurate testing results as part of your efforts to test the functioning of your integration.
You can use this Sandbox to enable test purchases that can mimic real-world purchases. However, the following conditions apply:
- There is no amount charged for the purchases made in the sandbox environment.
- Upon purchase of a subscription, the billing period depends on the subscription period. Learn more about Google Play Billing Library Integration.
See also
Prerequisites
Review the following prerequisites prior to sandbox configuration:
- You must have a Google account to perform testing that is configured to Google Play Console.
- You must use an android device or an emulator with Google Play services installed. Note: It is recommended that you use an Android device for testing and you are logged in to the Google Play Store.
- The user account being used for testing must be the primary account on the Android device/emulator. A factory reset will allow you to add the testing email address as the primary account on your device. Note: You may lose any unsaved data associated with the previous primary account during the factory reset.
- Ensure that a security pin is set up on the device or emulator. This will mitigate any errors associated with subscriptions and purchases.
- Ensure with the mapping package name with app-id which is the same as the app in Google Play. The screenshot below is an example of an App ID:
Adding License Testers
As part of this step, add the email address of the tester that is used as the primary account on the device/emulator. Follow the steps below to add a tester:
-
Log into your Google Play Console
-
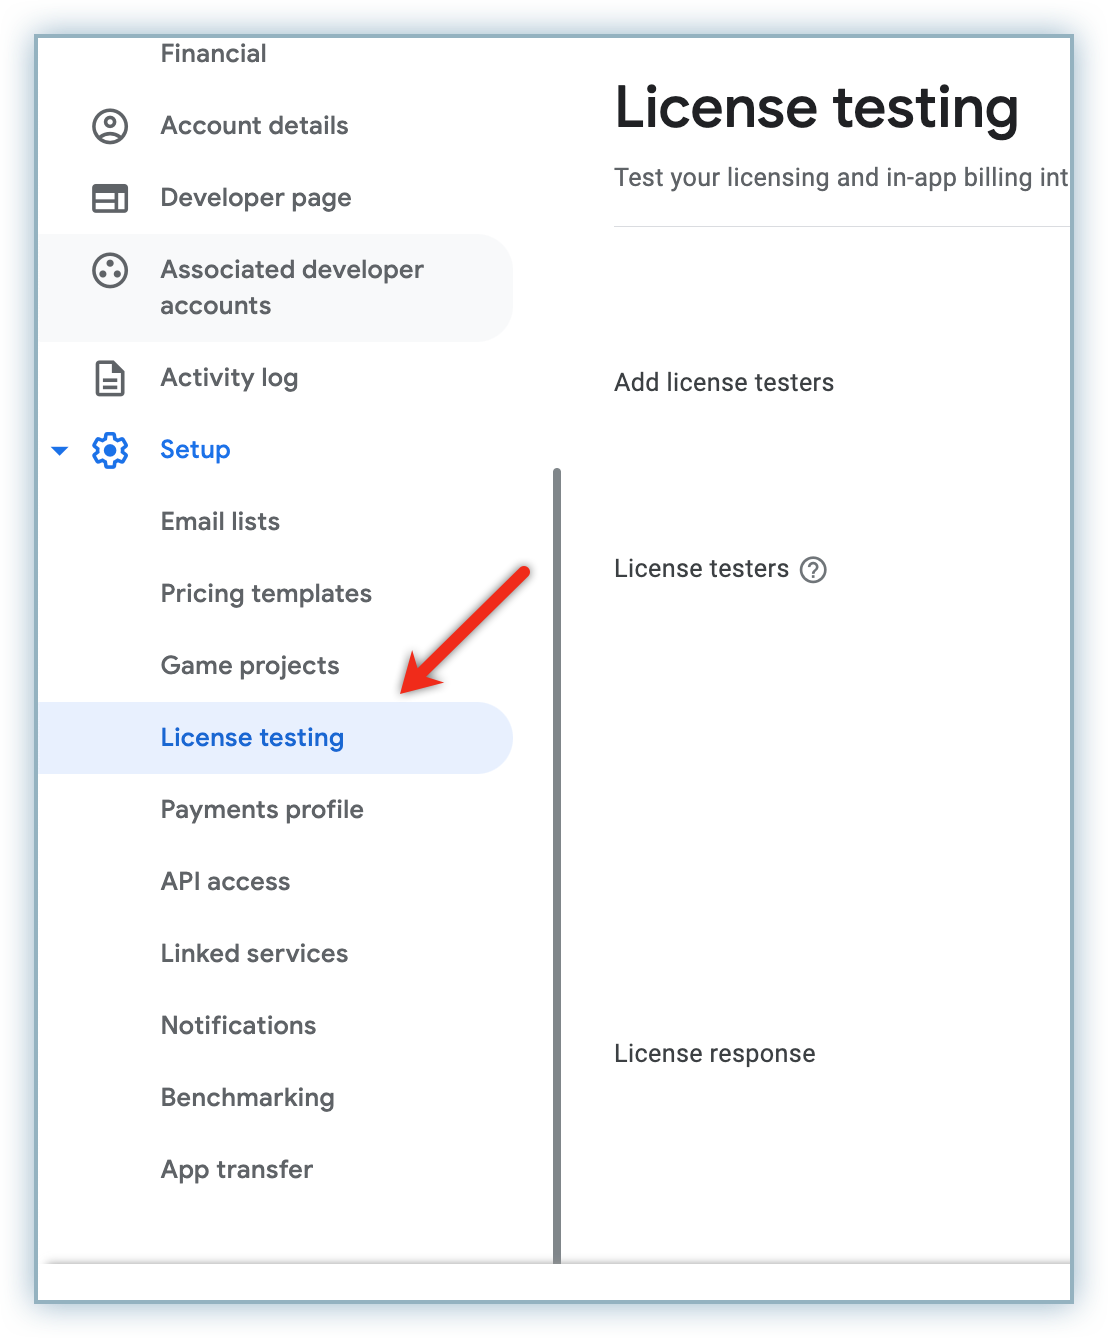
Click Setup > License testing from the Setup left menu.
-
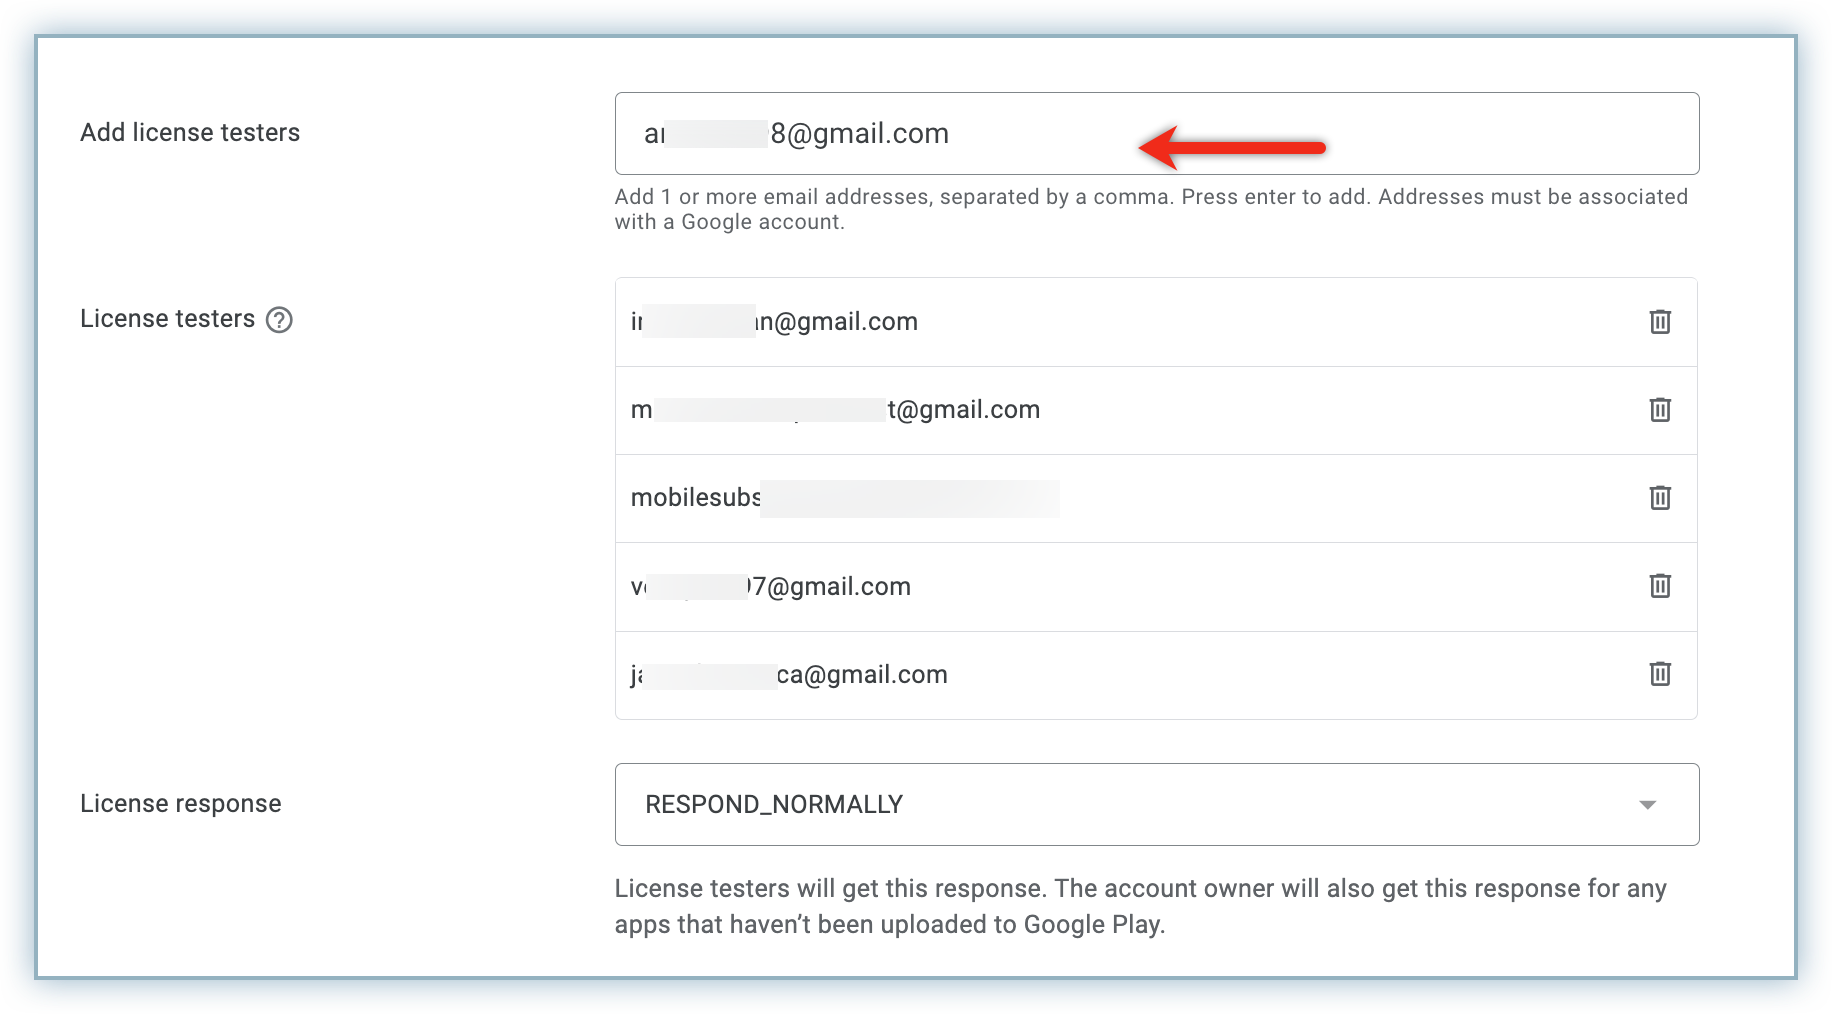
Type the email address of the tester in the Add license testers field and press Enter to add to the list.
-
Click Save Changes.
Create a Closed Track
The Closed Track provides the functionality to view the test results of your app to gather feedback prior to a complete open release. This allows you to gather targeted feedback and resolve any concerns. Follow the steps below to create a Closed Track test:
-
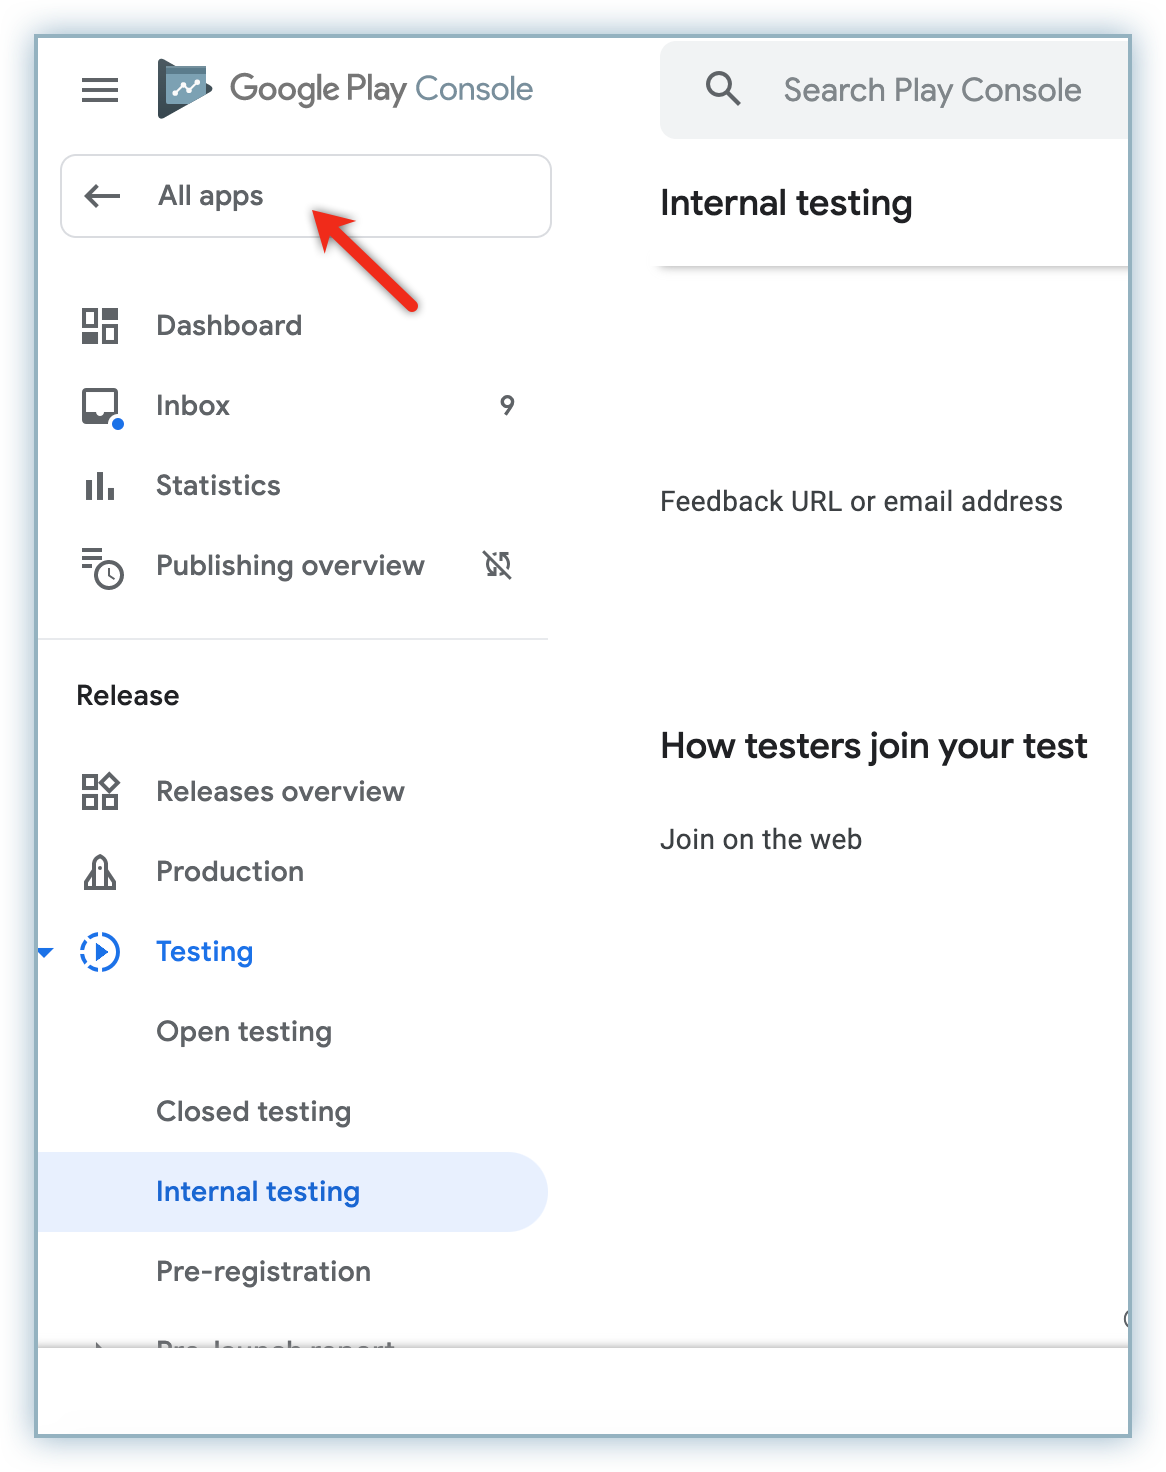
Click All apps to view your apps.
-
Click applicable app from the list.

-
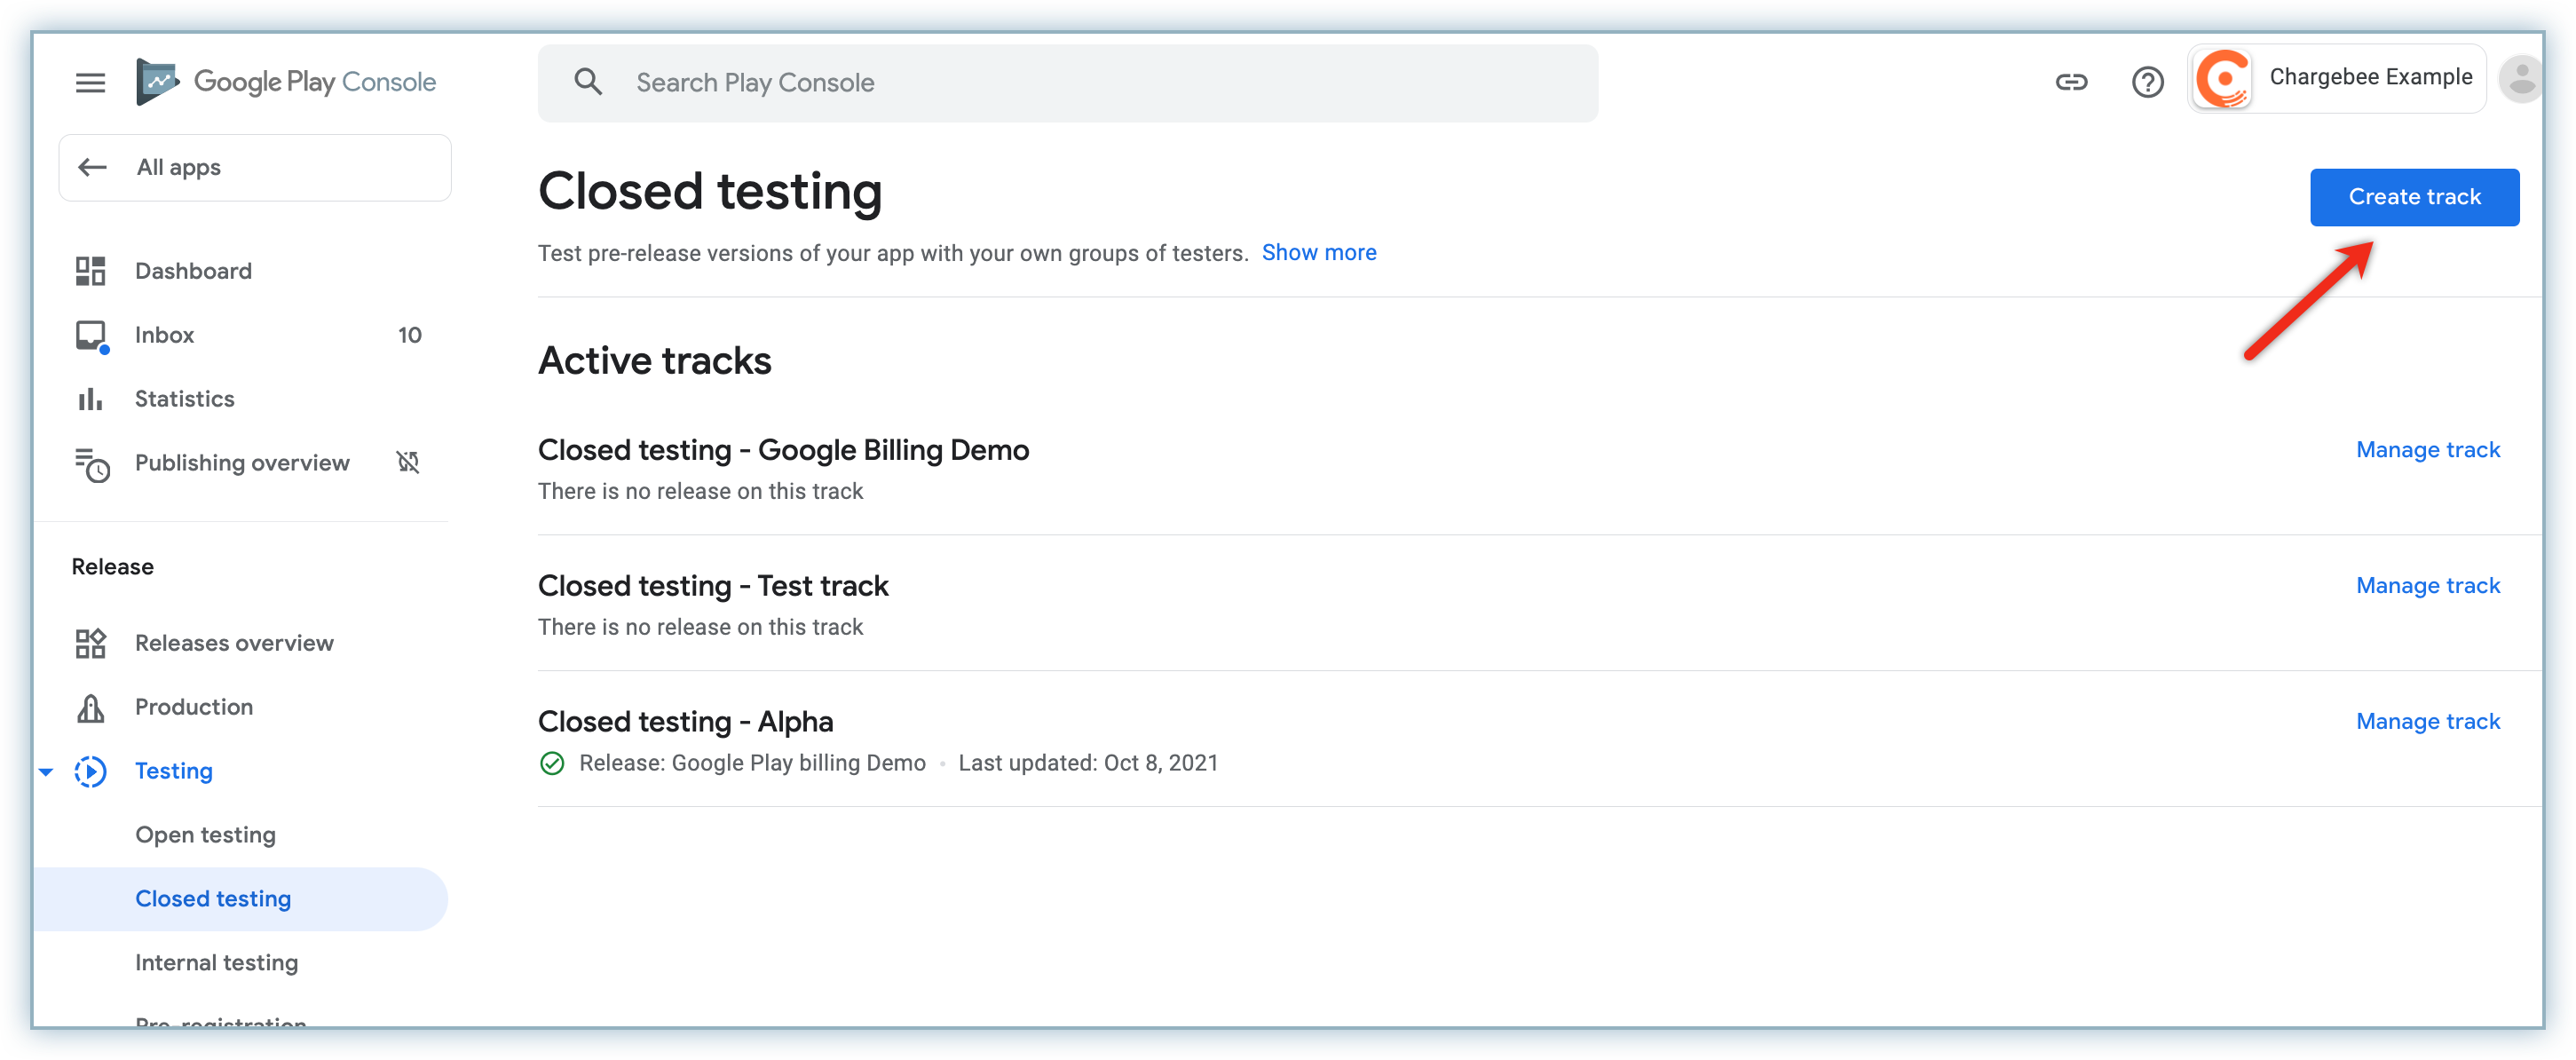
Click Closed testing from the Testing menu.
-
Click Create track.
-
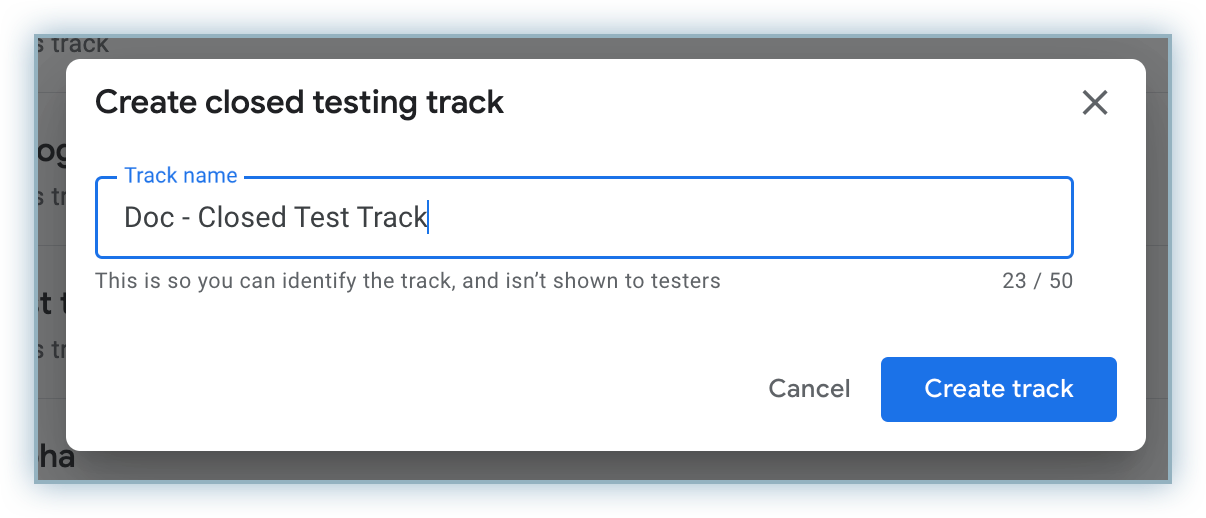
Enter the name of the closed track and click Create track.
Add Testers to the Closed Track
After the creation of a closed track, you can now create a list of testers. Follow the steps below to create a list:
-
Click the Testers tab.

-
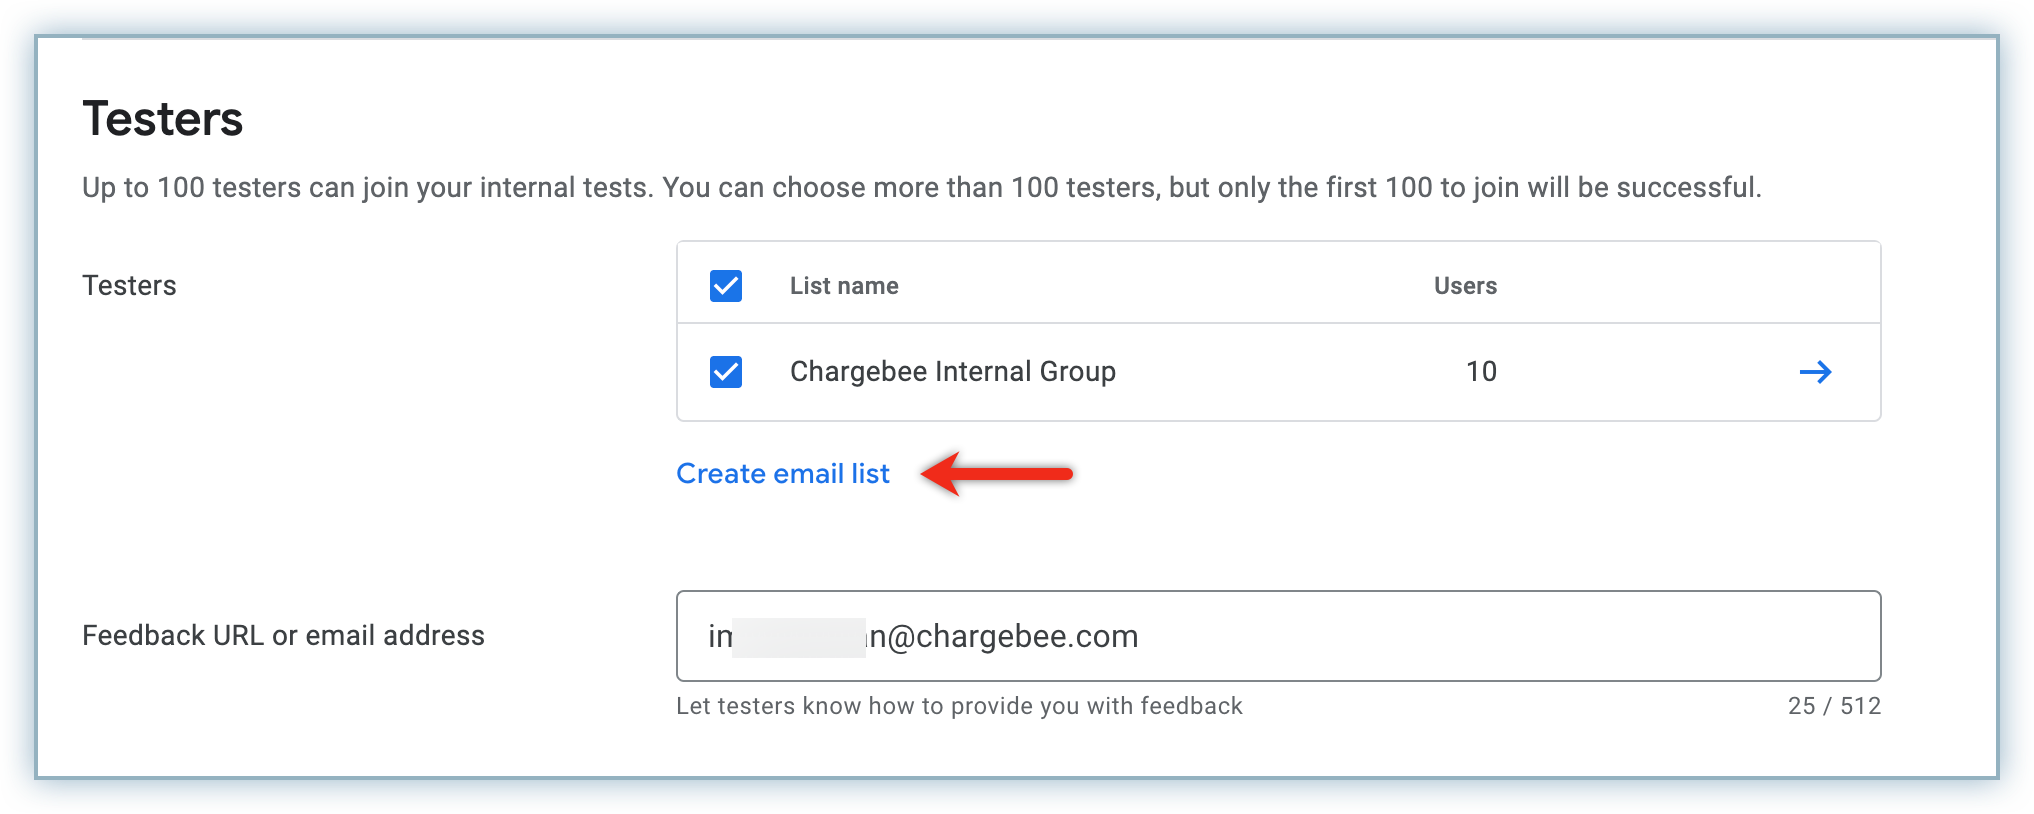
Type contact details of the individual with whom feedback must be shared in the Feedback URL or email address field.
-
Click Create email list to add the contacts of the testers.
-
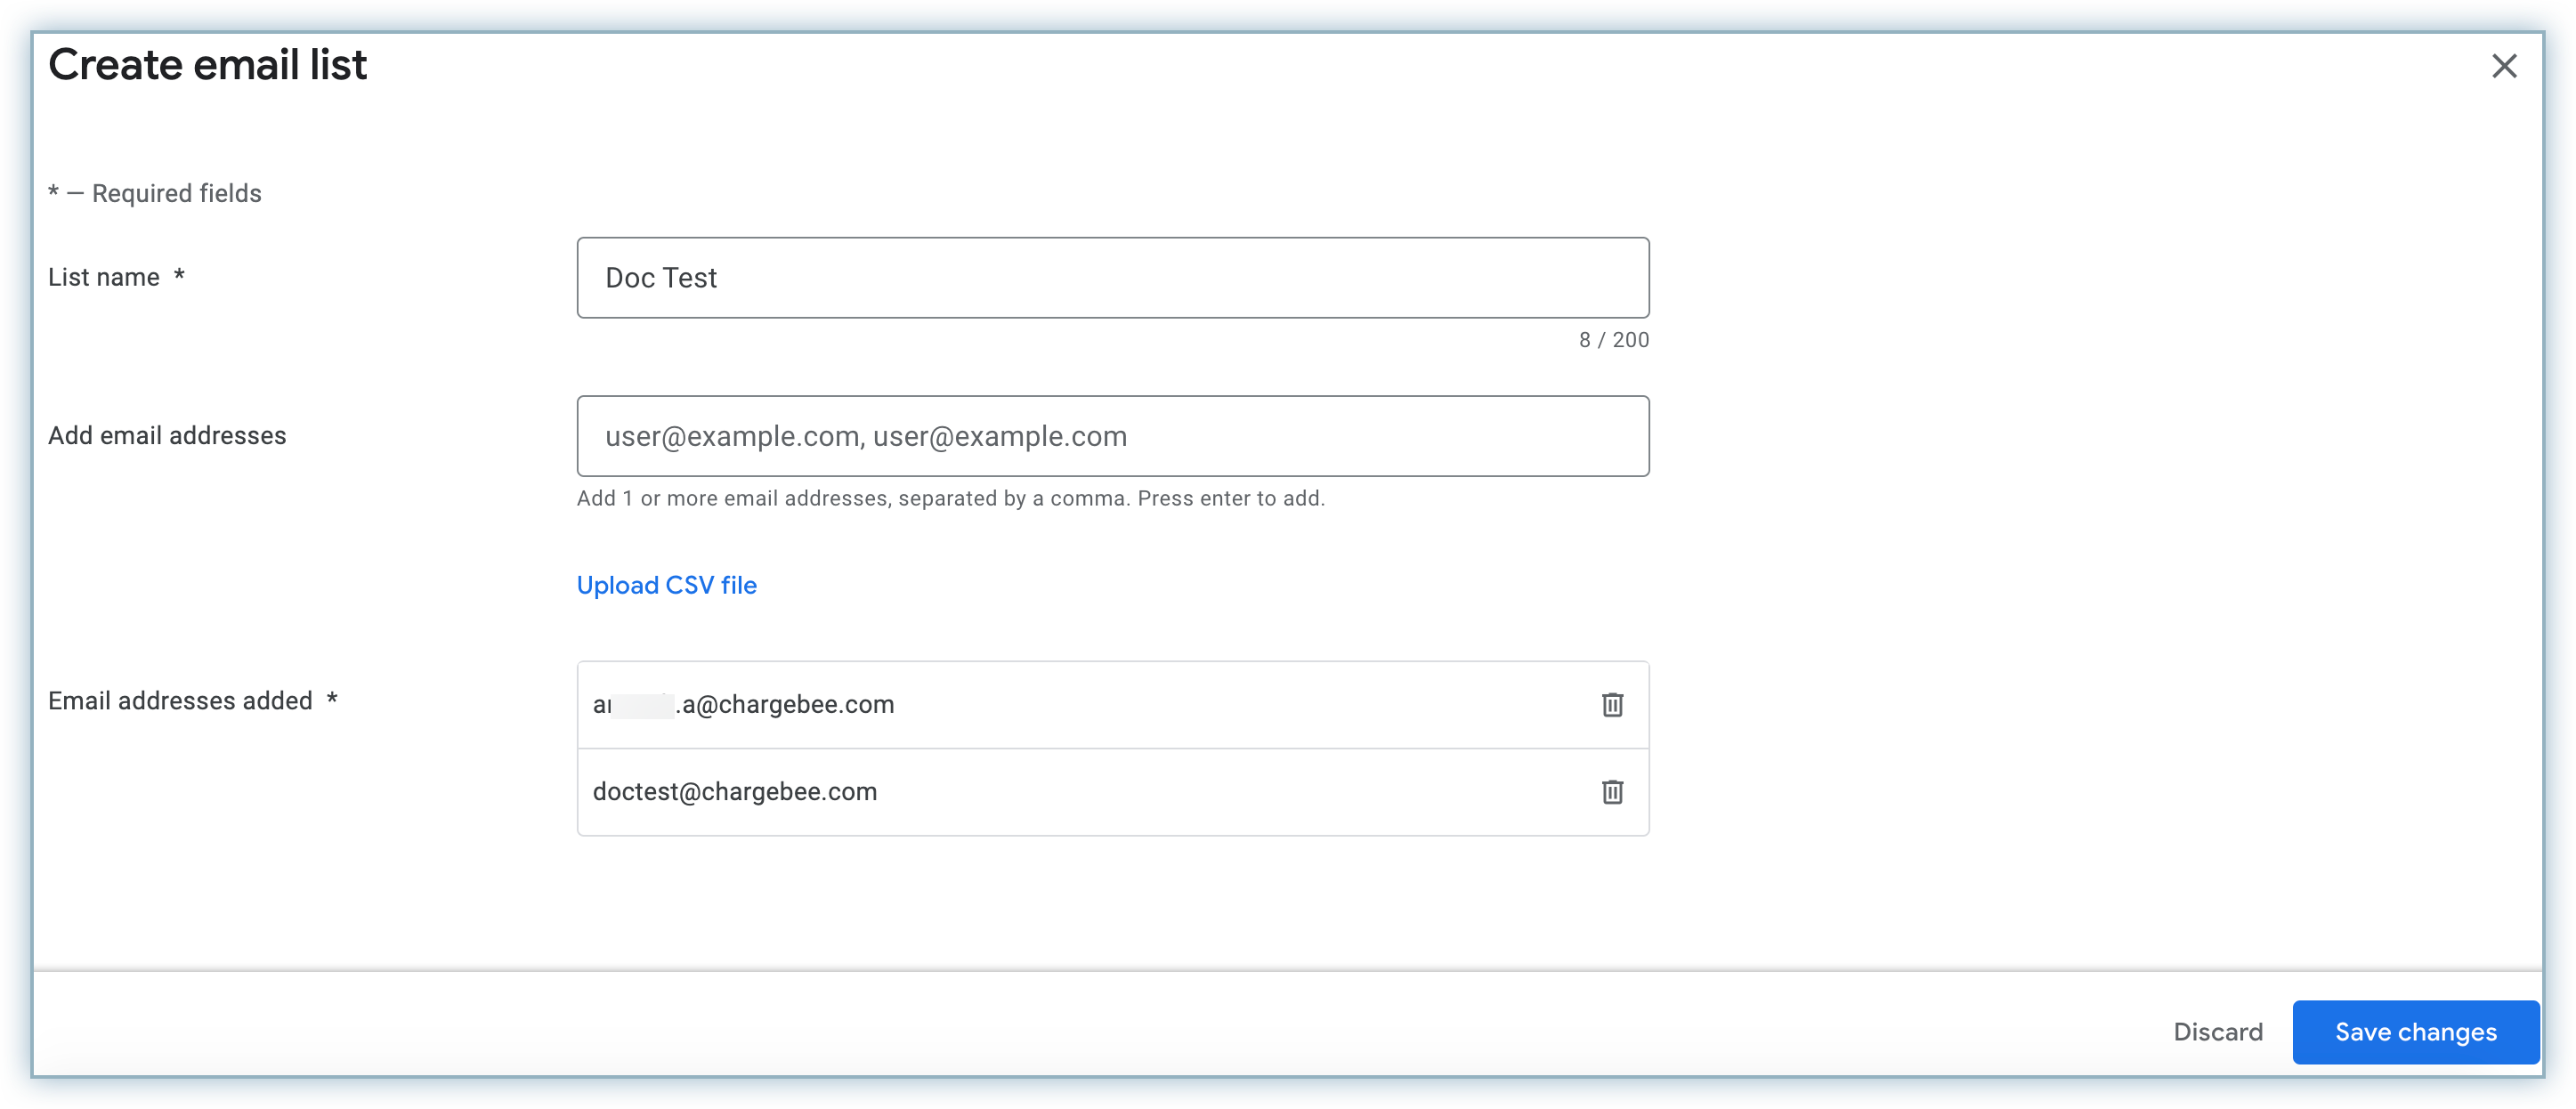
Type the applicable name for the list in the List name field.
-
Type the email address of the testers in the Add email addresses field. In this example, we added the email address of the primary tester added earlier. Note: Use a comma after each email address and press enter if you wish to add multiple testers.
-
Review the Email addresses added list to ensure all your entries are included.
-
Click Save Changes.
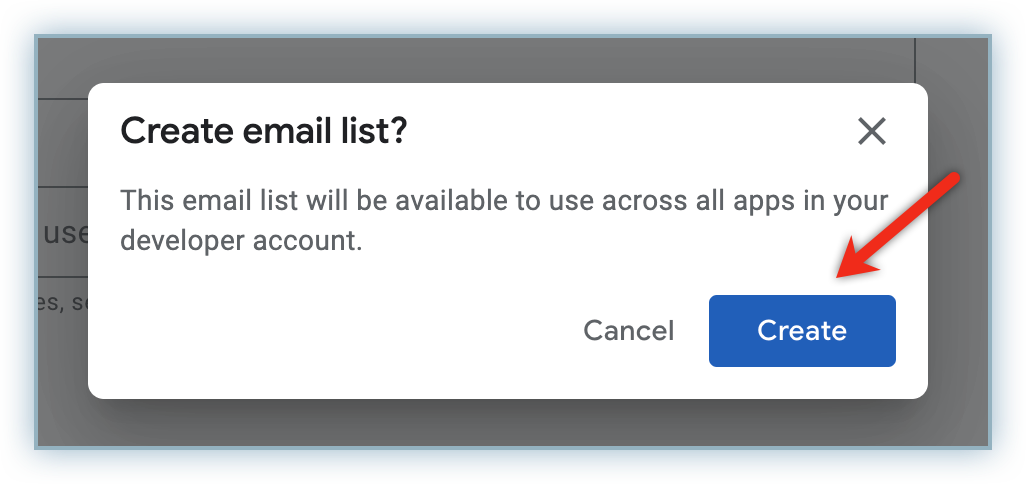
-
Click Create in the pop-up alert to confirm the creation of the email list.
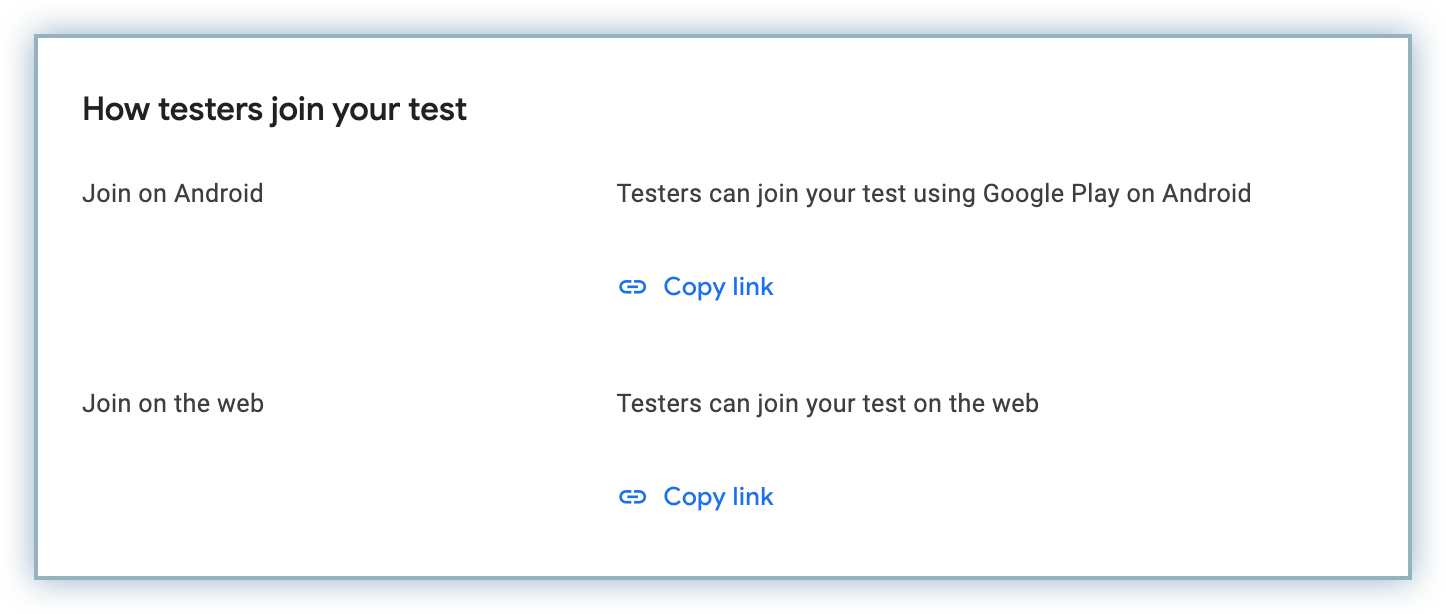
-
Click Copy link and share the invite with the tester via email. This link must be accessed via the Android device being used for testing.
-
Click Save changes to ensure your updates are saved.
Assign Country or Region
If your app is new, you may need to make your app available to your country or region. Follow the steps below to do this:
-
Click the Countries / regions tab.
-
Click Add Countries / regions.
-
Select applicable countries with the checkbox and click Add Countries/ regions.
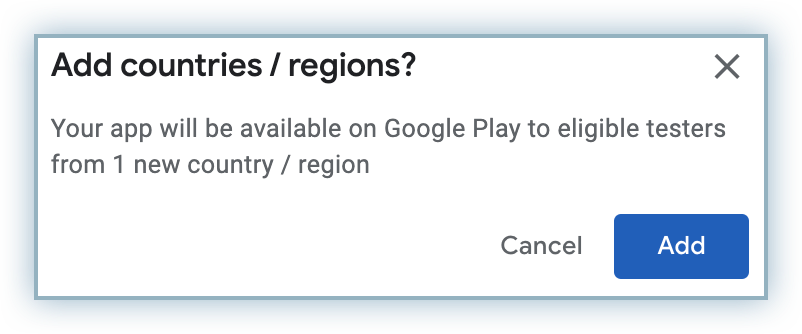
-
Click Add to confirm your selection.
Create a Release
After you have created the email list of testers, you must upload theAndroid App Bundle to publish the signed APK to the closed track you just created. Access additional details about managing a release.
Once the pre-release (Closed Testing) is approved and available the testers can verify if the purchases and transactions reflect on Chargebee.
Guide for Testers
Assigned testers must follow the steps below to accept testing invites:
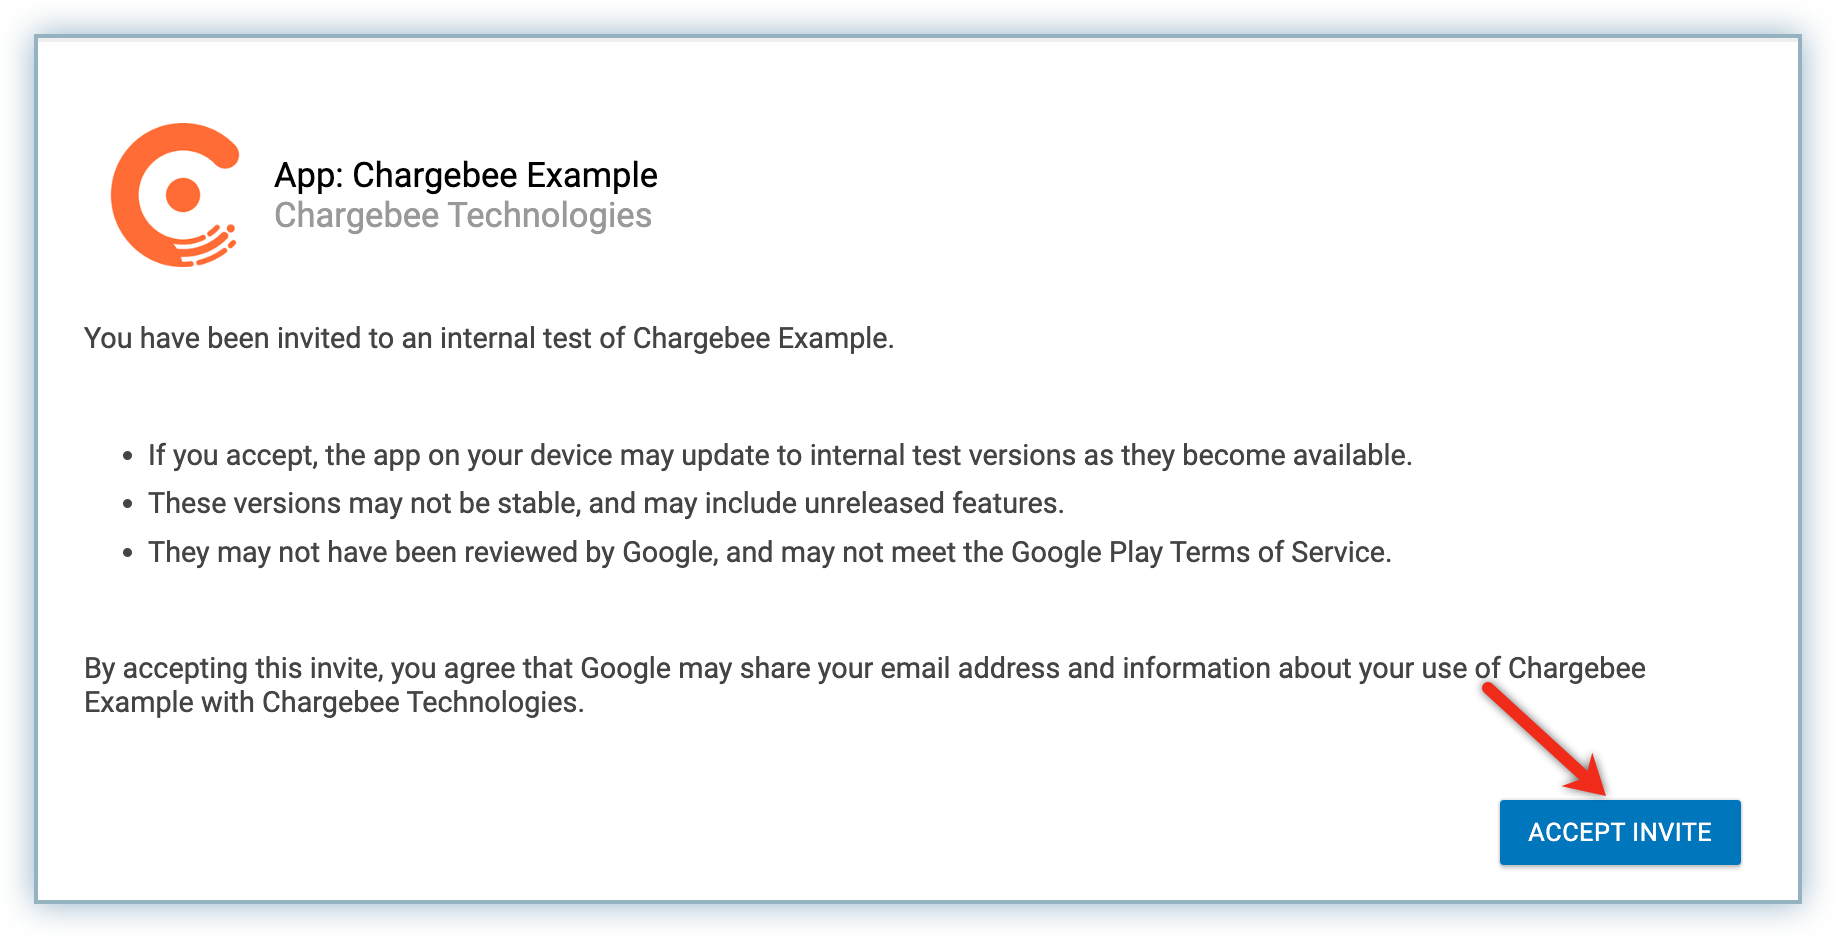
-
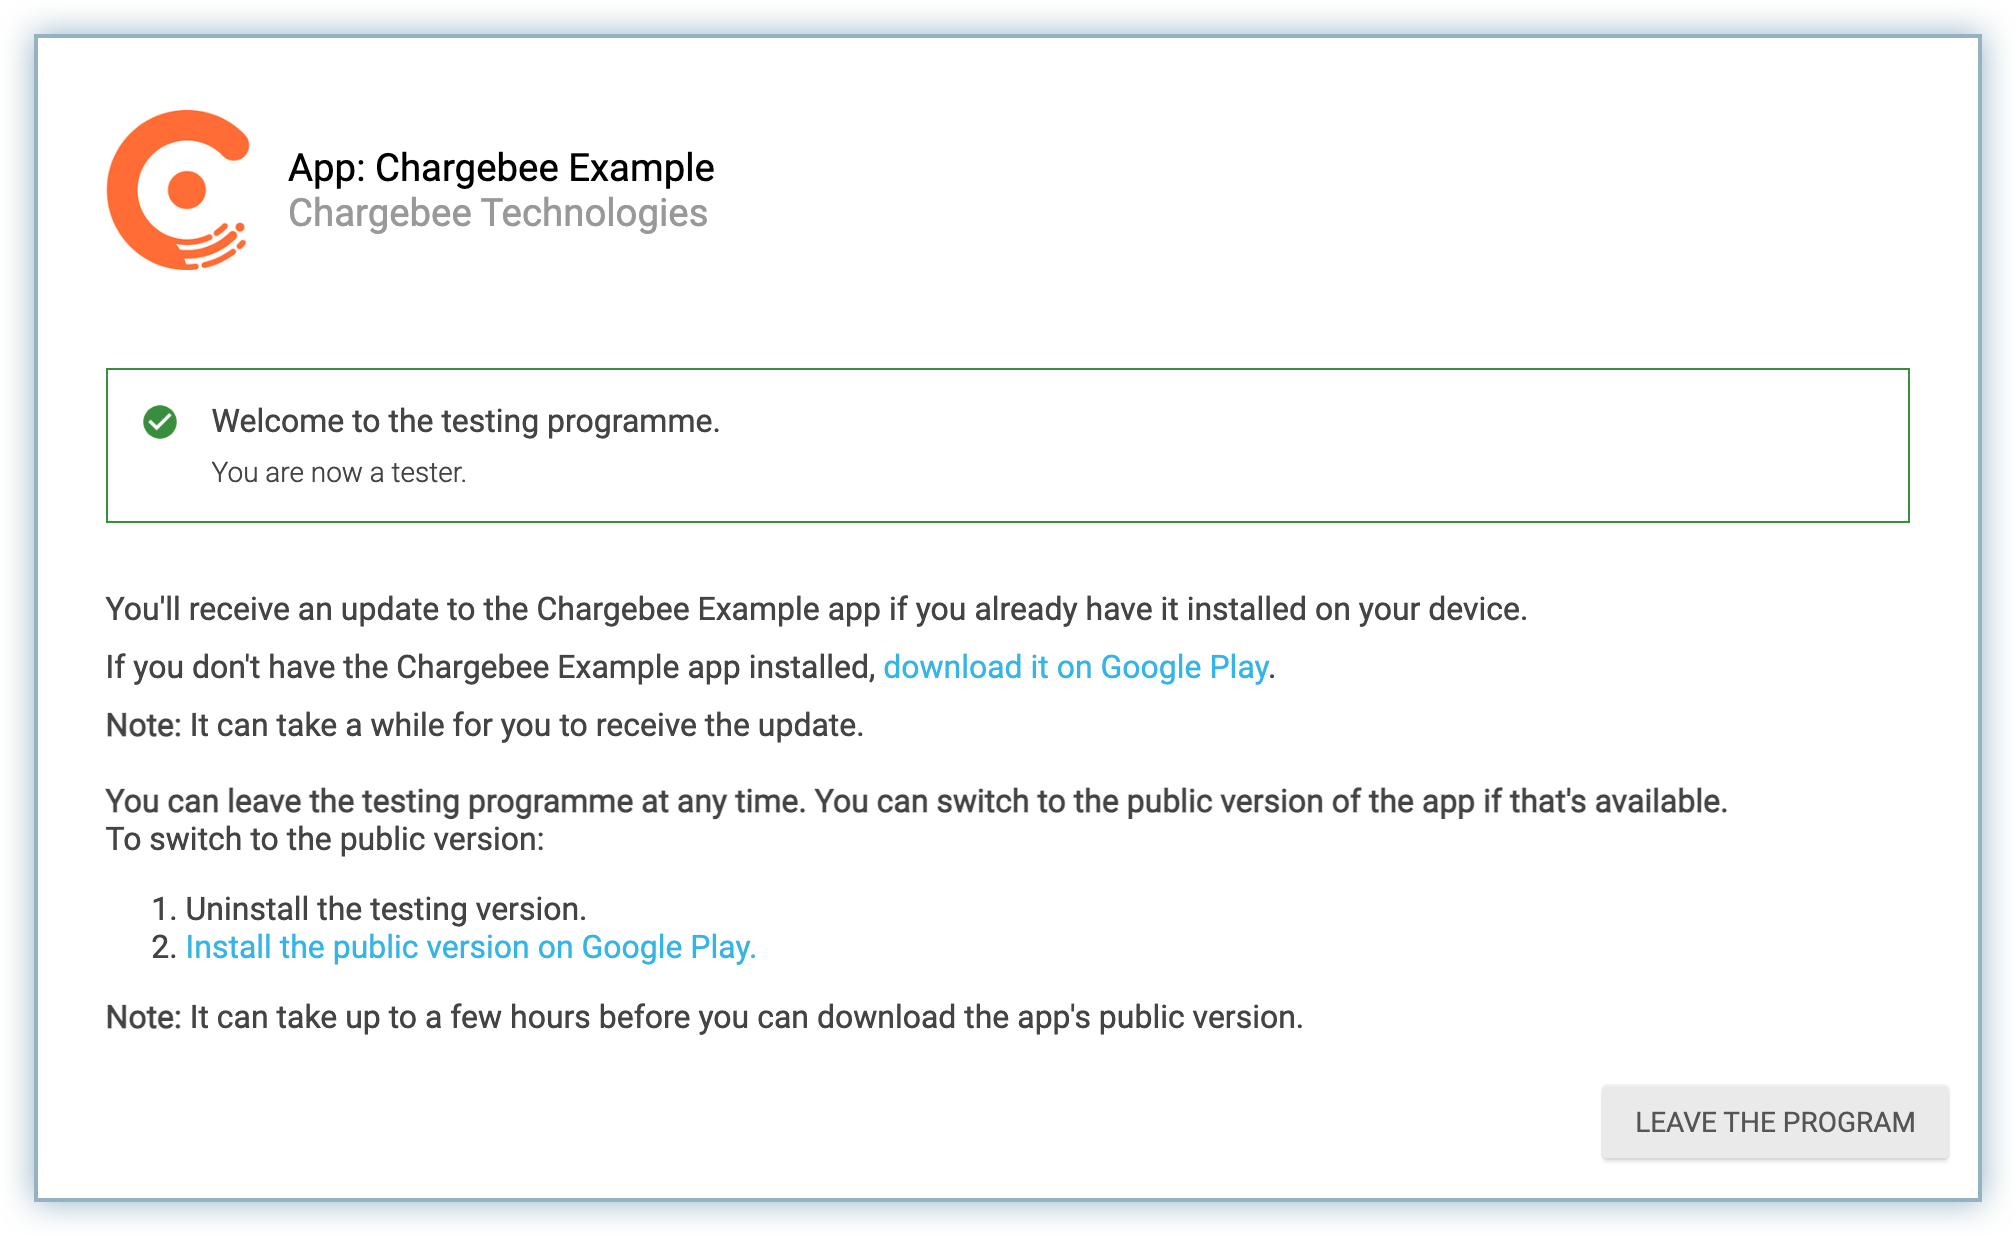
Click Accept Invite to proceed with testing. Below is a sample of the invite.
-
Follow the steps to download the app to their device or emulator prior to testing.
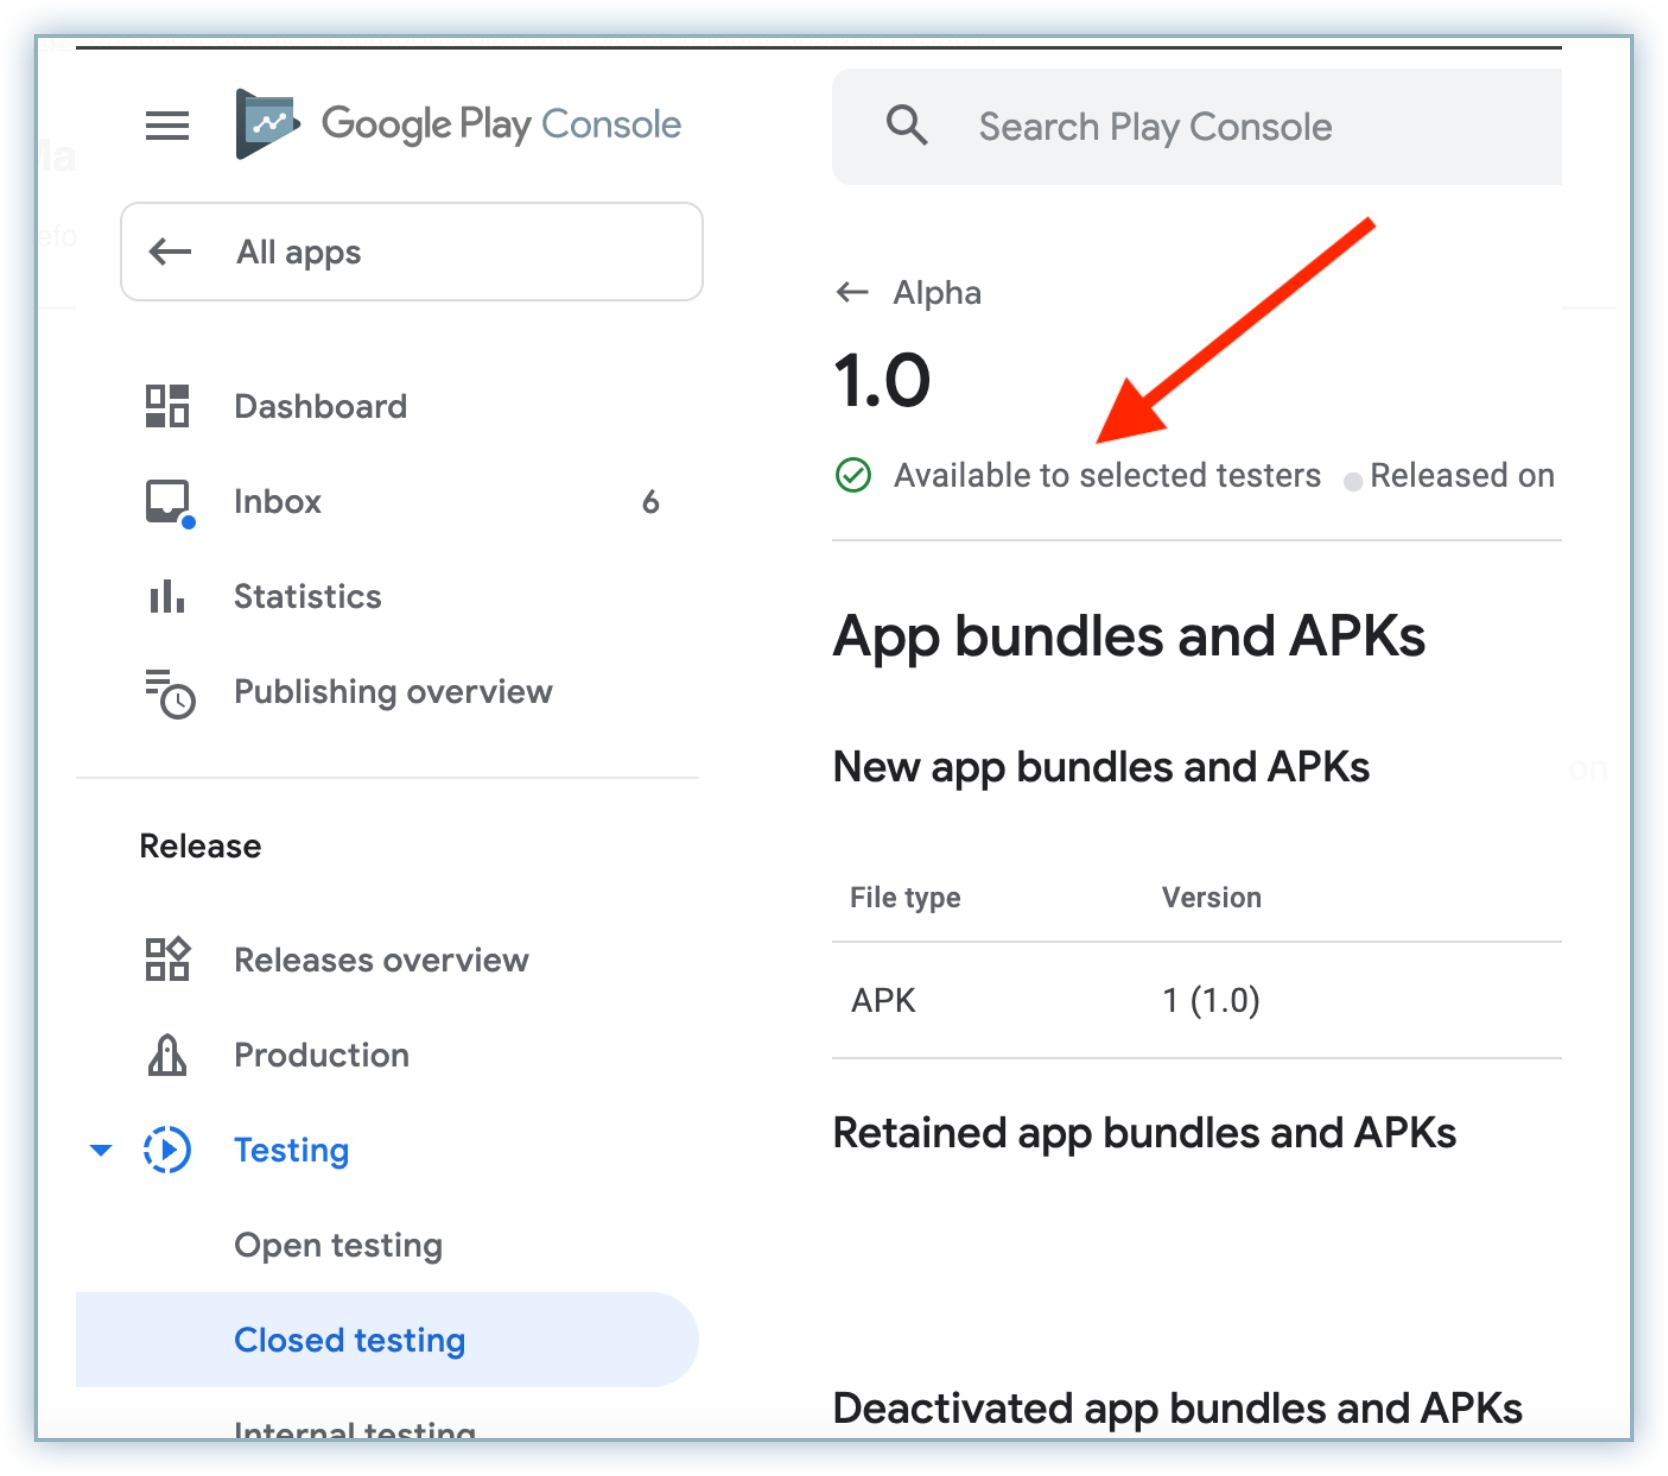
-
Prior to making a purchase, the tester must ensure the release is approved and is available for selected testers.
Note: Within the Sandbox environment, subscription renewals happen at a faster rate. Learn more about subscription renewals here.
See also
API References
Was this article helpful?