Go-live Checklist
Introduction
This go-live checklist will help you finalize the Live site after configuring your Chargebee Test site via the implementation guide. A Live site is one where transactions occur in real time, involving actual charges to payment methods and real income generation.
Activate your LIVE Site
To activate your Live site, follow these steps:
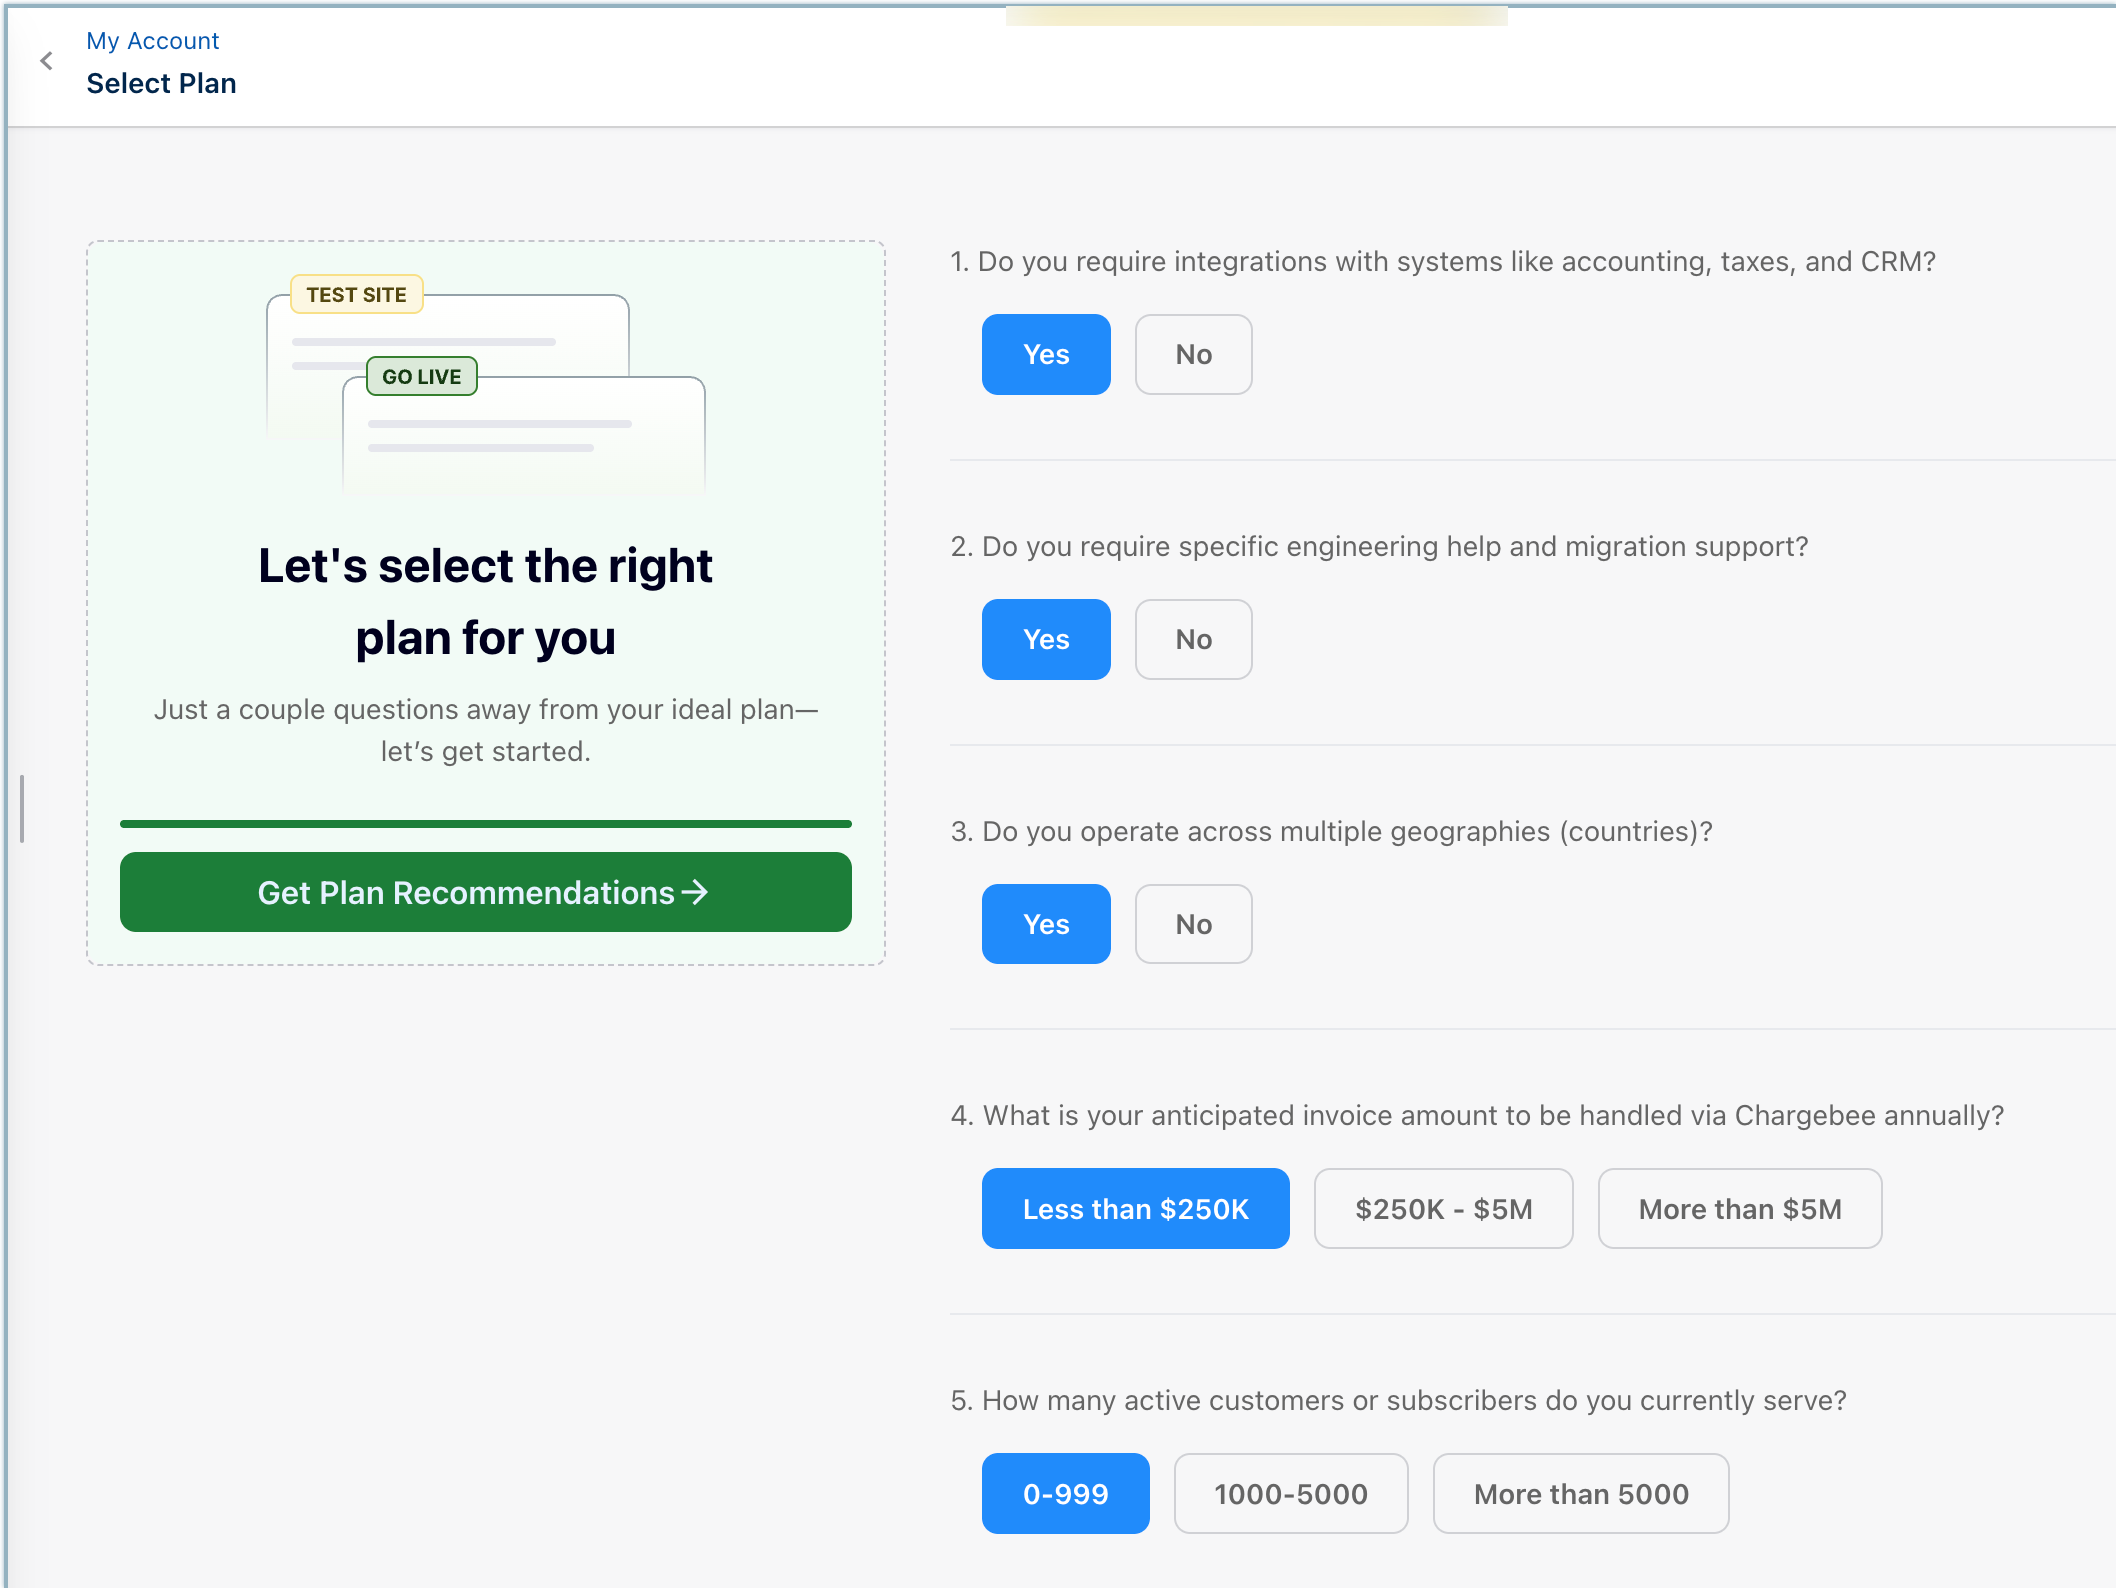
- Log in to Chargebee Billing and click Select Plan next to your test site. Refer to Chargebee plans and pricing to understand how you will be billed.
Note
The Select Plan option can also be accessed from two other locations once you have logged in to your test site. From the top left corner: Next to where you will see your test site, right above the left nav bar. From the bottom left corner: Inside your profile page.
After selecting a plan, Chargebee will guide through a series of onboarding steps.
- Choose your billing currency. Click Get started for free.

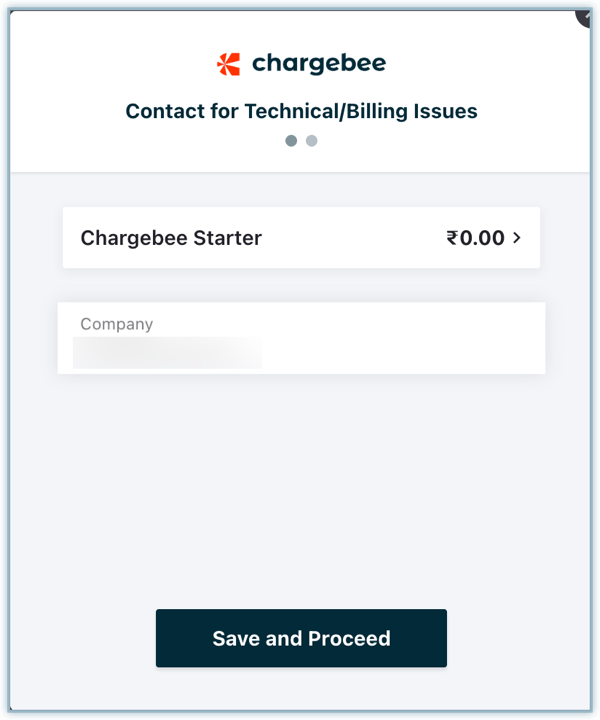
- Enter your company name. Click Save and Proceed.
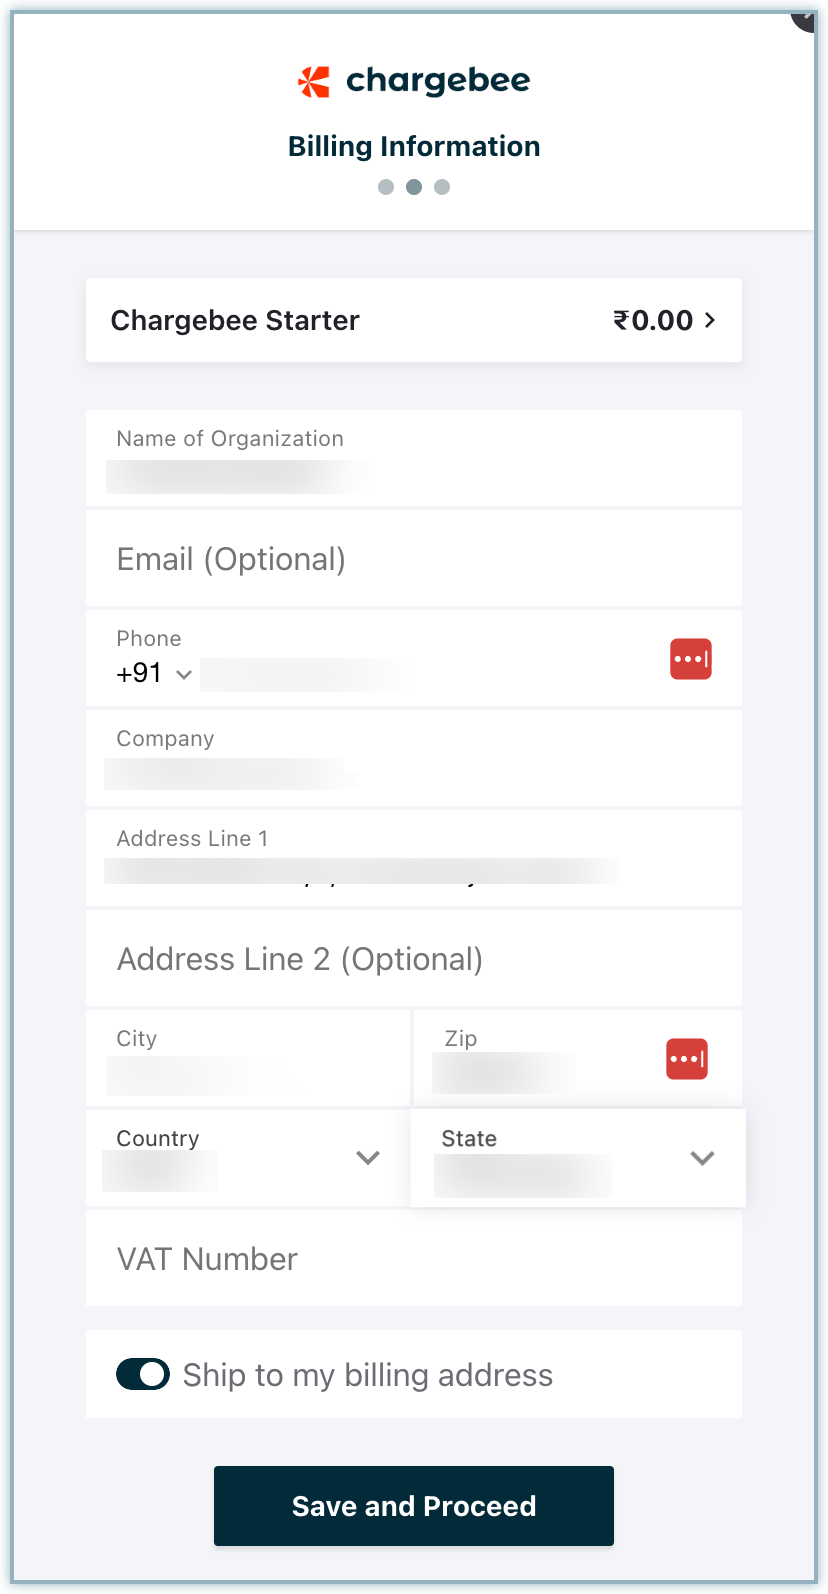
- Enter your billing information. Click Save and Proceed.
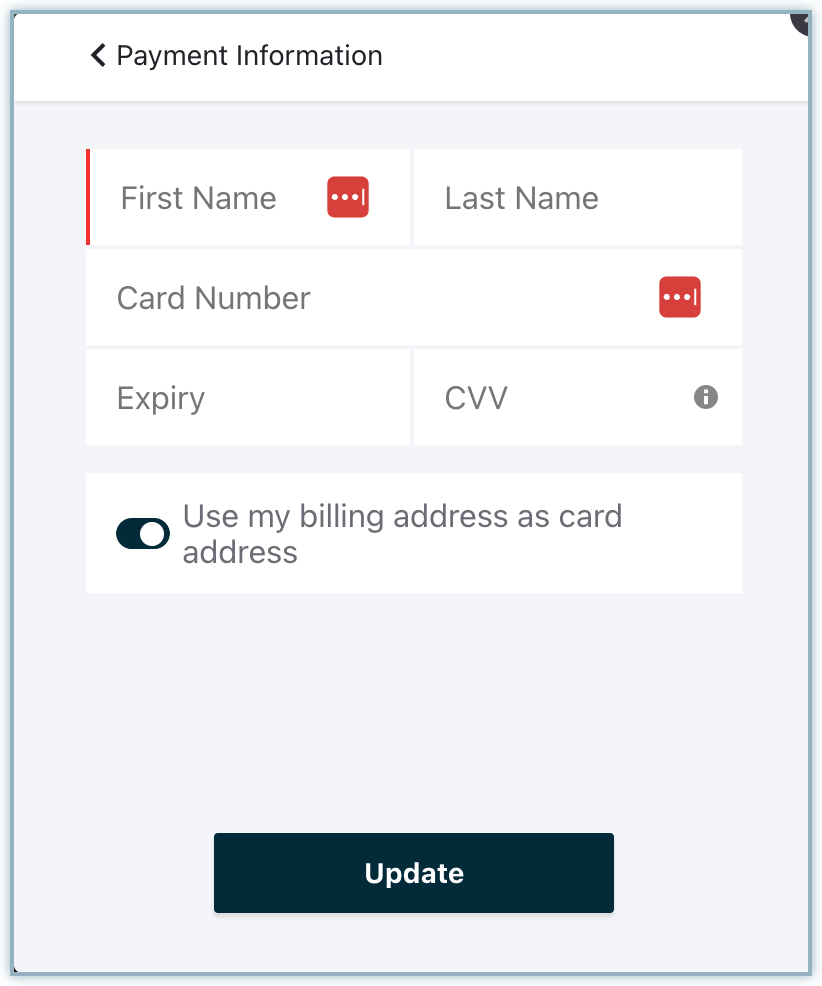
- Enter your credit card information and click Update.
- Review and agree to the terms. Click Get Started.
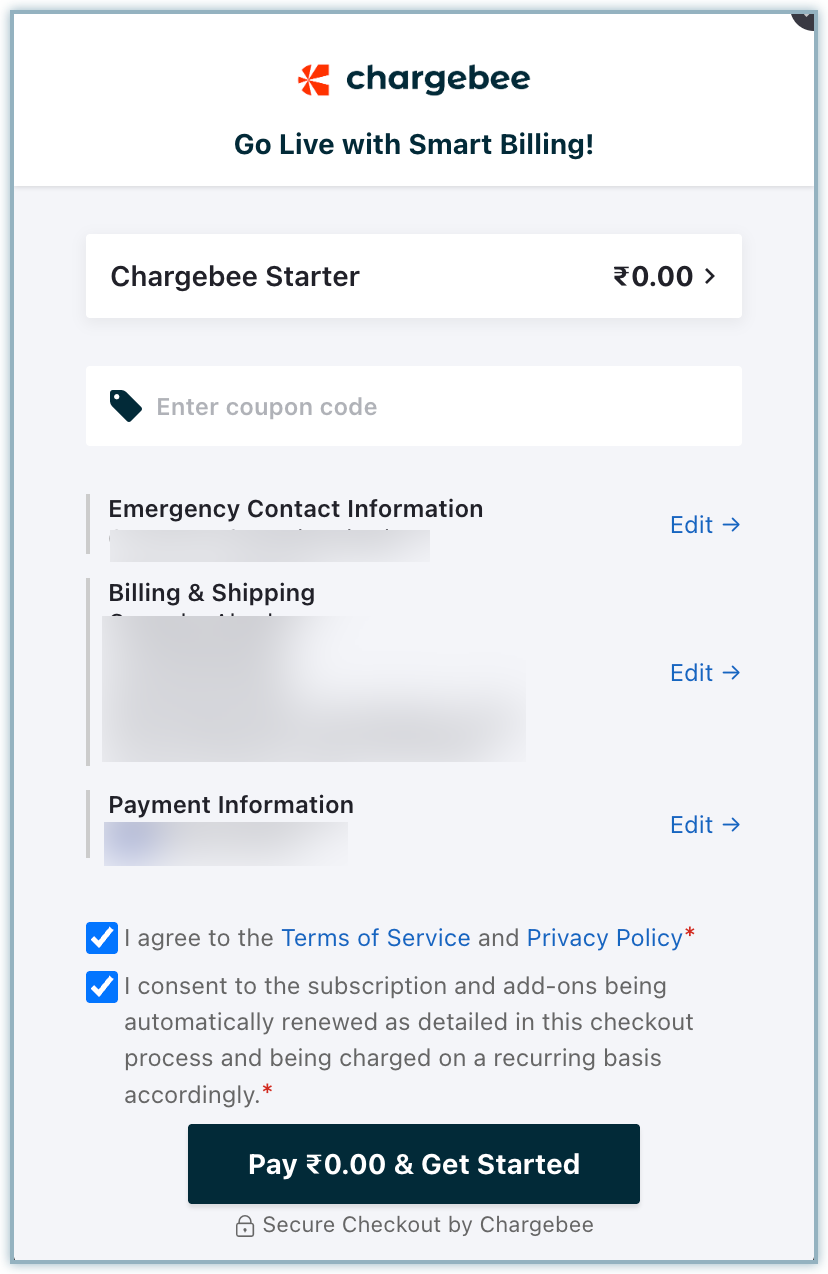
You will now be redirected to your Live site. You can switch between the Test site and Live site from the top-left corner where your test site’s name is displayed.
Note
Only Admin and Super Admin users can select a plan and activate the Live site.
Prerequisites
You need to put your credit card on file before using the Live site.
Follow these steps to update your credit card information.
Transfer Configurations
Kickstart the transfer process by prioritizing the migration of crucial configurations, products, and pricing data. You can select the following settings to transfer from the Test to the Live site. We recommend that you transfer everything:
- Settings
- Product Catalog
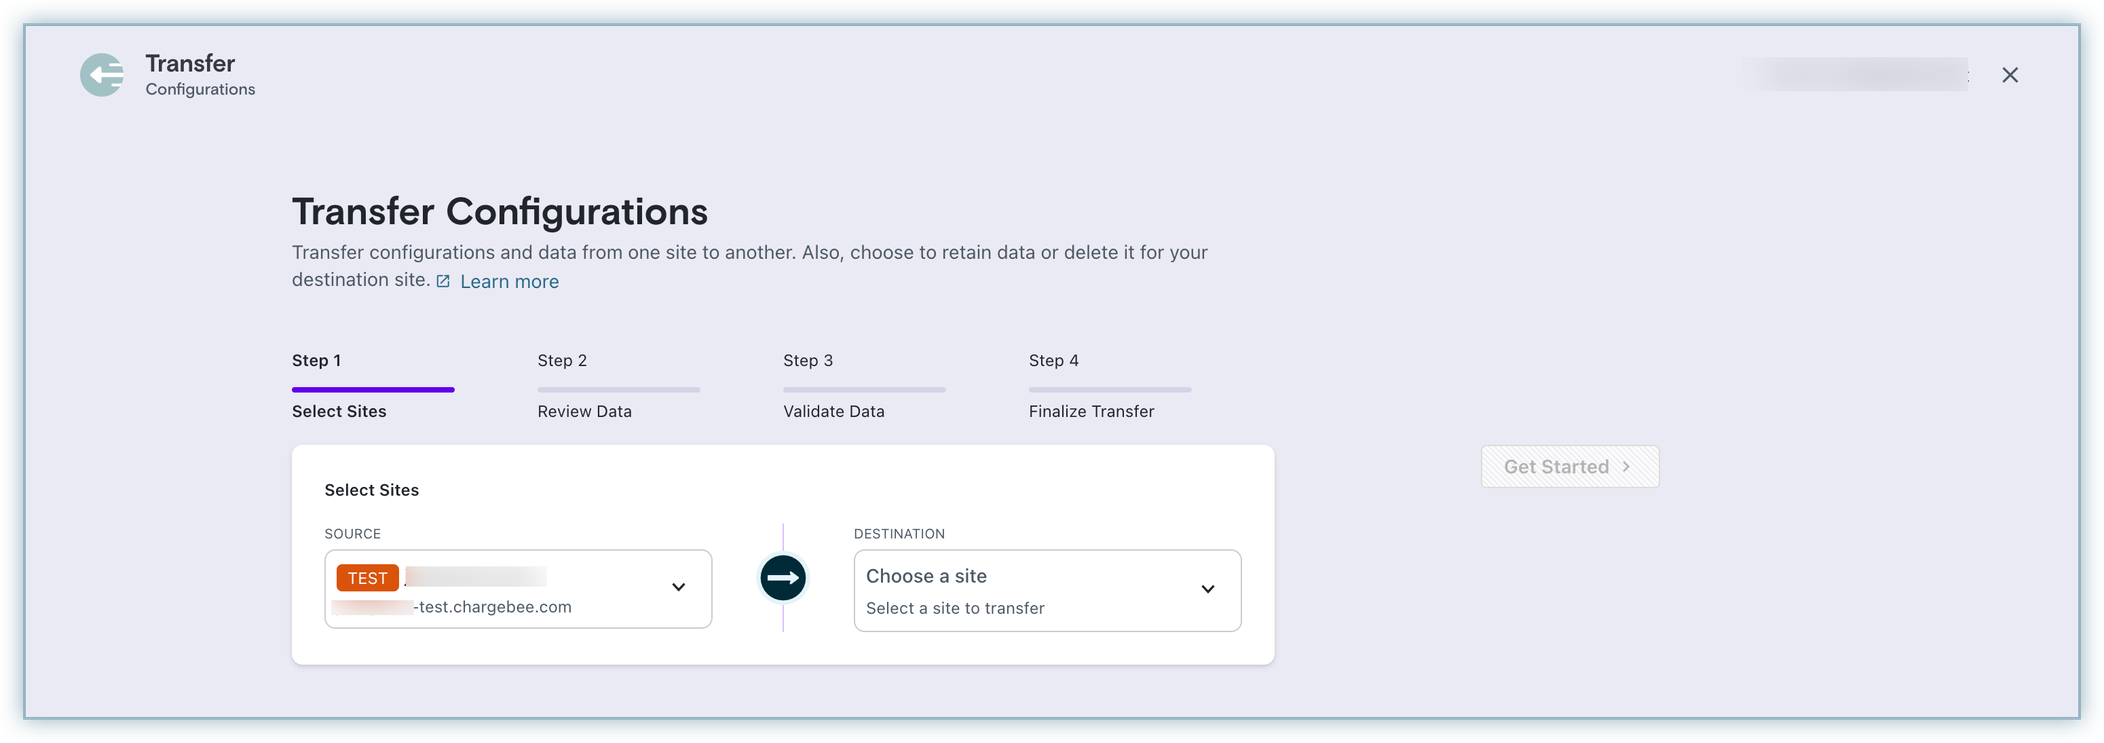
If you skipped any step on the TEST site implementation guide, you can either complete that first in the TEST Site and then transfer it or directly set it up on the LIVE site. To start the transfer, click Settings > Configure Chargebee > Transfer Configurations.
Learn more about Transfer Configurations.
Additional Settings
While you can use Transfer Configurations to transfer the majority of the settings and data from the Test and Live site, you need to re-configure the following settings on the LIVE Site.
1. Adding Users
When you have already invited users to your Test site and need those users to have access to your Live site as well, re-invite those users again from the Live site. In Chargebee, access is controlled at a site level, irrespective of the Test or Live site. Therefore, you need to invite users explicitly for each site.
2. Setting Up Payment Gateway
Connect your production/live version of your Payment Gateway to the LIVE site. about setting up a payment gateway.
3. Change API Keys for your Integrations
API Keys authenticate your application and control its access to the Chargebee API.
Note
API Keys for Test and Live sites are distinct from each other.
To create and configure the API keys, select Settings > Configure Chargebee > API Keys and Webhooks, and then click on the API Keys tab.
4. Change Domain Name for Checkout & Portal
If you have integrated Chargebee Checkout into your website, simply replace the domain name in your integration script or URL. For example: acme-test → acme.
5. Reconfigure Taxes
Reconfigure your tax settings on your live site. Click here to learn more about taxes.
Testing
We recommend that you run a few small-value test transactions with real cards in your Live site before offering it to your customers.
- Test your checkout flow by creating a new order/subscription using a plan with an amount and 0 trial days to ensure the card is charged immediately.
- After a subscription has been created and charged successfully, try to add a charge immediately after 20 minutes. This is to confirm that the recurring charges are successful.
- Cancel an order / subscription.
- Issue a partial refund.
- Issue a full refund.
Try these tests using all the card types that you've enabled.
To test billing configurations, you can use Time Machine a unique simulation tool designed to let users virtually travel back in time. It facilitates the testing of various features, including , consolidated invoicing, subscription states, scheduled subscription actions, and webhooks, helping you anticipate how the configured billing rules in your test site will perform in real-world scenarios.
Note
Once you have completed all the test transactions, please log in to your Live payment gateway account and check for corresponding entries there.
External Settings
There are a few things that you will need to have done outside of Chargebee:
1. SSL Certificate(s)
Security is non-negotiable, and it pays to have a proper SSL certificate, regardless of whether you let credit card information pass through your server or not.
Wildcard certificates are expensive but thankfully you do not need them, unless you intend to allow your customers to create subdomains under your site, just like Chargebee.
As a merchant, you will only need a single domain certificate with a named sub-domain, like app.xyz.com or billing.xyz.
The SSL certificate requirements differ based on how you integrate with Chargebee:
-
Chargebee's Checkout SSL Certificate is not mandatory for merchants using Chargebee's Checkout. However, we do recommend configuring HTTPS for the webhook URLs.
-
API-based/Custom Checkout Pages It is mandatory for merchants using custom checkout pages to have HTTPS configured. As credit card details are transferred via the merchant's servers, having an SSL certificate is mandatory.
-
Where to get SSL Certificates You can get an SSL certificate from many companies, and the price varies from $9 per year to $195 per year, depending on the provider. Here are a few that we suggest in an unordered list:
Setting up and installing SSL is quite easy and takes anywhere between 30 minutes to an hour approximately. All you need to do is buy the certificate from a trusted and renowned source and install it.
2. Compliance Requirements
As a customer of Chargebee using Chargebee's Checkout, all you have to do is to submit a Self Assessment Questionnaire (SAQ-A) to stay compliant (the basic level of compliance required).
Your exposure is minimal when using Chargebee Checkout with the basic declaration to submit to Payment Gateway. Some gateways ask for this SAQ-A form to be submitted once a year and some don't.
You may download the latest version of the SAQ-A document from the PCI Security Standards Website. It is under the SAQs section. For any queries, email security@chargebee.com.
3. Approved Payment Gateway and Merchant Account
If you don't already have an approved payment gateway and merchant account, you need to get them right away before going live. about the card payment method.
As part of your payment gateway settings, check these documents as well:
- Billing Address Requirements (should match your payment gateway setup)
- Supported List of Cards (Visa, Master, AMEX, Discover, JCB, Diners)
Post-Go-Live Optimization
Migration
You can migrate your data from any other billing provider or a Third-party system to Chargebee.
Users can opt for Self-migration using Chargebee's Bulk Operations or Import API(subscriptions, invoices) for API users. Alternatively, our migration team can assist with a smoother experience. To raise a request to our migration team, go to your Chargebee app and click Settings > Import and Export data > Raise a migration request.
Was this article helpful?