Payment Instructions
Overview
Providing offline payment methods to your customers to pay for your products and services via bank transfer, PayPal, or credit transfers is critical and offers more flexibility to customers. While doing so, Chargebee allows you to provide complete payment instructions to customers that are displayed on the invoice PDFs.
For example, if your customer wants to pay through bank transfer, you can configure payment instructions to share your bank details on the invoice PDF so that your customer can make payments seamlessly.
Payment instructions can be configured in Chargebee for the following payment methods:
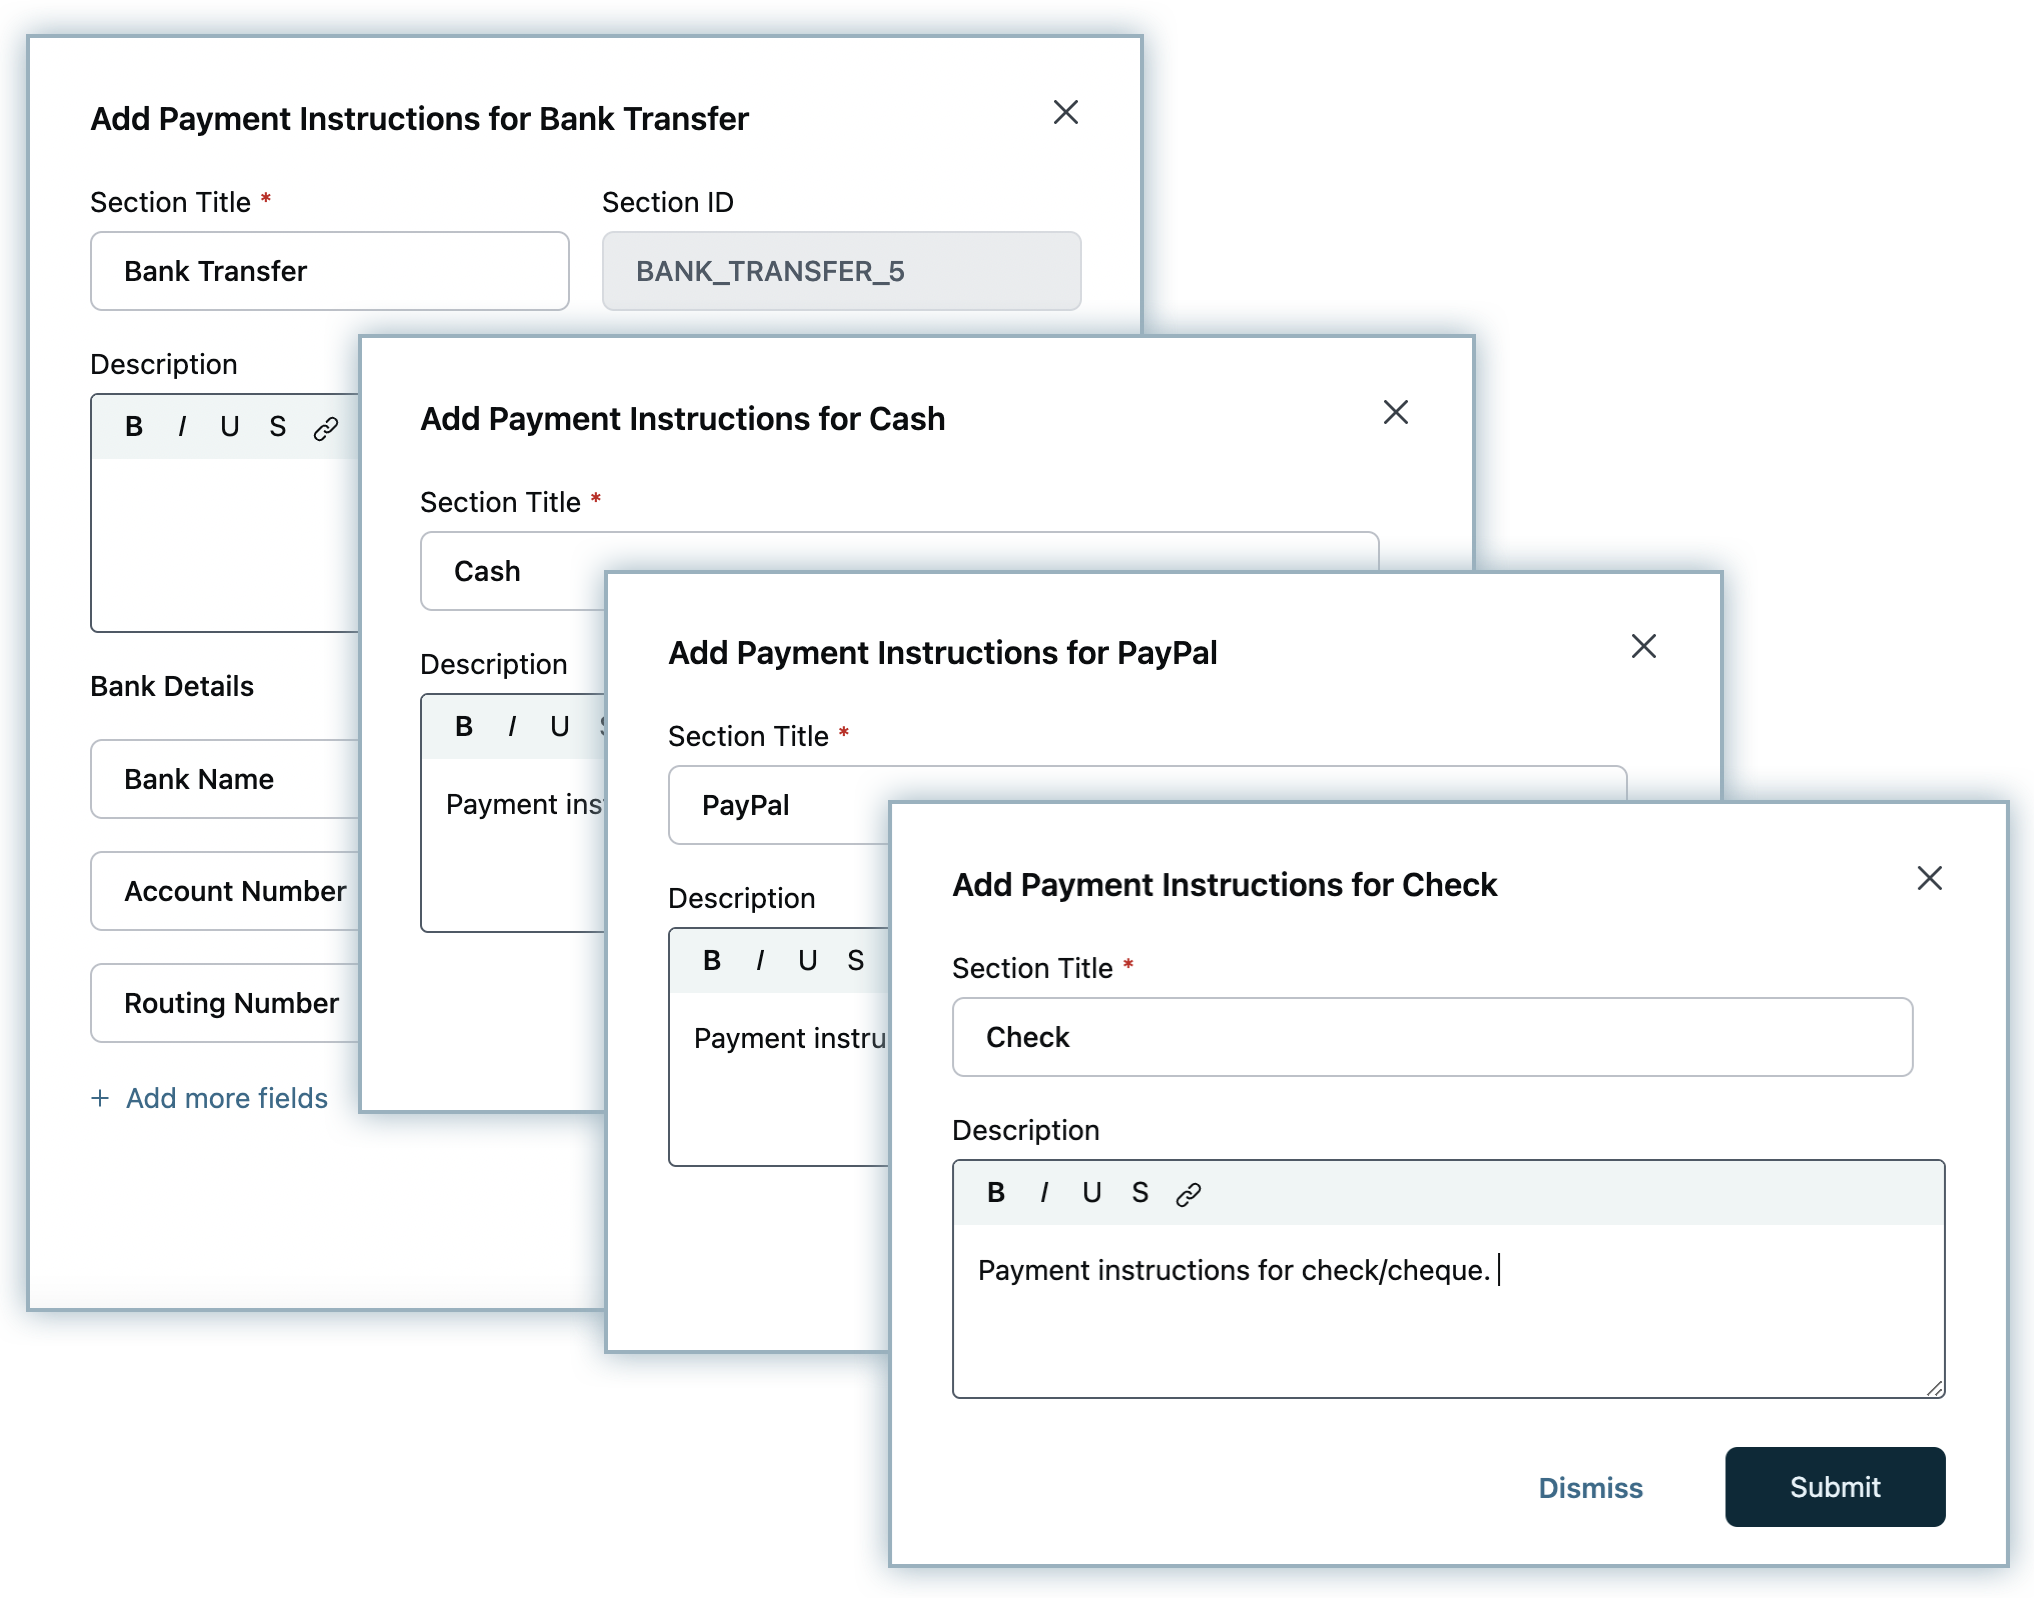
Bank Transfers: You may have different bank transfer particulars for different regions. Any number of Bank Transfer type payment instructions can be added to the invoice PDF. For every instruction, up to nine fields can be added.
PayPal: For PayPal instructions, a section title and description can be specified. Only one PayPal payment instruction may be configured for your site.
ACH Credit Transfer: This option appears under Payment Instructions automatically when enabled and is removed when Stripe ACH credit transfer is disabled. You cannot manually add or remove this payment instruction. Only one ACH credit transfer payment instruction can be configured for your site. If a customer has a Stripe virtual bank account, the ACH credit transfer instruction (if enabled) is included in their invoice PDFs. If the ACH credit transfer instruction is present, bank transfer instructions are not included in the PDF.
SEPA Credit Transfer: This option appears under Payment Instructions automatically when enabled and is removed when Stripe SEPA credit transfer is disabled. You cannot manually add or remove this payment instruction. Only one SEPA credit transfer payment instruction can be configured for your site. If a customer has a Stripe virtual bank account, the SEPA credit transfer instruction (if enabled) is included in their PDF invoices. If the SEPA credit transfer instruction is present, bank transfer instructions are not included in the PDF.
Adding Payment Instructions
To add payment instructions in your Chargebee site, follow these steps:
-
Click Settings > Configure Chargebee > Customize invoices, credit notes and quotes > Invoices > Payment Instructions, and click Manage.
-
On the Payment Instructions page, click Add Payment Instruction.
-
Select the payment method for which you are adding the payment instruction. You can select from the following options:
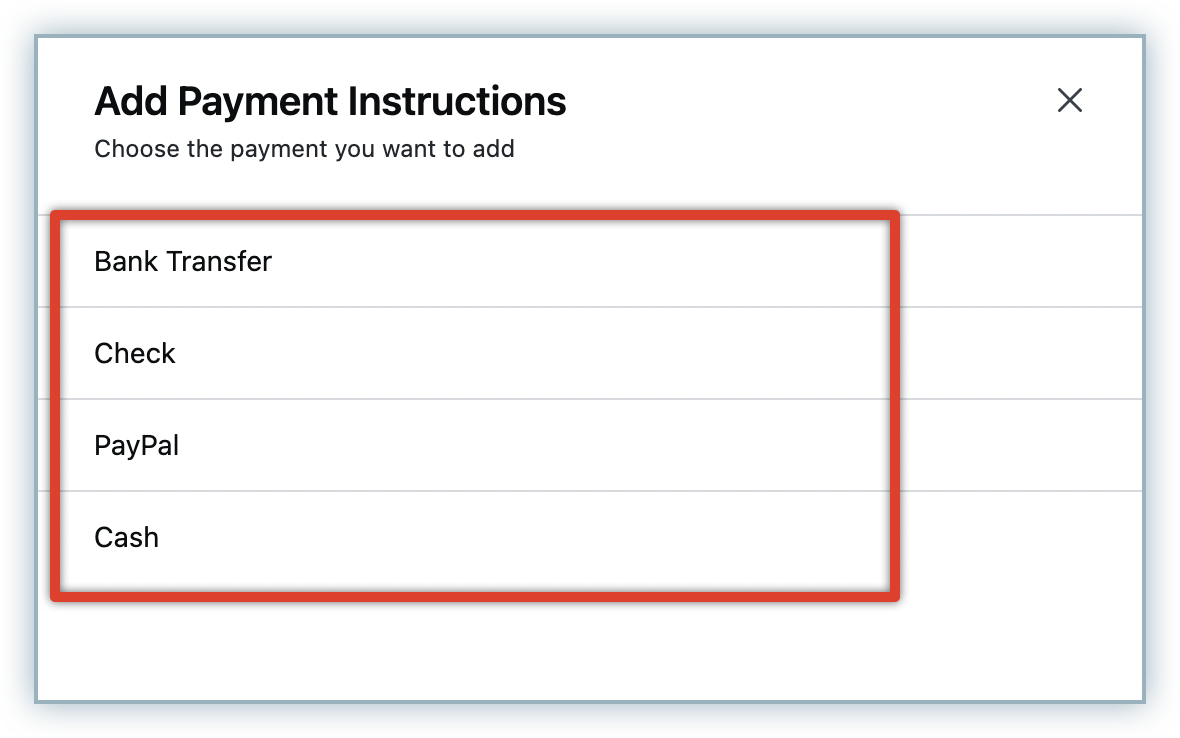
- Bank Transfer
- Check
- PayPal
- Cash
- ACH/SEPA Credit Transfer (available only when applicable)
-
On the Add Payment instructions for payment method popup, specify a section title for the instruction, add other details and click Save.
-
Click Add Payment Instruction to add more instructions as required.
-
Once you're done, click Apply changes.
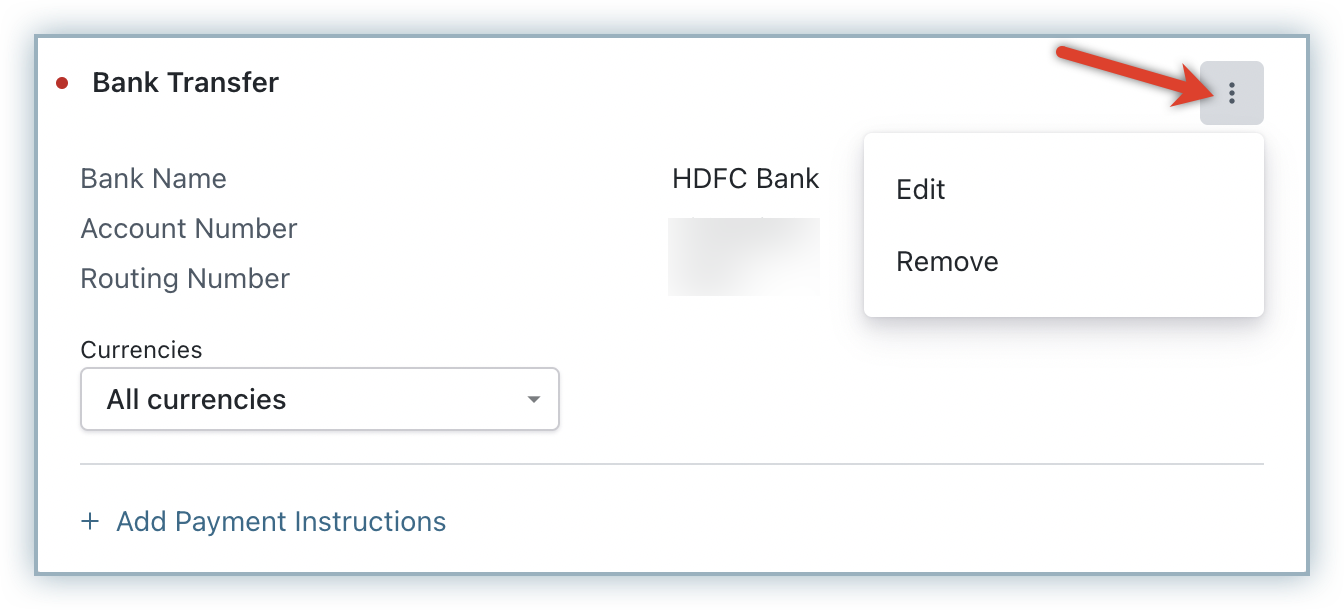
Your payment instructions are successfully added. Click the ellipsis icon on a payment instructions to modify or remove it.
Localization is supported for all the information fields under Payment Instructions. Learn more about configuring multiple languages for localization here.
Smart Payment Instructions
If you are a business selling globally using multiple currencies, you could accept payments to multiple bank accounts and eventually add multiple payment instructions in Chargebee. Chargebee allows you to add multiple payment instructions. However, displaying all payment instructions to all customers is not only unnecessary but could also confuse your customers.
Chargebee allows you to personalize your payment instructions based on customer details such as the invoice currency or the customer's billing country.
Note
When a payment instruction is added, it is crucial that any such information that may have been added via invoice notes, be removed. Since past invoices may already have such notes associated with them, Chargebee restricts adding new payment instructions to PDFs of regenerated invoices to avoid duplication. However, you may contact support if you would still like to remove this restriction for your site.
Configuring Smart Payment Instructions
After you've added all necessary payment instructions in your Chargebee site, you can further customize which ones you would like to send to your customers based on various factors. To configure personalized payment instructions, follows these steps:
-
Click Settings > Configure Chargebee > Customize Invoices, credit notes and quotes > Invoices > Payment Instructions, and click Manage.
-
On the Payment Instructions page, under Choose payment instructions you would like to send customers in your invoices, click the drop down and select from the following options:
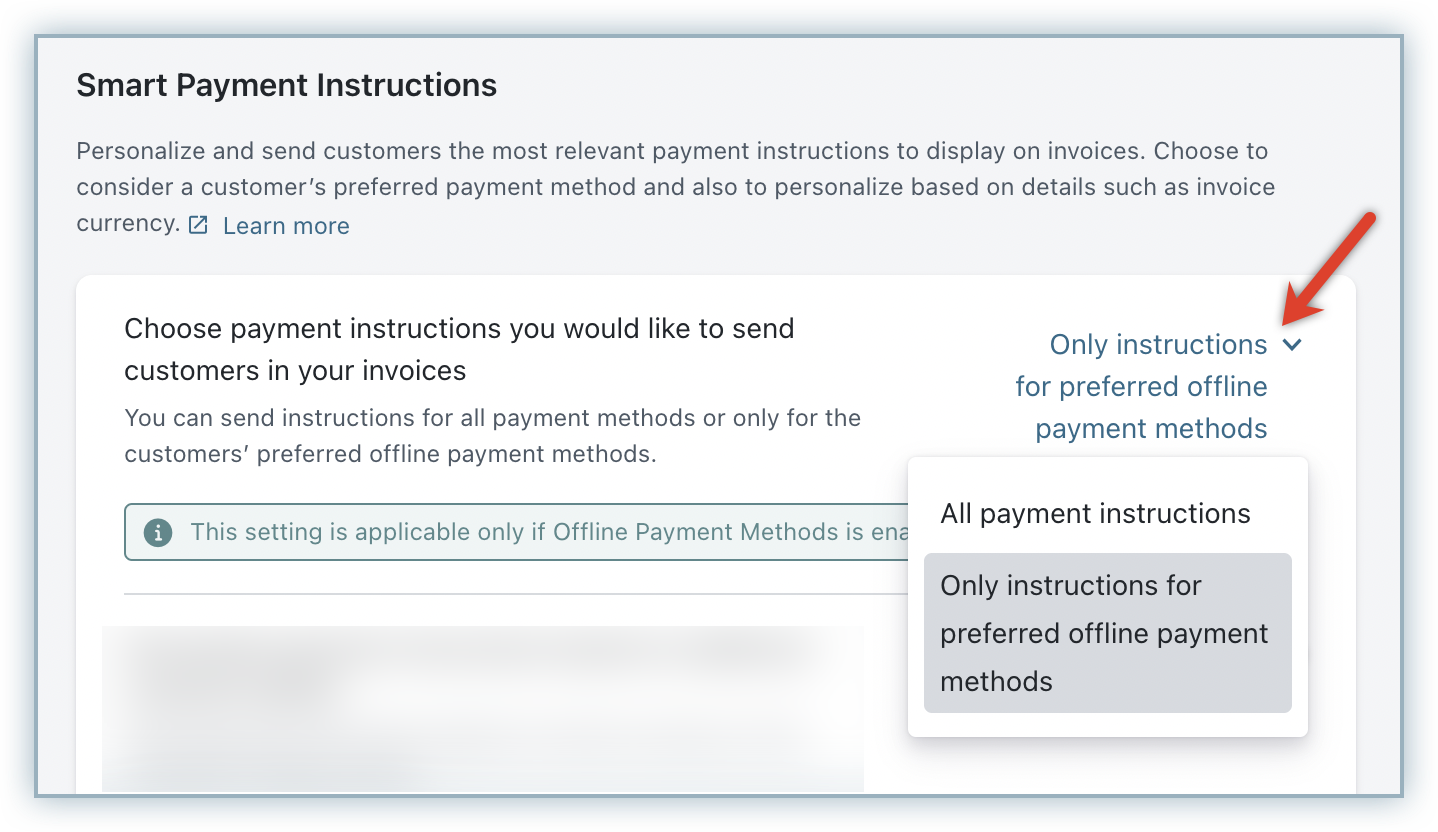
- All payment instructions: All payment instructions will be displayed on the invoice PDF.
- Only instructions for preferred offline payment methods: Only the payment instruction of the associated customer's offline payment method will be displayed on the invoice PDF.
-
Enable the toggle to further Personalize payment instructions based on additional customer details.
-
Under Choose customer detail, select the customer detail based on which you want to send payment instructions. You can select from the following options:
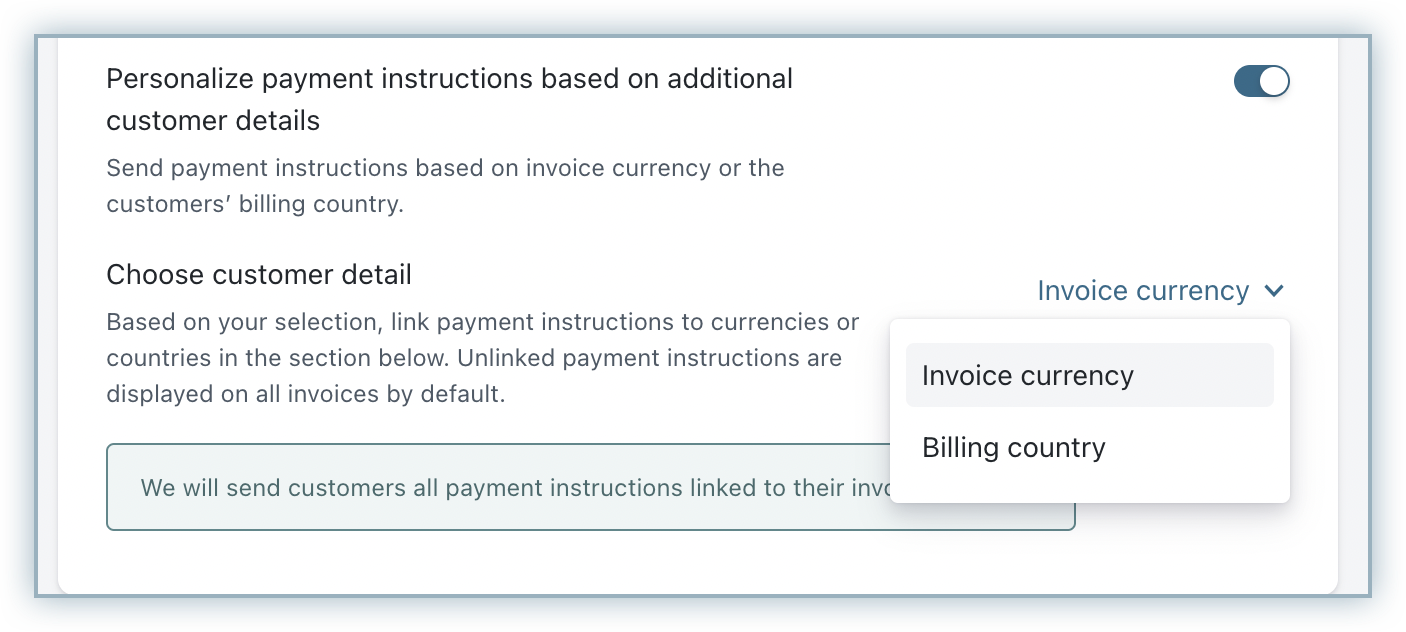
- Invoice currency: Chargebee sends the payment instructions based on the associated invoice currency of the customer. You need to link relevant currencies to all payment instructions that you have added. To link currencies to your payment instructions,
- Click the Currencies drop-down under a payment instruction.
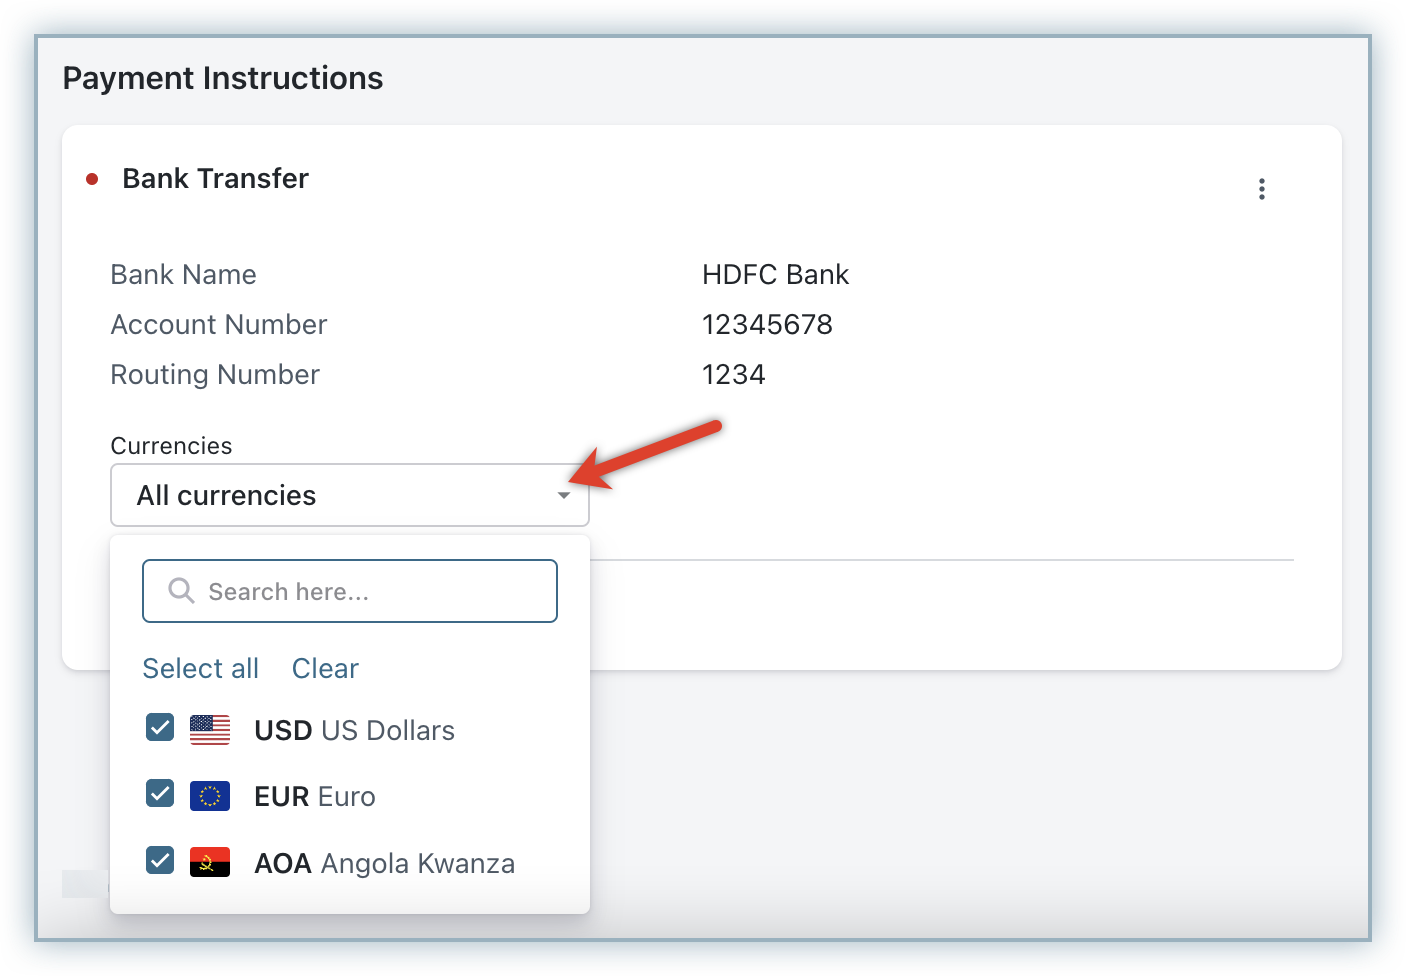
- Select the preferred currencies, or select All currencies if the payment instruction is applicable to all currencies. If you select All Currencies, any currency that you add in the future gets automatically associated with the payment instruction.
- Link currencies to all payment instructions.
- Click the Currencies drop-down under a payment instruction.
- Billing country: Chargebee sends the payment instructions based on the associated billing country of the customer. You need to link relevant countries to all payment instructions that you have added. To link countries to your payment instructions,
- Click the Countries drop-down under a payment instruction.
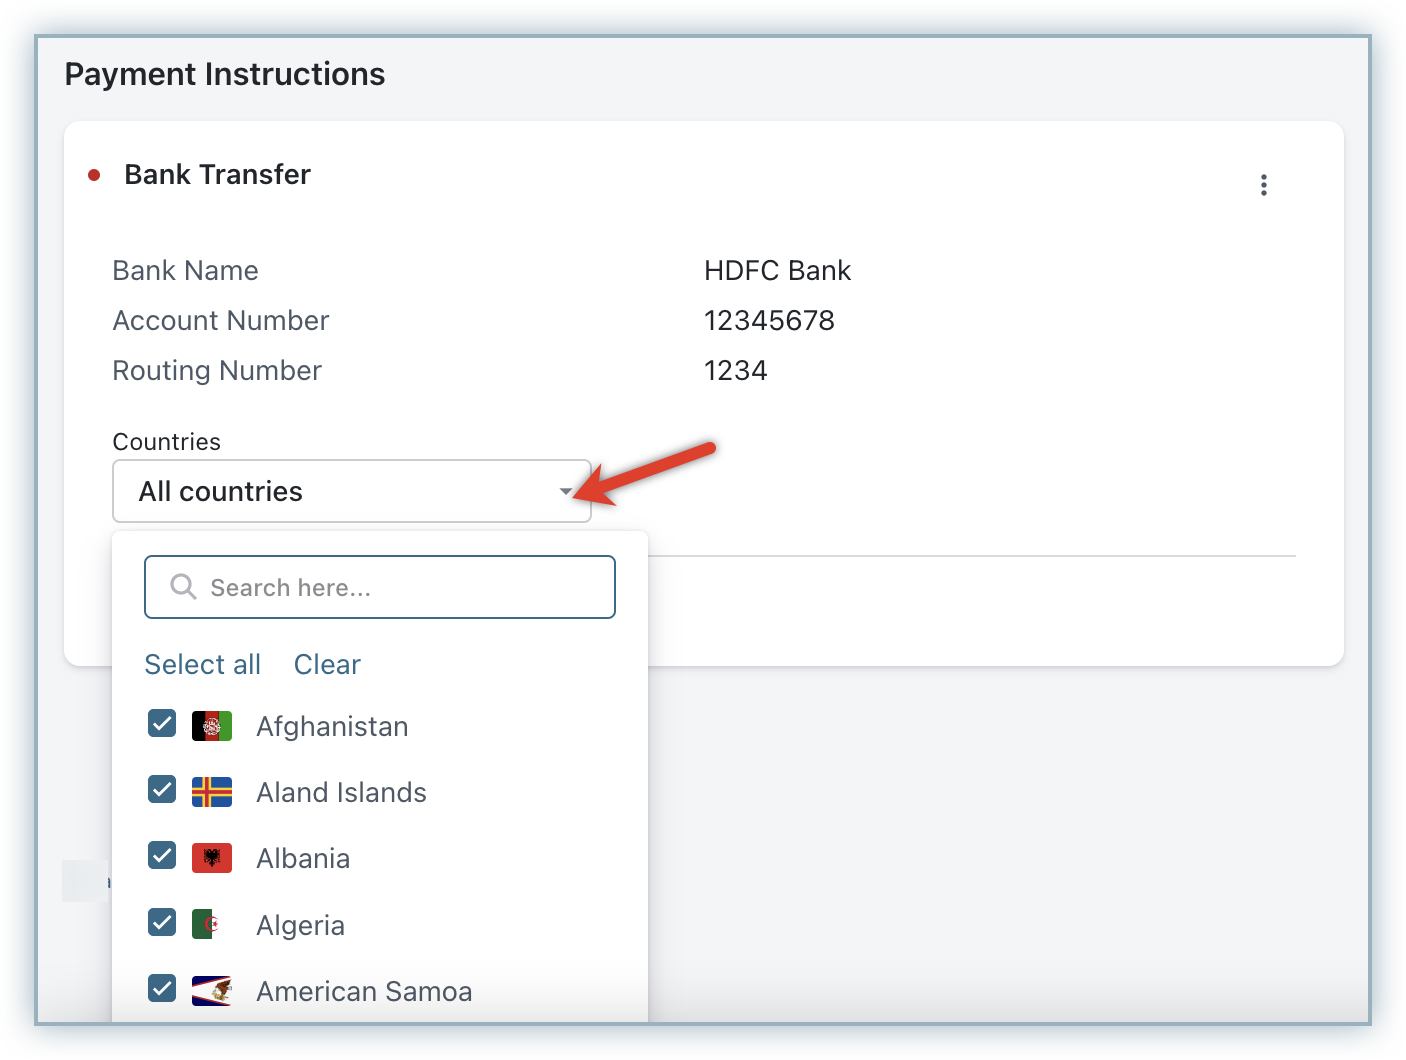
- Select the preferred countries, or select All countries if the payment instruction is applicable to all countries.
- Link countries to all payment instructions.
- Click the Countries drop-down under a payment instruction.
- Invoice currency: Chargebee sends the payment instructions based on the associated invoice currency of the customer. You need to link relevant currencies to all payment instructions that you have added. To link currencies to your payment instructions,
-
Click Done.
You have successfully configured payment instructions personalization. Customers will only receive payment instructions that are relevant to them.
Was this article helpful?