Set up Automatic Exports to Azure ADLS
Register an Azure App
This part describes the steps to create an App Registration in Microsoft Entra ID (Azure AD) and generate credentials required for application authentication.
Prerequisites
- Access to the Azure Portal.
- Permissions to create App Registrations in Microsoft Entra ID.
1. Sign in to Azure Portal
Log in to the Azure Portal using your organizational account.
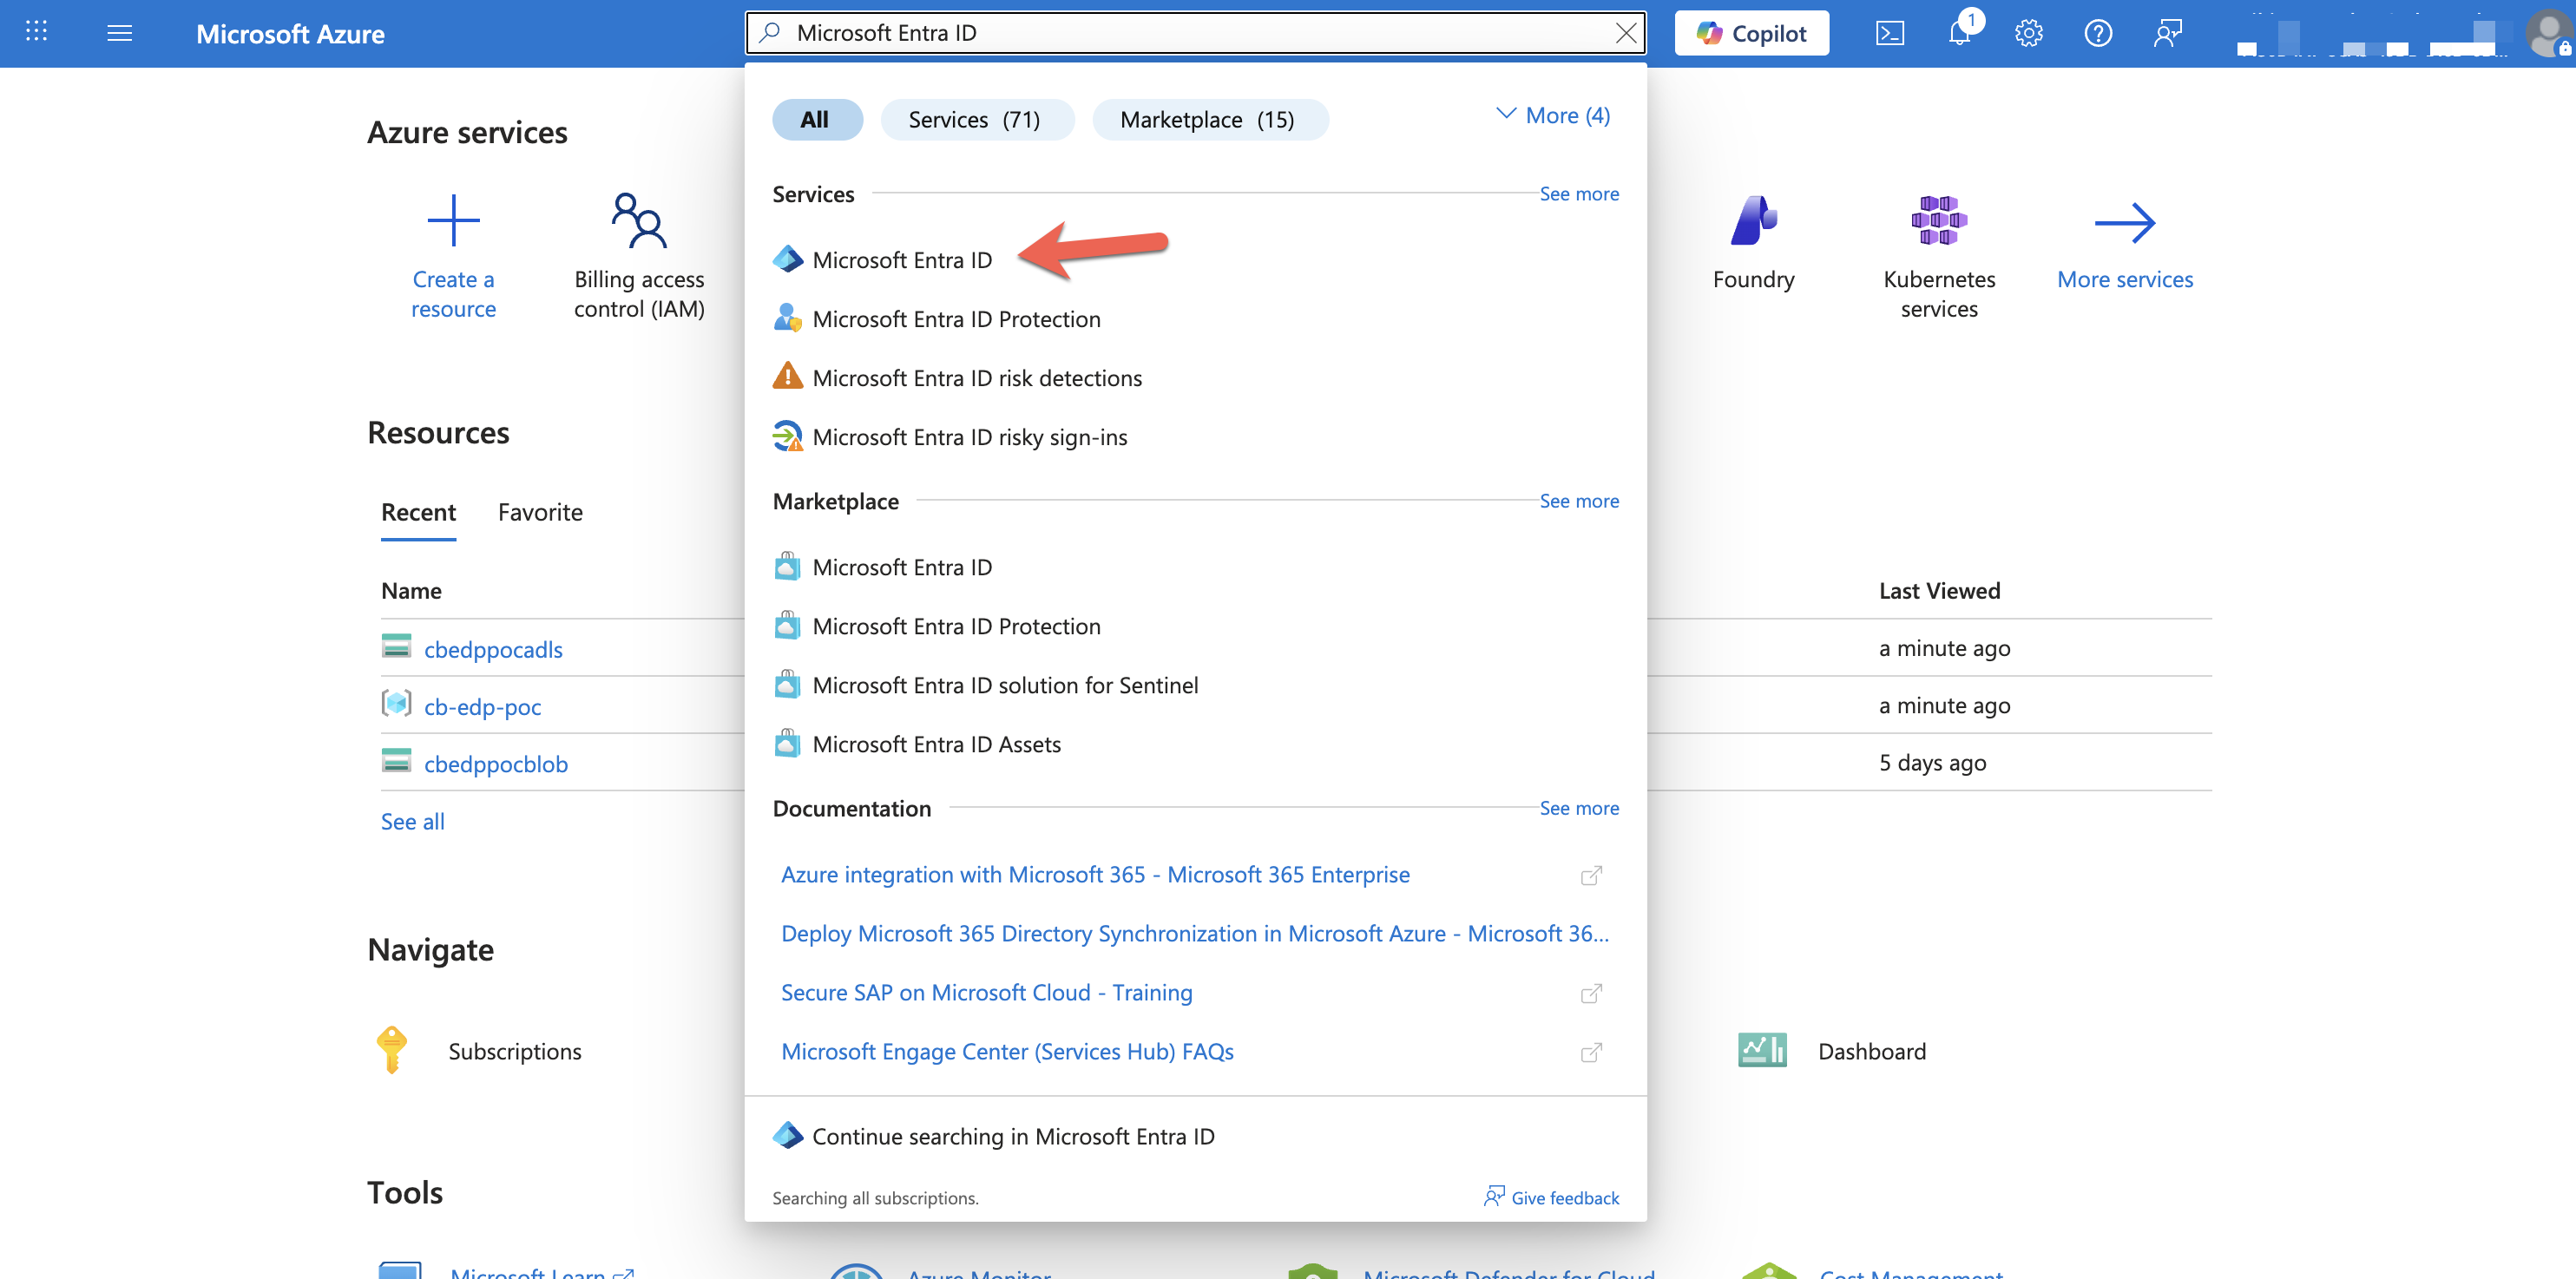
2. Navigate to Microsoft Entra ID
- In the search bar, search for Microsoft Entra ID.
- Select Microsoft Entra ID from the results.
3. Open App Registrations
From the left navigation pane, navigate to Manage > App registrations.
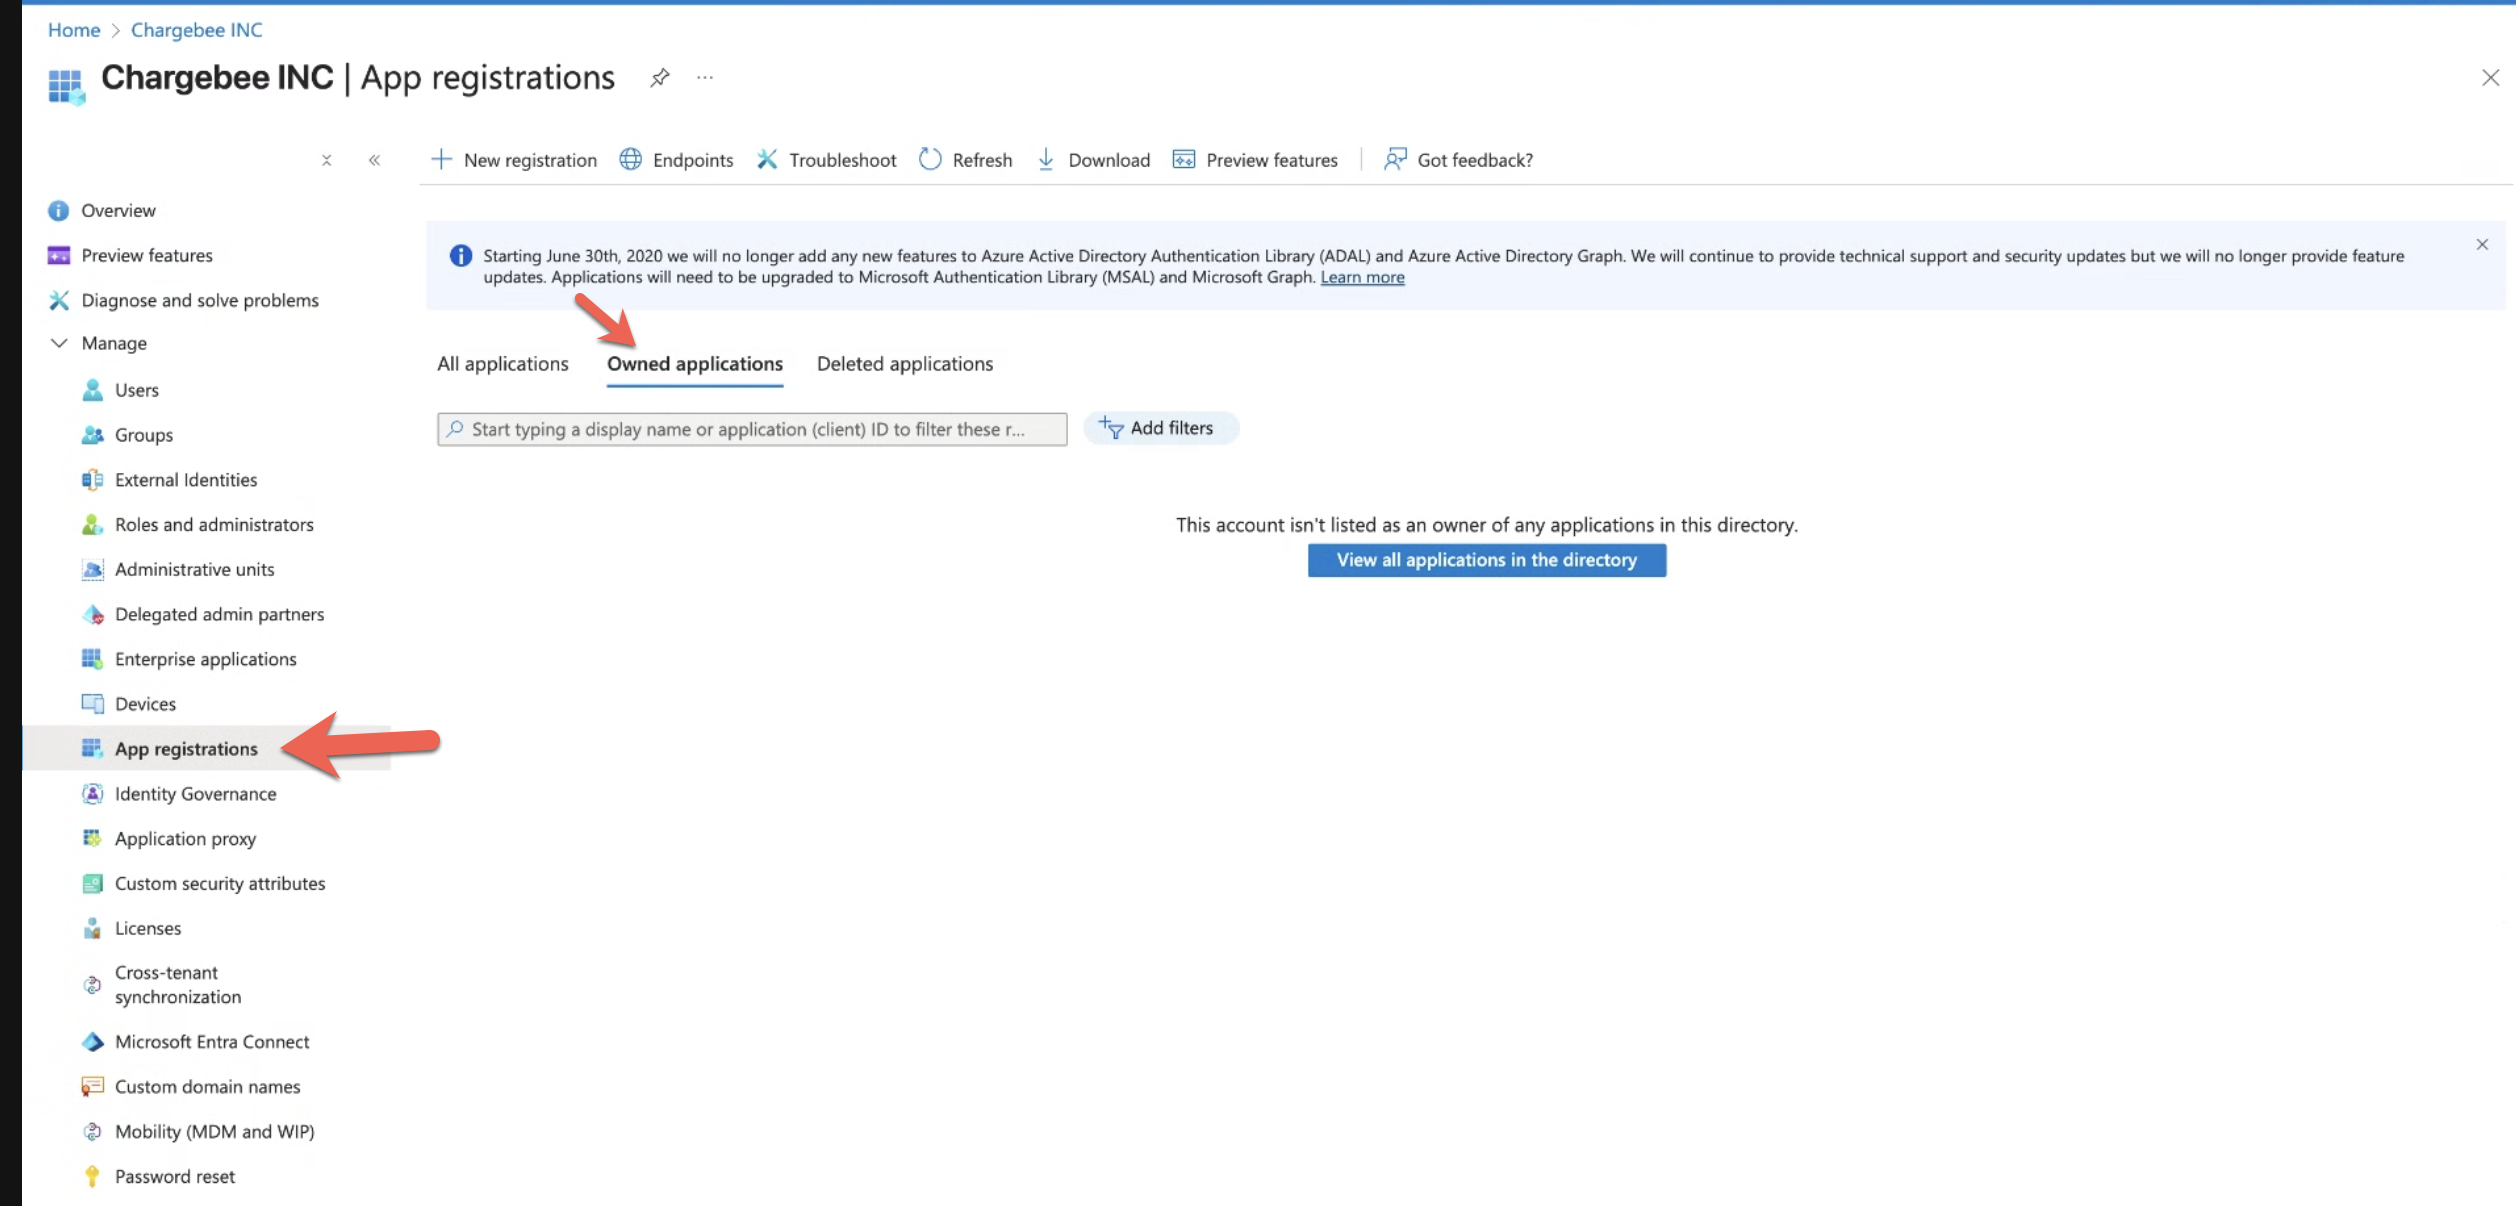
4. Create a New App Registration
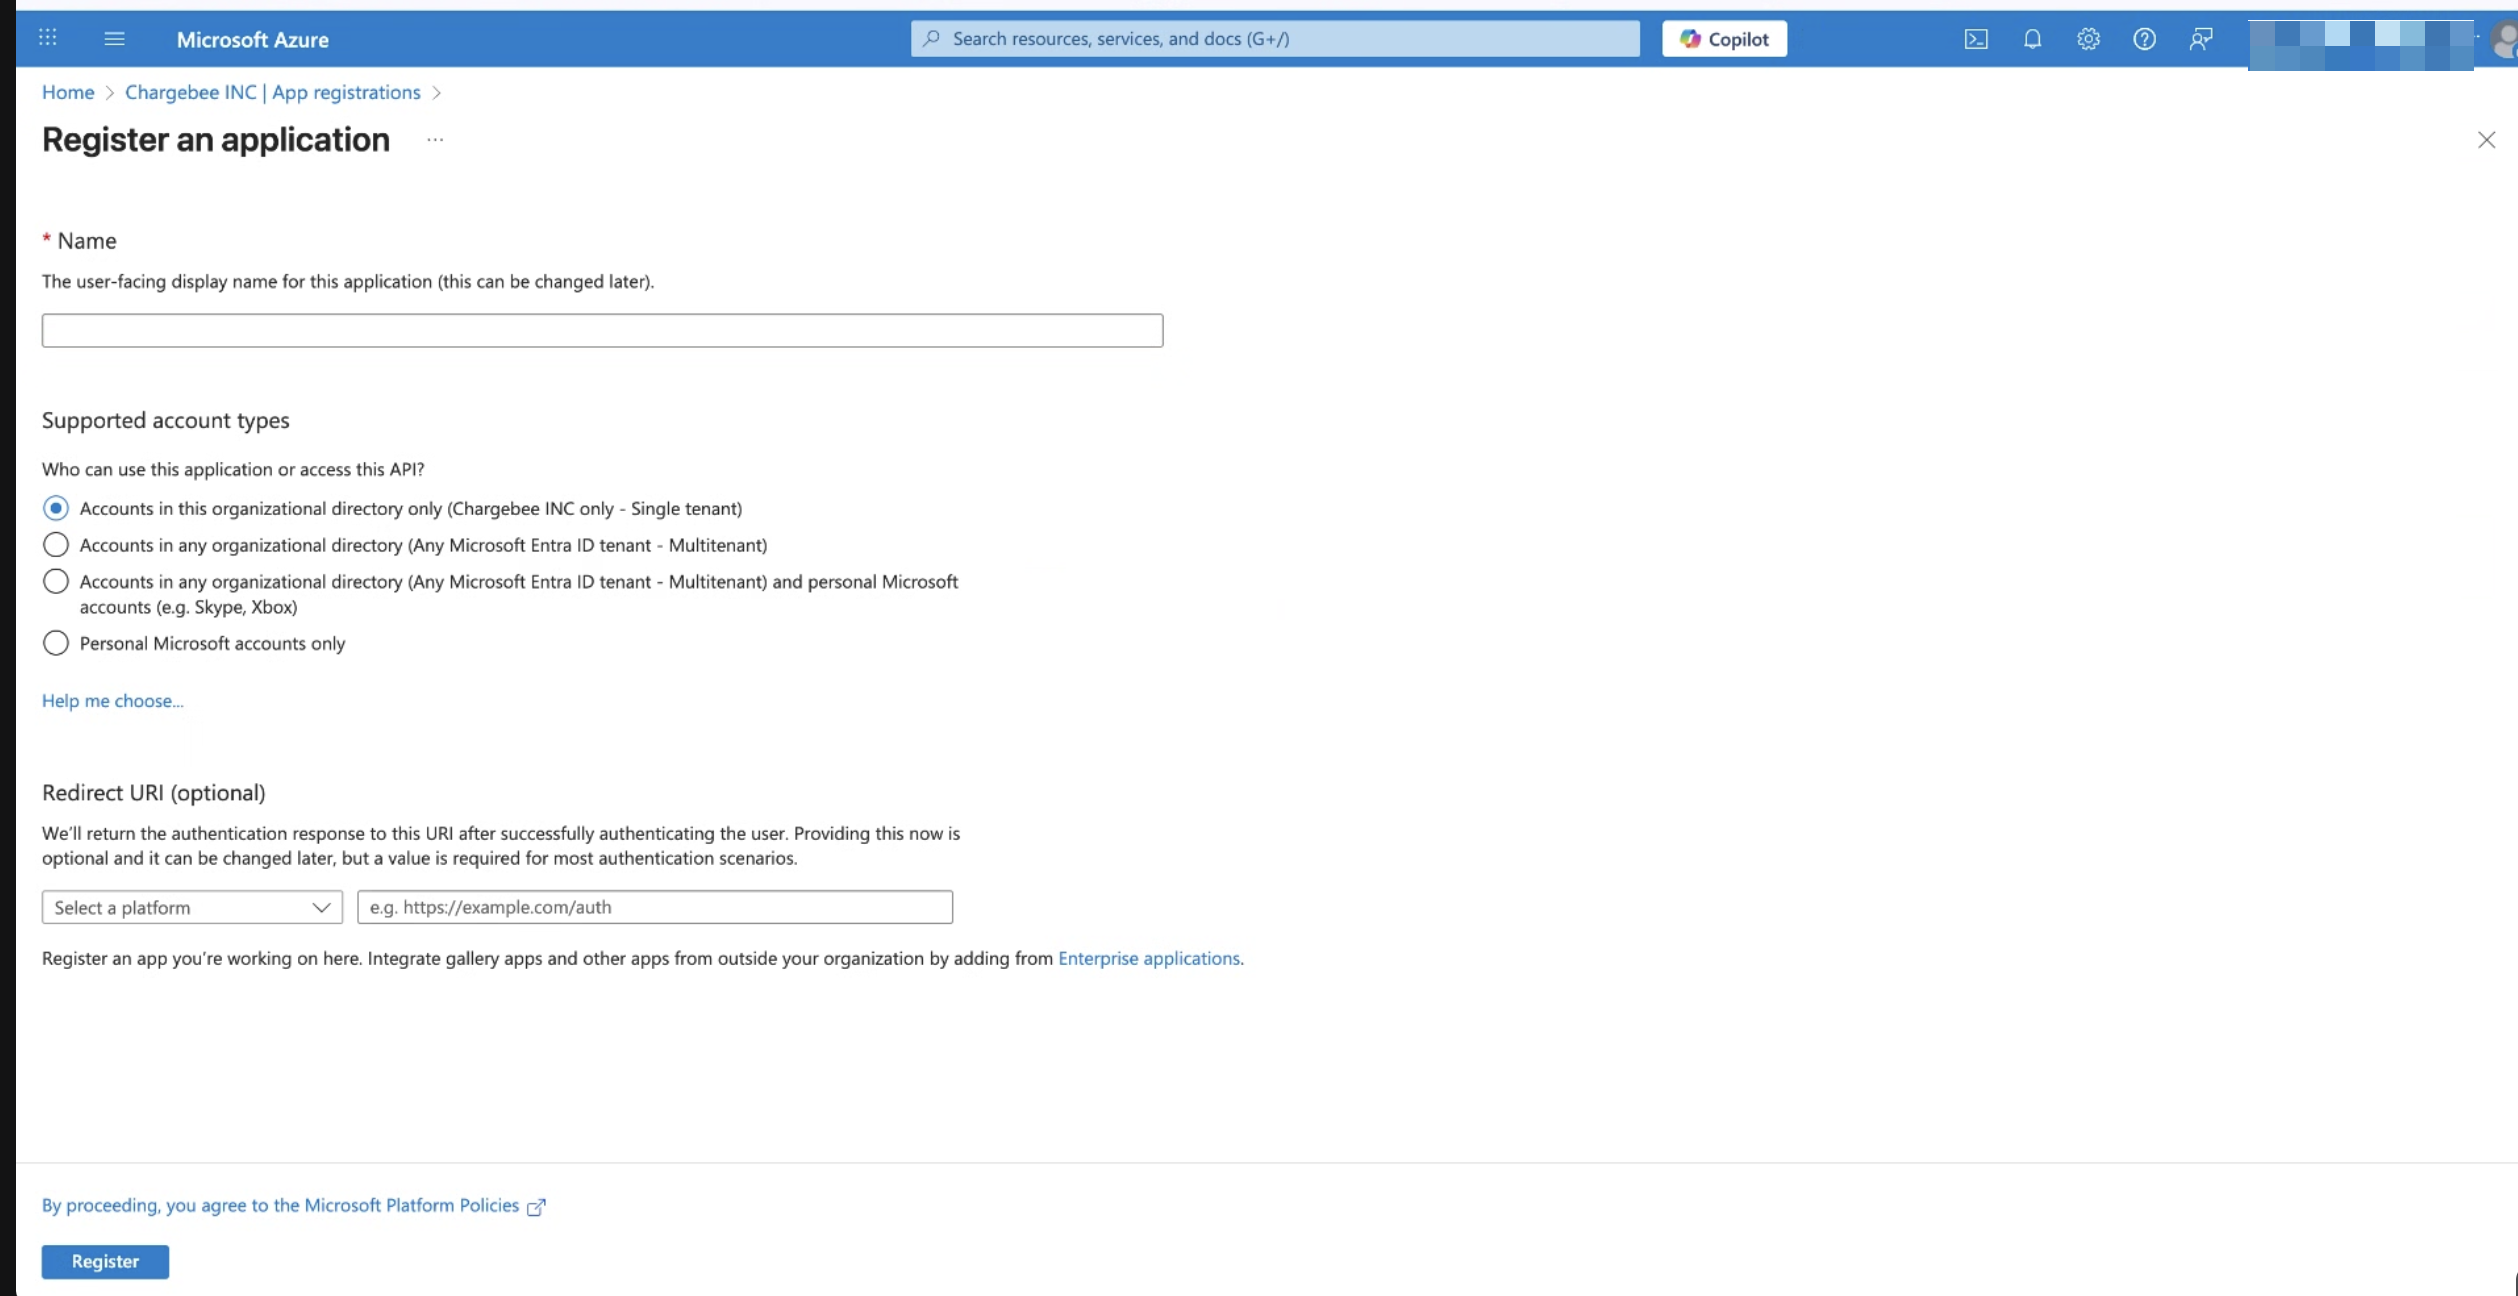
- Click New registration
- Enter a suitable application name (as per your org's naming conventions).
- Select the appropriate Supported account type. For example, accounts in this organizational directory is only for single-tenant apps.
- Configure Redirect URI if required (optional).
- Click Register.
5. Capture Application Details
- After registration, the application Overview page opens. Retain the following details for future use:
- Application (Client) ID
- Directory (Tenant) ID
These values are required for application configuration.
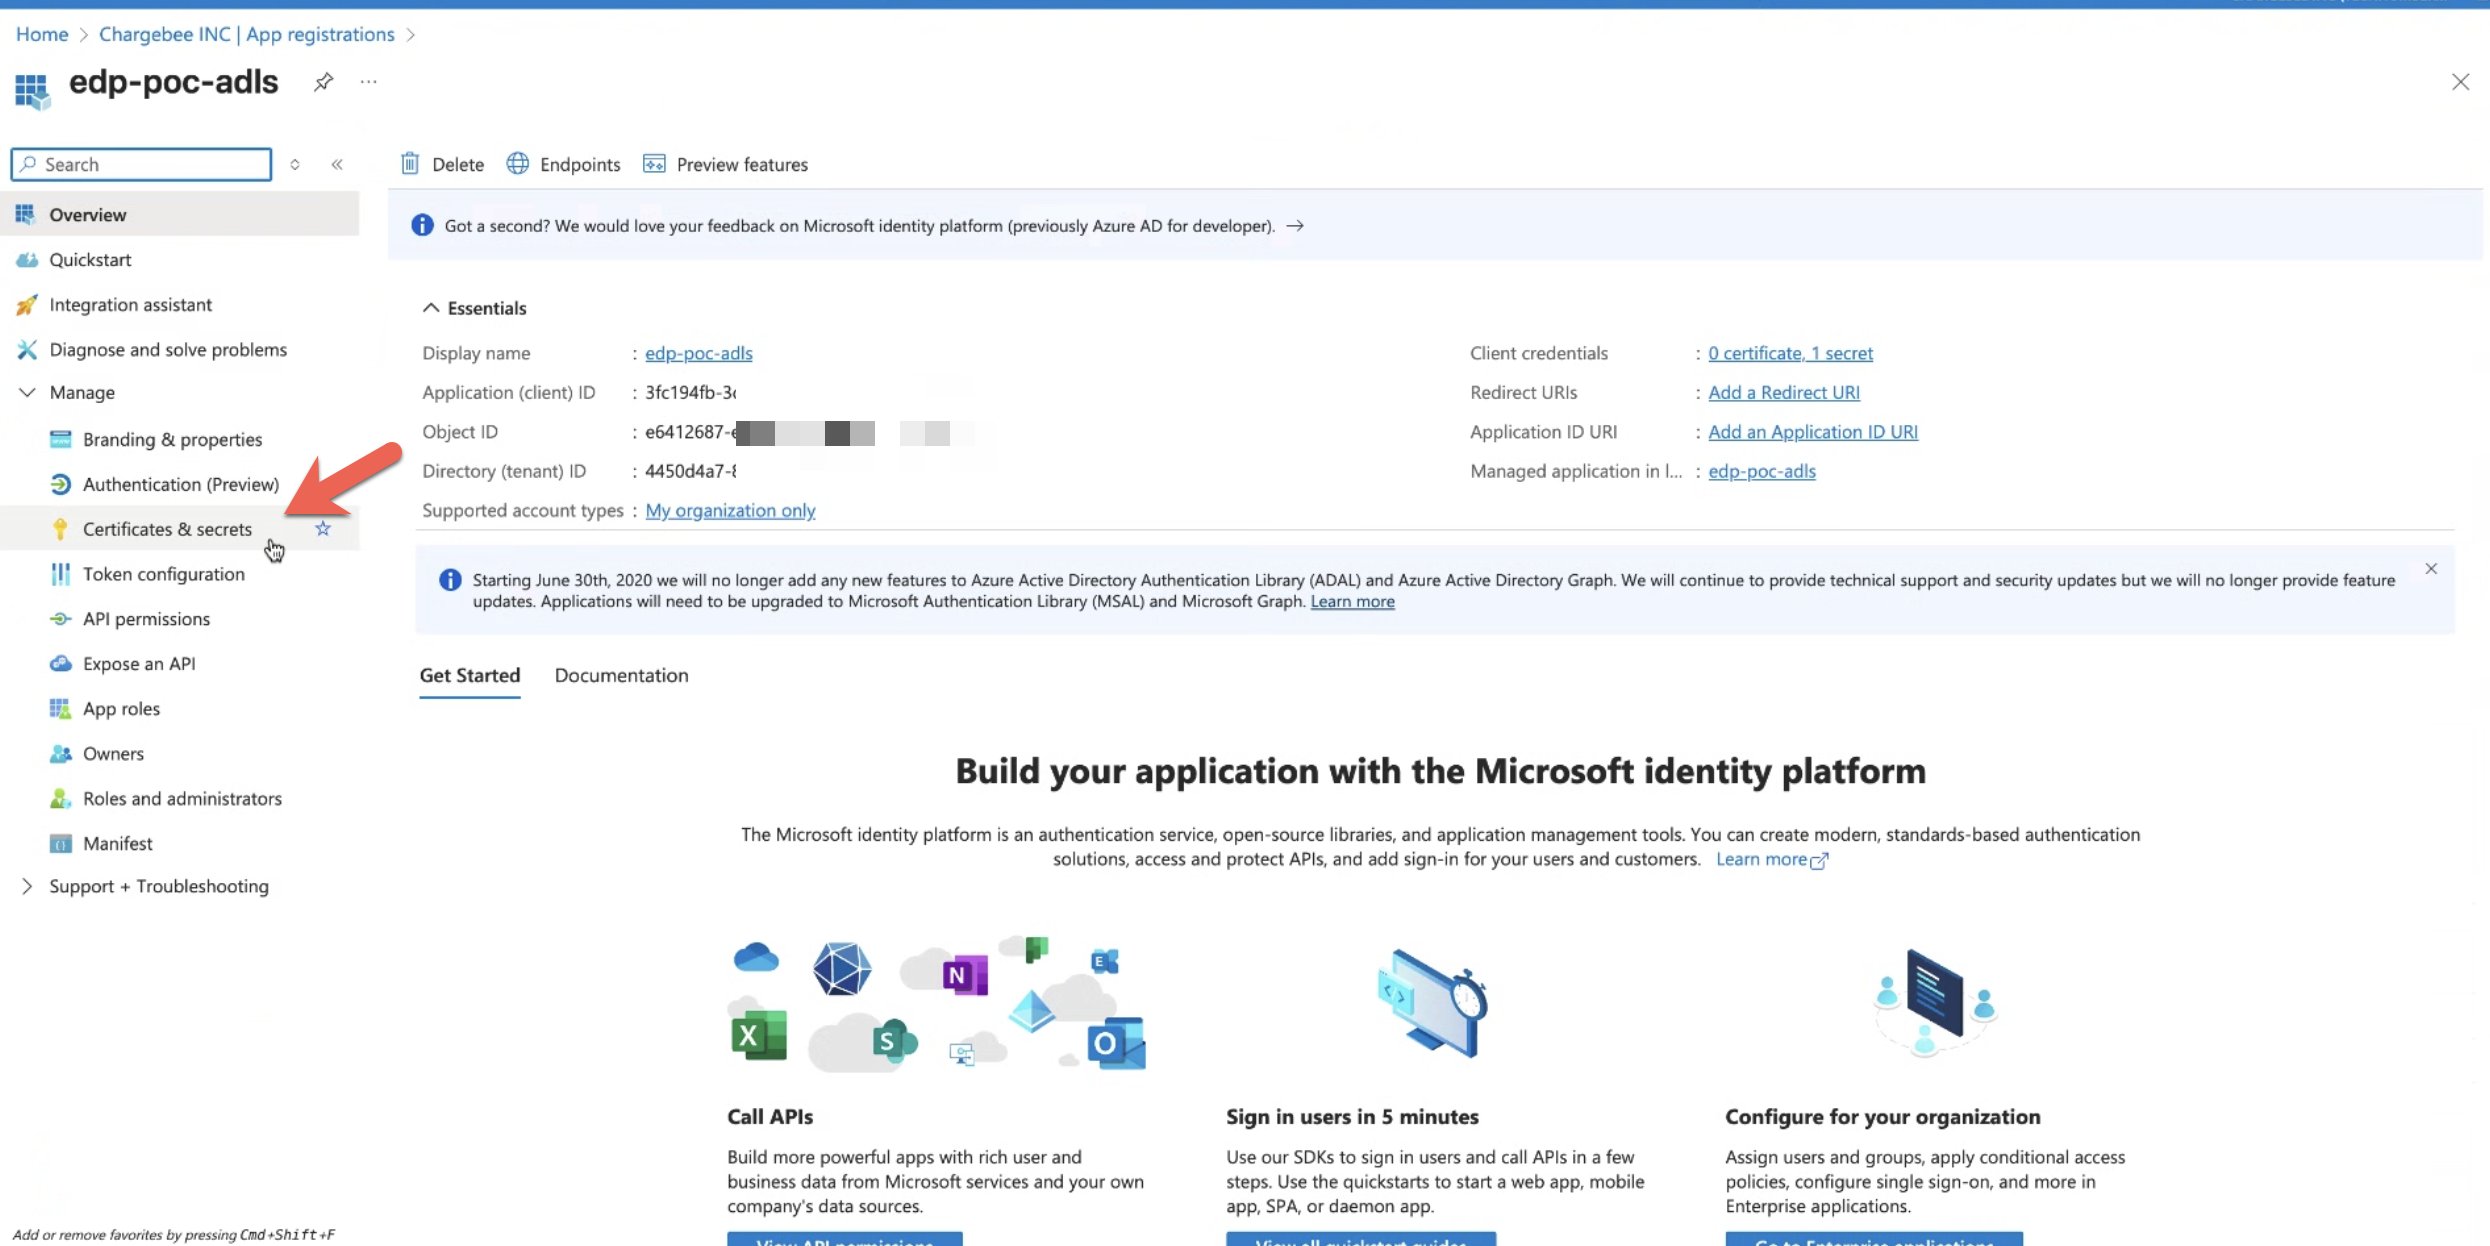
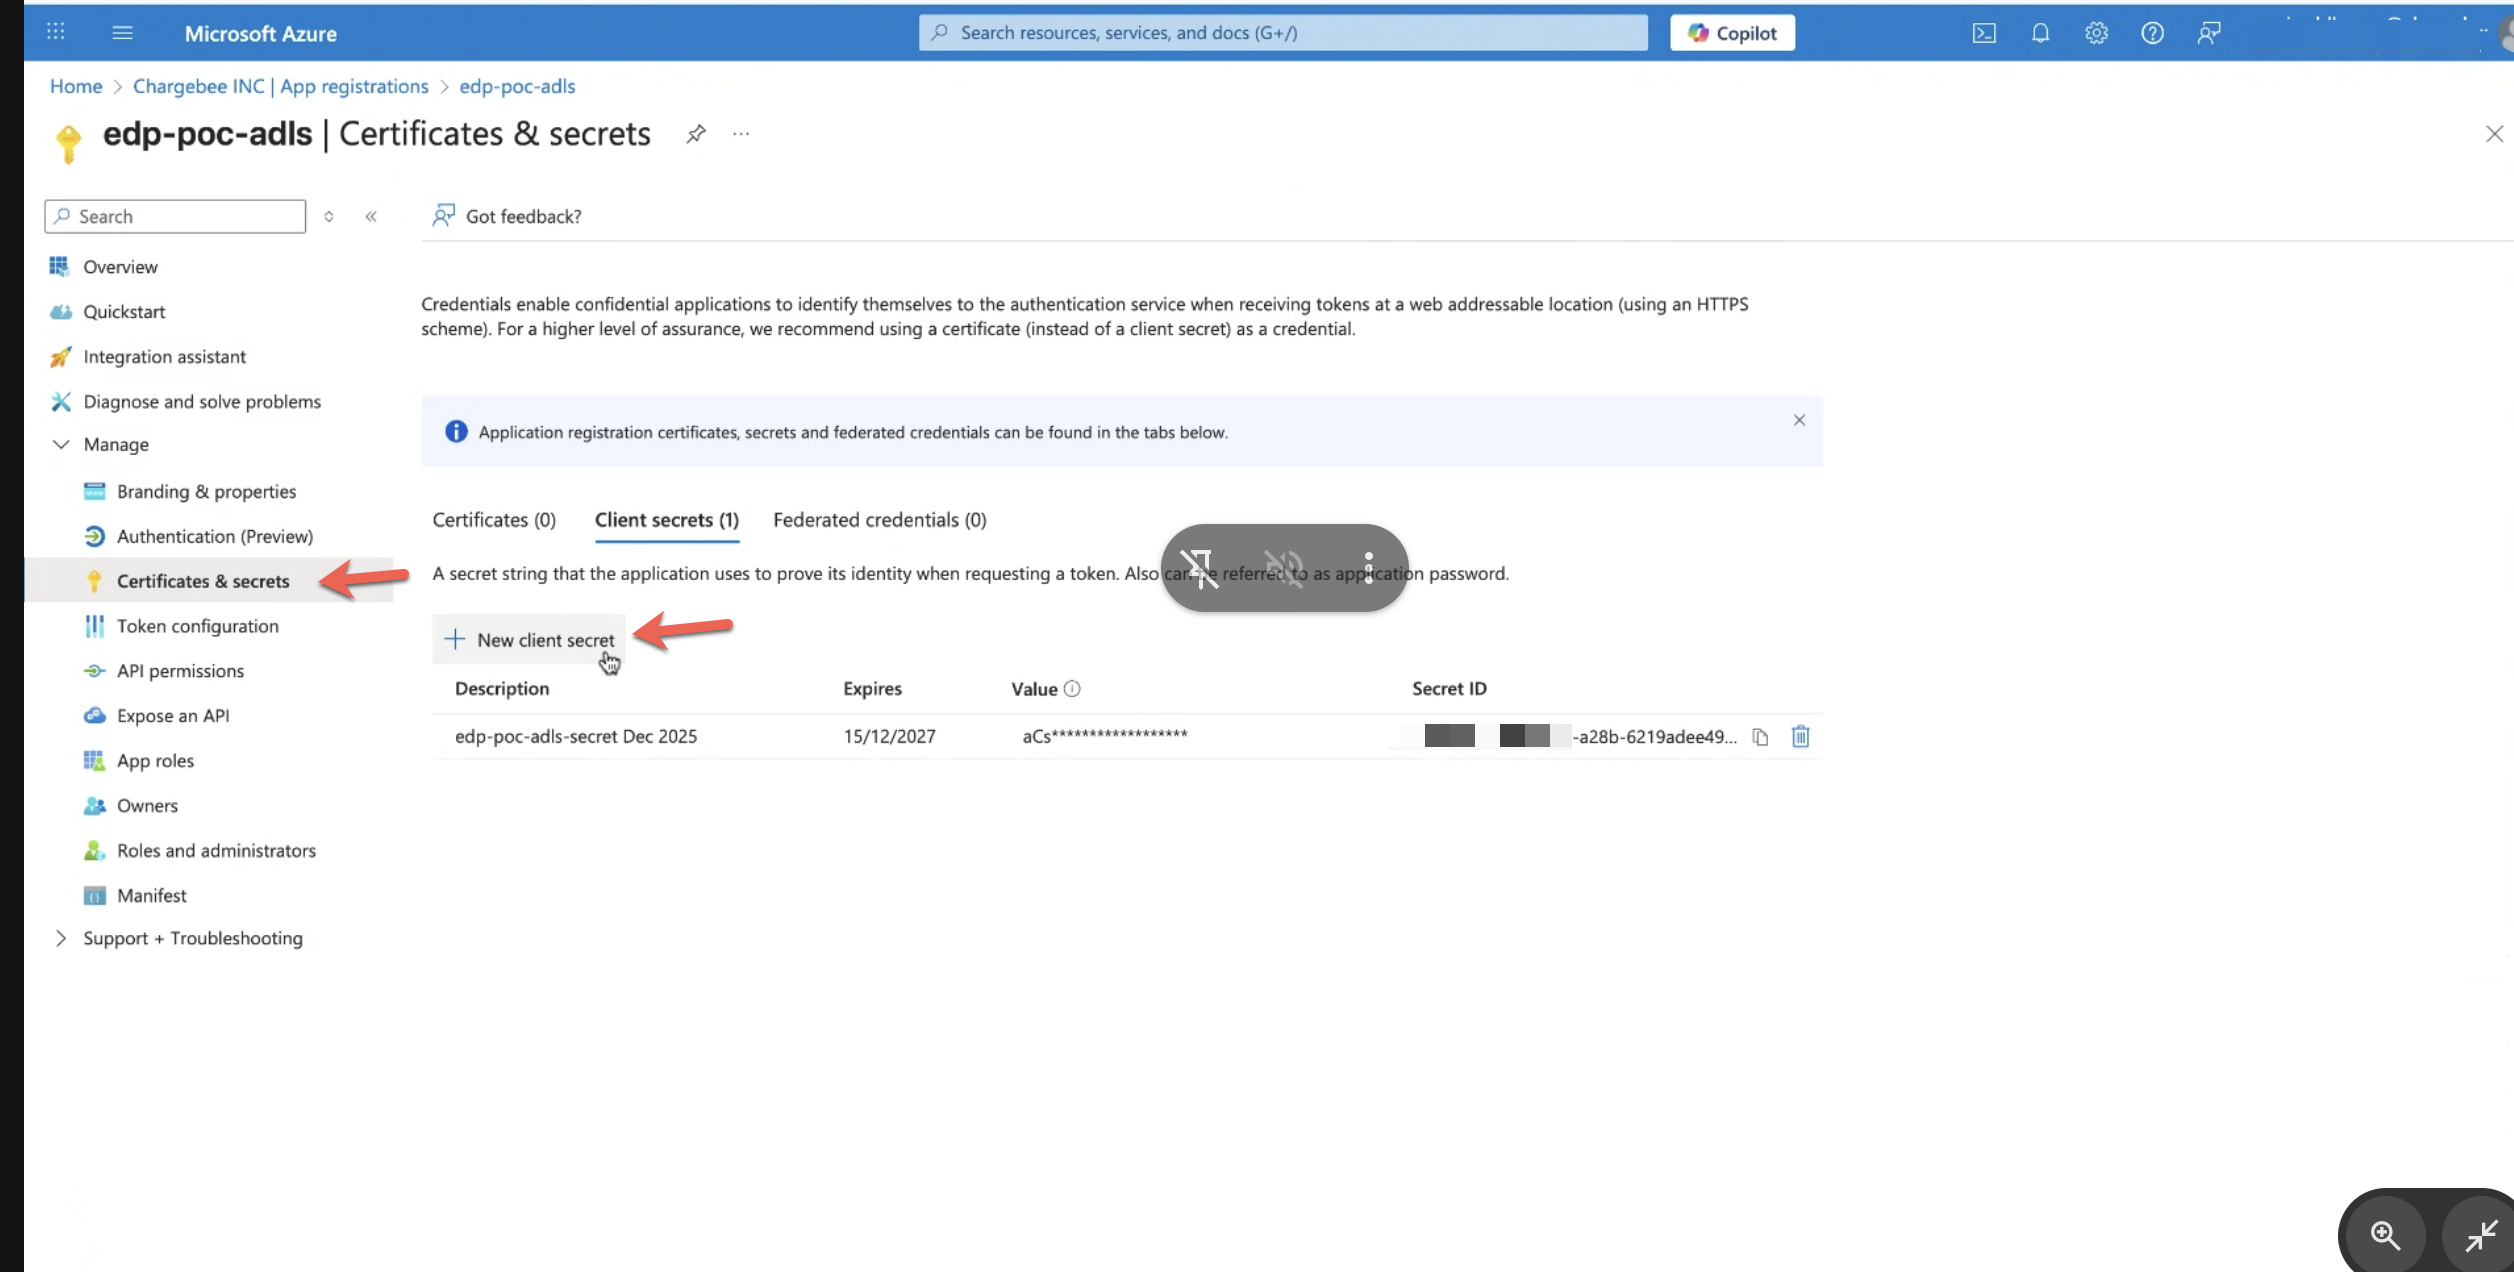
6. Create a Client Secret
- From the left navigation pane, select Certificates & secrets.
- Under Client secrets, click New client secret.
- Enter a description.
- When creating a client secret, you must choose an expiry duration that defines how long the secret remains valid.
- The maximum expiry period allowed via the Azure Portal UI is two years.
- Once the expiry period is reached, the client secret becomes invalid and authentication using that secret will fail.
Note
Client secrets must be rotated (regenerated) before they expire in accordance with the company’s security policy. Secret rotation typically involves creating a new client secret, updating the application or service configuration to use the new secret, validating that authentication works as expected, and then removing the old secret after confirmation. Regular rotation reduces the risk of credential compromise and limits the impact of exposed secrets. Teams should proactively track secret expiry dates and use reminders or automation where possible to prevent service disruption.
- Click Add.
7. Store the Client Secret Securely
Secret value appears. The secret value is displayed only once. Copy and store it in a secure location (for example, a secrets manager or vault). If the secret is lost, a new one must be generated
Outputs
After completing the above steps, the following credentials will be available:
- Tenant ID
- Client ID
- Client Secret (or Certificate)
Azure Resource Group and Storage Account Creation
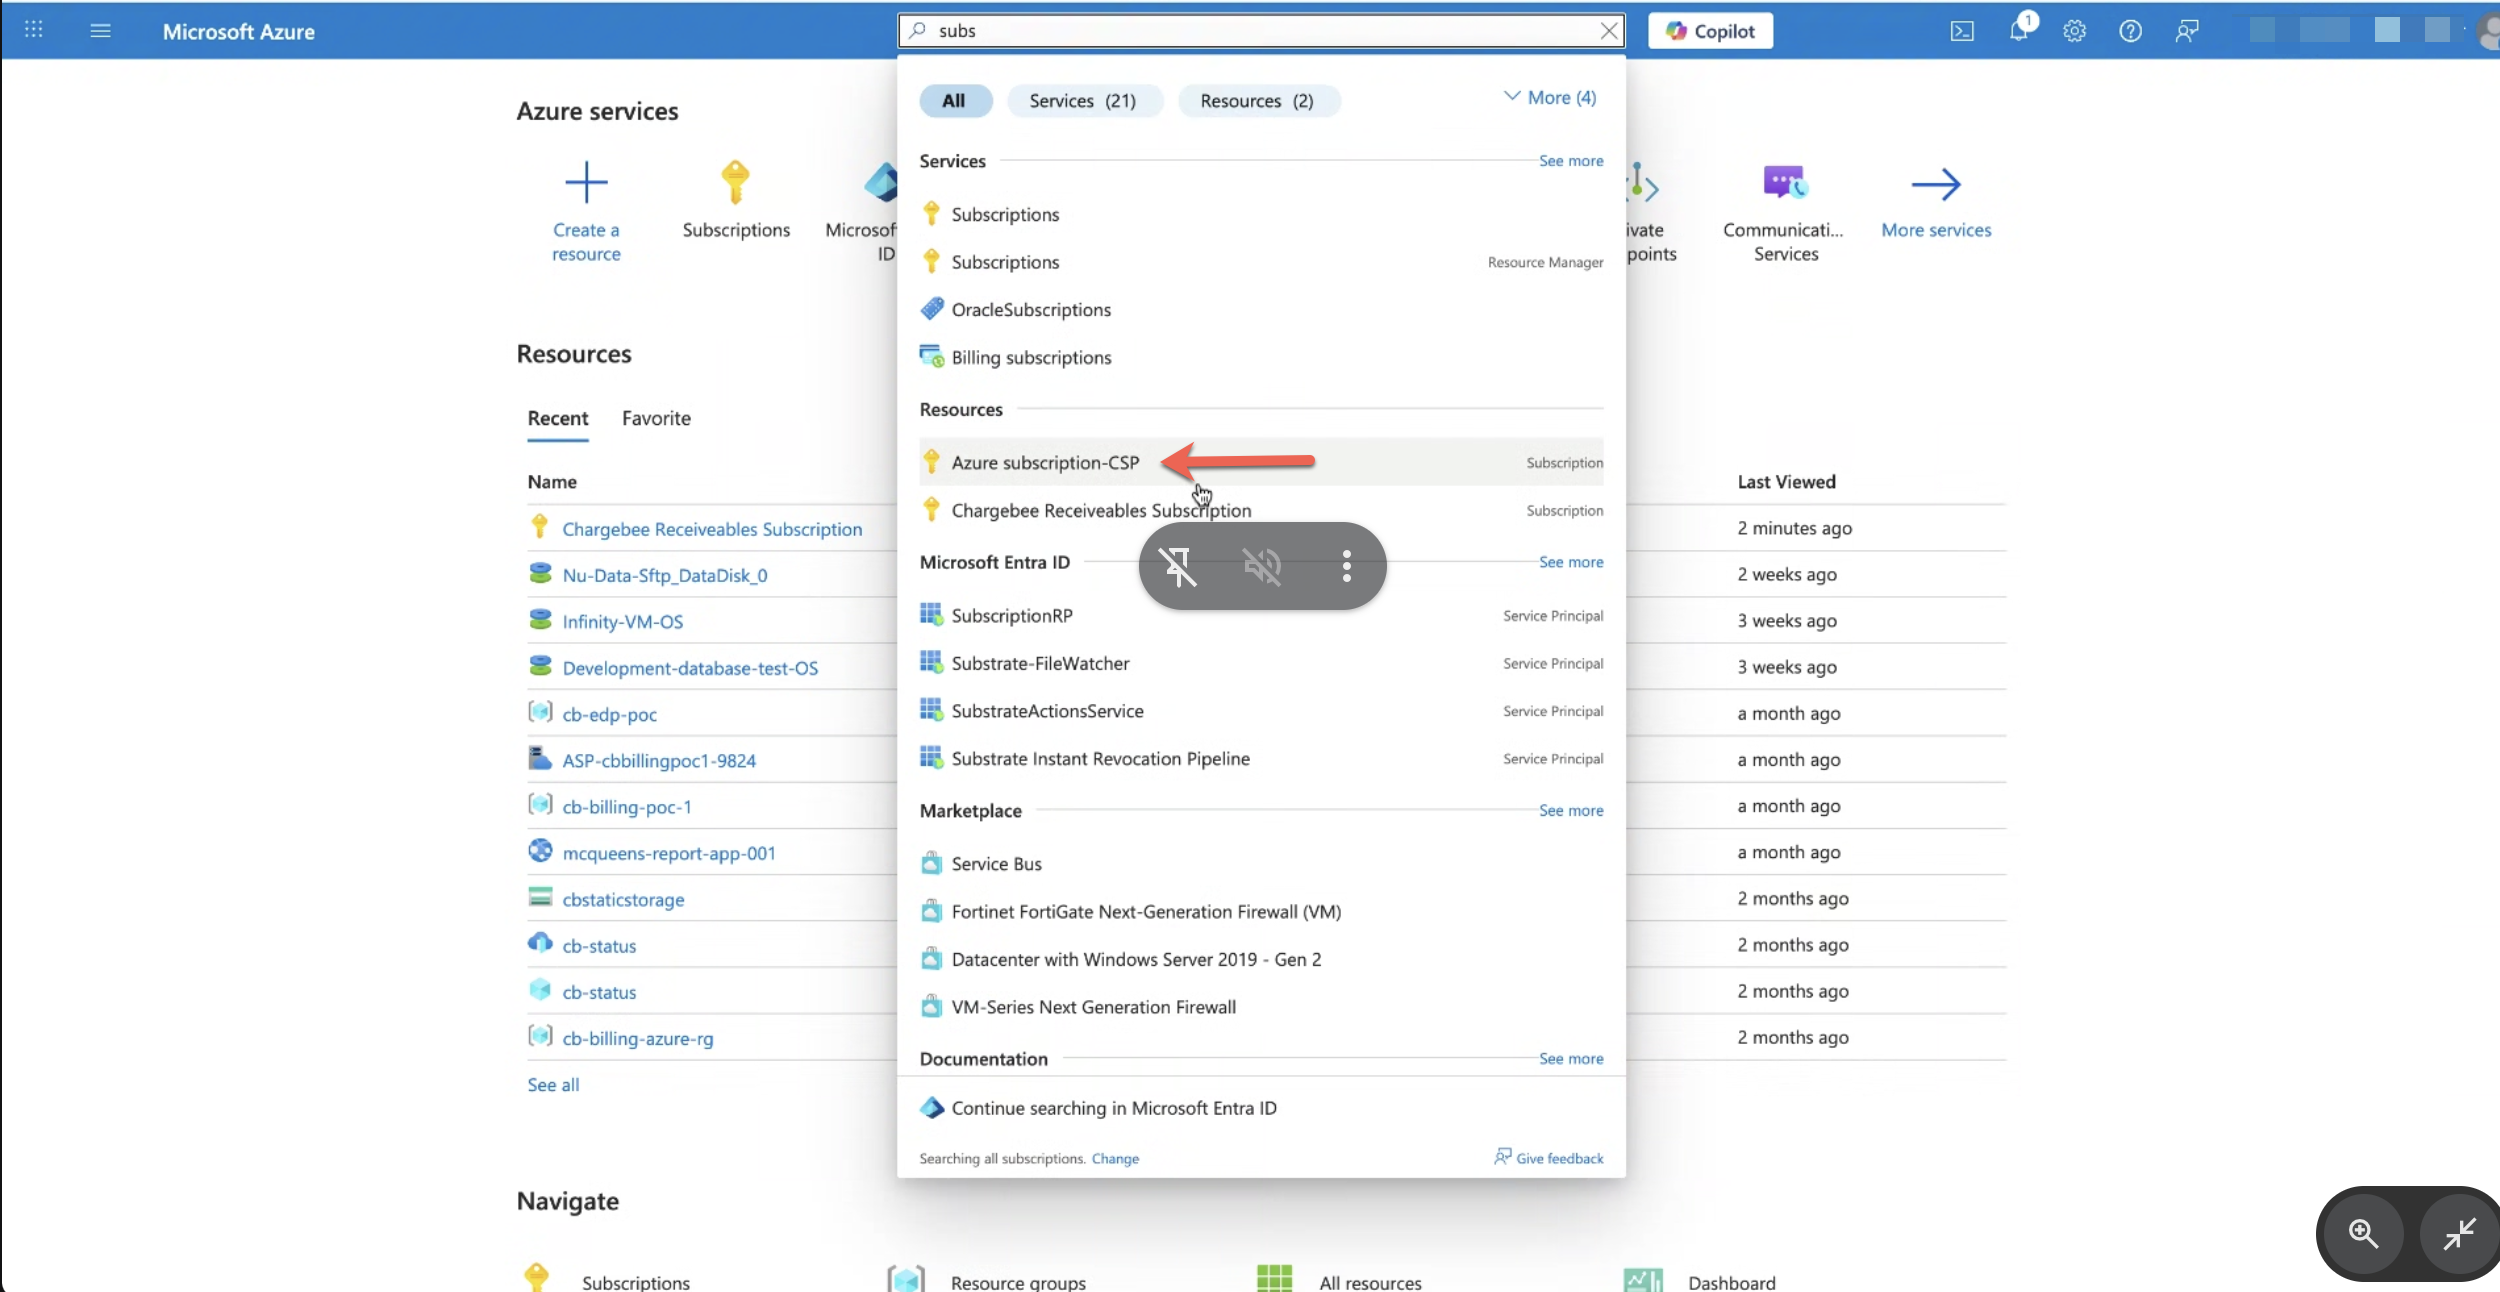
1. Select Subscription
- Navigate to Subscriptions.
- Select the appropriate subscription where you want to create your resources.
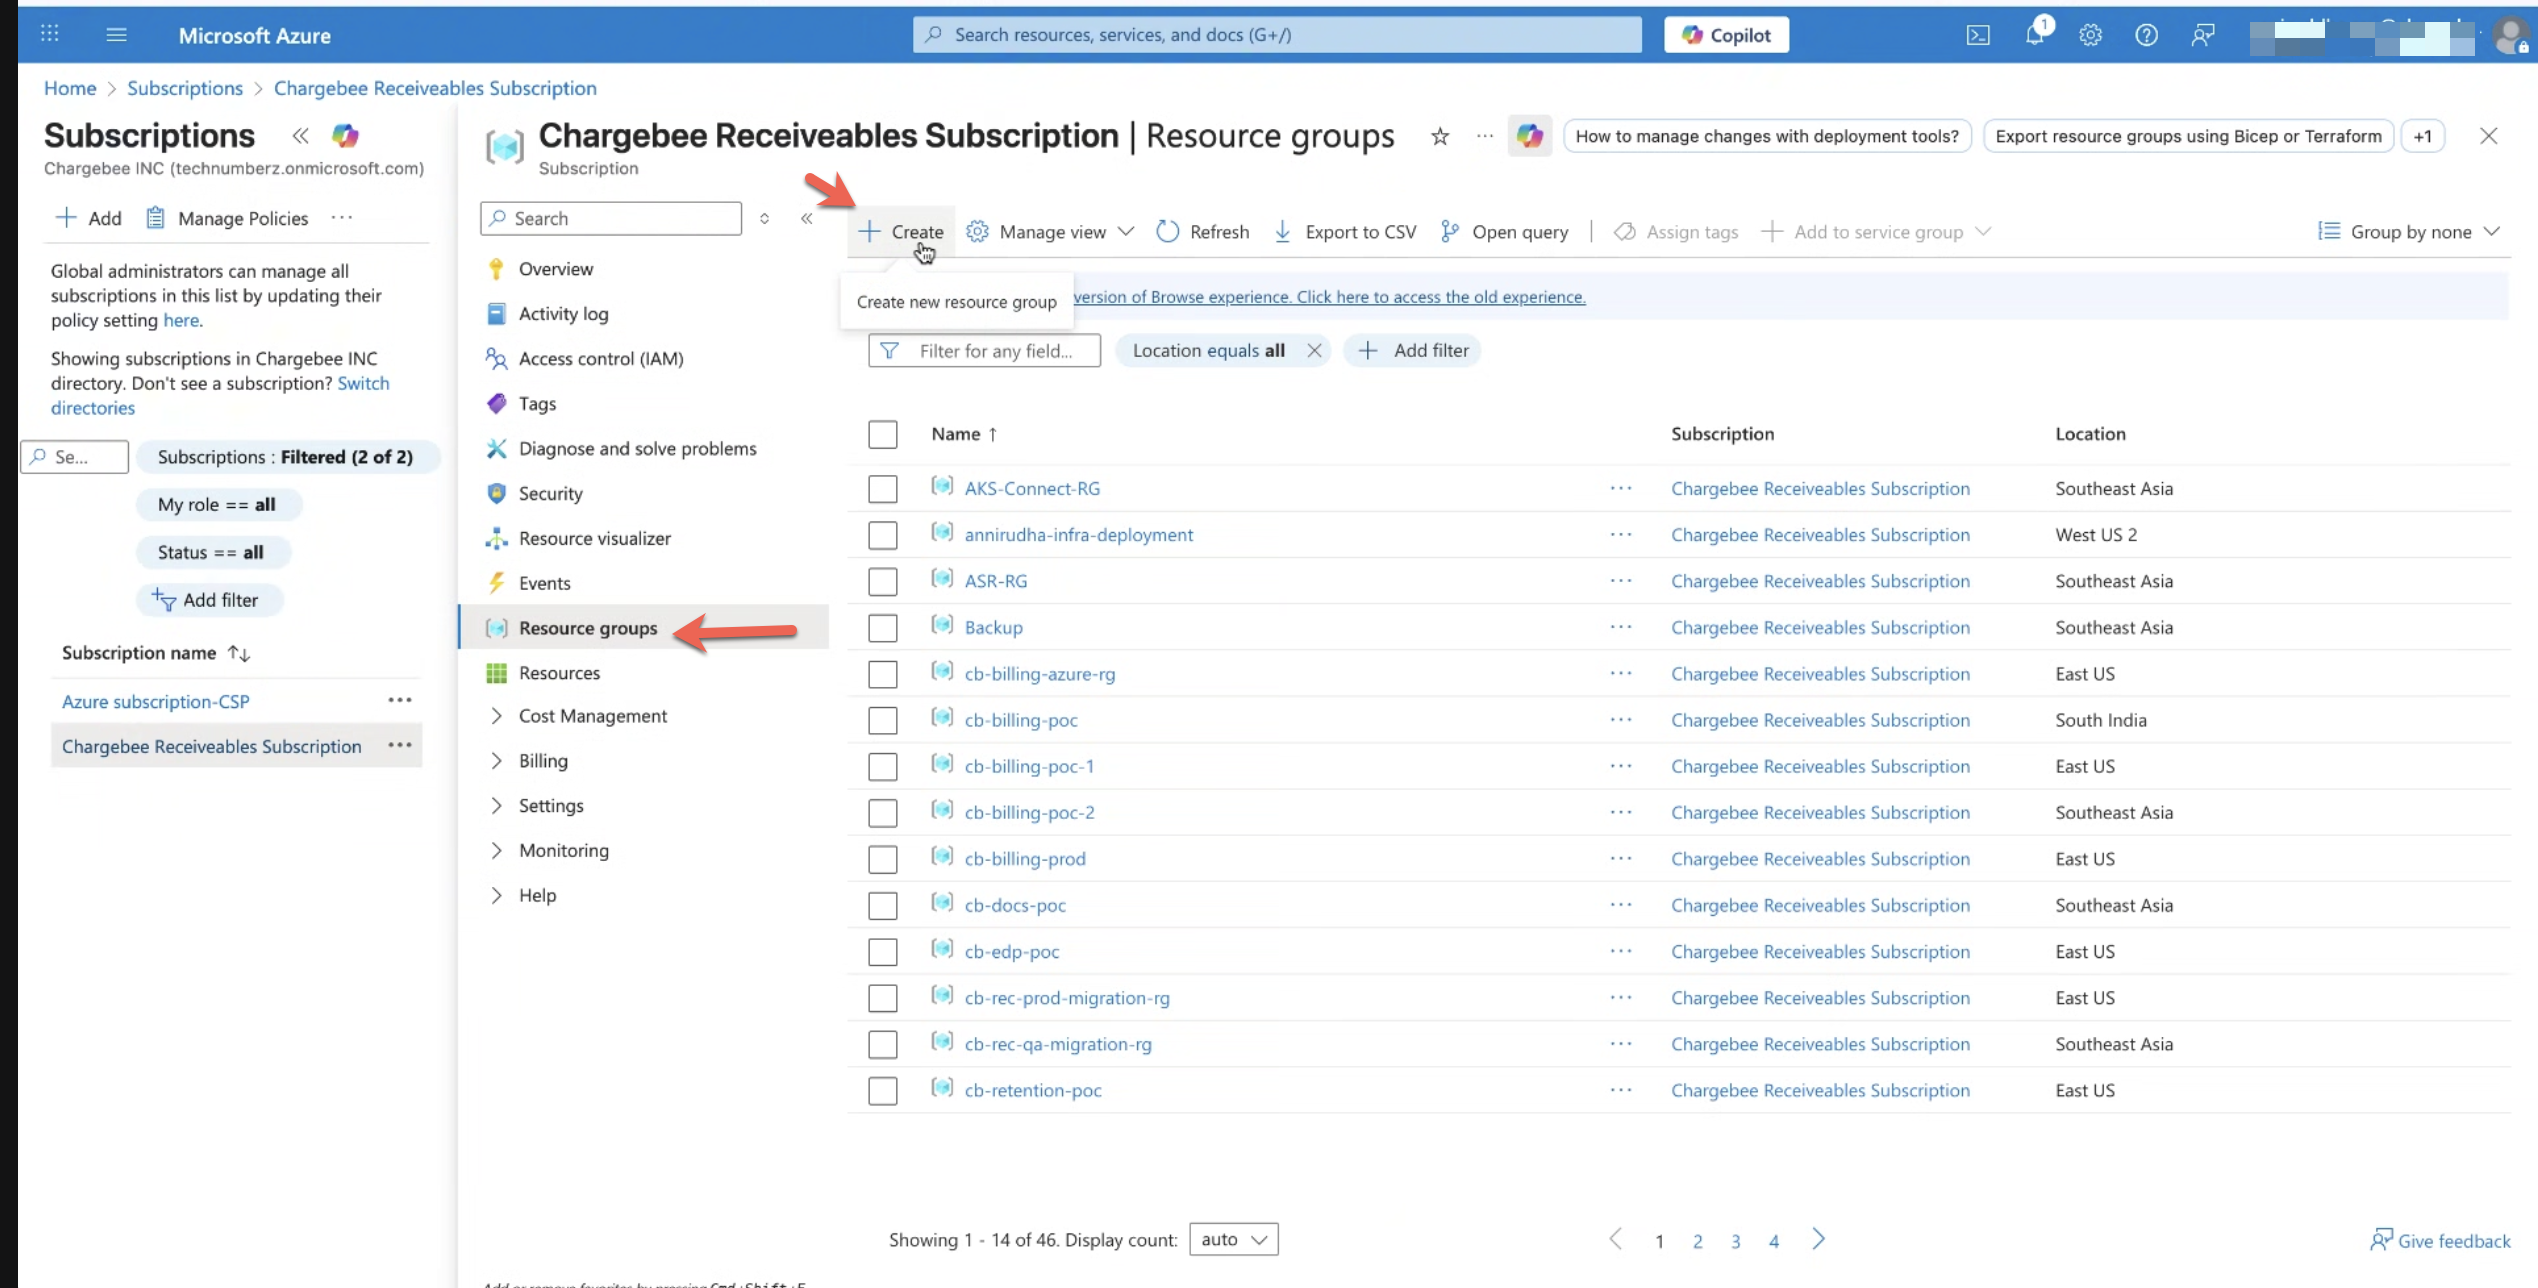
2. Create a Resource Group
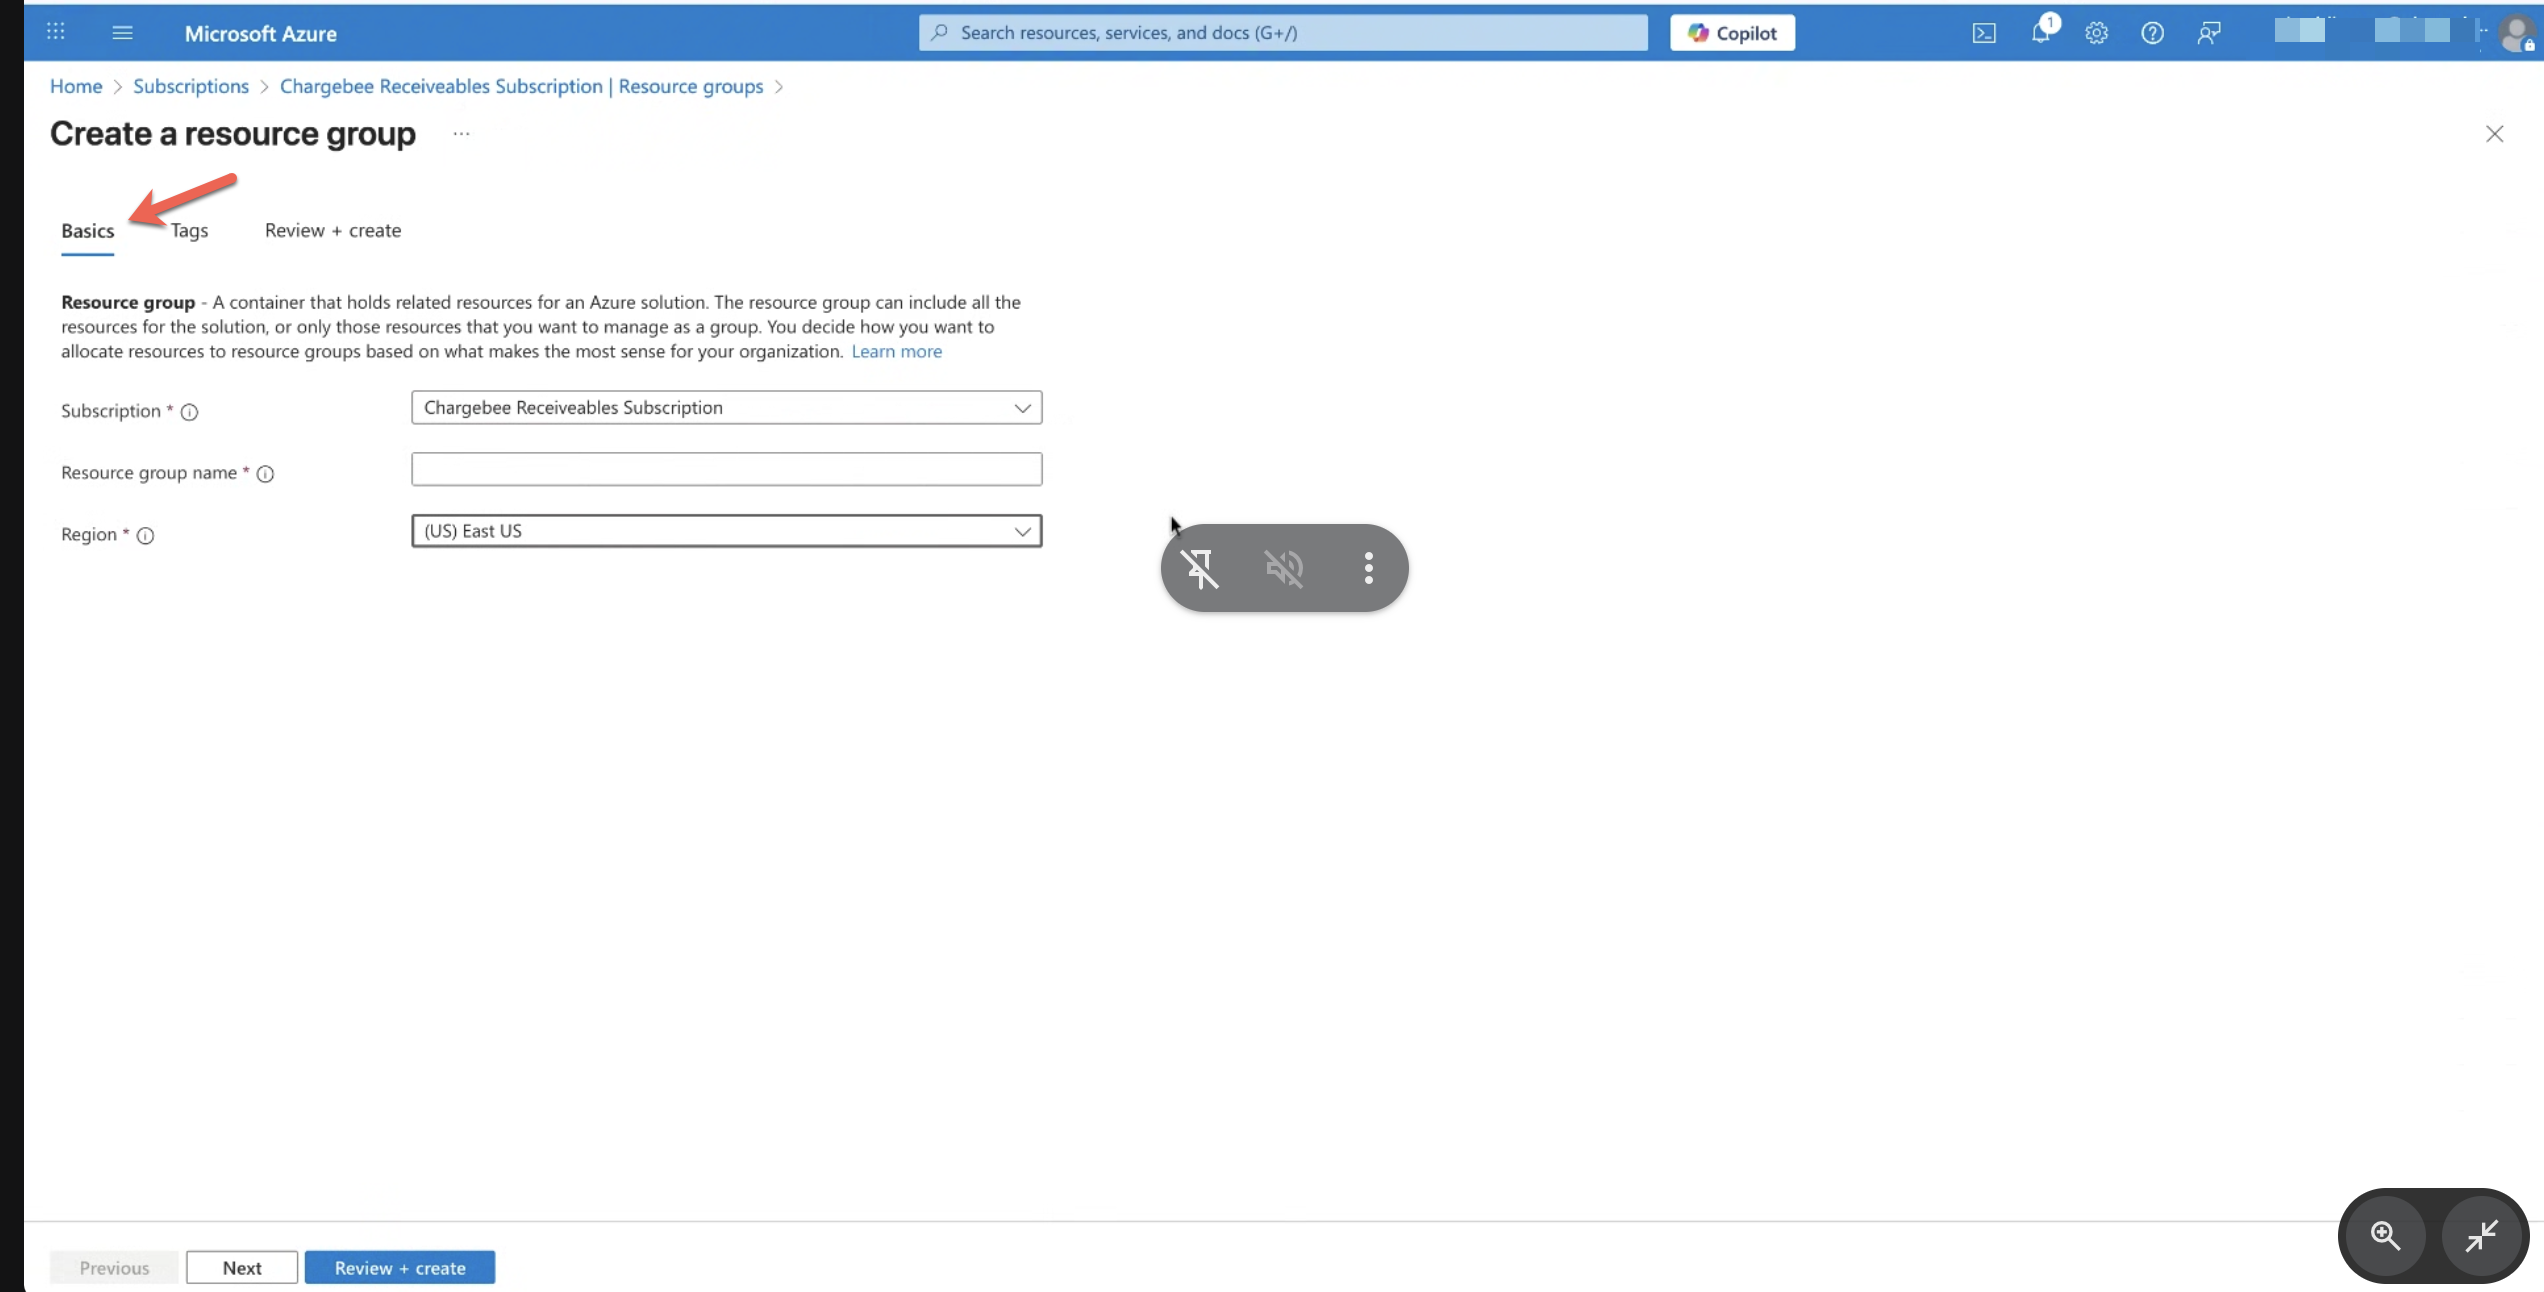
- Under the selected subscription, go to Resource groups, click Create.
- Enter the required details:
- Resource group name (use an appropriate and meaningful name).
- Region (choose based on deployment and compliance requirements).
- Add tags if required (for cost, environment, ownership, and more).
- Click Review + create and Create.
3. Create a Storage Account
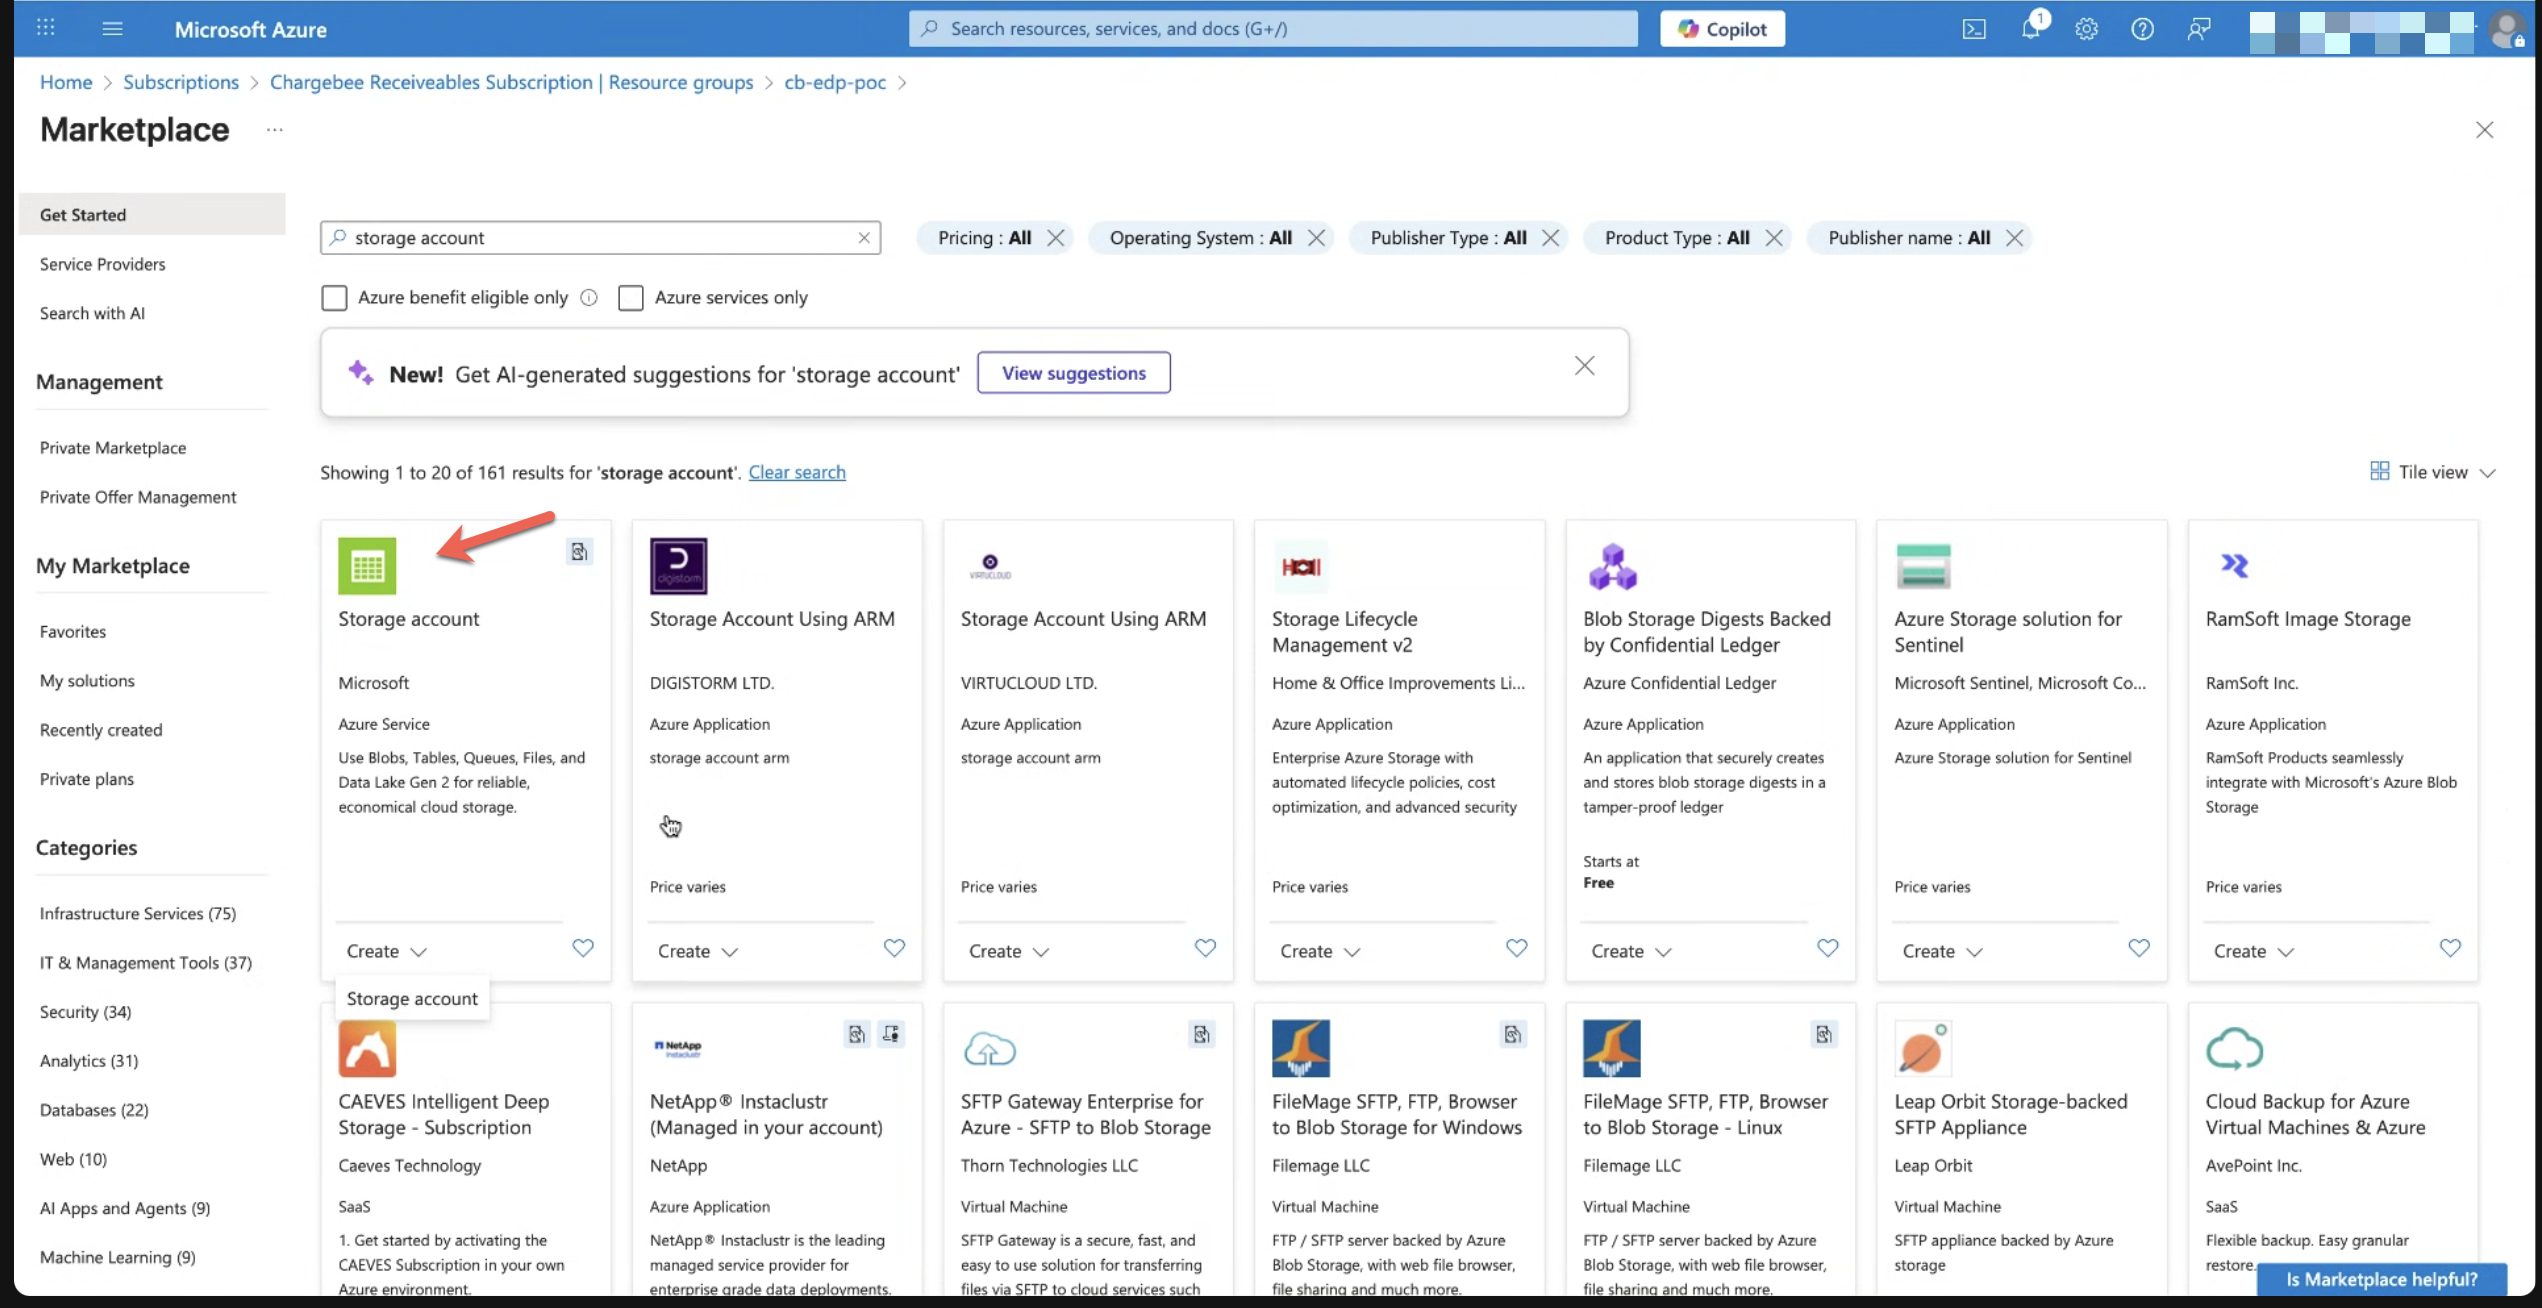
- Navigate to the newly created Resource Group, click Create.
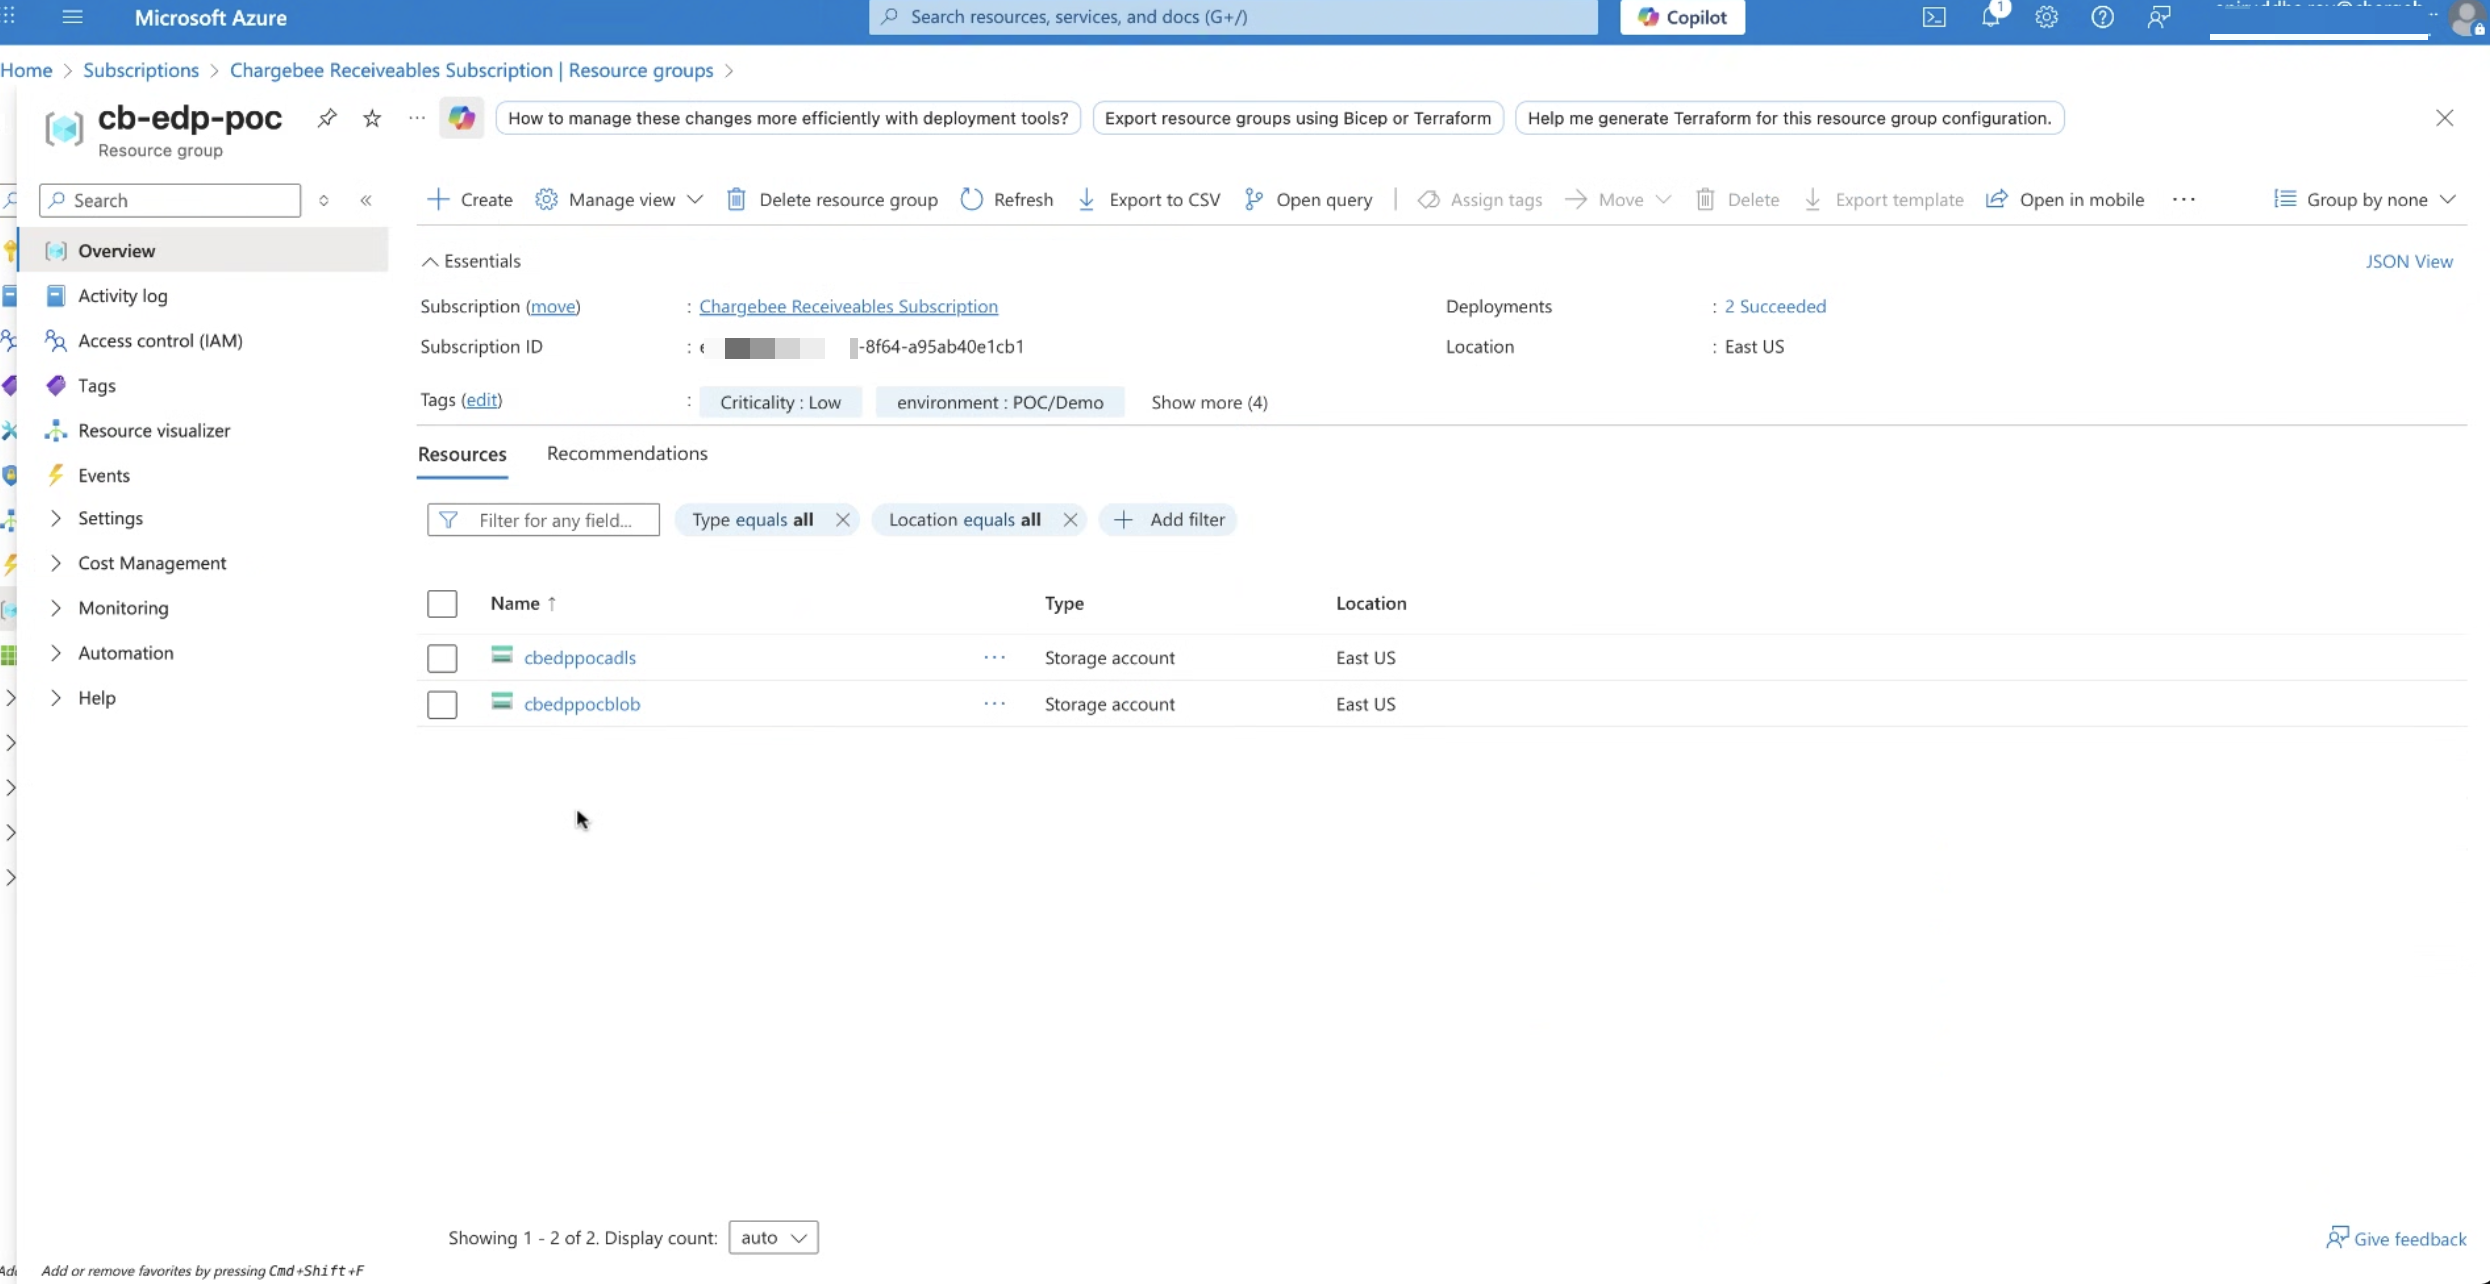
- From the Marketplace, search for Storage account.
- Select Storage account and click Create.
4. Configure Storage Account Basics
- Cross-check and confirm:
- Subscription
- Resource group
- Enter the required details:
- Storage account name must be unique.
- Region
- Storage type must be ADLS Gen2.
- Performance and Redundancy as appropriate to company requirements.
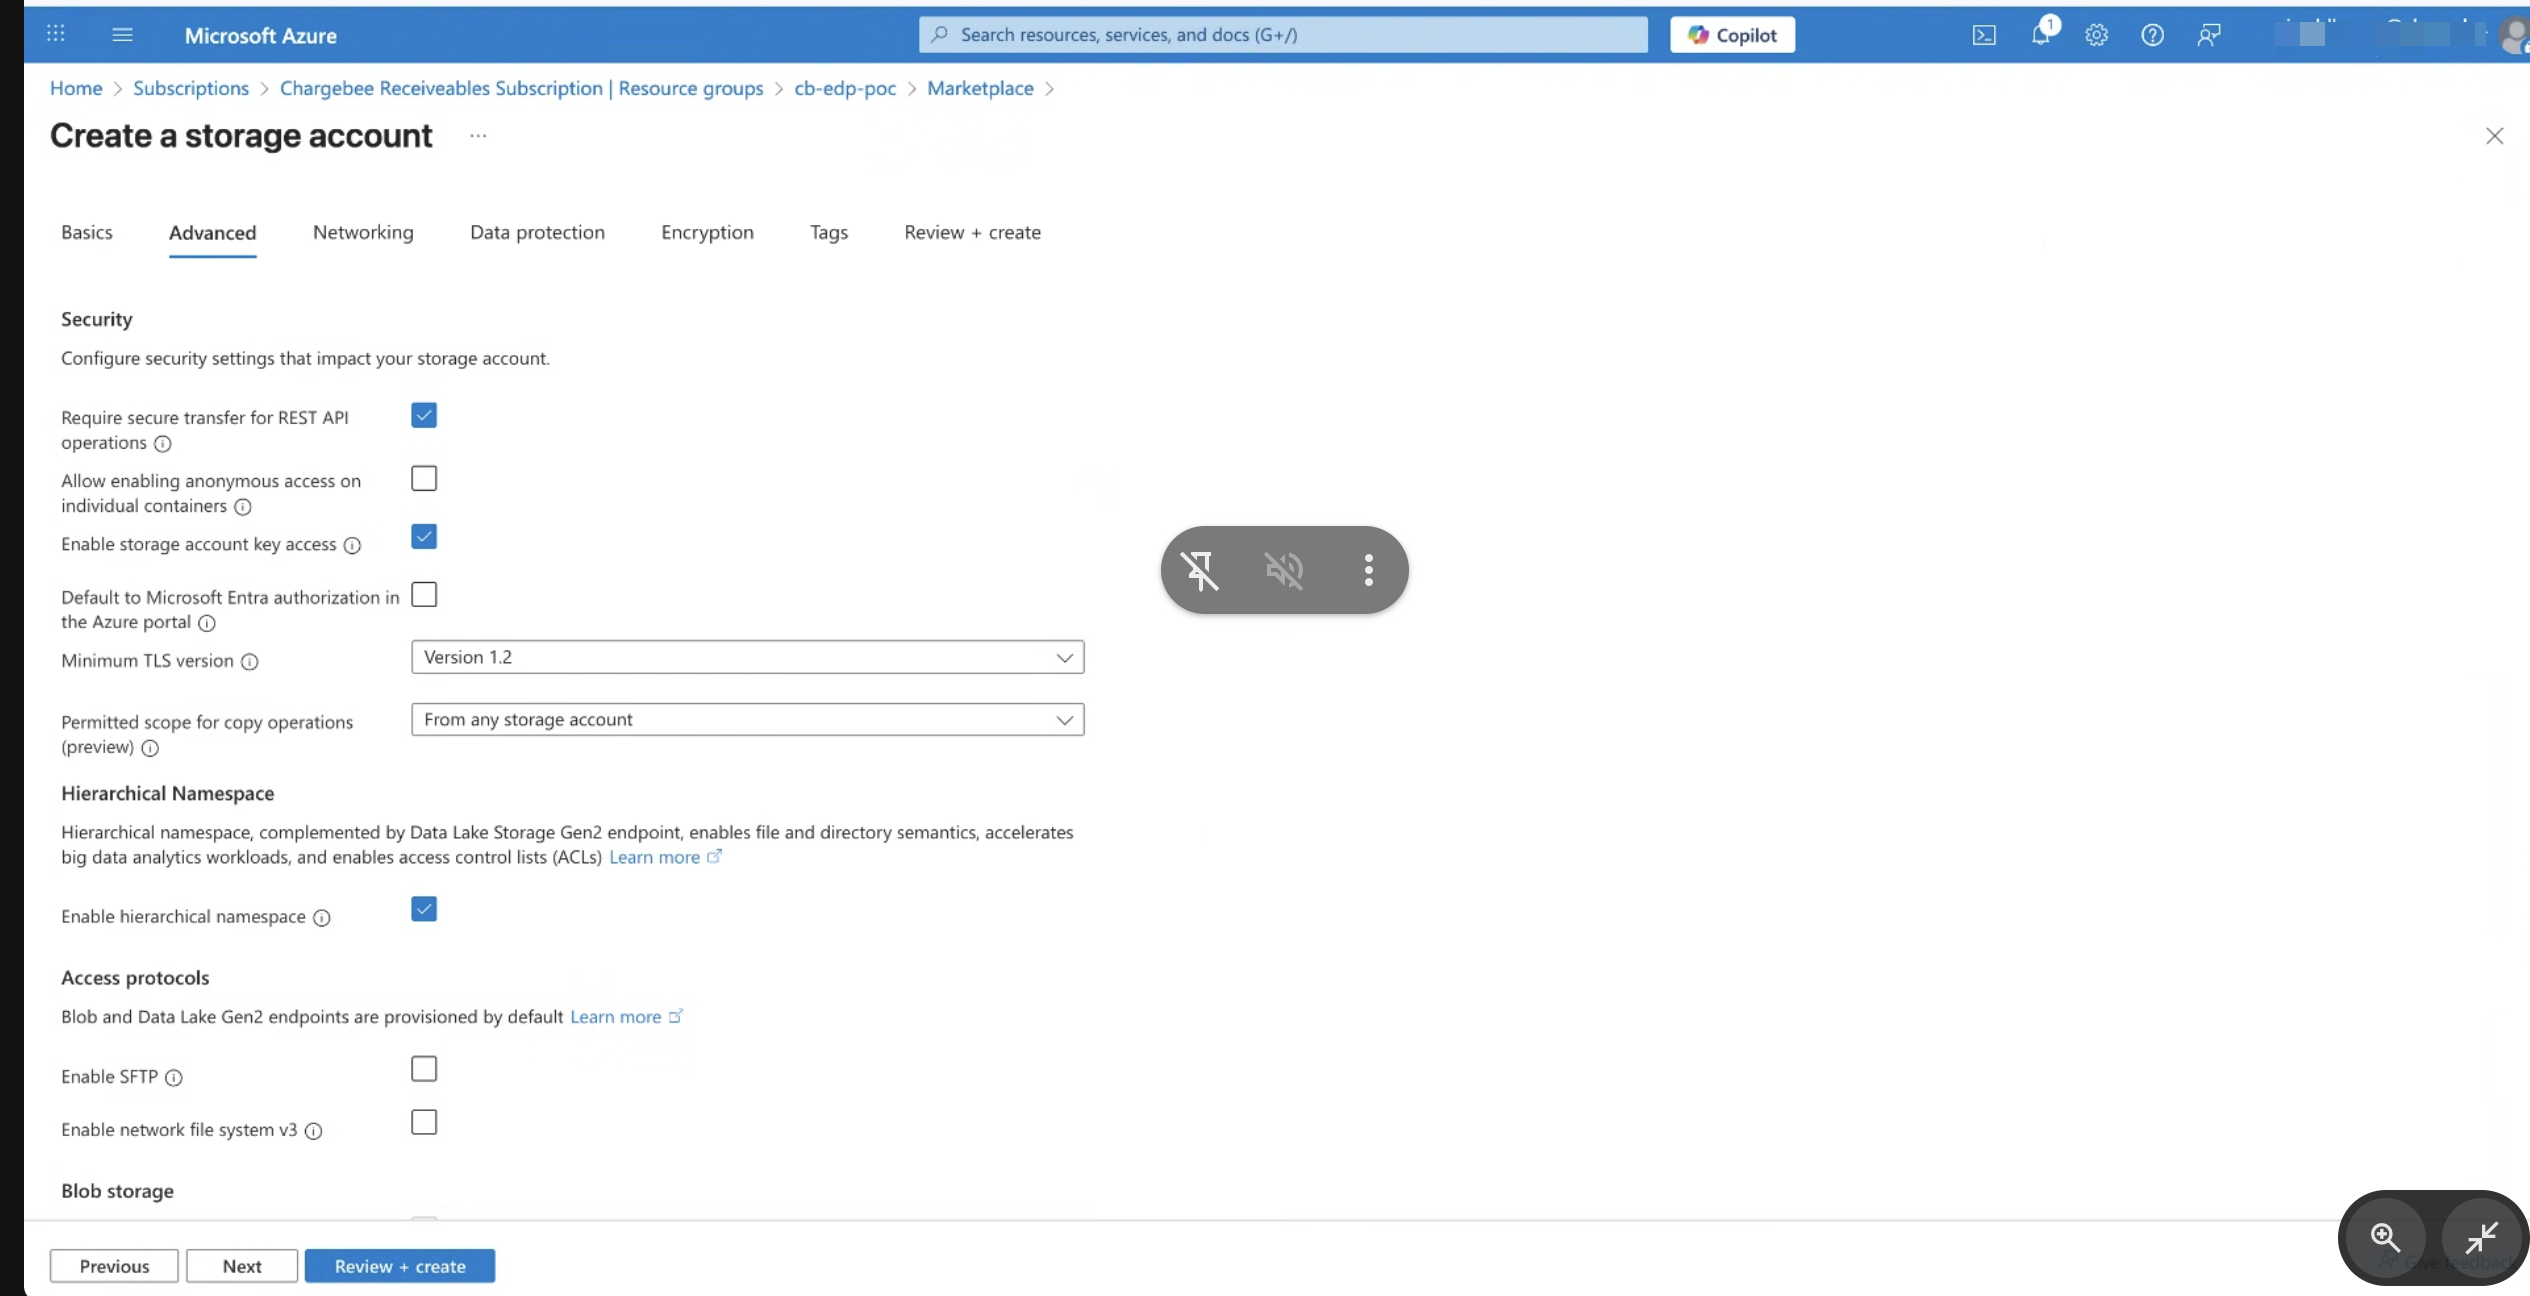
5. Configure Advanced Settings
- Click Next to proceed through configuration pages.
- Enable Hierarchical namespace. This is mandatory for ADLS Gen2.
- Leave remaining settings as default unless required.
6. Configure Access & Security
- Click Next.
- Configure access and networking options based on company security policy.
7. Review and Create
- On the Review + create page, review all configurations.
- Click Create to provision the Storage Account.
Assign Access at Storage Account Level (IAM)
1. Open the Storage Account
- Log in to the Azure Portal.
- Navigate to Storage accounts.
- Select the newly created storage account.
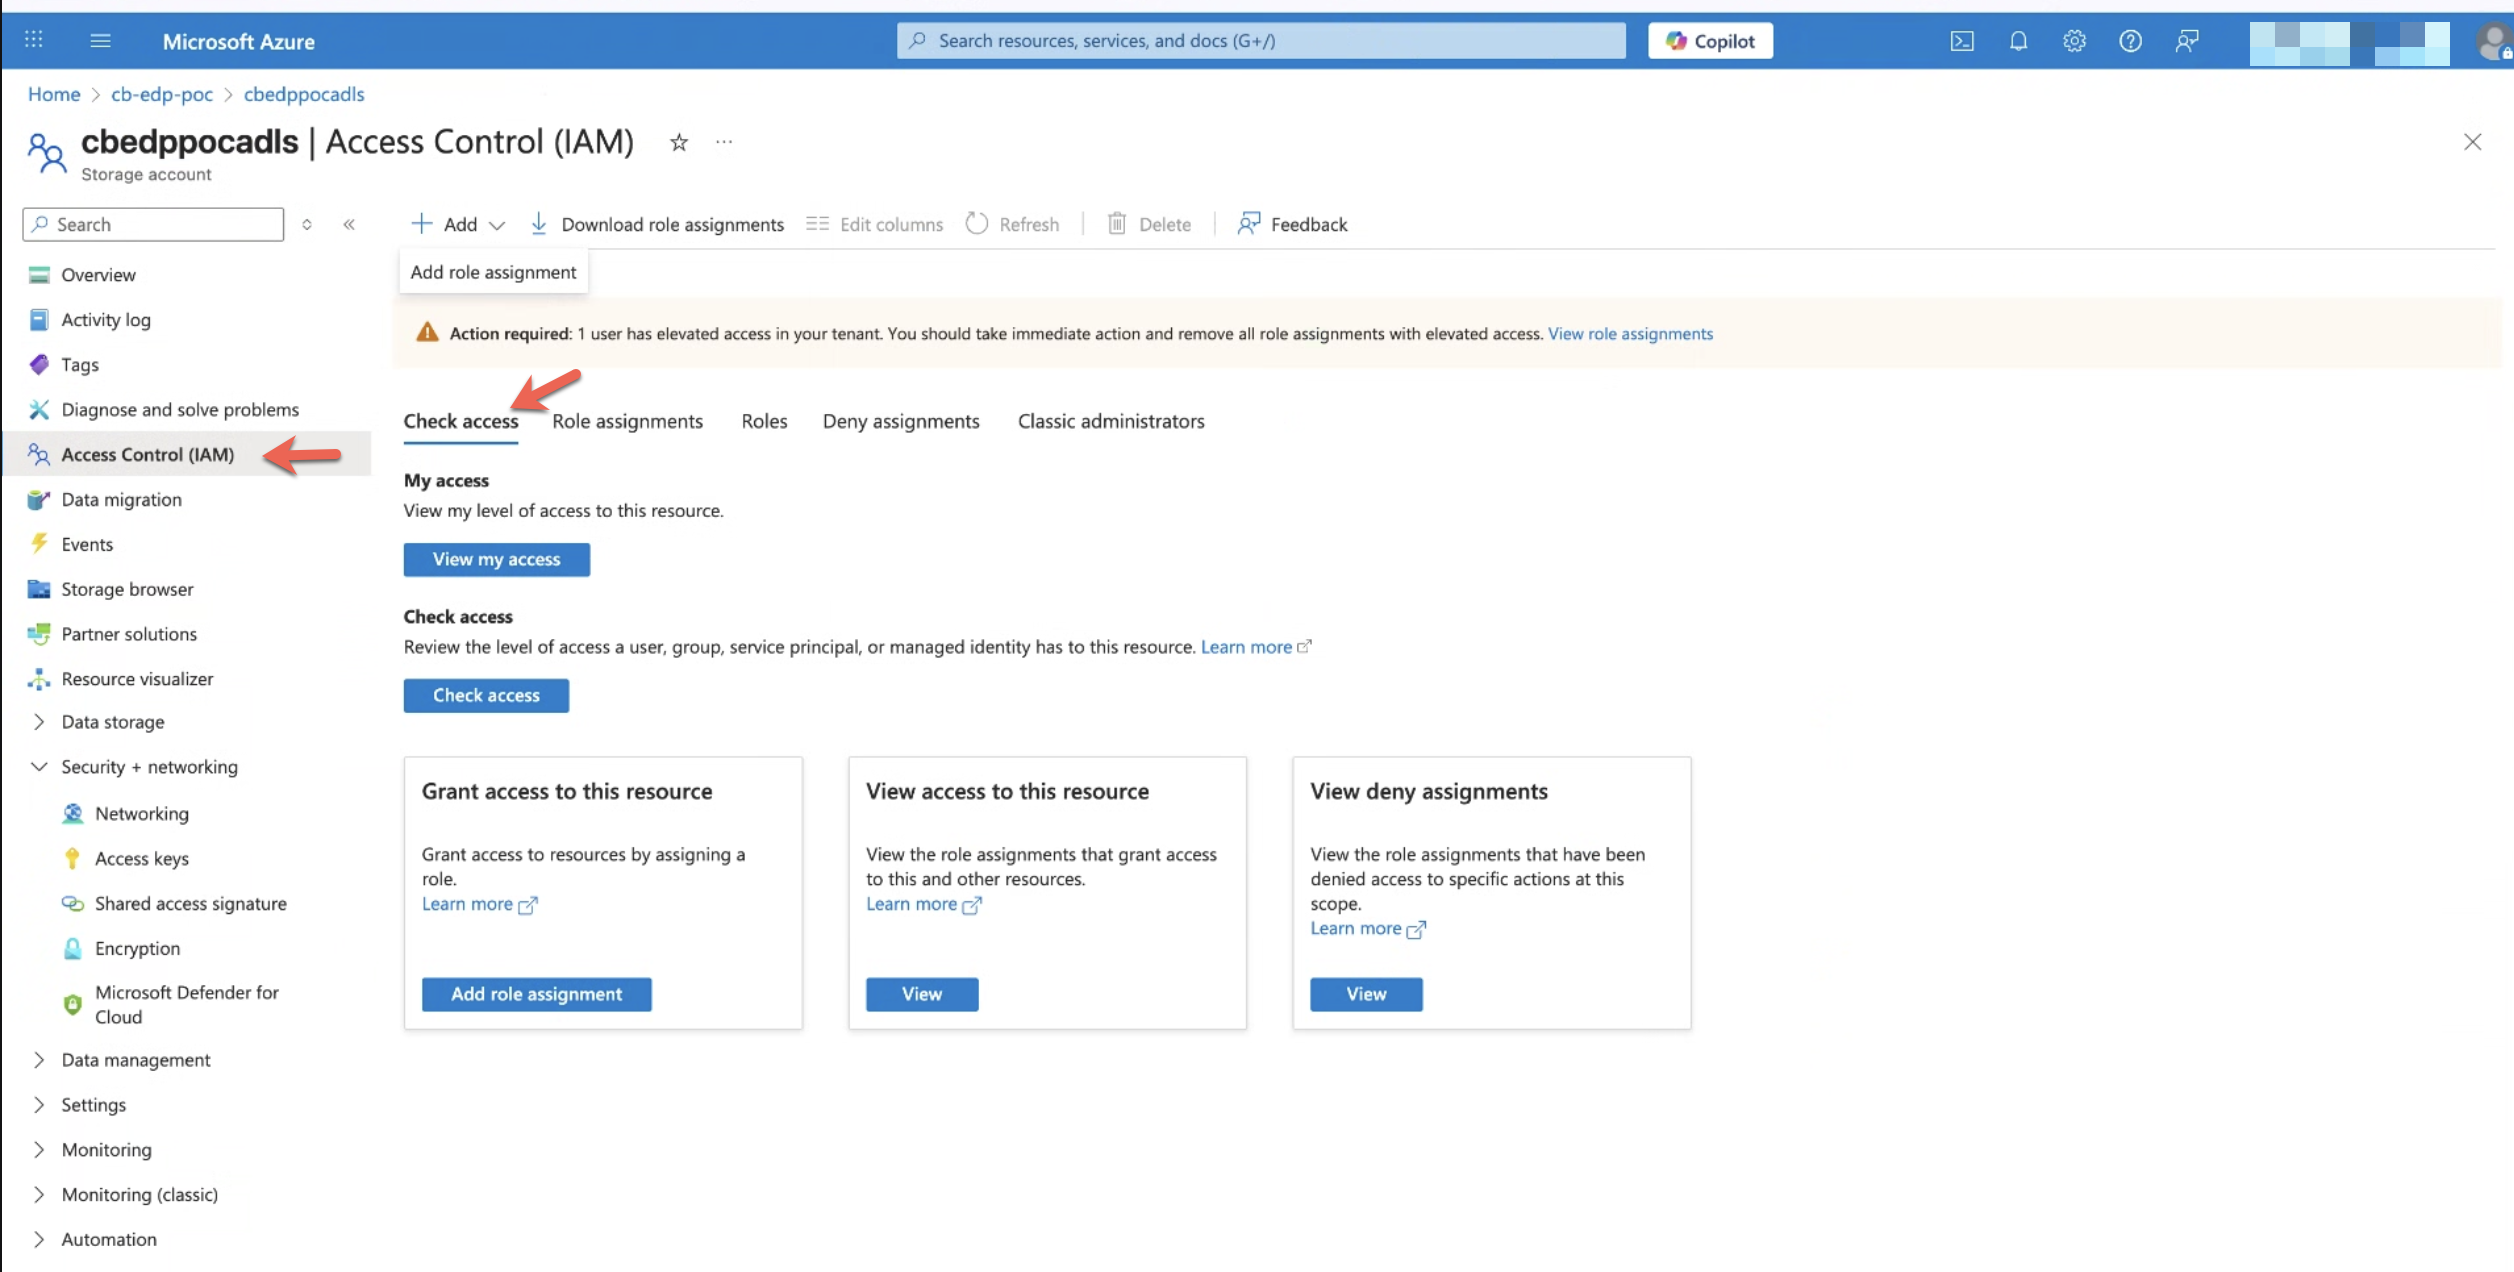
2. Open Access Control (IAM)
From the left navigation pane, select Access control (IAM).
3. Add a Role Assignment
- Click Add and select Add role assignment.
- This step assigns permissions at the storage account resource level.
4. Select the Role
- In the role selection page, search for storage blob data contributor.
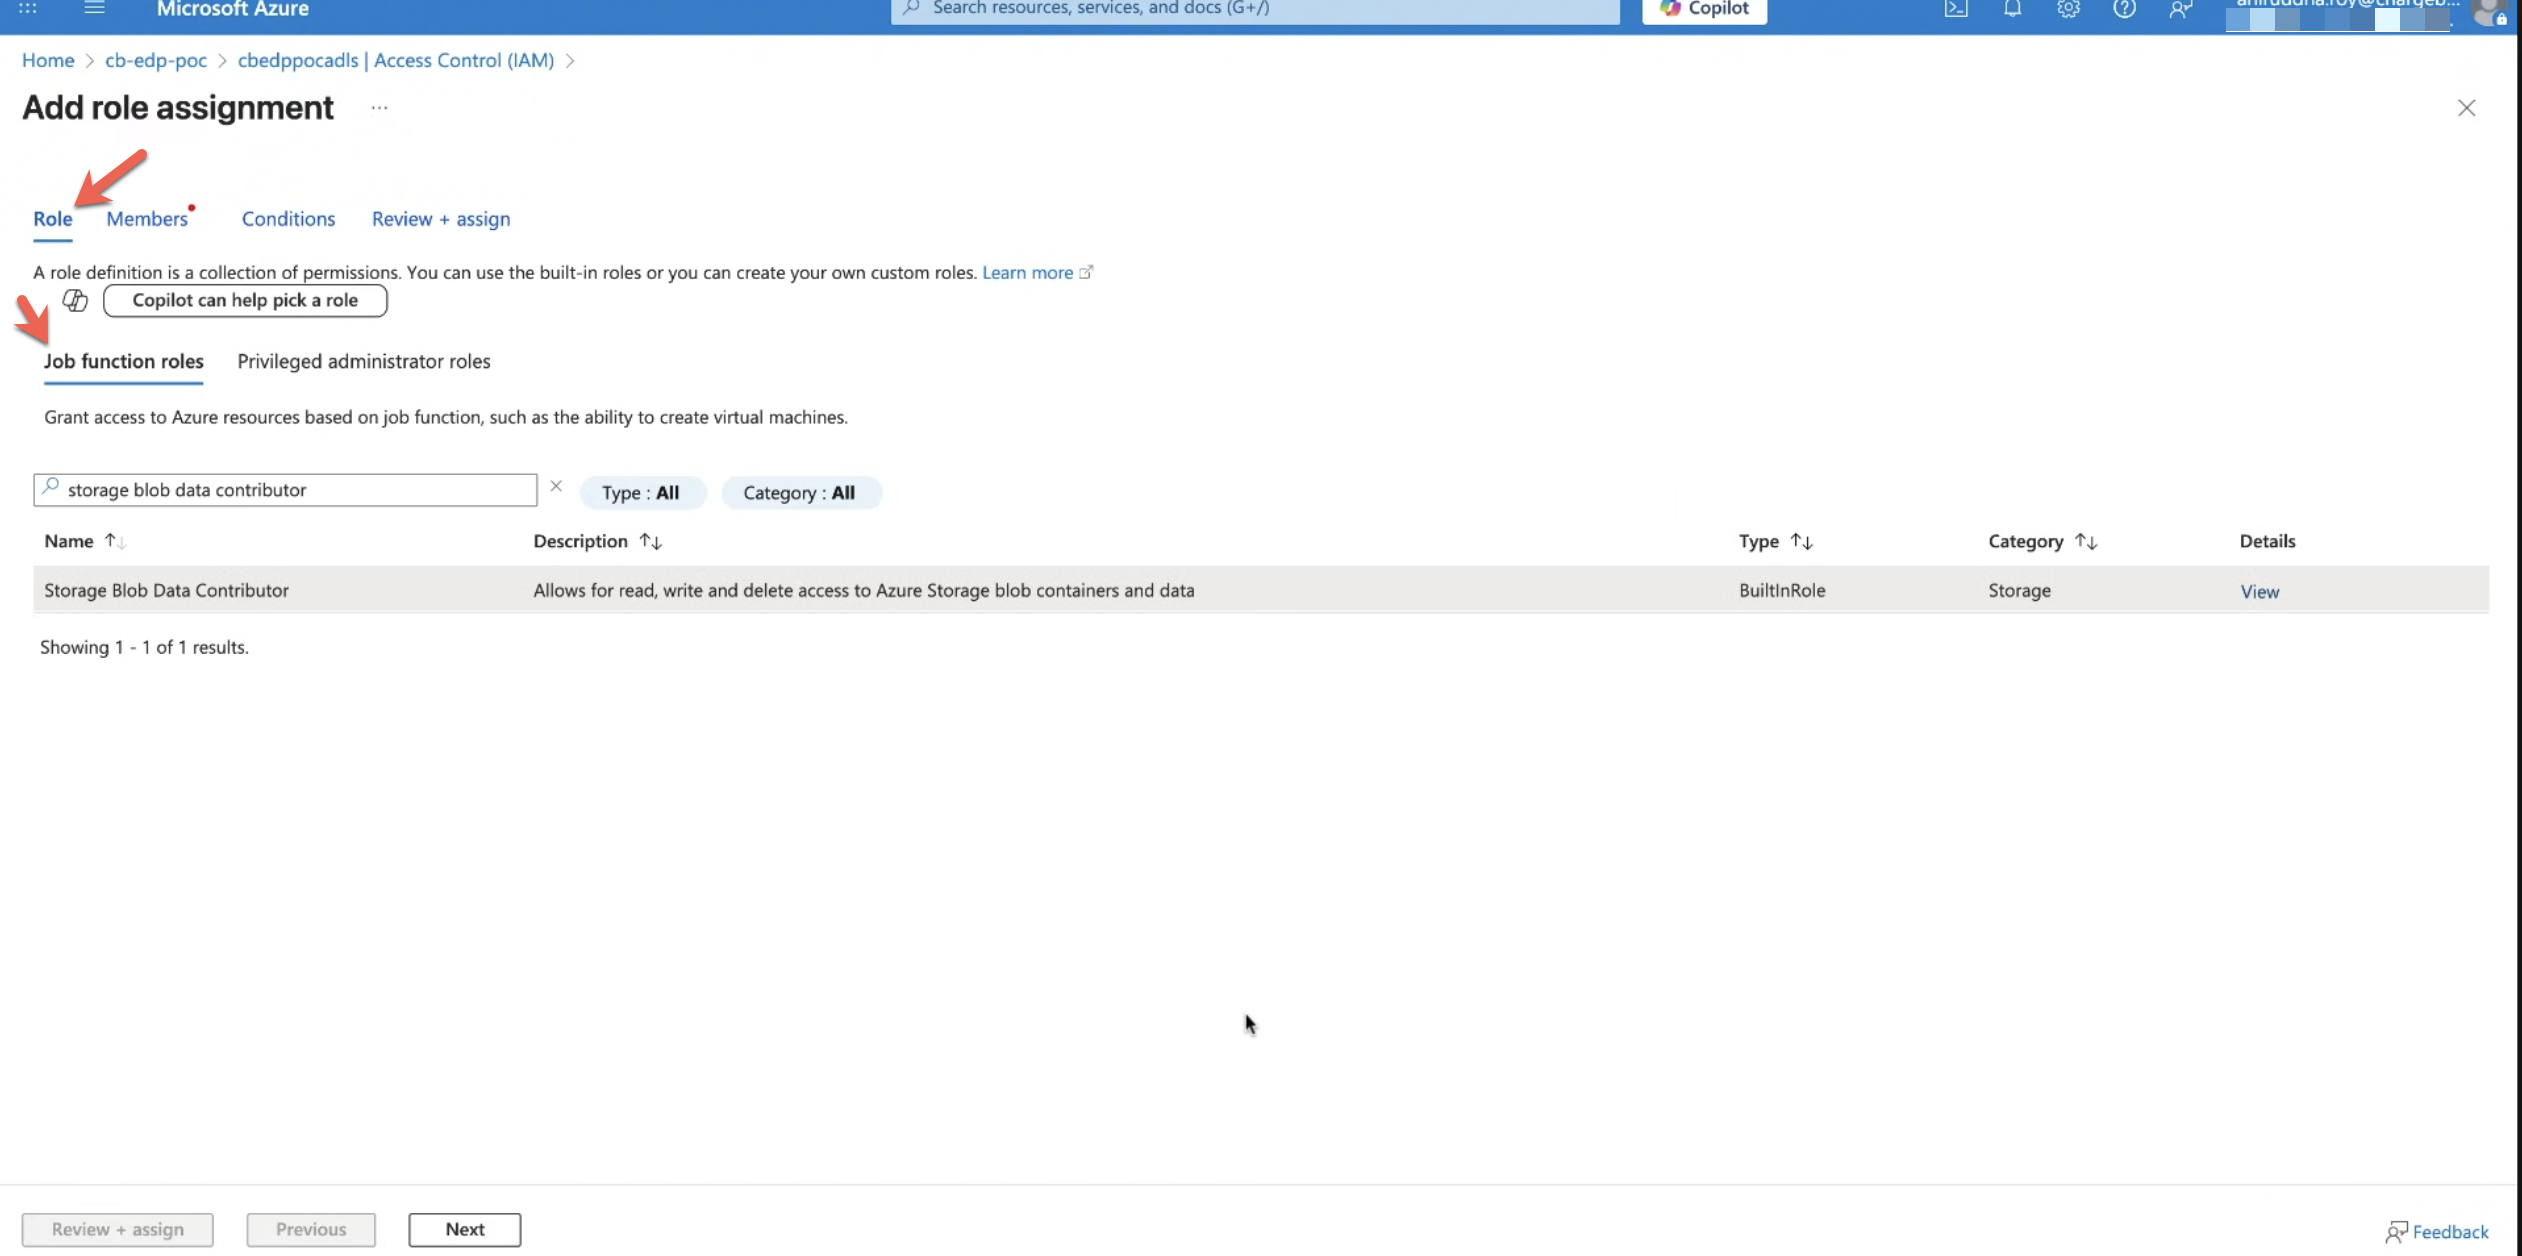
- Select the role and click Next.
5. Select Members
- Under Assign access to, choose User, group, or service principal.
- Click +Select members.
- Search for the required App Registration. Select it; the name will appear under Selected members.
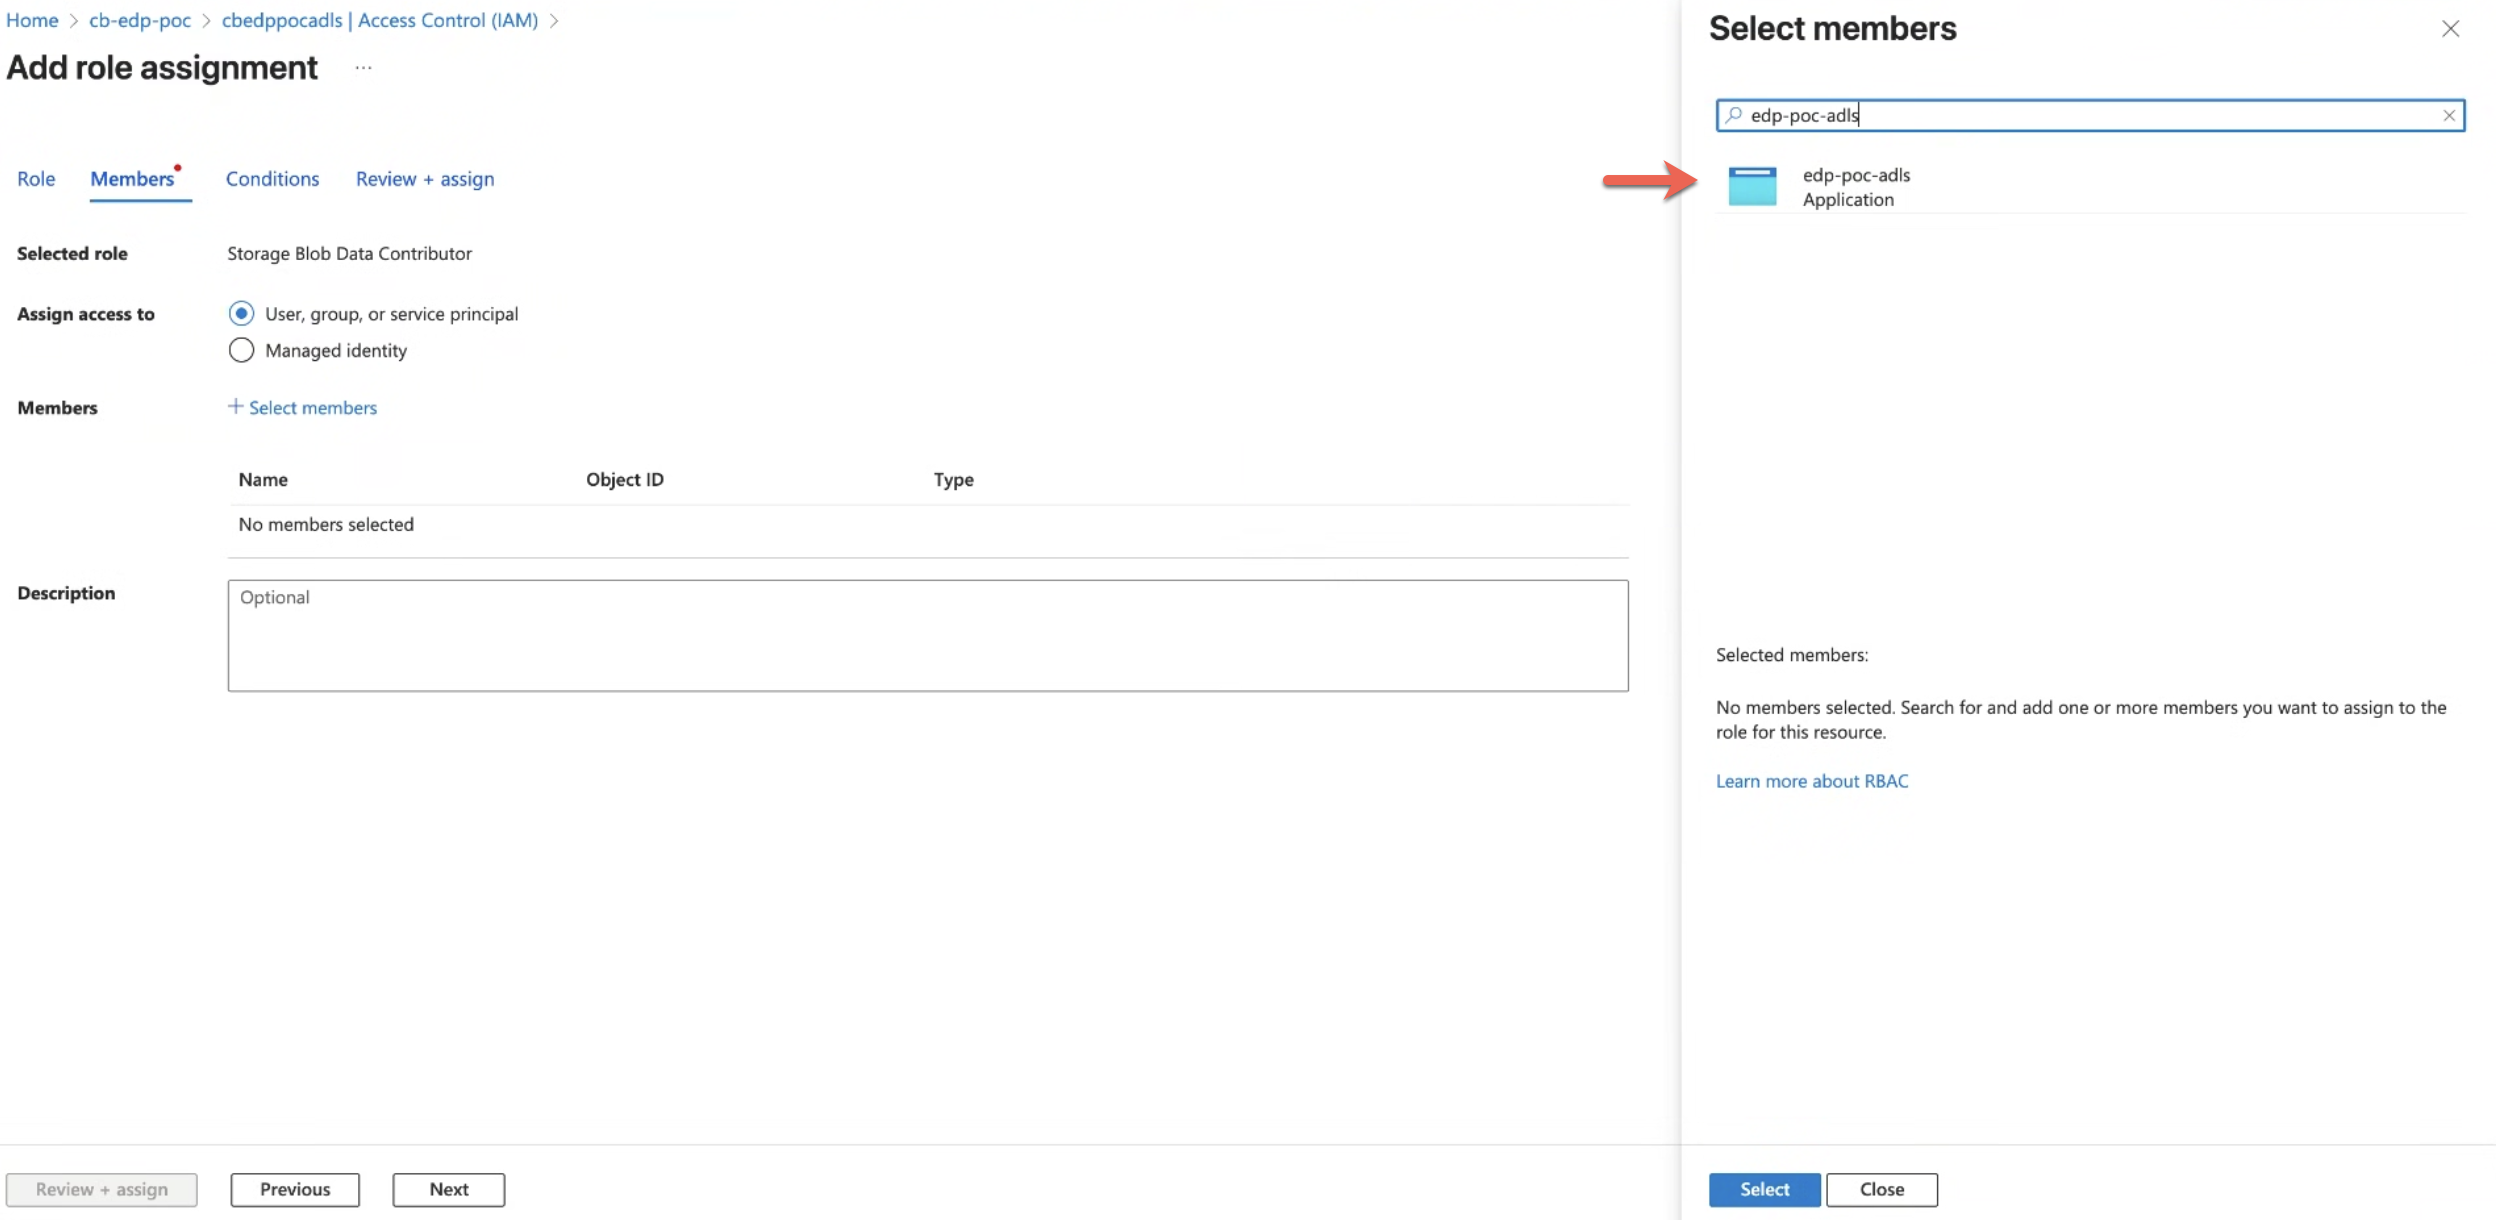
- Click Next
6. Review and Assign
- Review the role, scope, and selected members.
- Click Review + assign to grant access.
ADLS Gen2 Container (Filesystem) and Folder Creation
Part 1: Create a Container (Filesystem)
1. Open the Storage Account
- Log in to the Azure Portal.
- Navigate to Storage accounts and select the required ADLS Gen2–enabled storage account.
2. Navigate to Containers
- From the left navigation pane, select Containers.
- In ADLS Gen2, containers are also referred to as filesystems.
3. Create a New Container
- Click + Container.
- Provide the following details:
- Name: Enter a container name. For example,
exports.
- Name: Enter a container name. For example,
- Click Create.
Part 2: Create Folders Inside the Container
4. Open the Container
Click the newly created container (filesystem).
5. Create a Folder
- Click + Add directory. Enter the folder name.
For example,
chargebee-exports. - Click Save.
Note
ADLS Gen2 supports a hierarchical folder structure, similar to a traditional file system.
6. Create Subfolders (Optional)
- Open an existing folder and click + Add directory.
- Create additional subfolders as required.
Part 3: Copy HTTPS URL (Container / Folder / File)
7. Copy Folder HTTPS URL
- Navigate inside the container.
- Open the required folder.
- Click the ellipsis (⋯) next to the folder.
- Select Properties.
- Copy the URL field.
Example format:
https://<storage-account-name>.dfs.core.windows.net/<container-name>/<folder-name>
To connect to the Automatic Export in Chargebee, you will need to have the following parameters with you:
Next Step Once you have completed all the above steps, follow the instructions to set up Automatic Export in Chargebee.
Was this article helpful?