Record Mapping in Xero
Chargebee provides you with a user-friendly interface for managing Object-to-Record mapping. This feature streamlines tasks such as migration and correcting mapping errors, reducing your dependency on Chargebee support and significantly speeding up your processes. This enhancement alleviates bottlenecks, ensuring smoother transitions and error resolutions. Consequently, you may experience increased satisfaction, and your support requests will be minimized, fostering a more seamless user experience.
This feature addresses your daily needs and pain points by managing record mapping through an intuitive user interface.
Key benefits include:
- Migrating smaller data batches at your convenience.
- Correcting incorrect record mappings post-migration.
- Reducing your dependency on support for routine mapping tasks.
Setting up the Record Mapping feature
Step 1: Set up the Integration
-
Log into your Chargebee site.
-
Navigate to Apps > Xero.
-
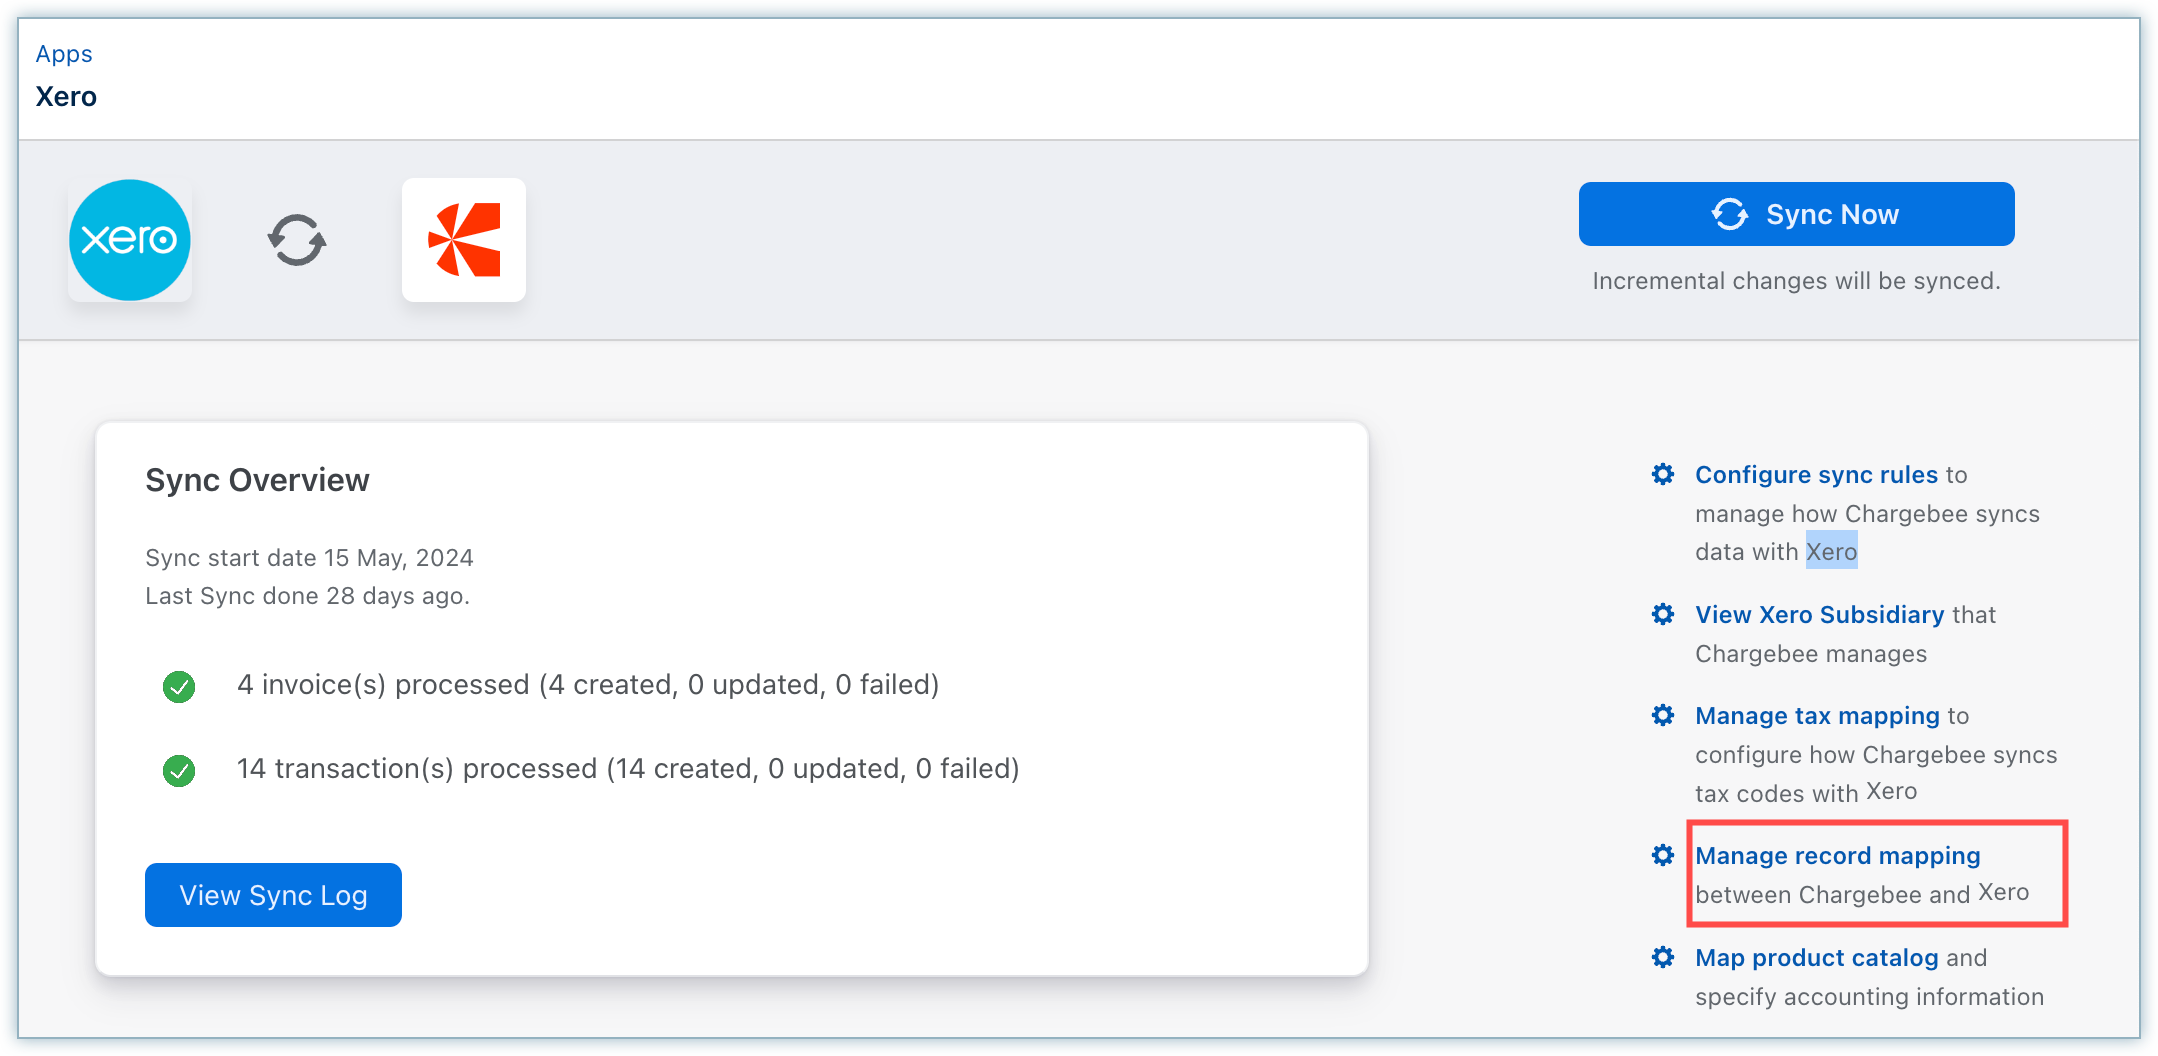
Go to the Manage Xero Integration page and click the Manage record mapping button on the right side of the navigation bar.

Step 2: Map objects between Chargebee and Xero
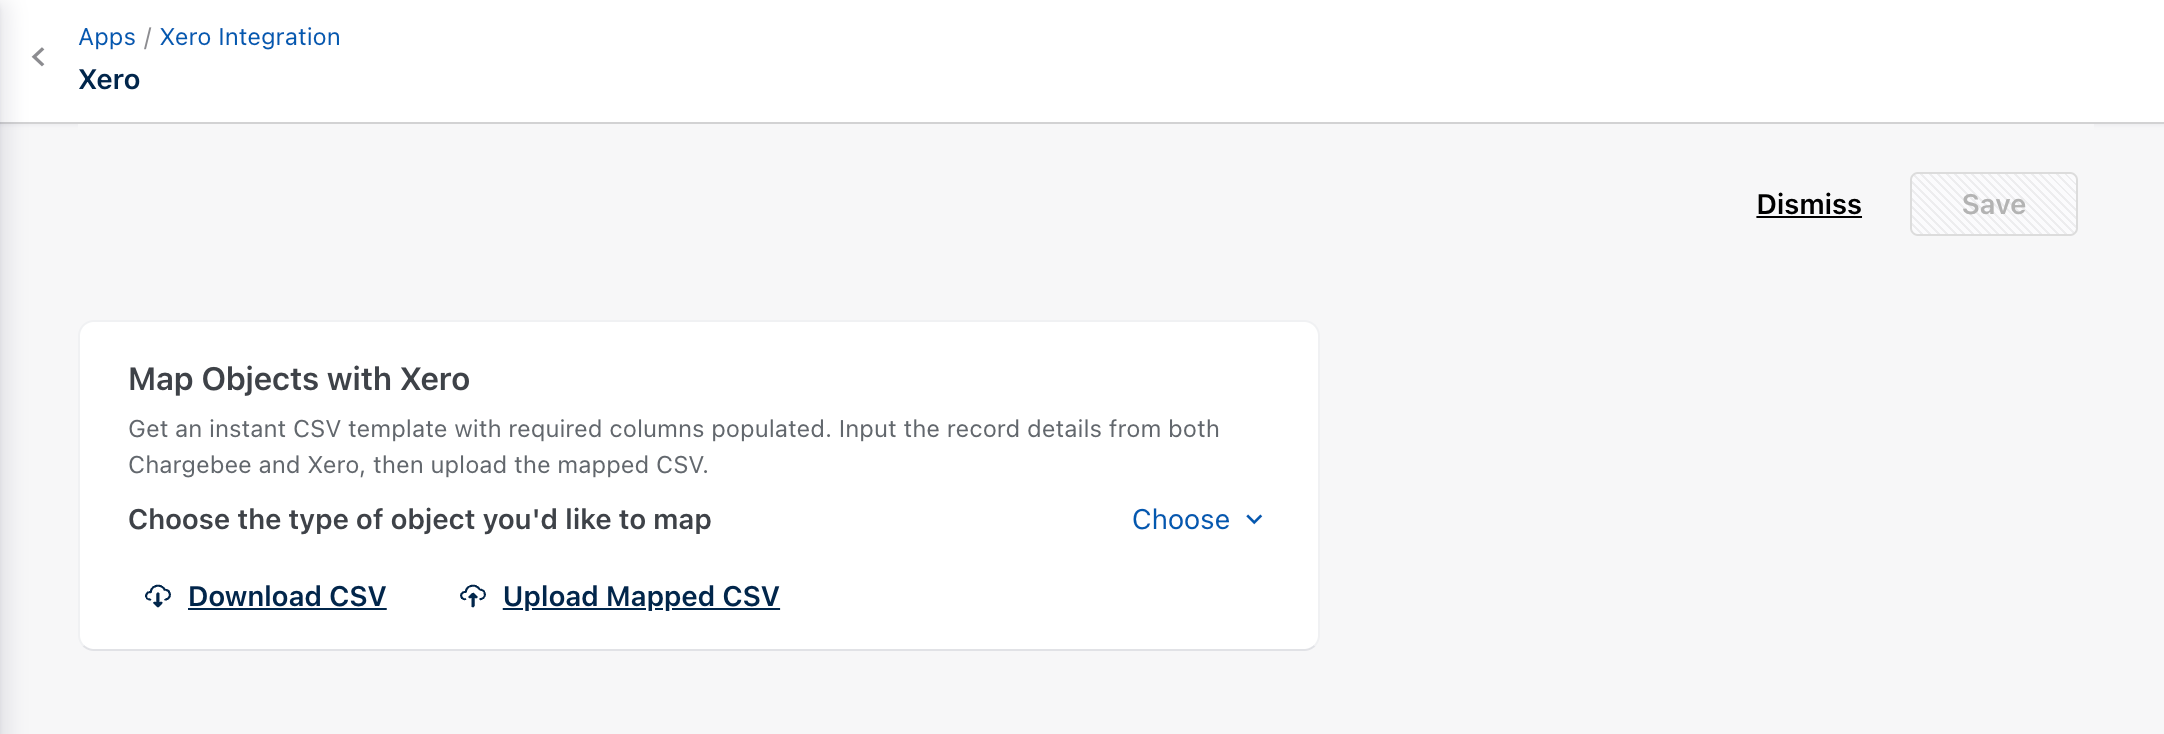
Once you click Manage record mapping, the system redirects you to the Map Objects with Xero page.
-
From the drop-down menu, select the object type (customers, invoices, credit notes, or transactions) for mapping.

-
Click Download CSV.
-
The system creates an empty CSV with the following column headers:
| CSV Headers | Description |
|---|---|
| Chargebee <entity> ID | Chargebee Customer/Invoice/Credit Note/Transaction ID |
| Xero <entity> API ID | Customer/Invoice/Credit Note/Transaction ID |
| Xero <entity> ID | Customer/Invoice/Credit Note/Transaction ID |
Note:
CSV headers are case-sensitive and are prepopulated in the CSV template.
Mapping fields between Chargebee and Xero
The following table displays the available fields that can be used to map entities between Chargebee and Xero.
| Xero Field | Chargebee Object Type | Xero Record type |
|---|---|---|
| Contact Name | Customer | Contact |
| Invoice Number | Invoice | Invoice |
| CreditNote Number | Credit Note | CreditNote |
| Reference | Transaction (Refunds) | Payments |
| Reference | Transaction (Payment) | Payments |
Step 3: Upload and Complete Mapping
Click Upload mapped CSV to upload the mapping changes.
Once the mapping process is complete, the following screen displays:
Any errors in the provided data are captured in a new CSV file that can be downloaded by clicking Download Errors.
Possible errors in Xero
- Chargebee ID is mandatory.
- Xero ID or API ID is mandatory.
- Chargebee ID is invalid.
- Xero ID is invalid.
- Xero API ID is invalid.
After fixing these errors, re-upload the CSV file.
Was this article helpful?